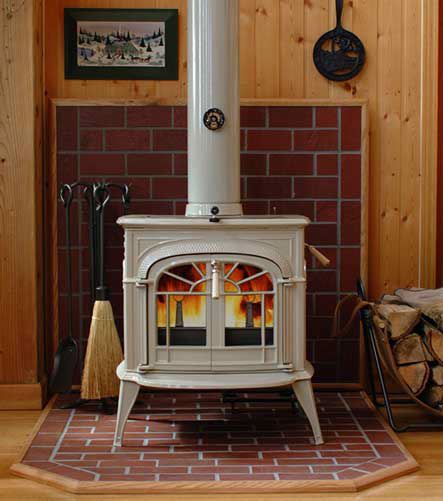
For the brick surround for the wood stove, I started by squaring up my rough paper template and marking the center of the floor and back pieces.

As a reminder, here is my inspiration from hearth.com showing a partial brick wall. Now that I study it, these might be brick colored stone tiles instead. But, I still like the look of it.

I cut egg carton bricks 1/4″ x 3/4″ – my usual choice for brick size. I started with the floor template since it has the cropped corners. I glued bricks to the template in a pleasing pattern, adjusting the template to fit.

Before going ahead with the inside brickwork, I tested the fit of the new shape of the floor template. Perfect! :D

I bricked the interior portion of the floor template and then completed the wall template. I checked the fit of both pieces in the Studio.

The red brick coloration in my inspiration piece looks so lovely that I decided to mimic that with my bricks using Liquitex Burnt Sienna. I grouted with Andi Mini Mortar and then touched up the paint and added a dark grey wash to darken the mortar.

I have the pieces held in place with mini hold wax at the moment. I need to install the stove lighting before I can glue the brick surround in place.

So far, the stove is working out well. :] I think those feet are crying out for a footstool. Haaaaaaaaa!

In other news, Jasper said he’s willing to help with the deck when I get to it. To that end, we’ve started with scroll saw lessons.


