
I showed you the lighting plan in an earlier post. Today, I used my Dremel Trio to put in the initial wiring channels, and it was quick work! :D
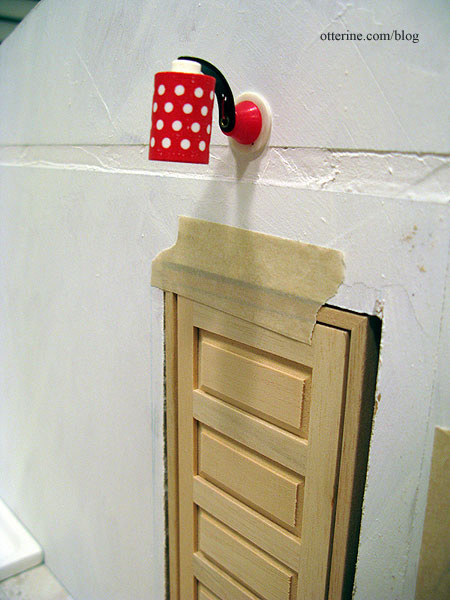
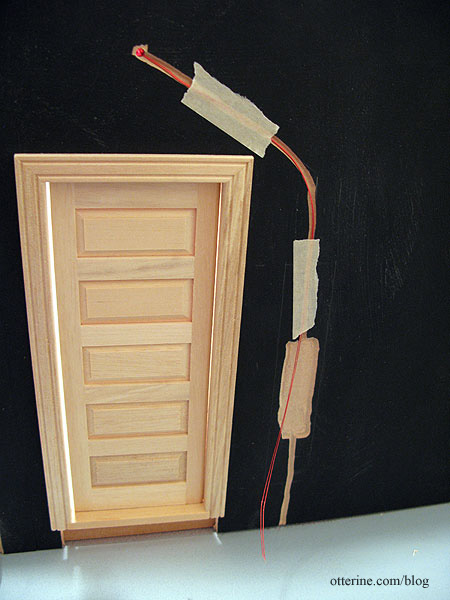
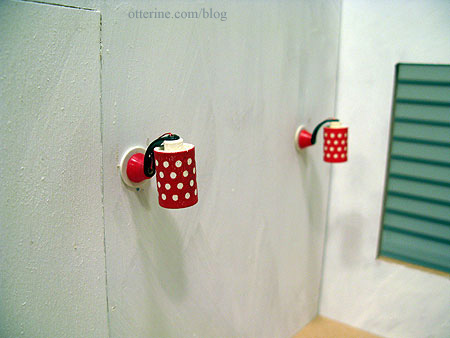
For the Lundby sconce by the entrance, I drilled a hole in wall so the wires would run down the exterior wall. As noted before, since I’ll be using non-replaceable bulbs, I need a backup plan in case I ever need to rewire these lamps.
On the outside, I first measured the siding strips to determine where my open spot would be.
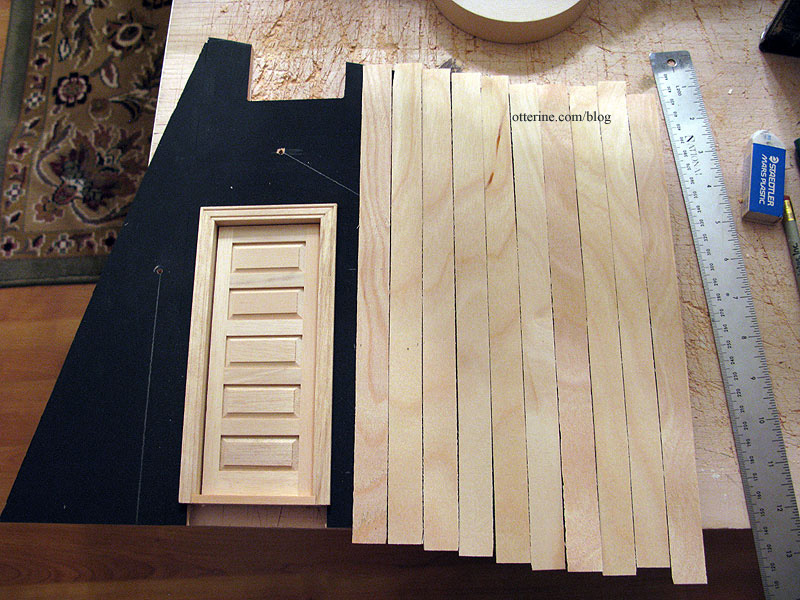
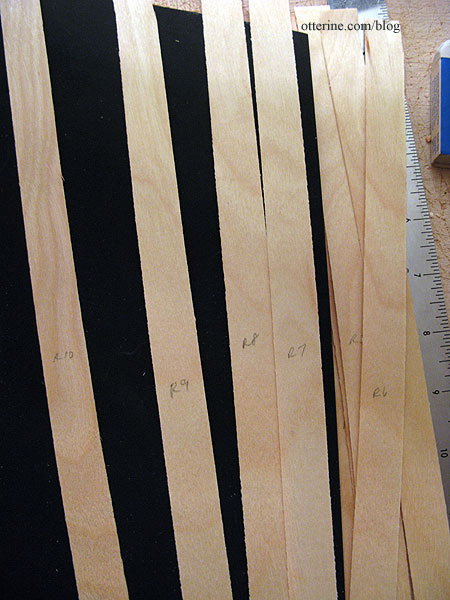
Since other siding strips might vary in width, I marked these in order so I could use them as is when I apply the siding.
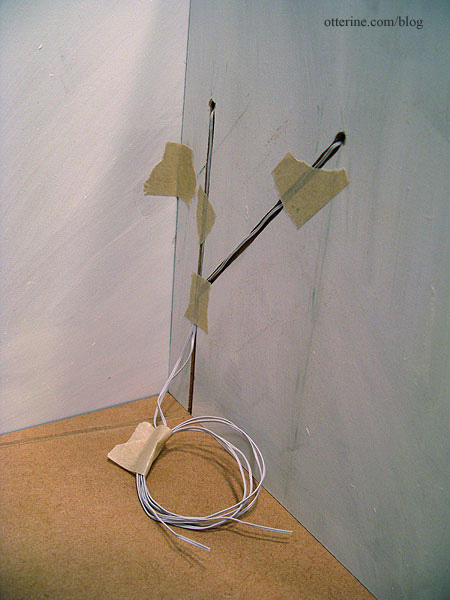
I made the usual wiring channel but routed an extra area where I can curl excess wires in case I need to rewire the lamp. I will leave this area uncovered by siding but hidden behind a fun exterior feature (to be revealed later). :D
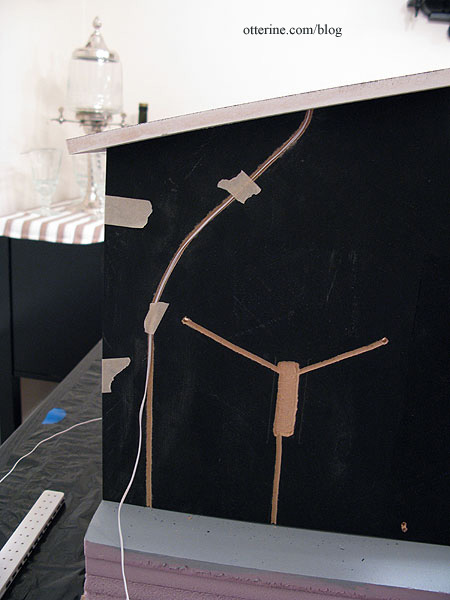
For the two Lundby sconces in the living area, I did the same process.
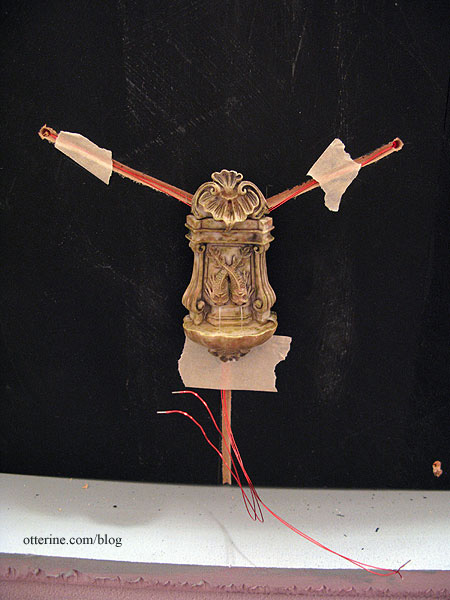
The exterior feature for this wall will be a water fountain.
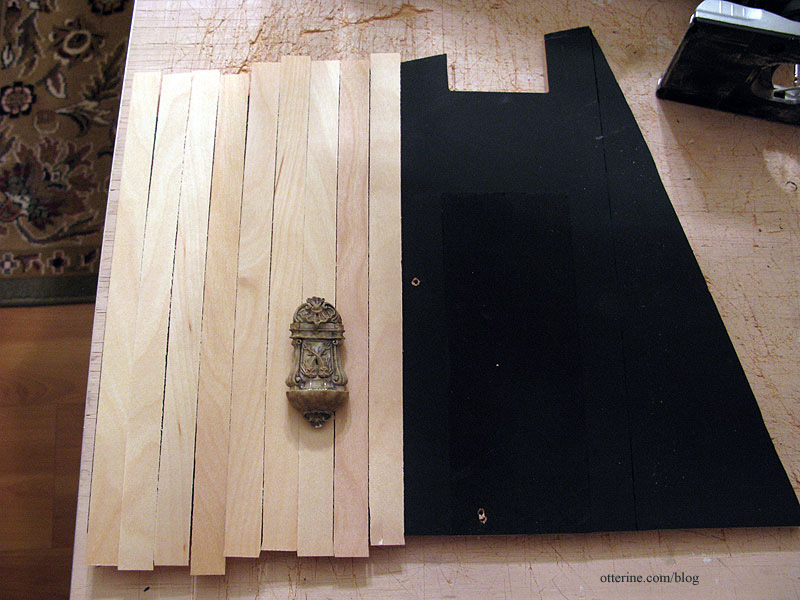
This is a lovely piece from Barb’s Corner on eBay.
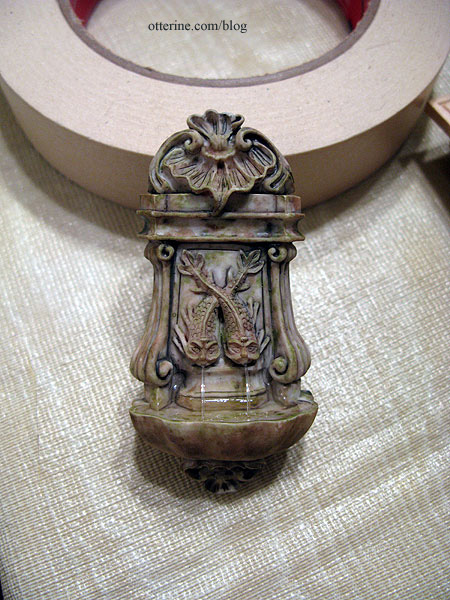
These wires will be joined to one end wire to work as a set, and the routed area will be covered by the fountain.
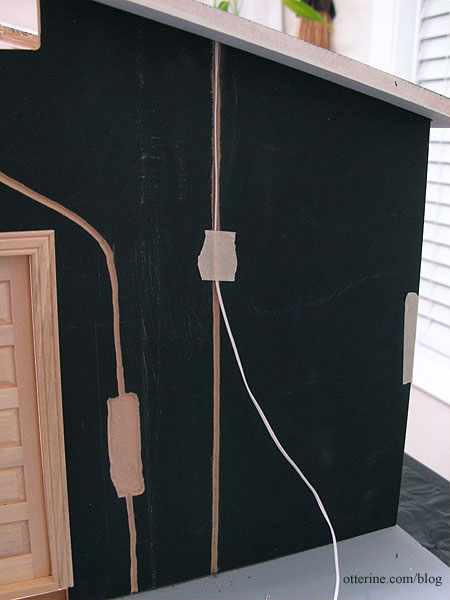
I made a channel on the exterior under the door coach light in case I want to add another small light on the interior side.
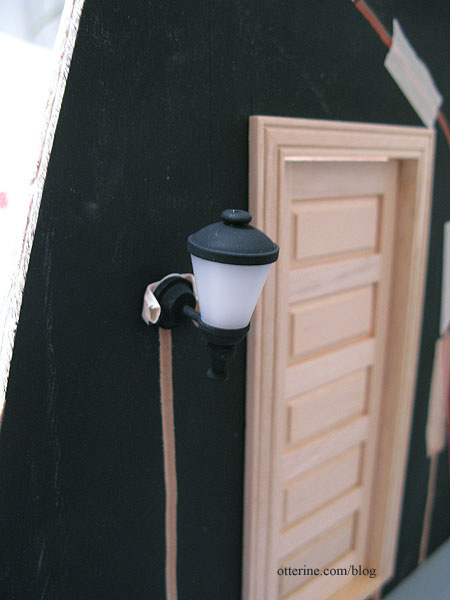
The wire for the door coach light will run inside. I drilled options to run the wire through the floor or through the wall to the outside.
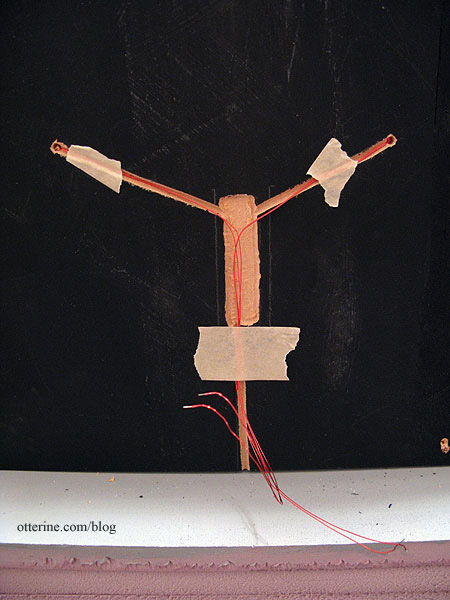
The bathroom sconce wires run through the wall to the living area side.
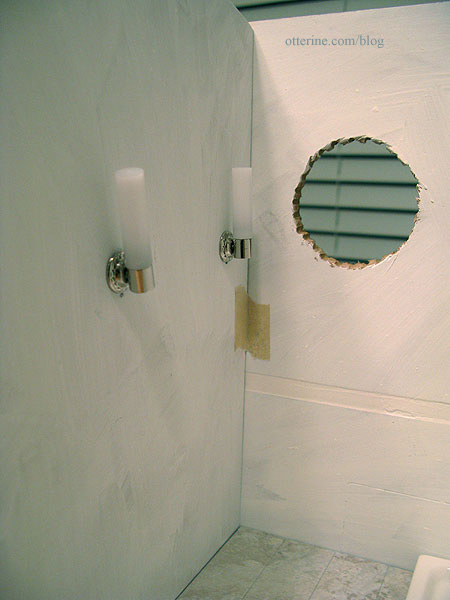
They will be wired as a set to work together, and the end wire will run out the back or through the floor (I drilled options for both).
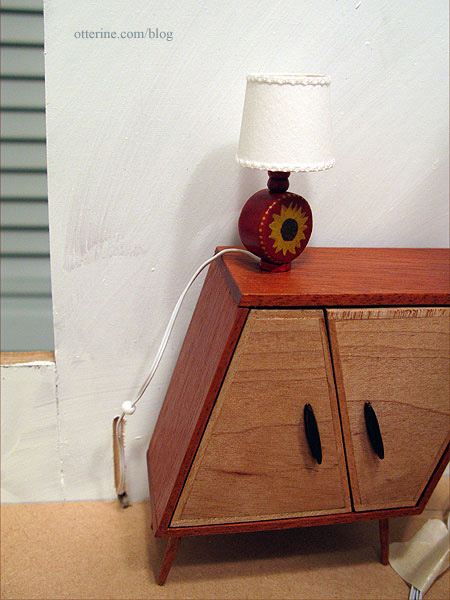
The sunflower lamp will have my usual faux outlet technique.
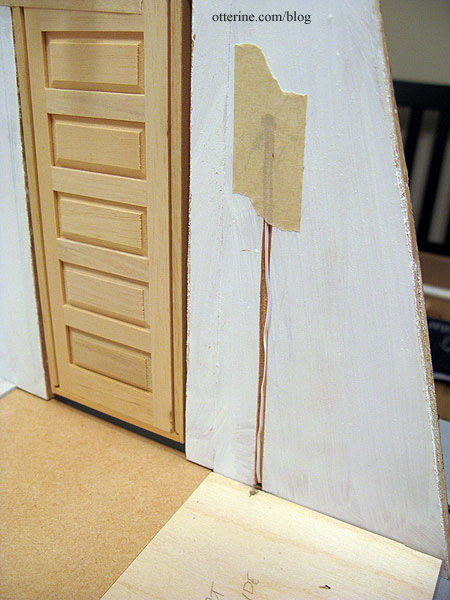
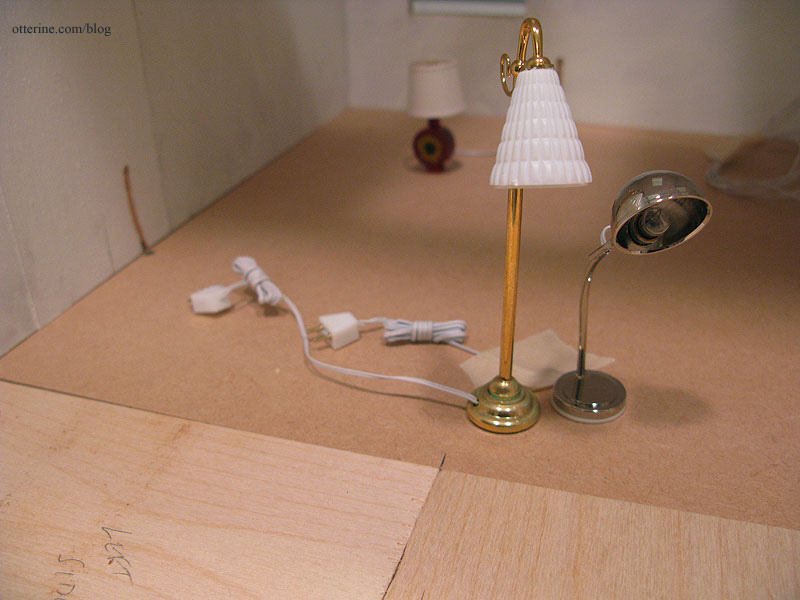
Whichever easel lamp I use, it will also have a wall outlet. You can see the channel on the side wall…again with options for the wire to go through the wall or through the floor.
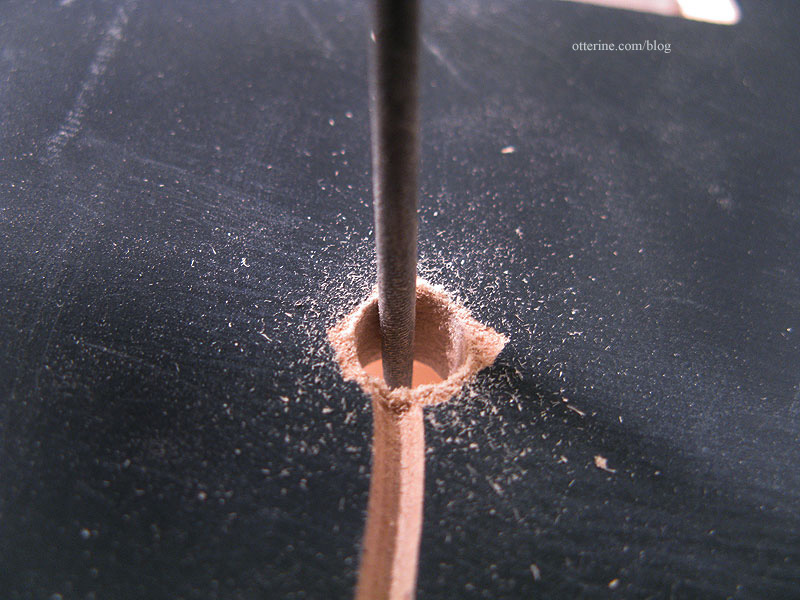
The recessed can lights require a larger drilled hole. I have a post on how to set these lights in place. The wiring channels for these run to the exterior side walls.
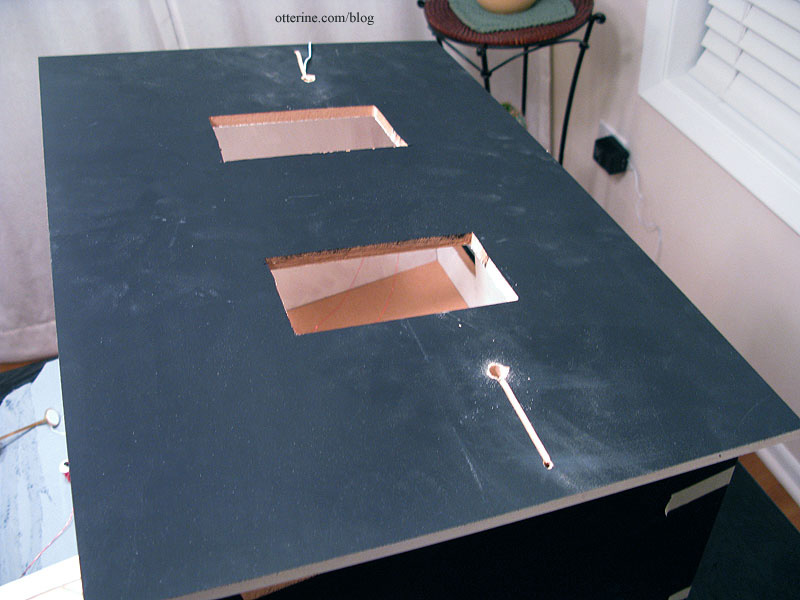
One of my lights wouldn’t fit, so I used a round needle file to adjust the hole.
On the fountain side, I curved the channel around the sconce channels.
On the door side, I made a straight channel.
As I tested the fit of these particular wires, I realized the can lights would have to be installed before the exterior siding, which is exactly the opposite of what I want to do. I prefer to mount siding when the walls are unassembled so I can press them flat to dry as needed. But, I had a lot of success using drawing paper templates for the Heritage attic walls, so that will be my solution. I will make paper templates for the exterior walls and prepare the siding on those before gluing the templates to the walls near the end of the build. :D


