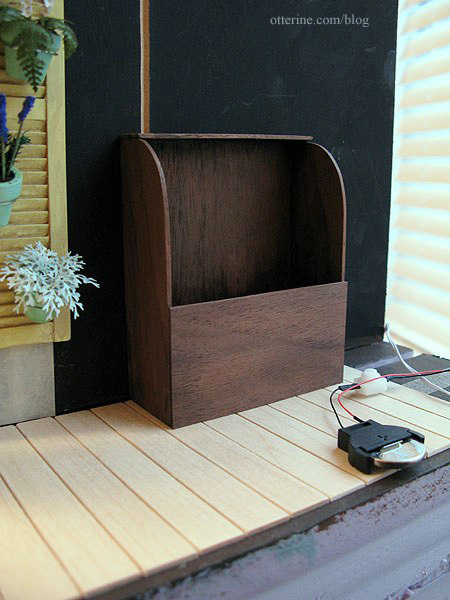
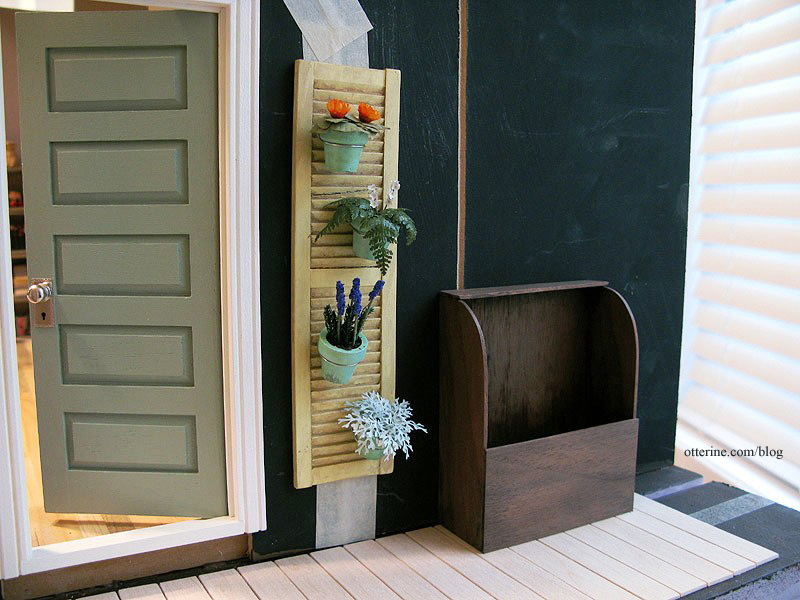
Building a firewood box for the Studio served two purposes. It will hold the wood stove switch so I don’t have to reach into the structure to operate the flickering LED fire, and it gave me the opportunity to work with walnut using my scroll saw.
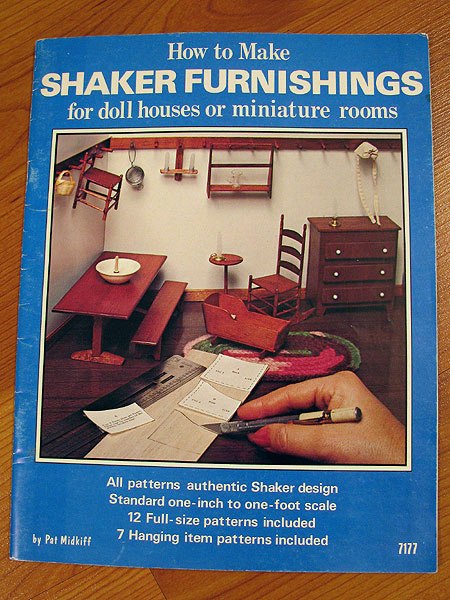
I followed a pattern in the book How to Make Shaker Furnishings for Doll Houses or Miniature Rooms by Pat Midkiff. What a long title! :D
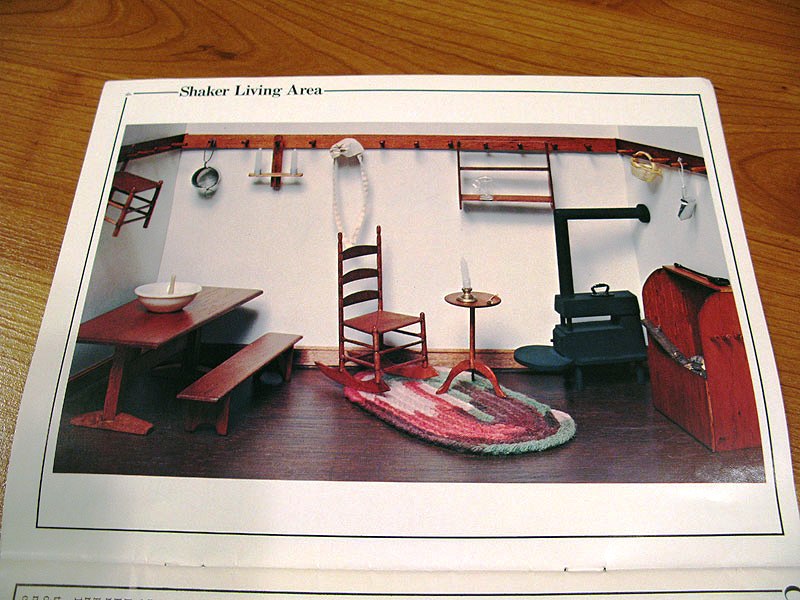
Here’s the living area photo from the book. Unfortunately, there is no pattern for the stove included. There are three pegs on the side of the firebox in the photo. I didn’t add them to the one I built since I didn’t have a walnut dowel.
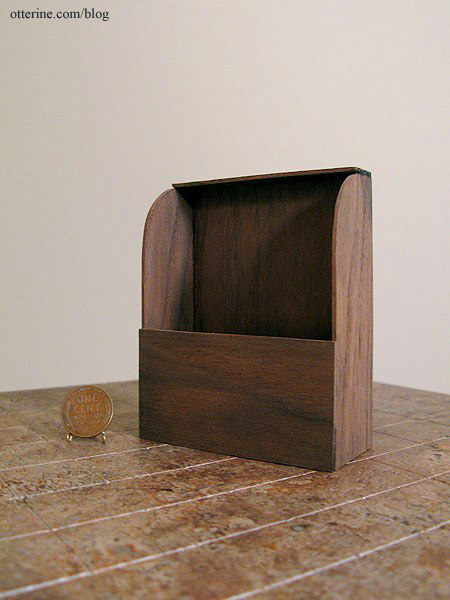
The pattern was very simple to follow, and my two cut curves came out very close! :D I did change the dimensions slightly, because the sheets of walnut I had on hand were narrower than the largest pattern piece. I finished the box with one coat of Delta Ceramcoat Satin Varnish to bring out the beautiful color and grain. I added a light wash of black and brown to make it less shiny and new.
I will finish the side deck before drilling the hole in the bottom for the battery and switch.