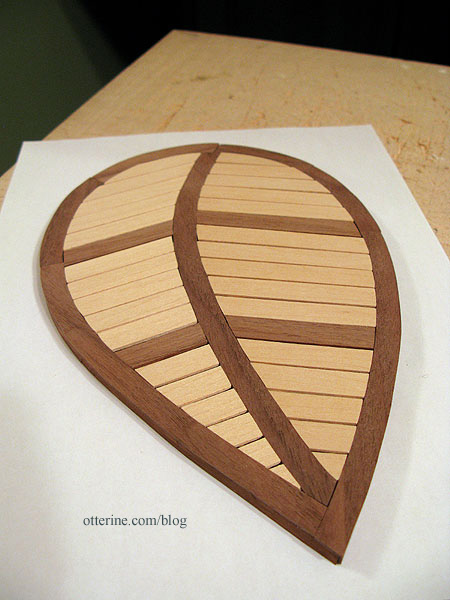
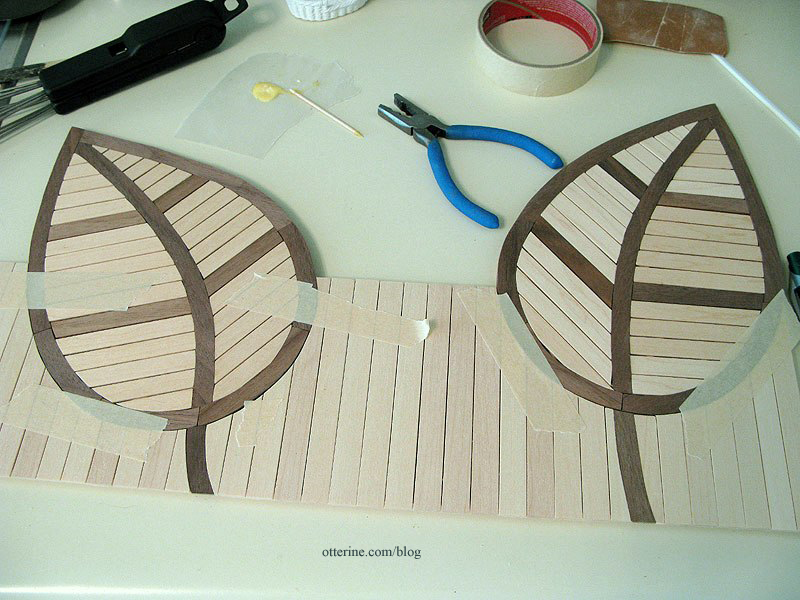
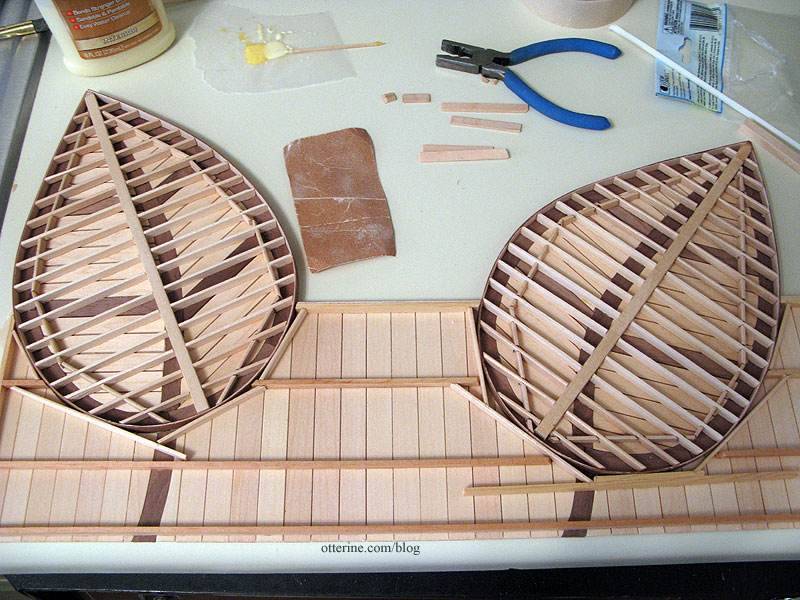
Continuing work on The Deck. I finished the second leaf in the same manner as the first leaf.
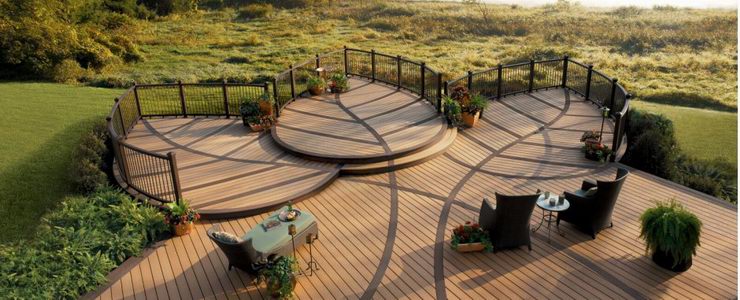
Before going further, I needed to see if I could replicate one part of the deck shown in the original inspiration piece. For reference, here is the beautiful deck from Trex.
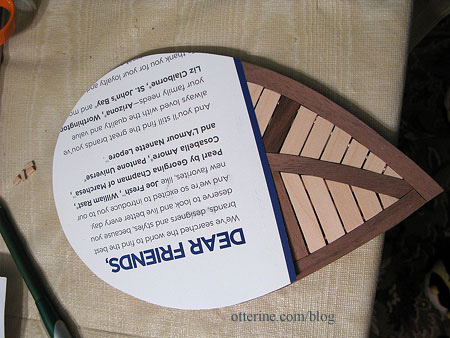
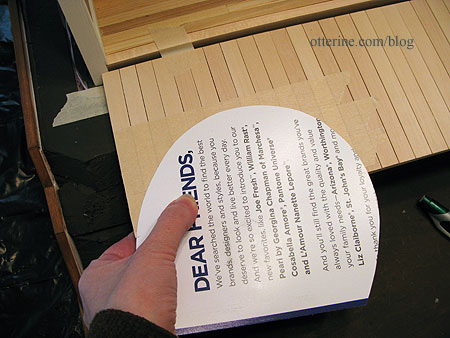
One of the side leaves is inset and on the same plane as the main deck. I took a scrap of card from the recycling bin and traced Leaf 1.
I then put a layer of masking tape over the main deck to keep the wood from splitting and the boards from lifting during the cutting process. I traced the outline onto the taped section.
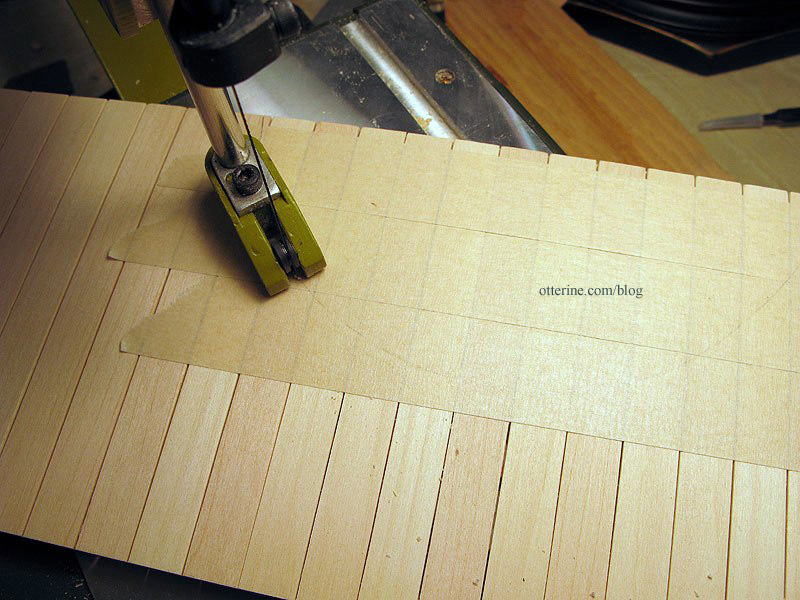
I then cut the main deck using the scroll saw. This was a one-shot deal. If it didn’t work, I’d have to reconstruct this part of the straight deck.
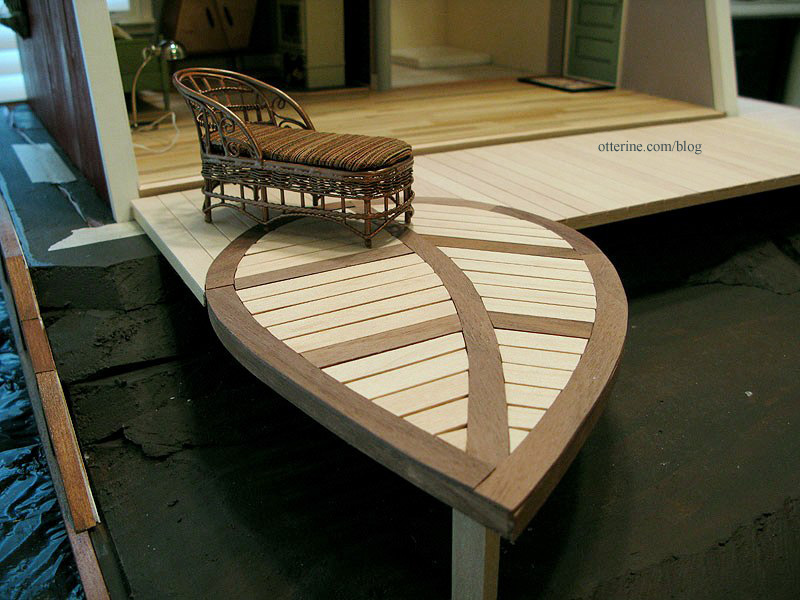
Moment of truth right before fitting…
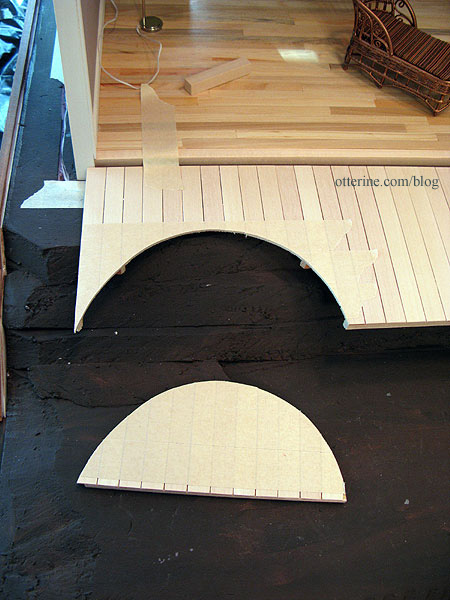
It worked!!! :D
Having the leaf inset makes for easier furniture placement, too.
Since my deck is a smaller version of the original, I decided to inset Leaf 2 on the other side. This time, I cut it in deeper than Leaf 1.
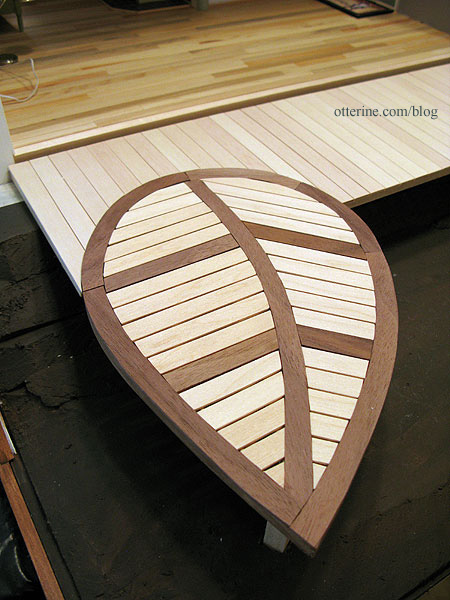
Another feature of the original deck is that the leaves have stems that continue into the main deck. I cut pieces of walnut for the stems and marked them on the main deck. I removed the pieces from the deck and cut them to fit. I glued the pieces back in place with the walnut stems.
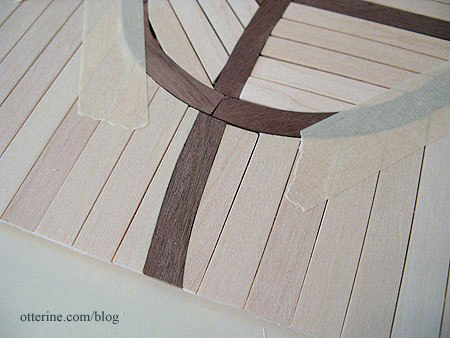
Marvelous! :D
On the underside, I had to attach the two leaves to the main deck. I opted for lengths of skinny sticks. These won’t be readily seen, even when viewing the under structure.
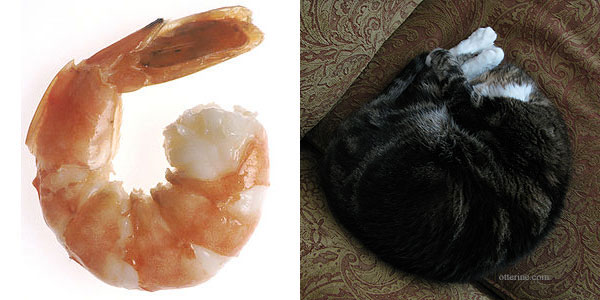
And, just so you don’t think my vacation week has been all work and no play, here’s a funny picture of Jasper. He’s sleeping in a pose I like to call The Frozen Shrimp. Haaaaaaaaa! :D