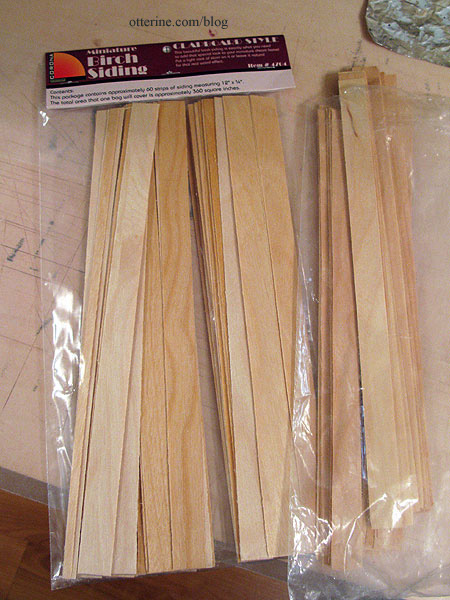
I had a lot of Corona Concepts 3/4″ birch siding strips leftover from Baslow Ranch. When Lyssa started working on her Mt. Ollopa Lodge earlier this year, she needed siding. I sent her what I had and didn’t think any more about it. When I started working on the Studio, I realized I needed the excess siding after all. I asked her if she had any left, and she did! So, some packages traveled back up to my place. There wasn’t quite enough, so I bought another package from Greenleaf.
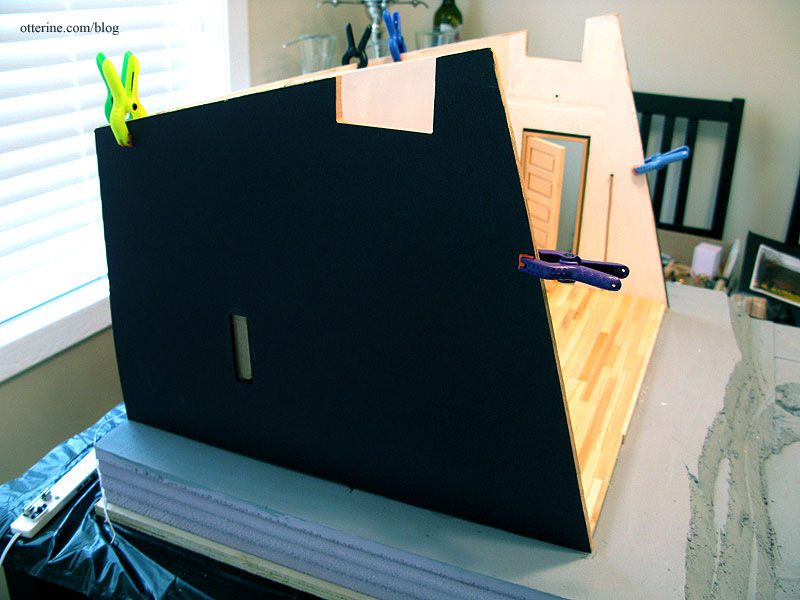
After putting in the wiring channels, I discovered that the recessed ceiling lights would have to be installed before the exterior siding, which is exactly the opposite of what I wanted to do. I prefer to mount siding when the walls are unassembled so I can press them flat to dry as needed. But, I had a lot of success using drawing paper templates for the Heritage attic walls, so that would be my solution.
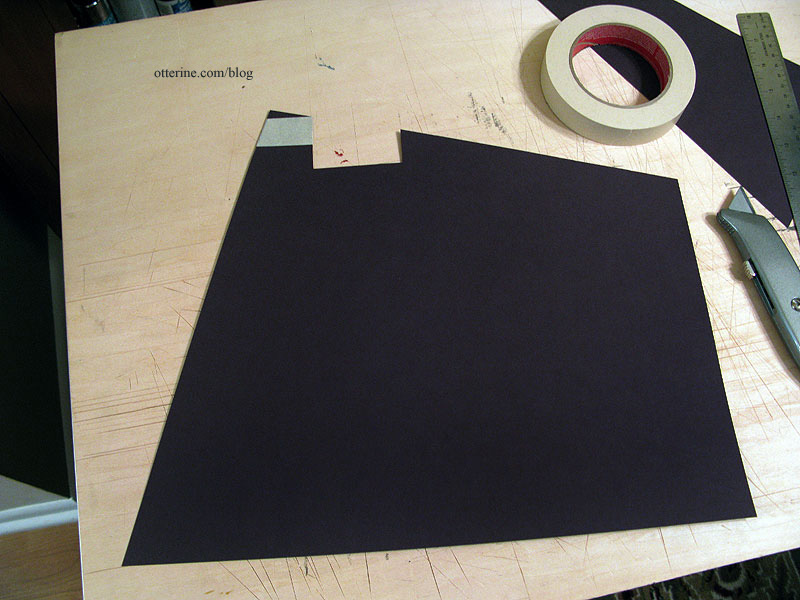
Even though I am not ready to install the siding yet, I decided to work on the templates today. I bought a package of 12″ x 18″ black construction paper since the store I was at didn’t have larger sheets of colored drawing paper. I started with the back, and the 18″ wide sheet was exactly the measurement needed. I cut the shorter side down, taking into account that the ceiling board will cover the top edge. I cut out the window holes as well.
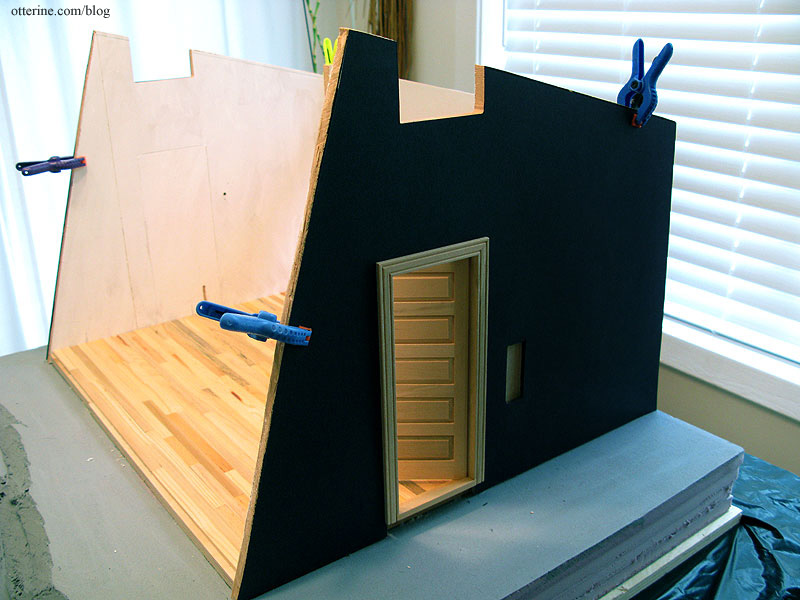
The two sides are slightly taller than the 12″ height of the paper, so I had to piece it at the very top.
I cut around the openings for the exposed wires for the Lundby sconces. (For more on that, see this previous post.)
I did the same for the opposite side.
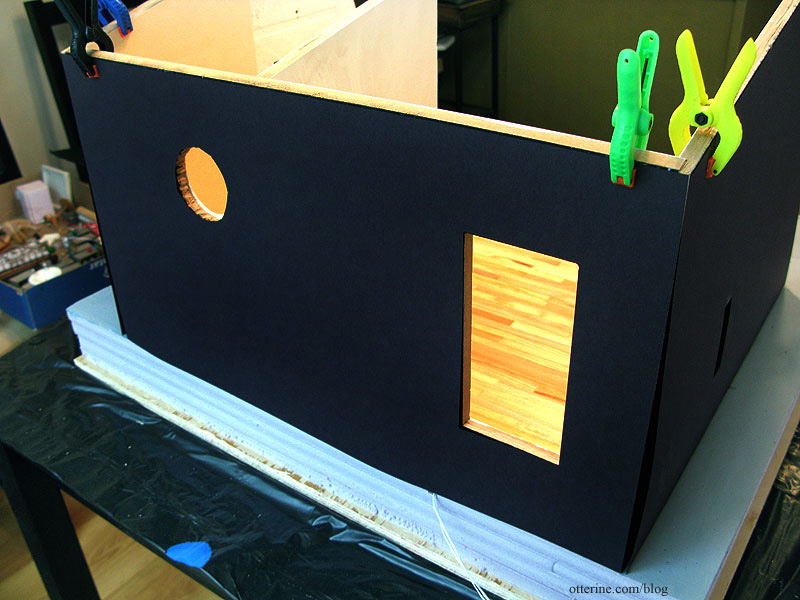
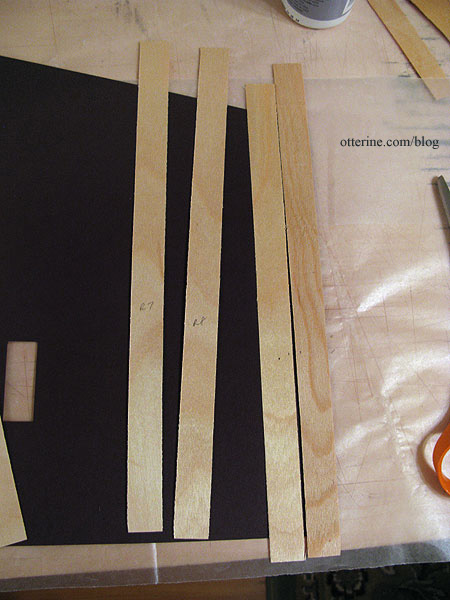
I had numbered the siding pieces for each side wall to use in order. These had been measured to fit up to the exposed wires. I used Aleene’s Quick Dry glue to attach the siding pieces to the paper template, covering any holes in the template for now. Even though I planned to paint instead of stain, I was still careful to keep glue off the exterior surface.
I pressed the templates flat to dry under magazines. Once dry, I cut the openings in each piece.
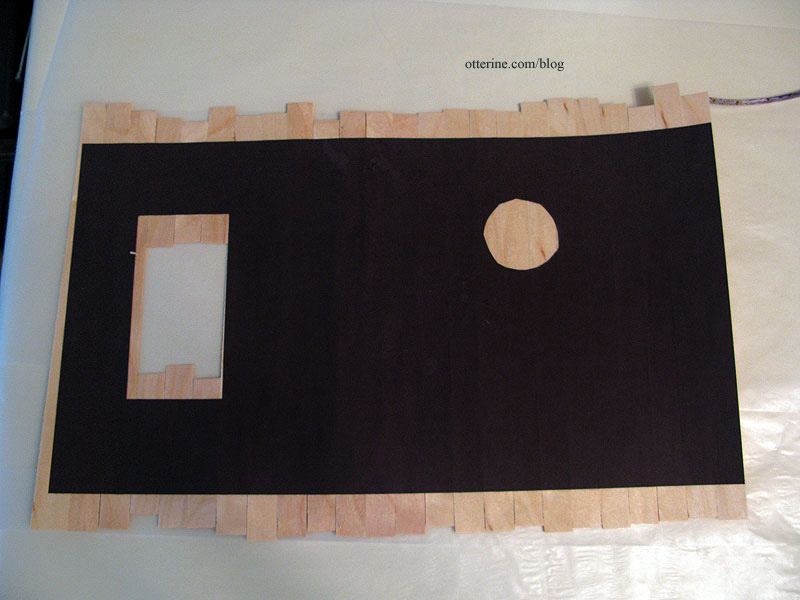
I tested the fit to make sure everything was working.

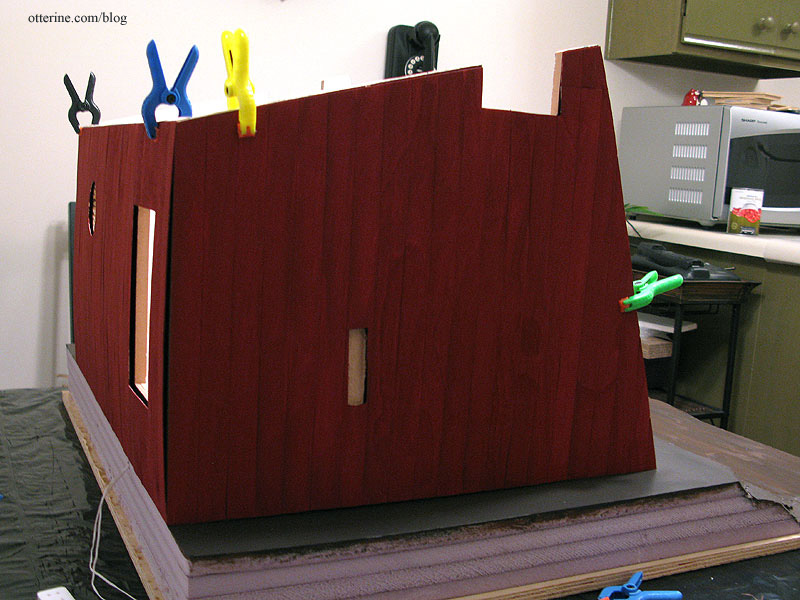
I chose Barn Red by Apple Barrel. It’s such a fine barn red. :D I painted two thin coats back to back.
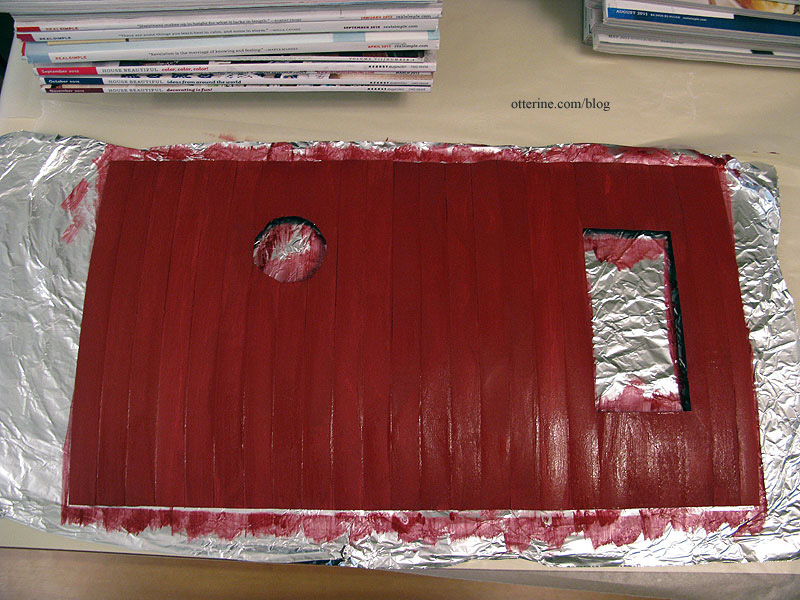
I left the sided templates uncovered to dry until the paint was no longer tacky. I then covered the templates with waxed paper and pressed them flat to dry with magazines. I’ll keep these unattached until later in the build.