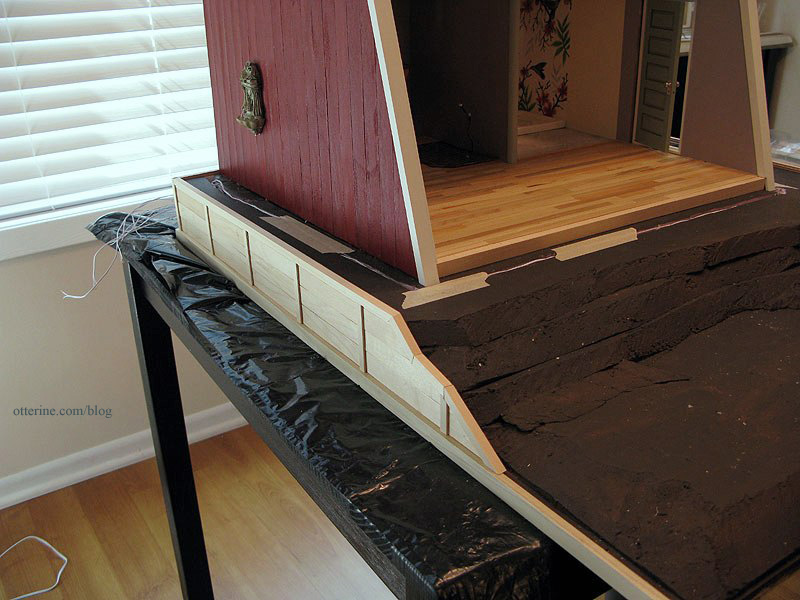
With the horizontal boards in place on the retaining wall, I glued the surrounding base boards from Mike. The next step was adding trim wood to finish the sides and back. I added 1/4″ x 1/16″ strip wood above the horizontal Woodsies planks. I then added various widths of trim around the top edge. For the back, I used some old Dura-Craft trim since it was the only wood I had on hand that fit in the space. It’s slightly different in color than the rest, but it won’t show in the end.
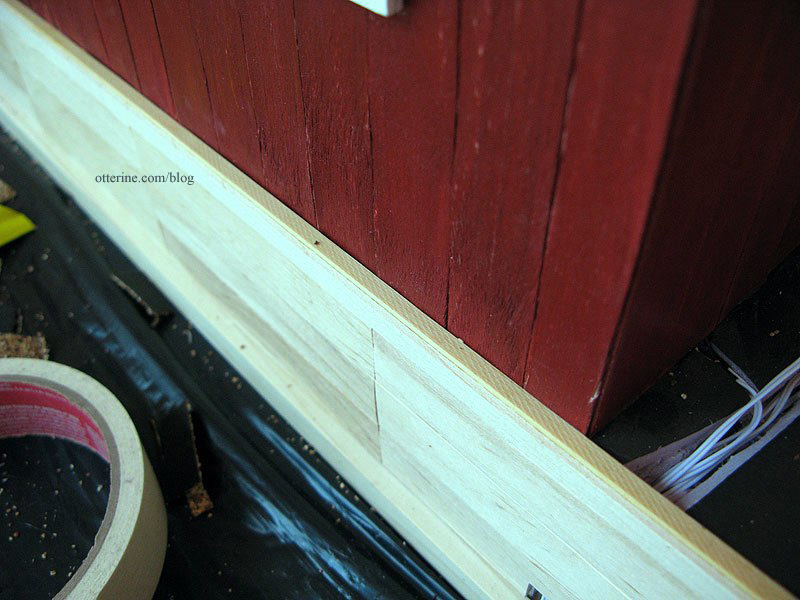
For the right and left sides, I used 1/8″ x 1/8″ trim up to the front drop of the retaining wall.
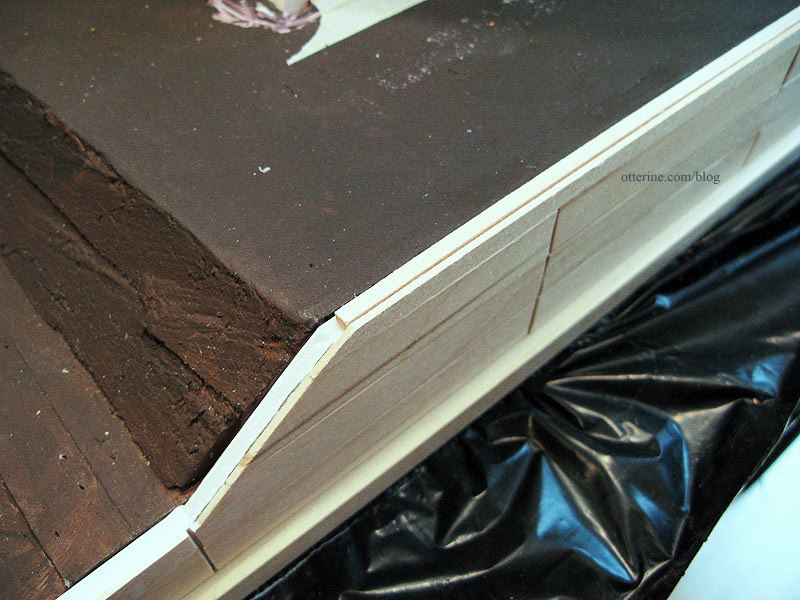
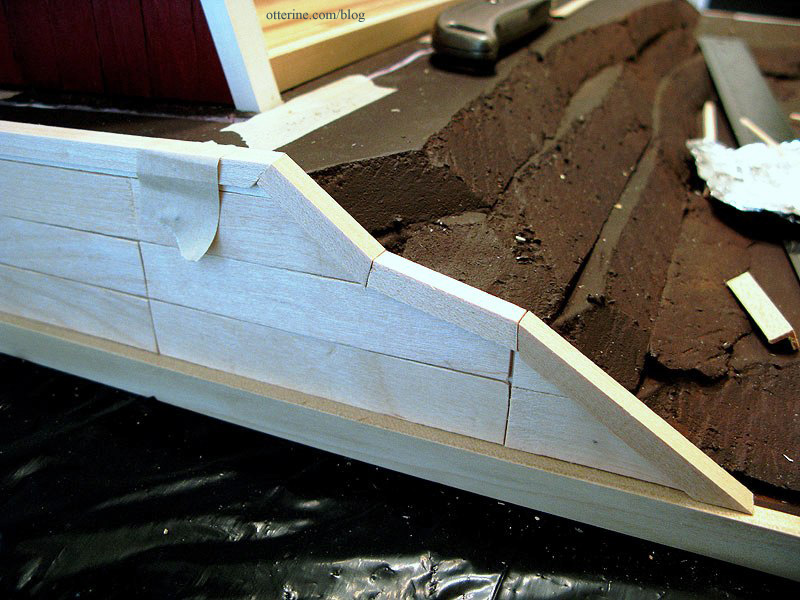
Over these edges, I added corner trim. I continued down the front of the retaining wall, cutting the angles with my scroll saw. They aren’t the cleanest joins, but they won’t be obvious once stained.
For the two rear corners, I added corner trim to finish the edges. I’ll add something decorative to finish the top corner later.
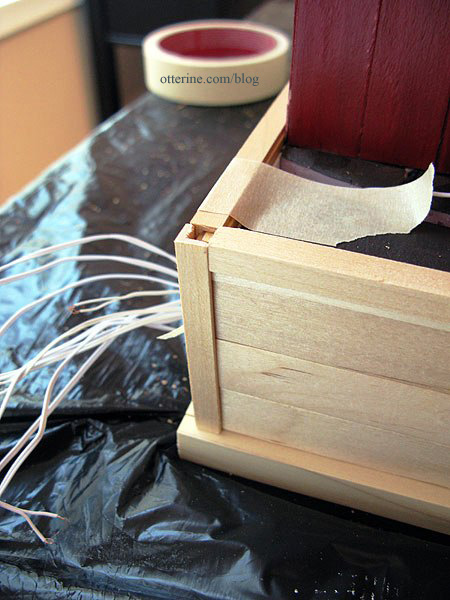
I cut vertical posts from 1/4″ x 1/16″ strip wood and glued them over the seams between the horizontal boards at 4″ on center intervals.
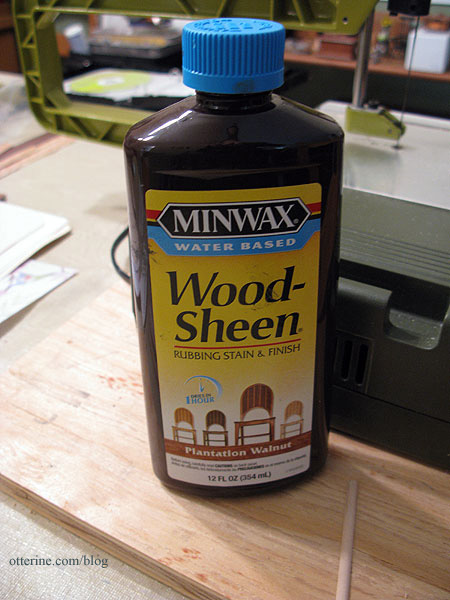
I stained the retaining wall with Minwax Wood-Sheen rubbing stain and finish in Plantation Walnut. I had purchased this on clearance awhile ago, and it works well. :]
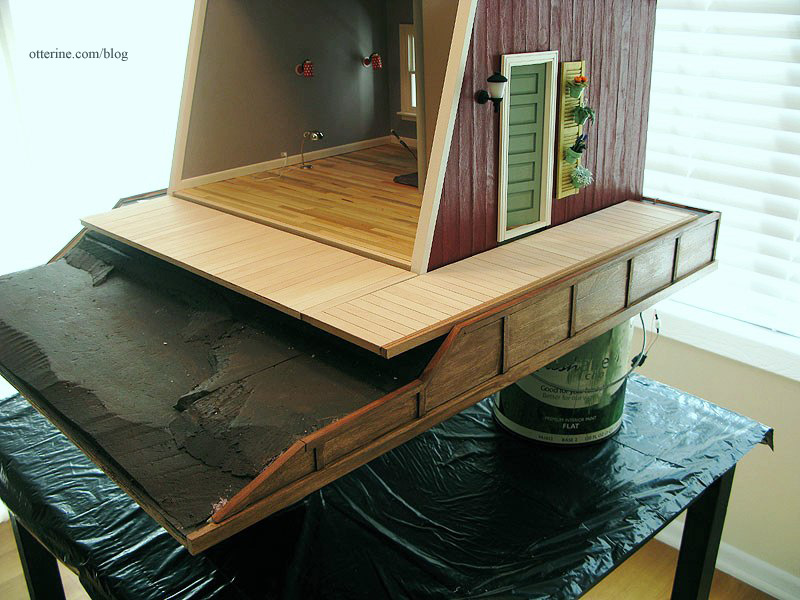
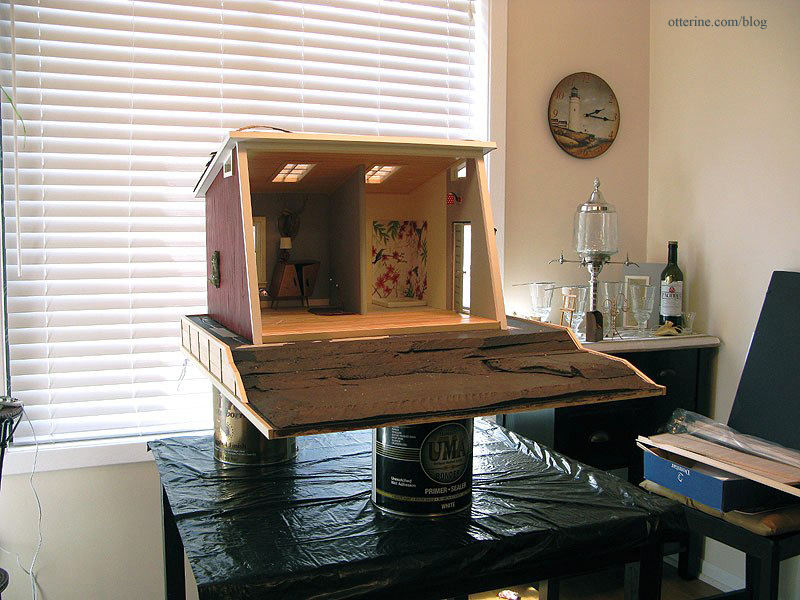
I propped the Studio up on paint cans so I could apply the stain evenly around the base. The front board will be stained separately and added after landscaping.
I taped off the wires in the back to keep from getting stain on them.
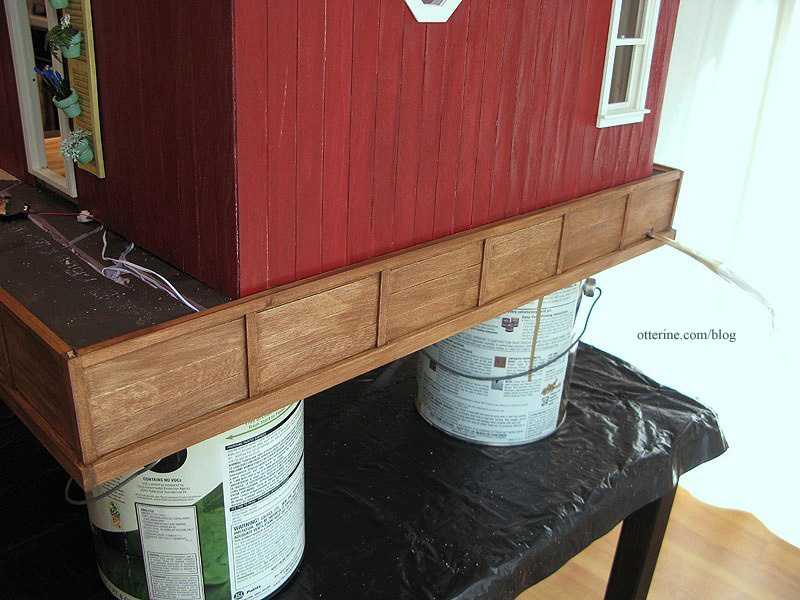
The walnut is a great color with the red. (Yes, I’ve started shingling the roof.)

And, it will coordinate well with the walnut trim around the deck.