
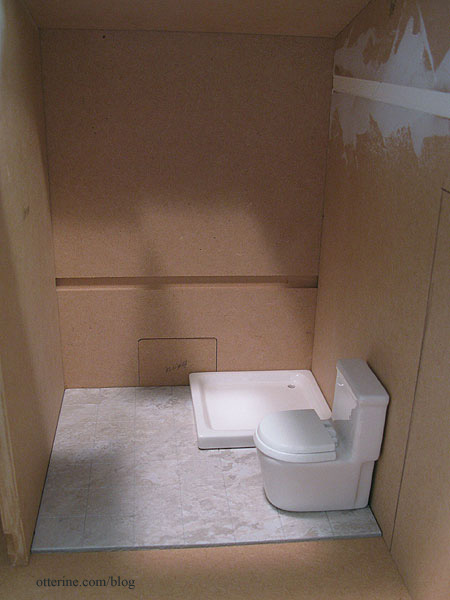
Continuing work on the modifications. For the bathroom in The Artist’s Studio, I used Greenleaf vinyl tiles. I have split these before to do a diagonal layout, but I prefer the way they look when used whole, without splitting between the tiles. The drawback to this is sometimes these sheets have obvious large patterns that cross many tiles. I put the shower floor and toilet onto the full sheet of tiles to see where I could get the cleanest layout.
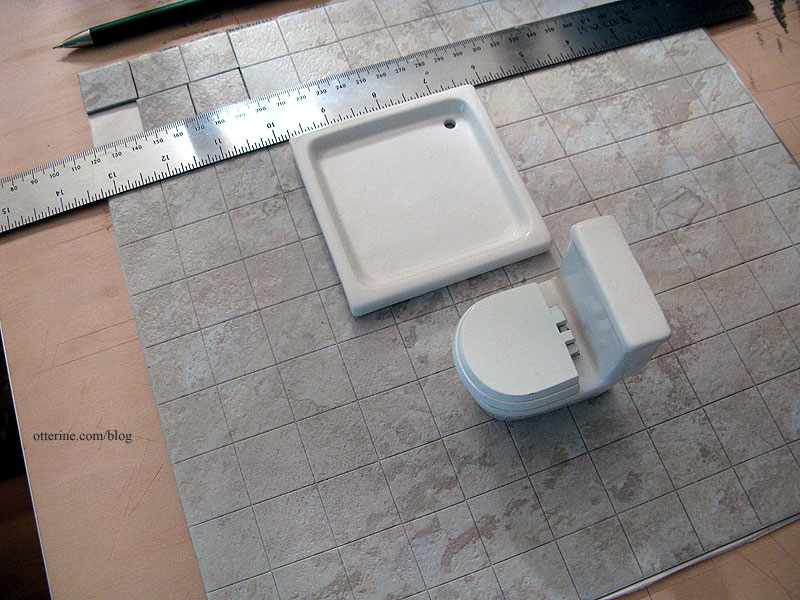
I split the tiles along these lines and cut through the paper backing. I tested out the fit while keeping the paper backing on for now. I won’t be ready to install the tile for some time.
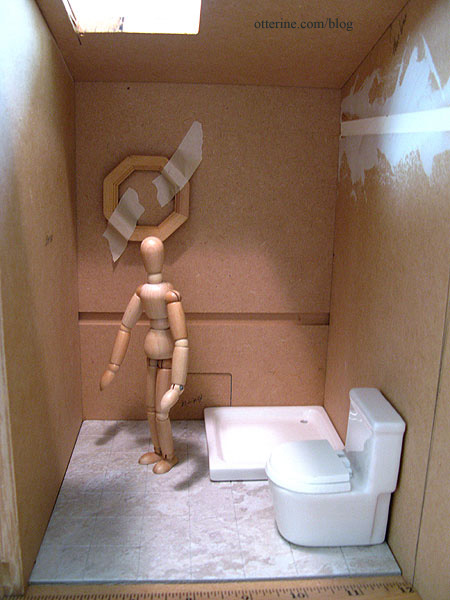
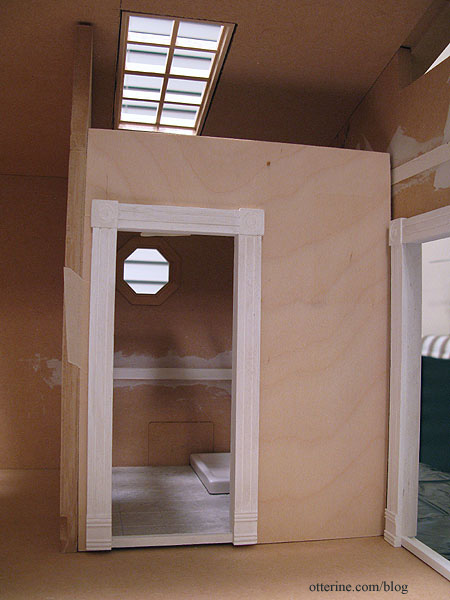
Another project for this long weekend was cleaning and organizing. When I went through the box of components, I found a Houseworks octagon window. I decided to use this in the bathroom for some visual interest. My model helped me determine a good height.
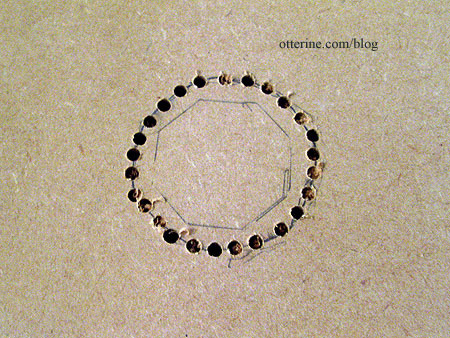
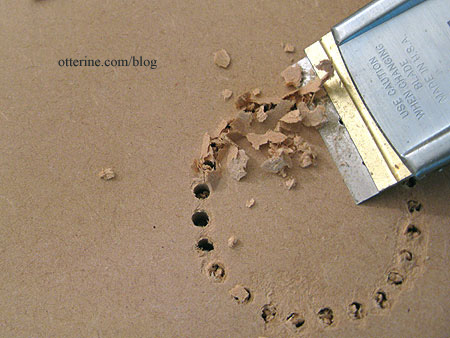
To make the opening, I drilled holes all around the template line. I’m using a power tool!!! :D
There were some excess splinters where the drill punched through on the back, so I cleaned them up with a straight blade…the kind you use to remove stickers from glass.
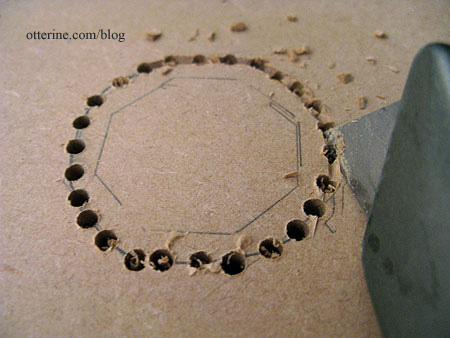
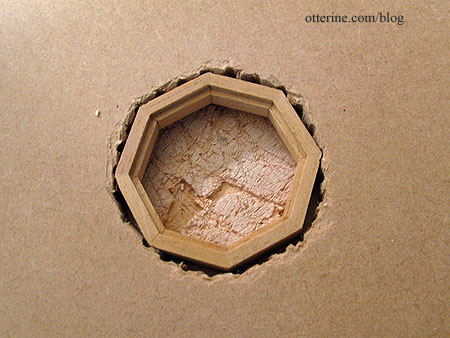
I then chipped out the sections between the holes, once around each side and then more where needed.
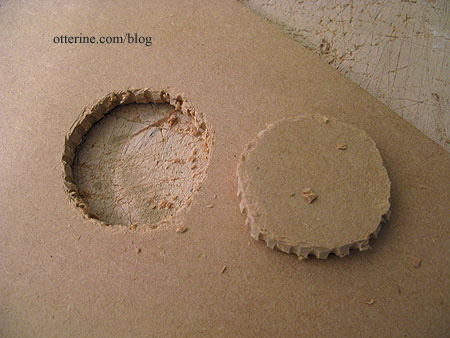
Hmm…the popped out insert kinda makes me want a Reese’s peanut butter cup. ;]
I cleaned up the hole with my utility blade and then checked the fit. Marvelous!
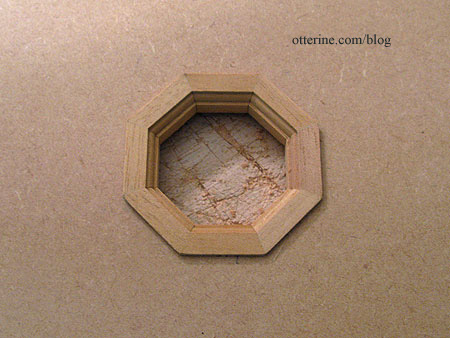
It’s a good snug fit, too, to keep the window aligned properly.
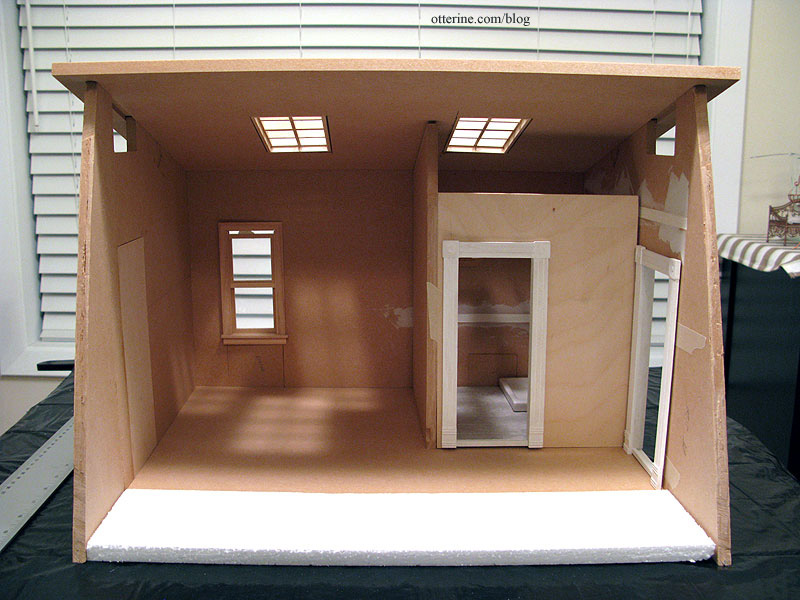
I filled in the original door opening with sheets of balsa and basswood since I had it on hand. I’ve put in a spare piece of foam for the front floor until I get the cut pieces of 3/8″ plywood back from my parents (they have better power tools). :D

I cut the new door opening on the other side and made the removable bathroom wall from 1/4″ plywood.
I glued in the plugs on the back wall and filled in the remaining loft support notch.
Next, I need to plan the deck so I can buy a piece of wood for the landscape base.


