I eliminated one layer of builders foam after adding a piece of 1/2″ thick plywood for the base. I’ve glued the layers in place and sculpted in a rough hill. The extra bit on the right side will be for the walkway up to the deck.
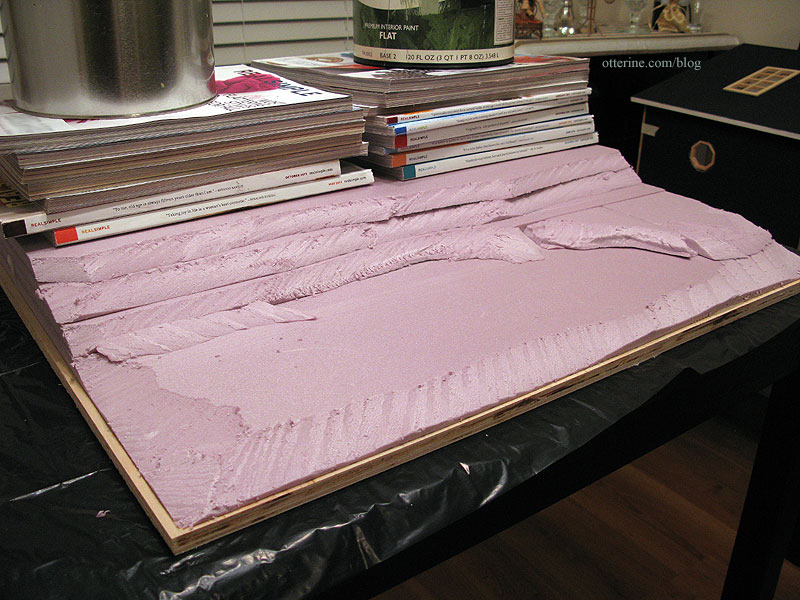
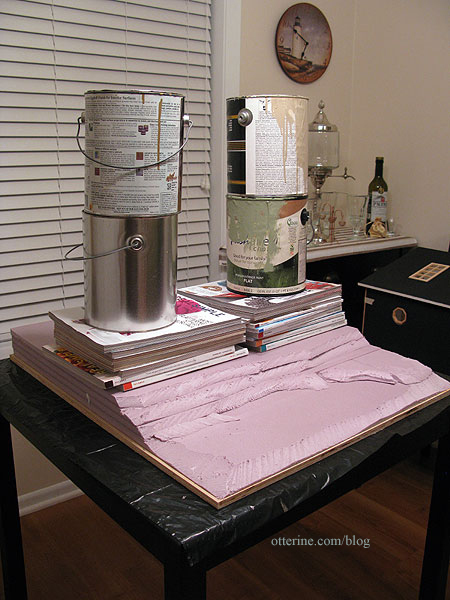
The plywood bowed upward in the middle, so I soaked the wood by running water over the board and then weighted the whole thing down to dry.
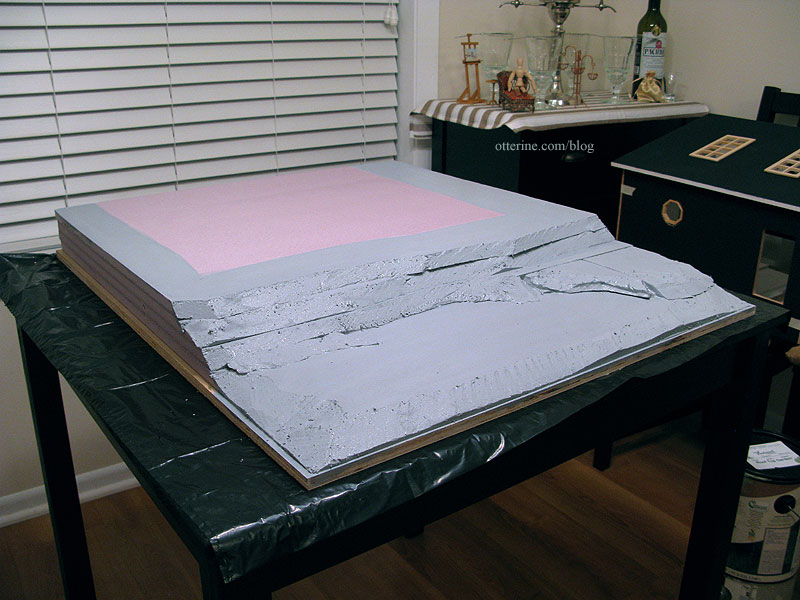
I gave the landscape a quick coat of gesso. The sides and back will be finished with faux retaining walls. I had the idea in mind already, but Lyssa’s fabulous Mt. Ollopa Lodge cinched it for me. :D The edge of the plywood base will have simple wood trim.
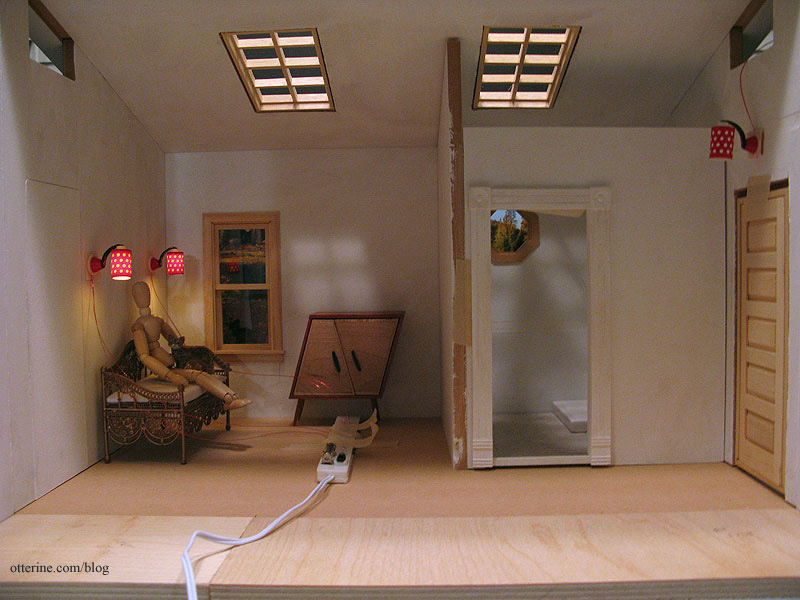
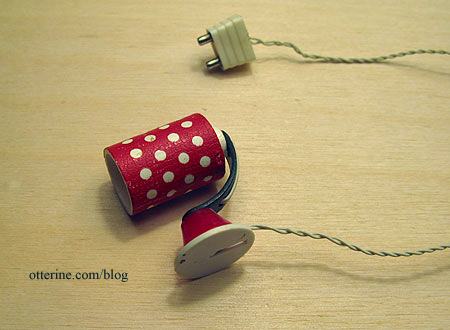
This light is an original Lundby red and white polka dot wall sconce that I removed my from childhood dollhouse. It shows its age, but I still think it’s great. This is what it looked like before rewiring.
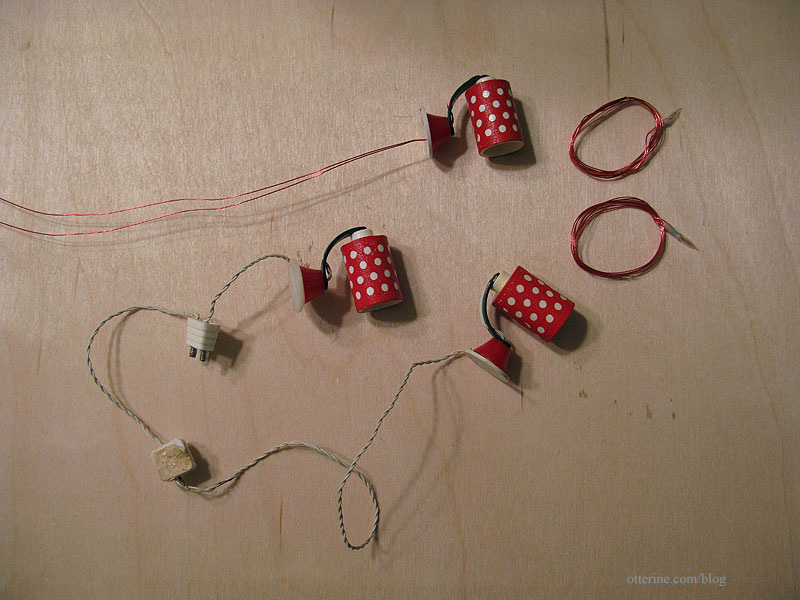
As luck would have it, I recently found two others on eBay in roughly the same condition. I will rewire those as well and use all three in the Studio. I think they’ll be marvelous vintage additions to the eclectic vibe I’m going for.
I prefer to use LEDs with long life or replaceable bulb units when I hard wire lights, but that wasn’t an option for these for a couple of reasons. First, the holes in the lamp where the wires feed were too small for the NovaLye LEDs I had on hand. I couldn’t use the ones from Evan Designs, because they have rectifiers along the wires (basically, little circuit boards). Those definitely wouldn’t fit. The screw type bulb socket I tried was too big, and the bi-pin bulb socket won’t work since there is no room inside the shade to manipulate the bulbs and the shade is not removable.
So, I am using the non-replaceable candle bulbs with varnished wires from the Chrysolite lamps I installed in the Heritage. Since those light kits came with removable shades, I switched the bulbs out for replaceable bulb candle sockets.
Additionally, these three lights will be installed on outer walls. What I will do is make the wire channels a little wider in one place so I can coil extra wire there. In case I ever need to replace the bulbs, I can remove the strip of siding on the outside and rewire it with a new bulb. It might sound like a pain, but it’s at least a plan. :DHere they are taped in place around the daybed.
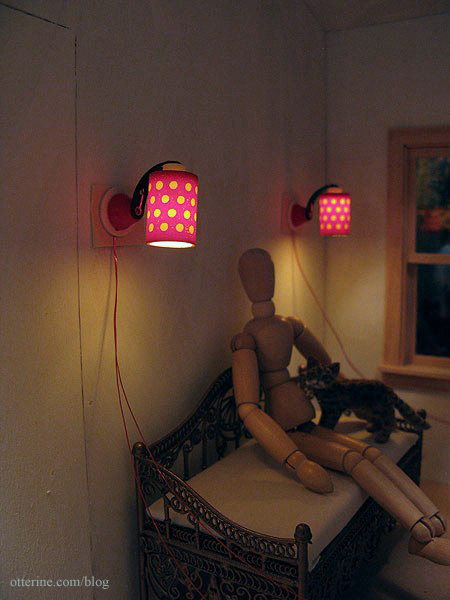
They are going to be fabulous mood lighting!
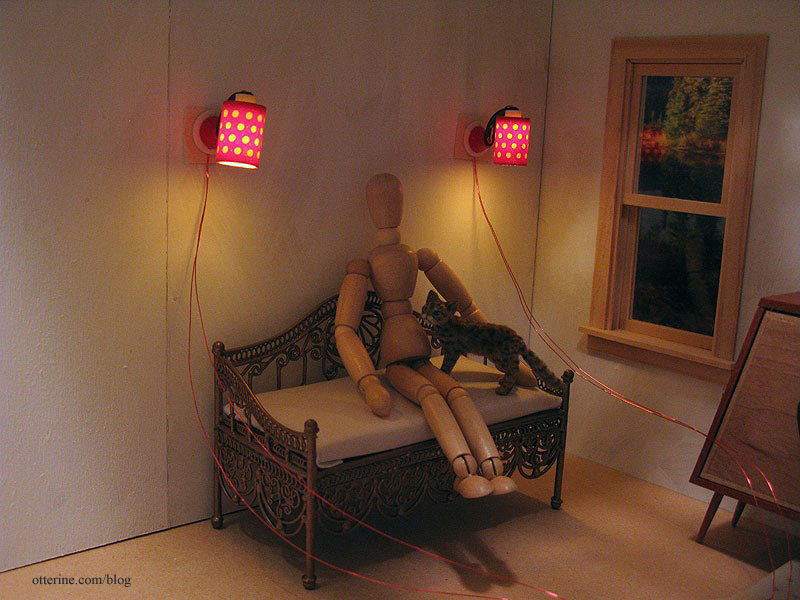
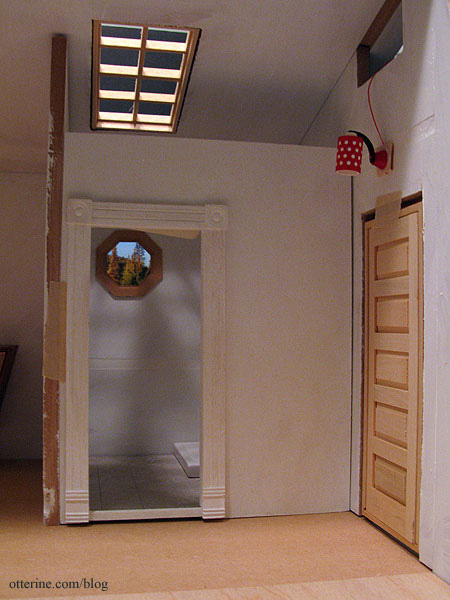
The other one will go above the front door.
I love the way lighting transforms a miniature build even so early on. :]