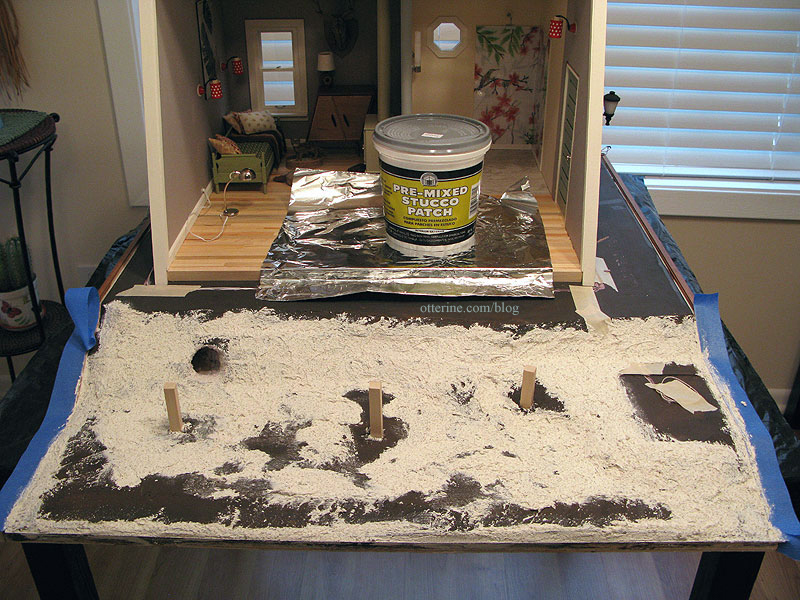
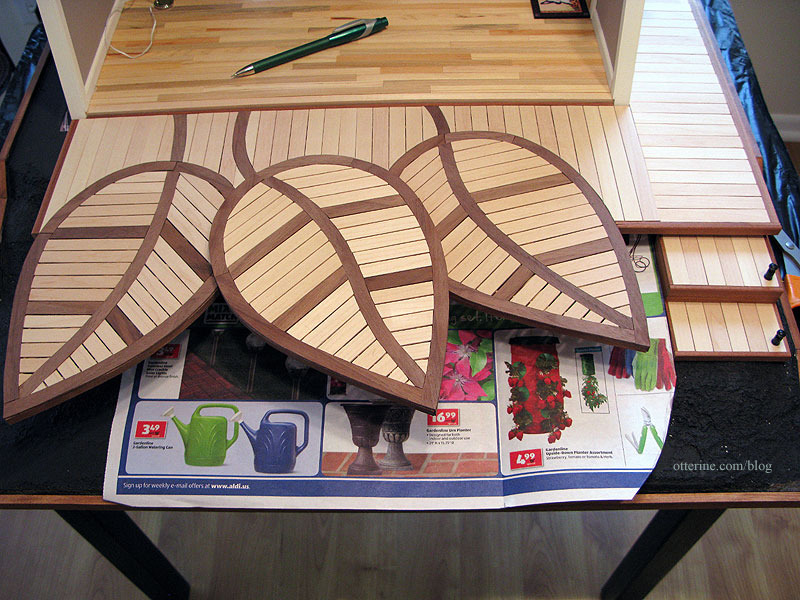
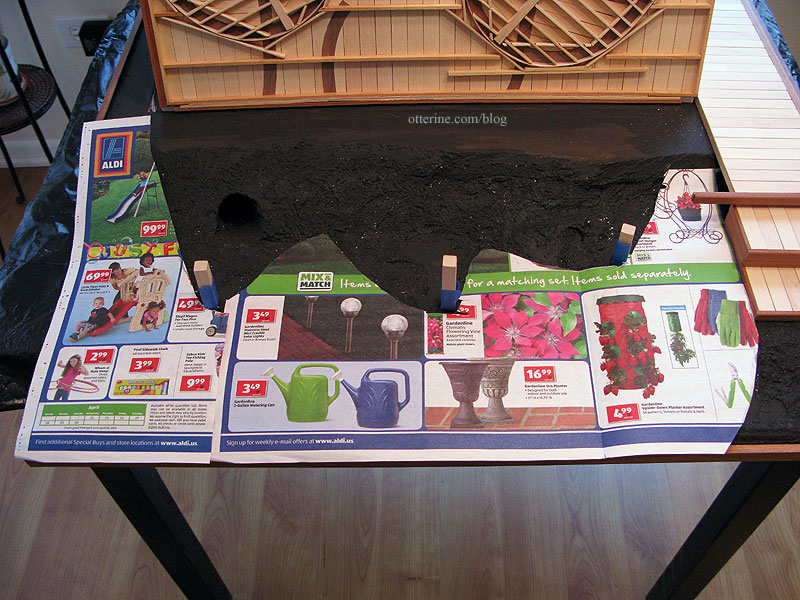
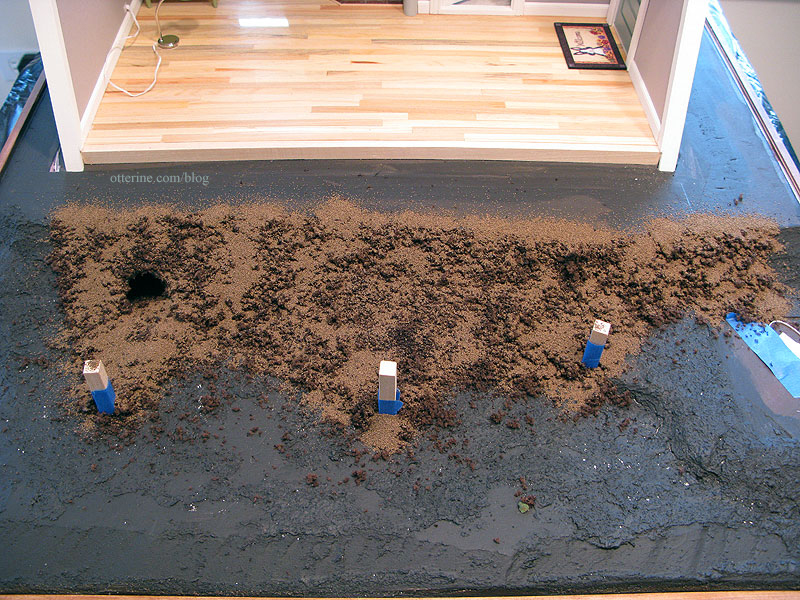
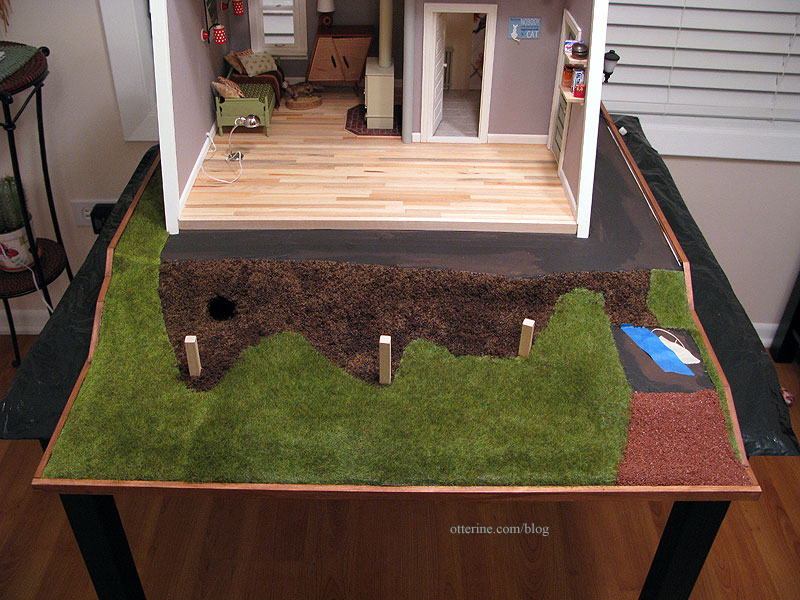
With The Deck completed, it was time to put in the landscaping. I started by applying stucco patch material to the previously sculpted builders foam base. This evened out the landscape and filled in holes and gaps. It also solidified the deck support posts into the foam base.
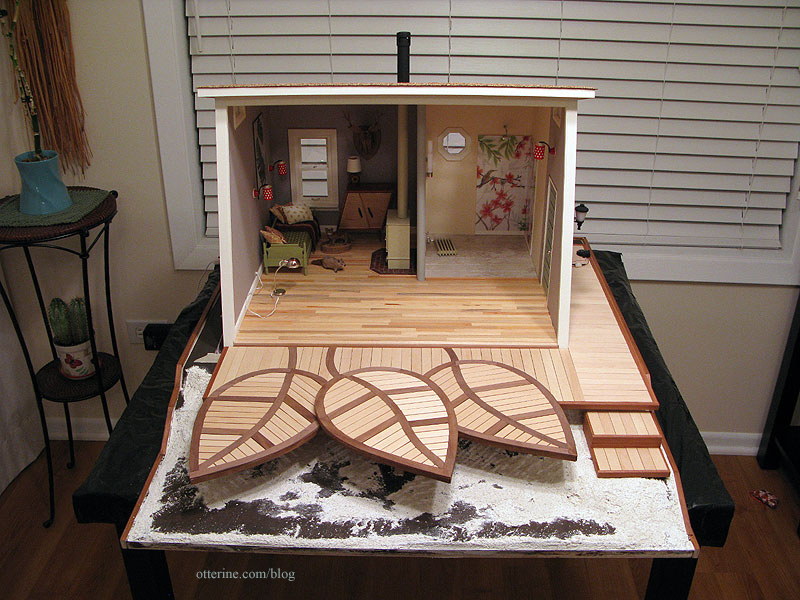
I checked the depth of the deck posts by putting the pieces back in place. Seems like the Studio would work for a sandy beach or snowy hillside, too. :D
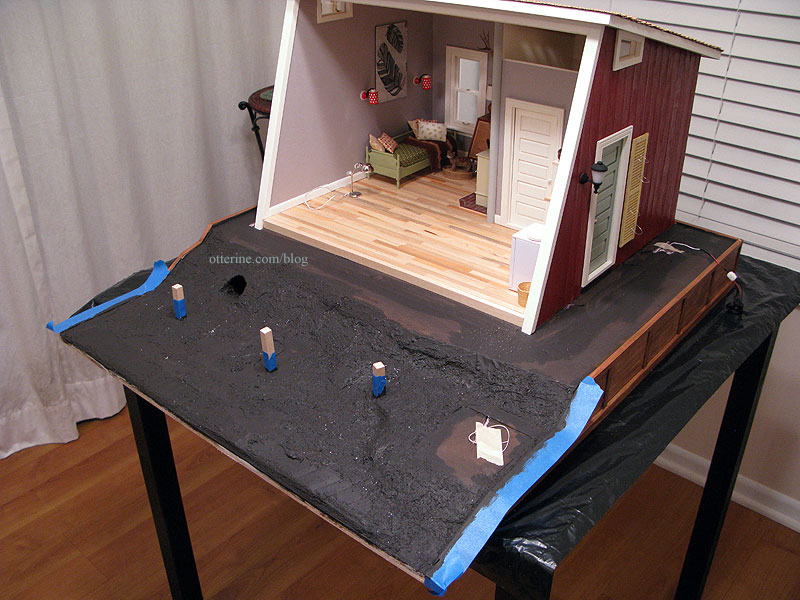
I covered all of the wiring channels with tape and then painted the new surfaces brown.
I had leftover Meadow Field Grass by Heki, from Scenery Express — one full sheet and several large scraps. I had used this material for The Aero Squadron Lounge. The grass placement included the back side by the firewood box, the entire side by the fountain and the front portion in front of The Deck. I cut patterns to determine how far in the grass would go.
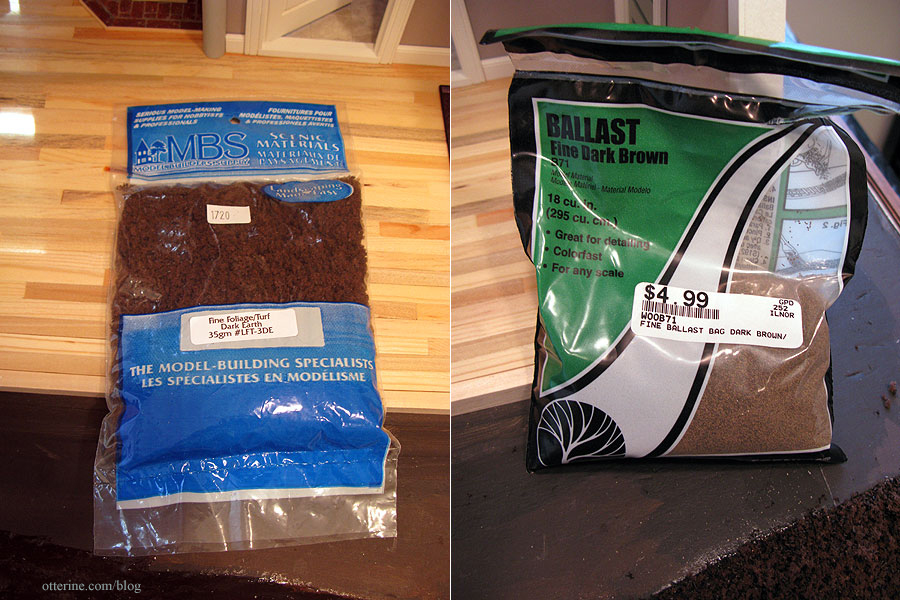
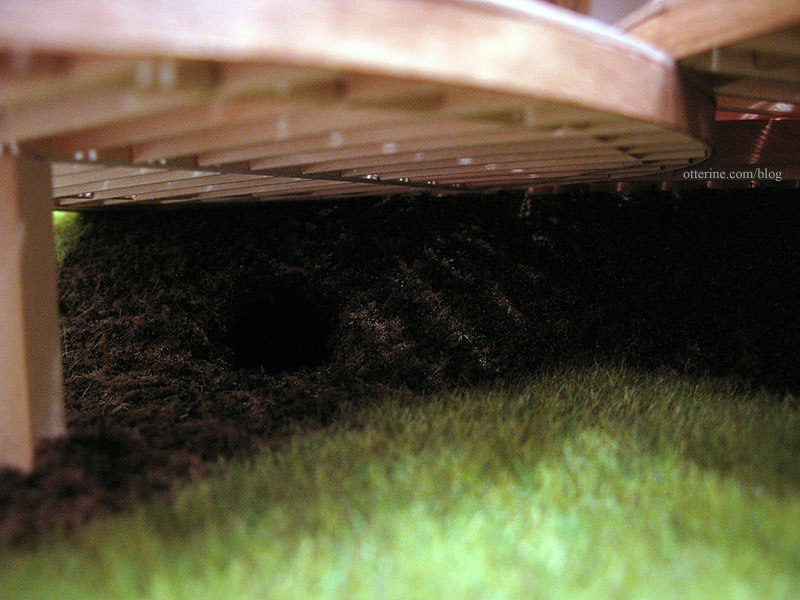
Inside this area under The Deck, I applied Fine Foliage/Turf in Dark Earth by MBS followed by Woodland Scenics Fine Dark Brown Ballast to serve as exposed dirt.
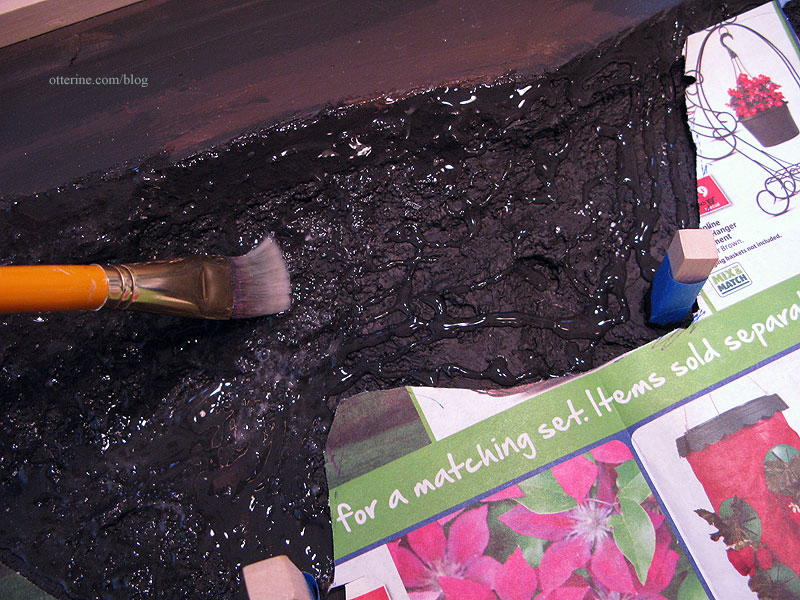
I used a brush to apply Aleene’s Clear Gel Glue and then liberally applied the landscaping materials. I pressed it in with my fingertips and then let it dry for an hour or so.
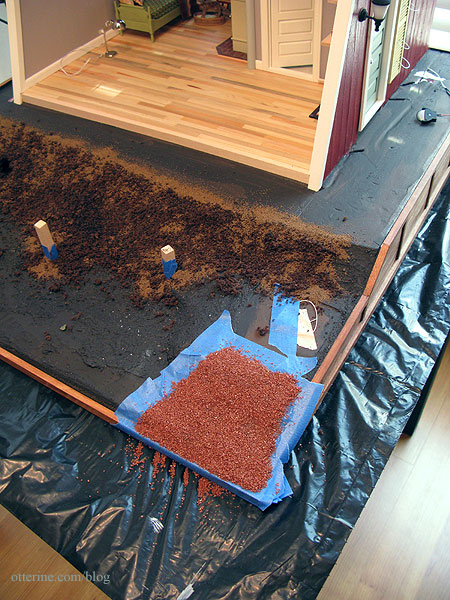
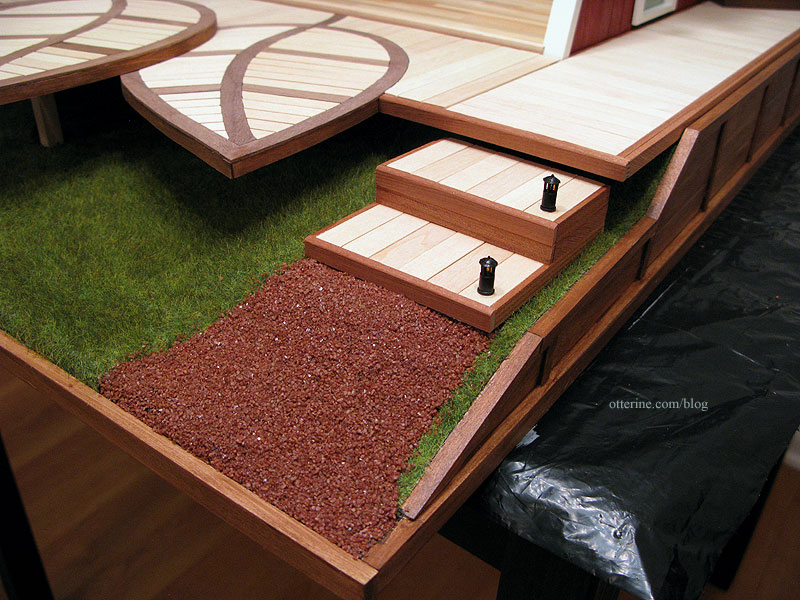
I added a gravel pathway at the bottom of the stairs using decorative terra cotta colored sand from Joann’s.
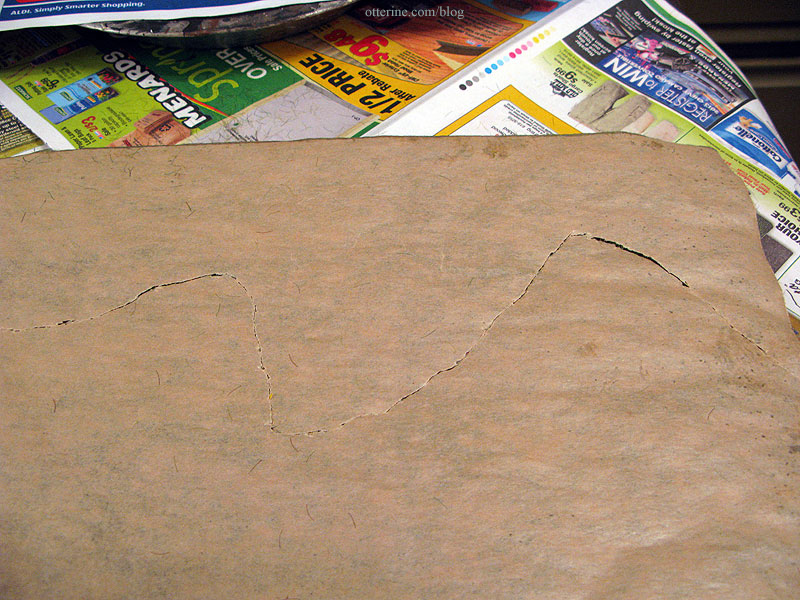
I checked my templates and cut the grass to fit. The back of this particular material is paper, so it makes it harder to piece. The sheets don’t come any larger, either. I cut it roughly with an X-Acto knife to keep it from being too uniform.
Where there are seams, I make them as natural looking as possible, as though there’s just a variation in the lawn in that particular spot.
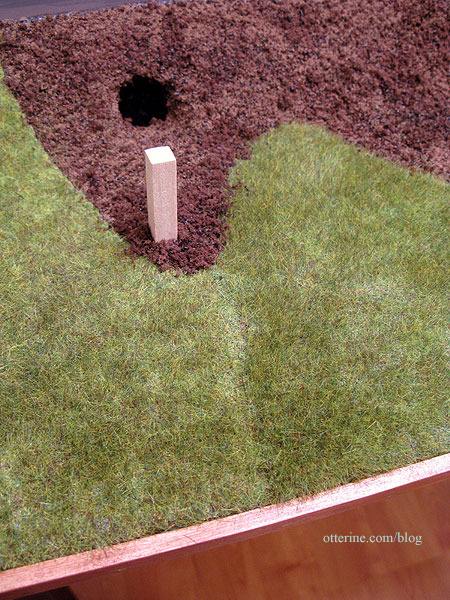
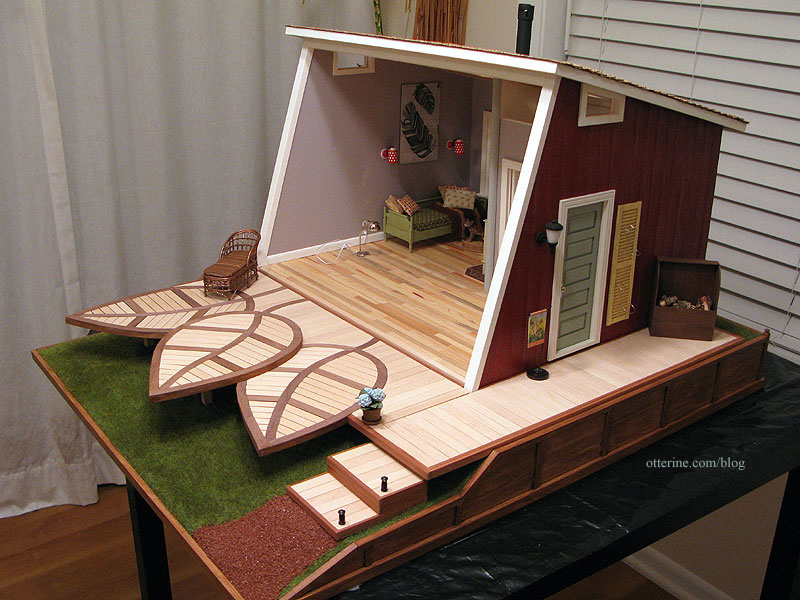
Here’s the finished landscaping without The Deck.
With The Deck in place, the seam is a little less obvious at first glance.
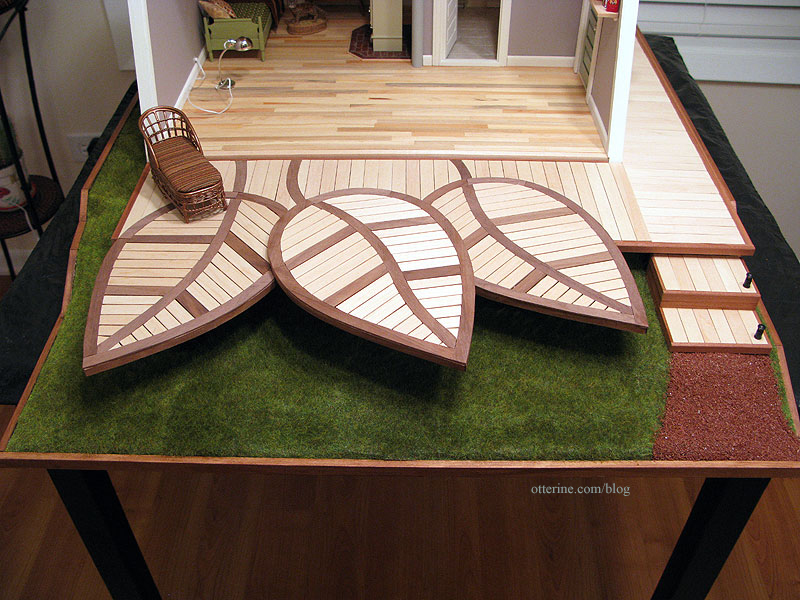
The materials do create wonderfully realistic landscapes, so it’s a shame they have to be pieced at all.
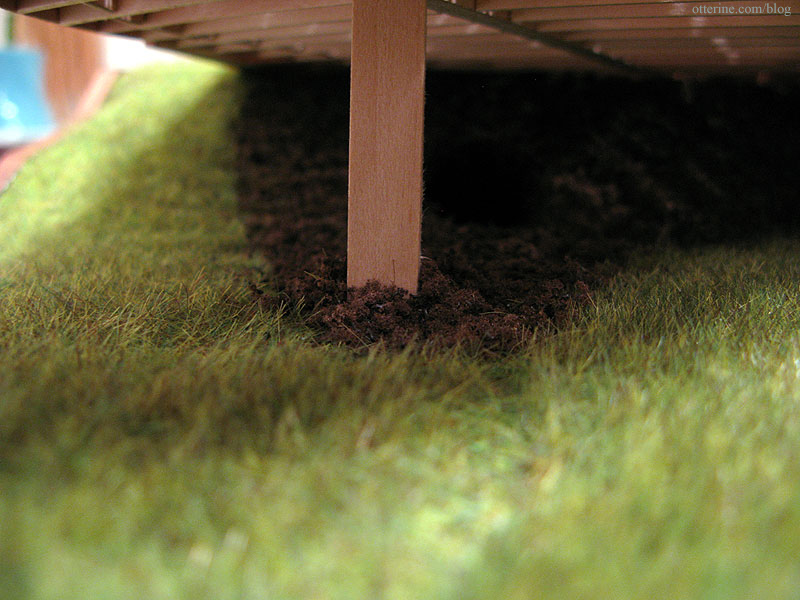
I kept the landscaping simple since there is so much already going on outside the Studio. :D
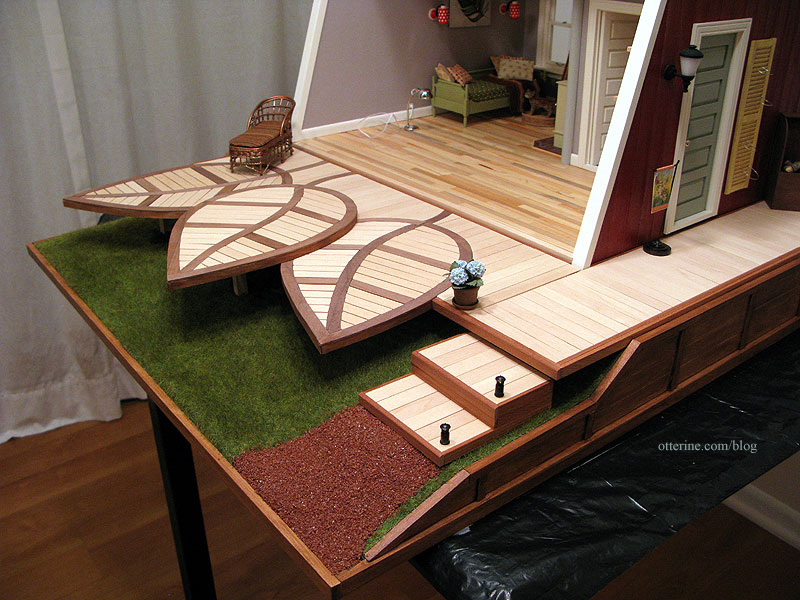
I added two landscaping lights from Creative Reproductions 2 Scale to the steps. These came three in a pack and needed to be wired in a series. I contacted Carl at CR2S to make sure I understood what this meant. He was very helpful and mentioned I could use two instead of three…but a single lamp could not be used with the 12V system since it would burn out the bulbs. Using only two means they burn brighter than if I had used three, but it is still safe to use with the 12V system. I don’t have them attached to the wiring system yet…so you’ll have to wait to see them lit up. :]
I like this particular color for the gravel because it doesn’t compete with the other exterior finishes.
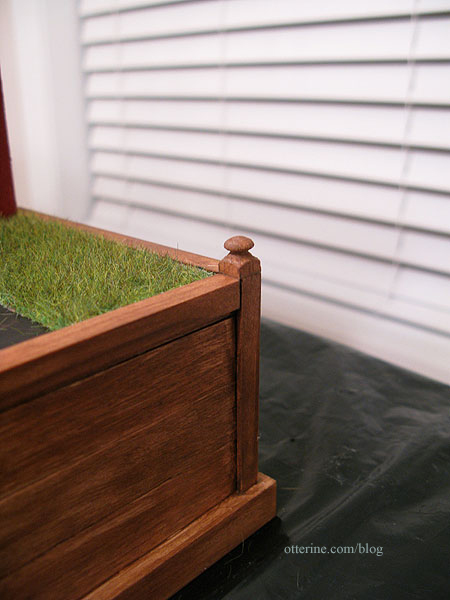
To finish the back two corners of the retaining wall, I used two toppers from narrow newel posts. I stained these to match the retaining wall.
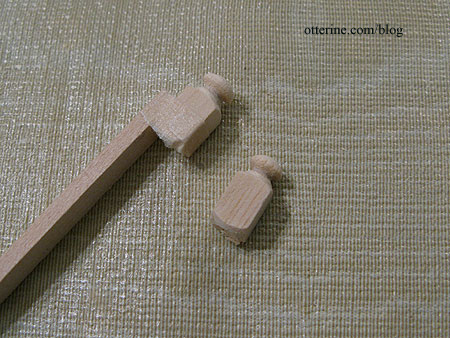
I taped them to a piece of basswood to run them through the scroll saw for a clean cut. :D
Inside Woodrow’s burrow, I left it mostly just painted foam since the interior wouldn’t be easily seen.
It’s coming together!!! :D
