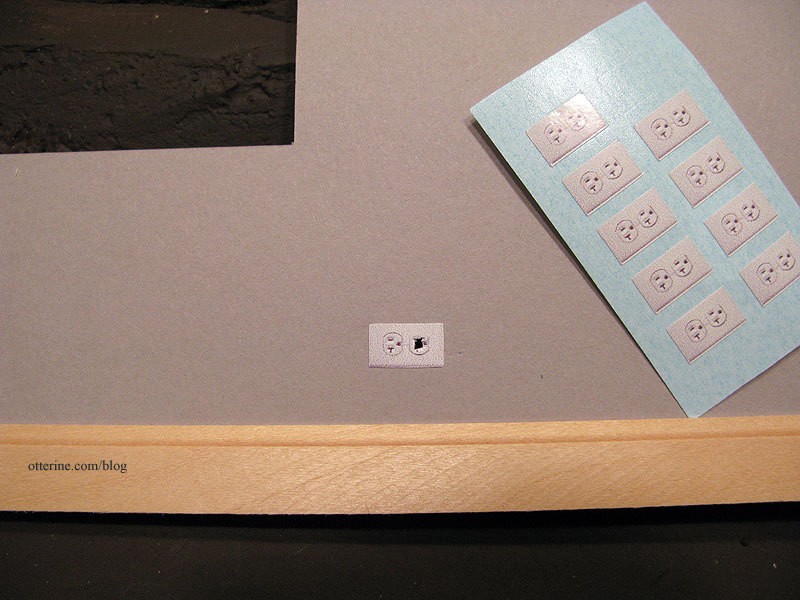
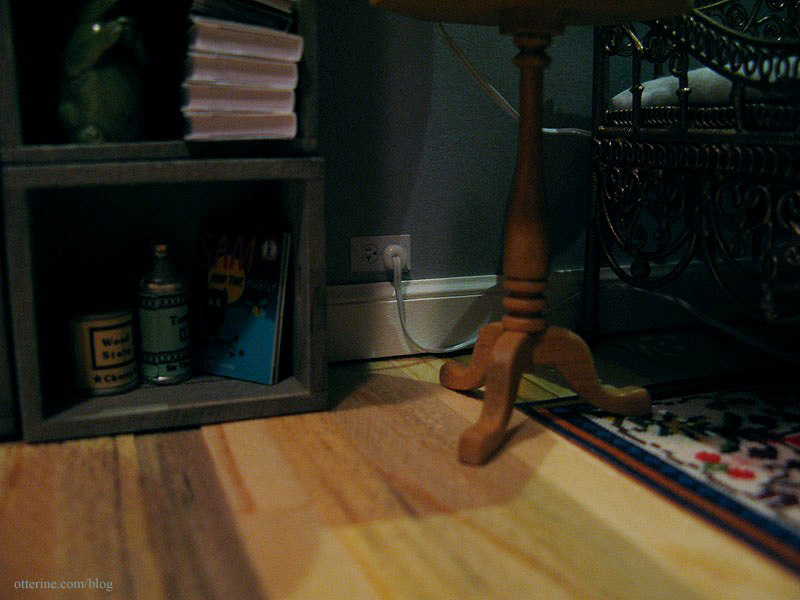
Continuing progress on the interior. Before I could install the wallpaper, I needed to make outlets for the two lamps that would be plugged into the walls. I usually make my faux outlets from wood, but this time I tried out the glossy printed ones from miniatures.com. They work well here since this is a more modern build.
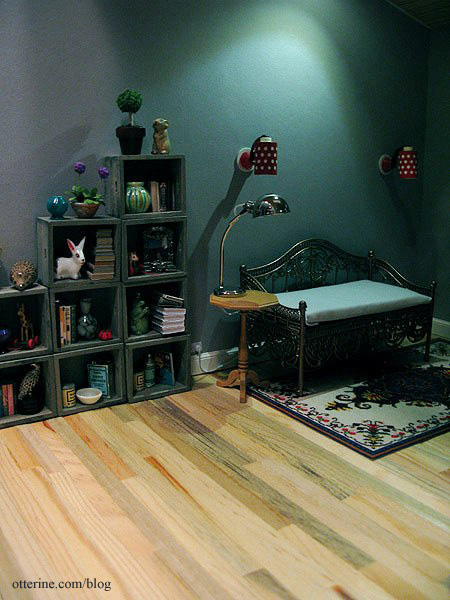
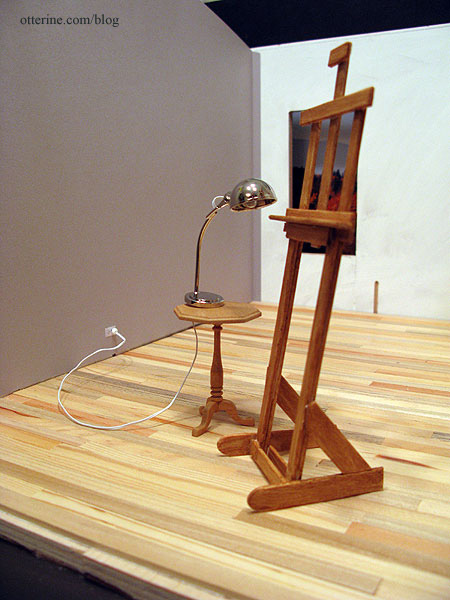
I decided to go with the silver lamp from The Dolls House Emporium, simply because it looked the most like a work lamp. I will build a taller table for it to work better with the easel.
I then glued in the wallpaper…always a test of patience. I also glued the Southern Pine flooring sheet to the ceiling board. I had to use four rows of boards from a second sheet to cover the entire ceiling.
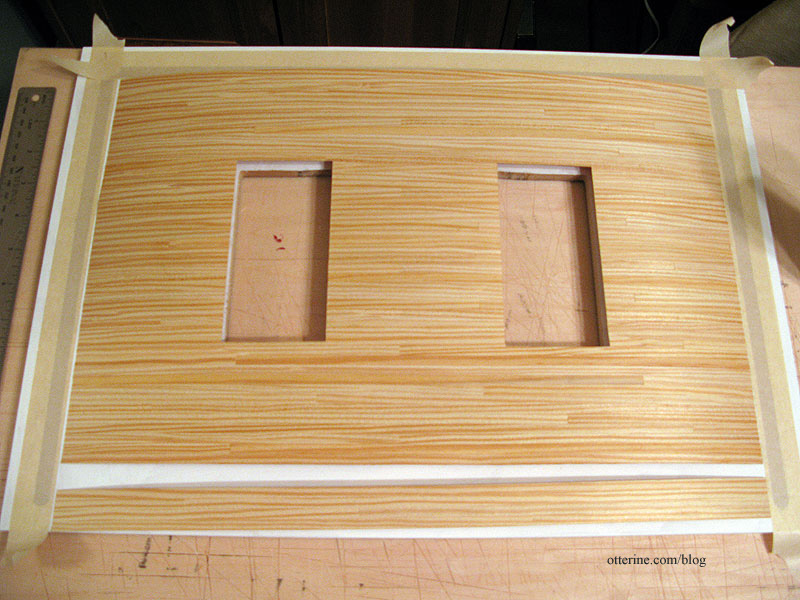
Once dry, I used the same Delta Ceramcoat satin varnish that I had used on the flooring. It warmed the wood tones slightly.
Just a quick note on why I initially wanted a natural wood ceiling and decided to stick with that idea. I guess I’ve considered this building to be an extra space built on a larger lot with a residence…like an efficiency apartment. So, it wasn’t built with the idea of its being a studio, per se, but a small retreat or guest cottage. Now, it is occupied by an artist, and the cozy warmth inside inspires creativity even if it’s not designed to be the most efficient artist studio with the best possible lighting and tons of storage.
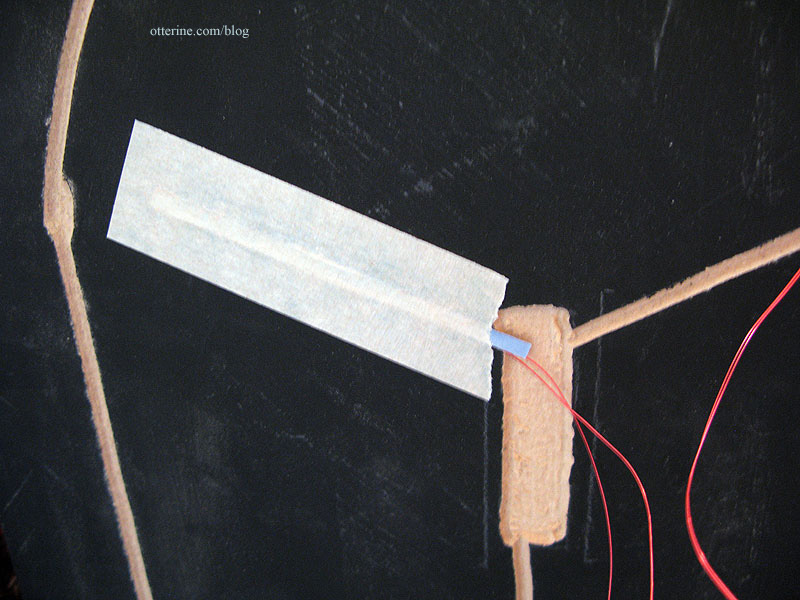
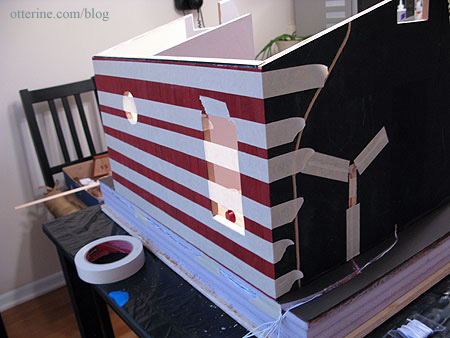
I installed the Lundby sconces in the living area. Since these will need to be removable for rewiring, they are held in place with mini hold wax. On the outside, I ran the wires through the channels to the open area. Since I don’t want the wires to stick to the tape keeping them in place, I added quilling paper to the tape.
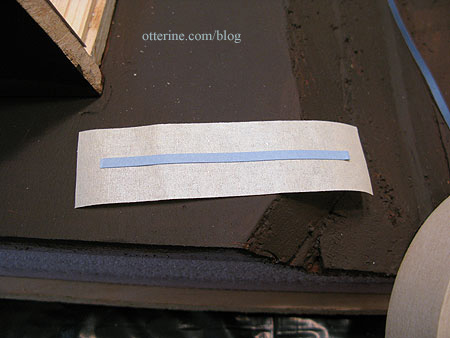
This will keep the wires in the channels but able to move freely in case of rewiring.
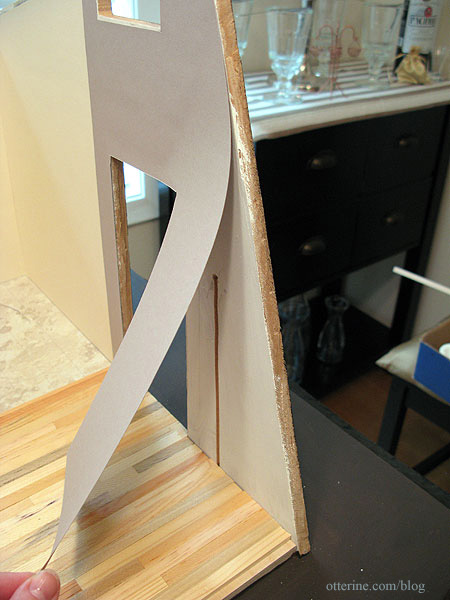
For the Lundby sconce above the door, I needed to glue in the wallpaper first. But, I can’t install the exterior coach lamp until after the siding is on the outside. But, I can’t install the siding until the ceiling is on and the recessed can light is wired. Oy.
So, I glued the part of the interior wallpaper that covers the Lundby sconce hole but left the lower portion free so I can wire the coach lamp later on.
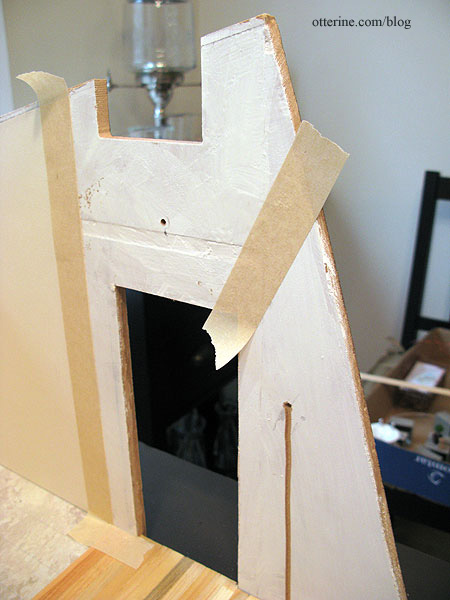
Since I had the wiring completed on the back wall, I decided to glue on the exterior siding template to see how easy it was (or not) to do. I spread Aleene’s Quick Dry glue on the back of the template and dotted it with dabs of super glue gel. I pressed it in place and taped it across. So far so good.
I painted the baseboard trim Warm White by Americana. Why that color and not true white? It’s softer, and I had an extra bottle of it from The Aero Squadron Lounge. Since the interior is still in progress, only the back and outer side baseboards are installed at this point. The outlet stickers worked very well.
I accomplished quite a lot over the long weekend.
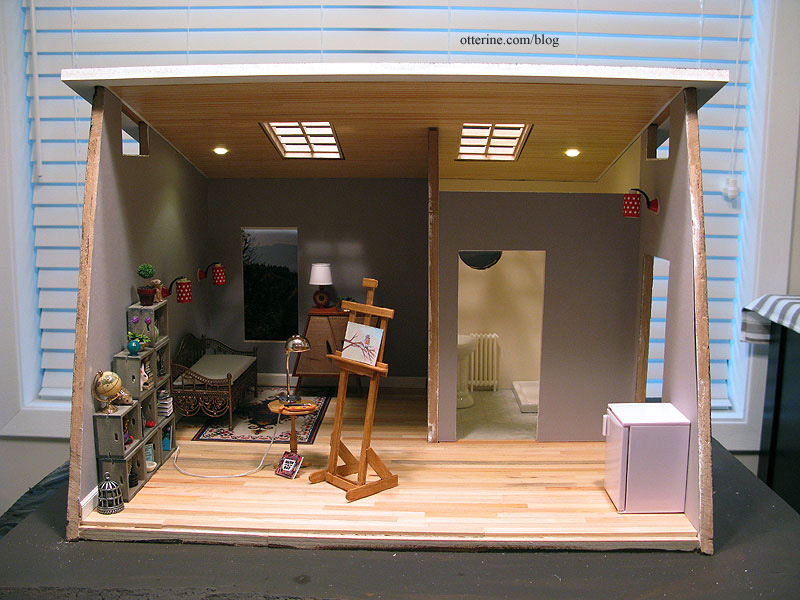
The work lamp can double as a table lamp by the daybed, too.