
I did a little prep work and sampling before forging ahead with the tile mural. First, I photographed my original hummingbird and flower drawing and then manipulated it in PhotoShop to lighten and sharpen since some color loss and blurring occurs in printing.
There are a few ways I figured I could make the tiles. I could cut out individual tiles and paste them to a board with “grout lines” in between. The problem I foresaw with this method was matching the precise lines of the drawing and getting the grout lines even. Also, I would have to cut my tiles slightly smaller since the overall dimensions of the drawing were exact to the shower stall size I wanted.
I opted for an easier and just as effective method: making gridlines in PhotoShop. I made my gridlines the lightest of greys, just to make them fall into the background slightly. Plus, even white tile grout isn’t bright white in real life. I also made sure there was a gridline in the very center where the mural would break at the corner of the shower.
I made three test prints, the first of which had 14 half-inch tiles across with grout lines 10 pixels wide.
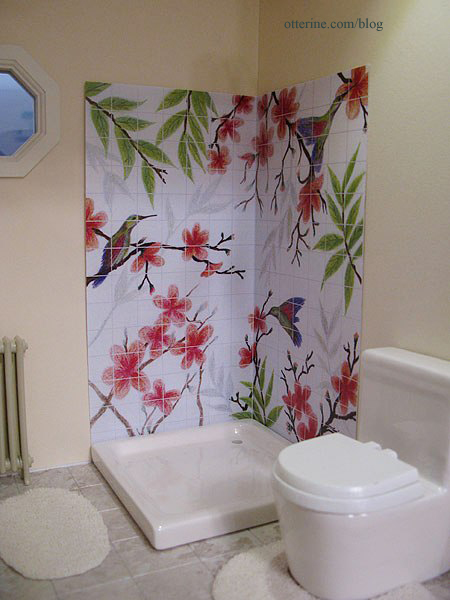
The second has the same half-inch tiles but with 5 pixel-width grout lines.
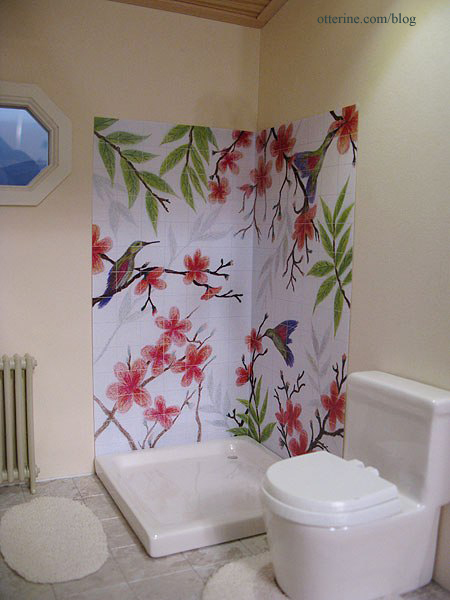
The third is done with quarter-inch tiles and 5 pixel-width grout lines.
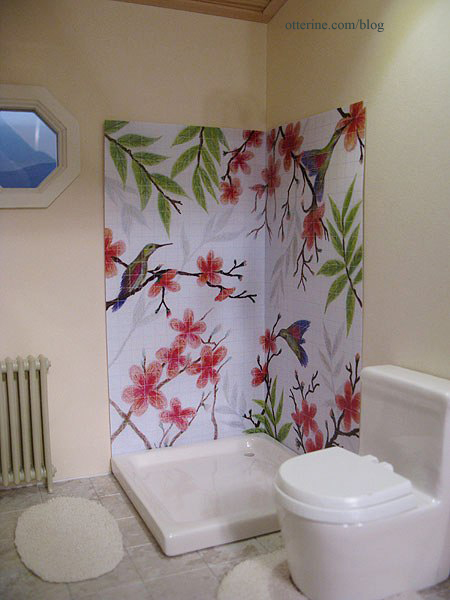
The half-inch tiles are the clear winner to me since they achieve the tile look in a realistic manner without detracting from the image the way the busier quarter-inch tiles do. The 5-pixel lines for the half-inch tiles seem better in print (in person anyway), but I will do a trial run of the next step using both samples to see which works better in the end. I don’t want to go through the whole process just to have the lines disappear for being too thin.


