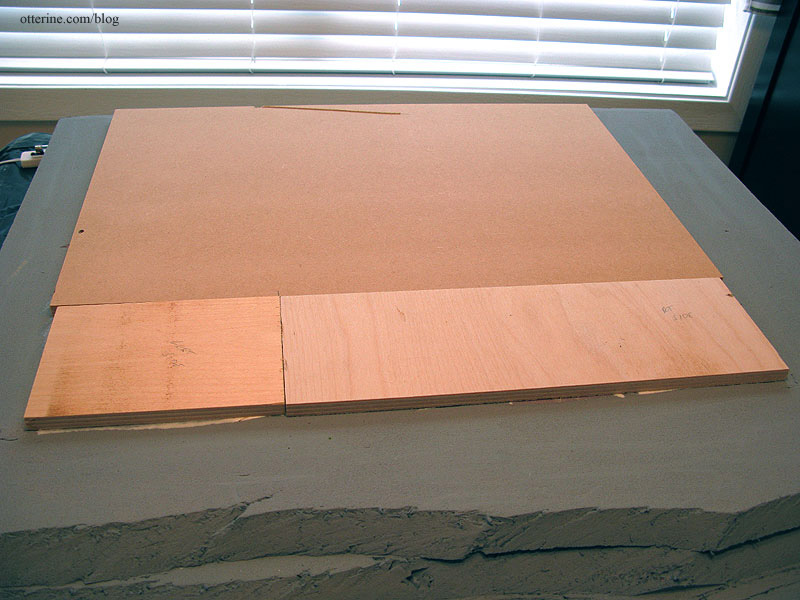
With the wiring channels and basic landscape board in place, I started by gluing the foundation to the foam base. The foundation consists of the original kit floor board and two additional pieces of 3/8″ plywood to make up the front floor addition. I have multiple pieces because I used scraps from my wood pile.
I then glued on the back and sides after tracing basic templates onto drawing paper. Even though there is no glue holding the ceiling board on, I used it to hold the shape of the walls since eventually it will need to fit onto them like a lid. I will also leave it on when I am not working on the build to combat any warping that might occur in the walls.
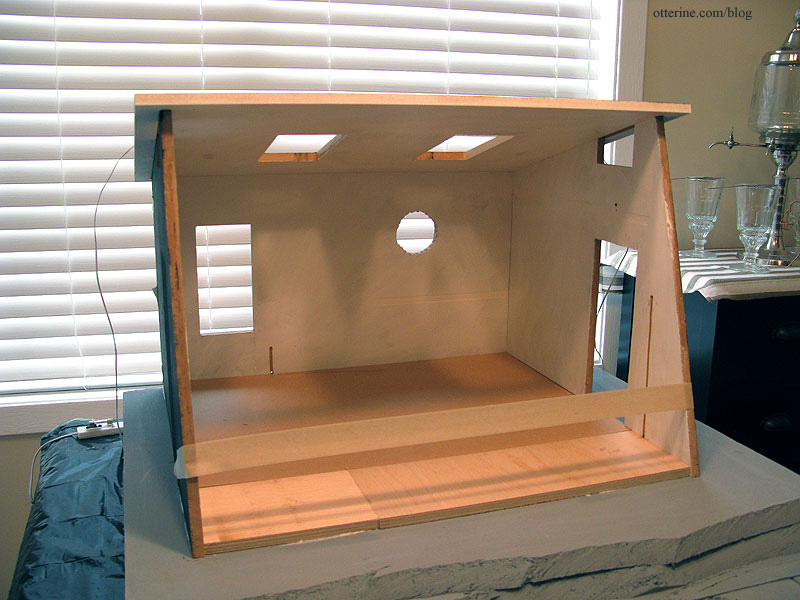
It’s strange to me to start gluing the walls in place since my builds are often in dry fit for months! I guess I did dry fit the structure awhile ago, so it’s not that recent a development.
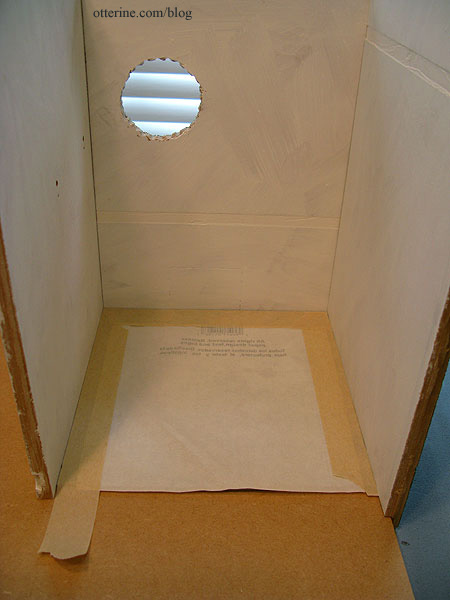
Thus begins the chicken or the egg portion of the build. I need to install the bathroom sconces before I can install the living area flooring since the wires for the sconces will run underneath it. To install the sconces, I need the center dividing board and its wallpaper in place. To install that divider wall, I need the bathroom tile flooring in place. So, that’s where we start. :D
I unpeeled the paper from the tiles and used no additional glue. These are relatively heavy tiles and don’t lift or warp.
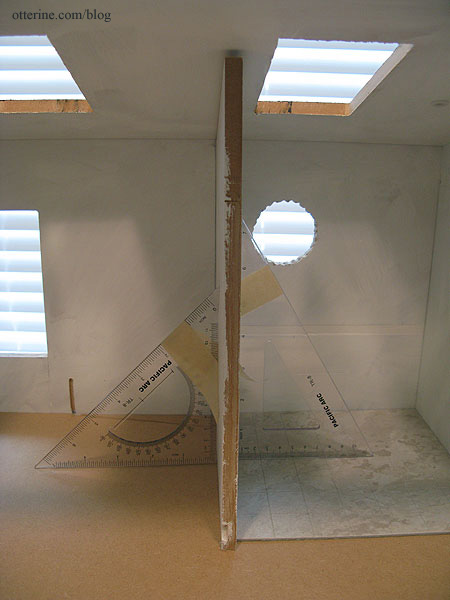
I then glued in the dividing wall, using two triangles to keep it square. The top cut wasn’t very precise, but I can easily mask this with ceiling trim later on. And, I do have a ceiling treatment in mind that will make up some of the difference besides.
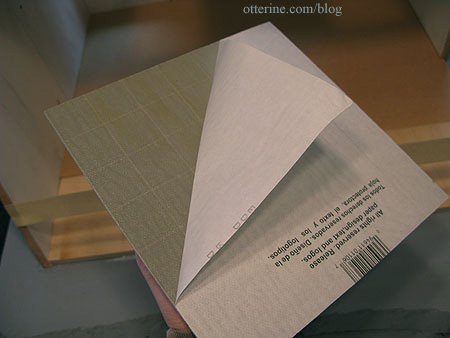
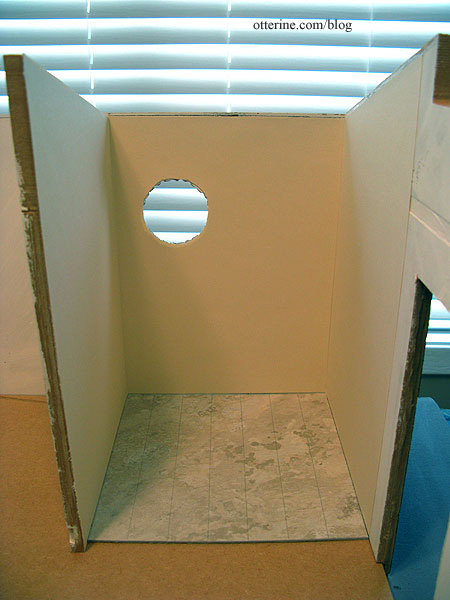
Once the glue dried on the dividing wall, it was time for the bathroom wallpaper: Canson Ivory drawing paper. I taped the paper backing over the tiles to protect them from the wallpaper paste.
I used Yes! paste to apply paper. Again, I didn’t worry too much about the paper along the tops of the walls since I will add ceiling trim later. Note: I no longer recommend Yes paste – I use Wallpaper Mucilage instead. Yes paste has problems with longevity.
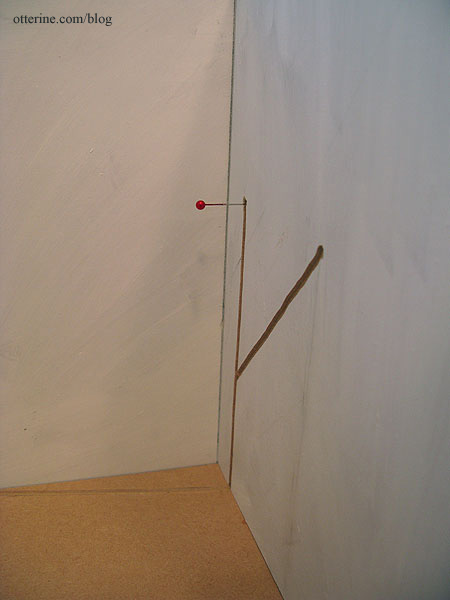
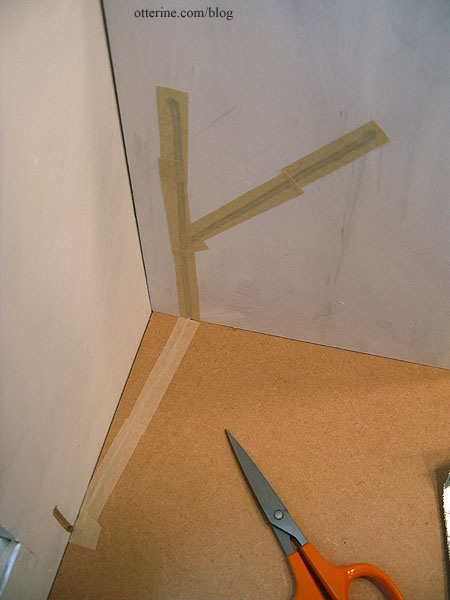
To find the holes for the sconces on the wallpaper side, I poked a sewing pin through the holes on the living area side.
I glued the sconces in place and taped the wires into the channels.
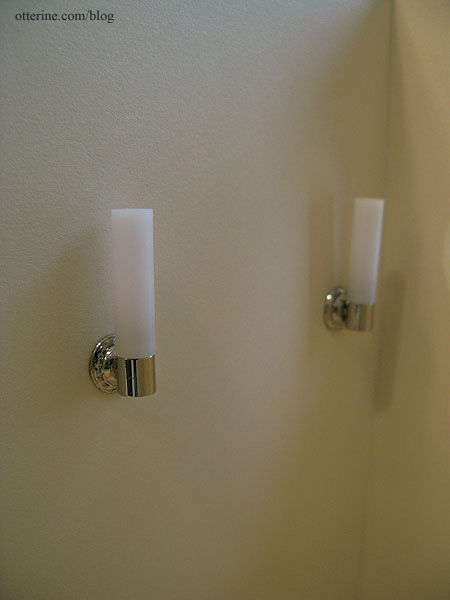
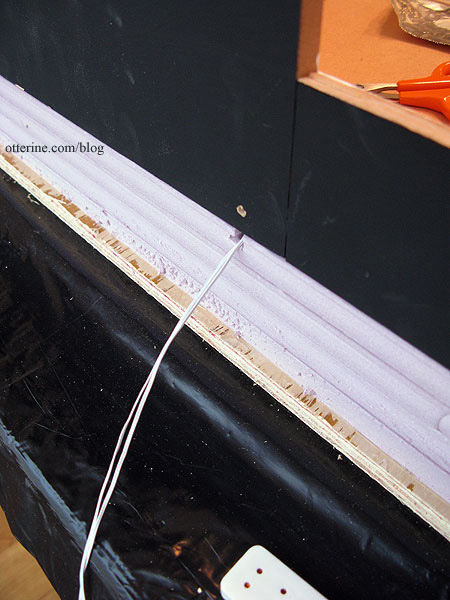
The wires come out of the foam under the structure. I will splice them together to work as a set later.
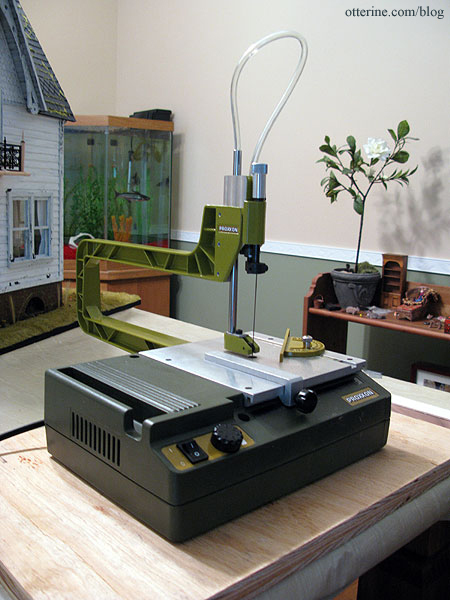
I have a few others things to share, the first of which is my new Proxxon scroll saw. Sexy, no? :D