
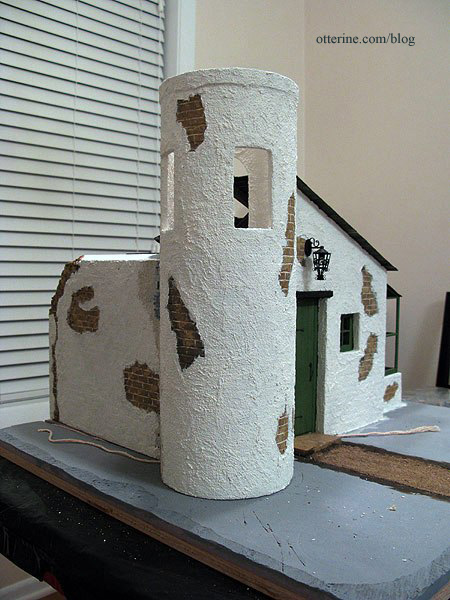
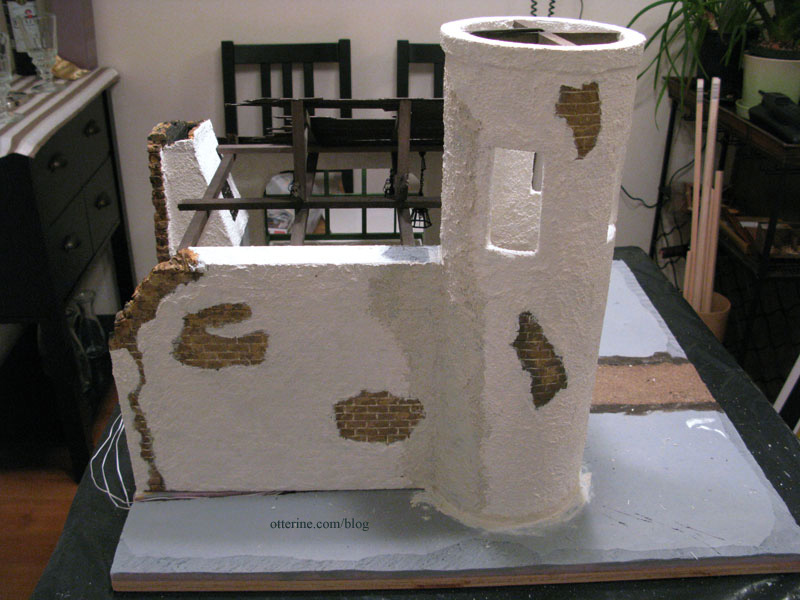
Continuing from the tower construction part 2 for The Aero Squadron Lounge.
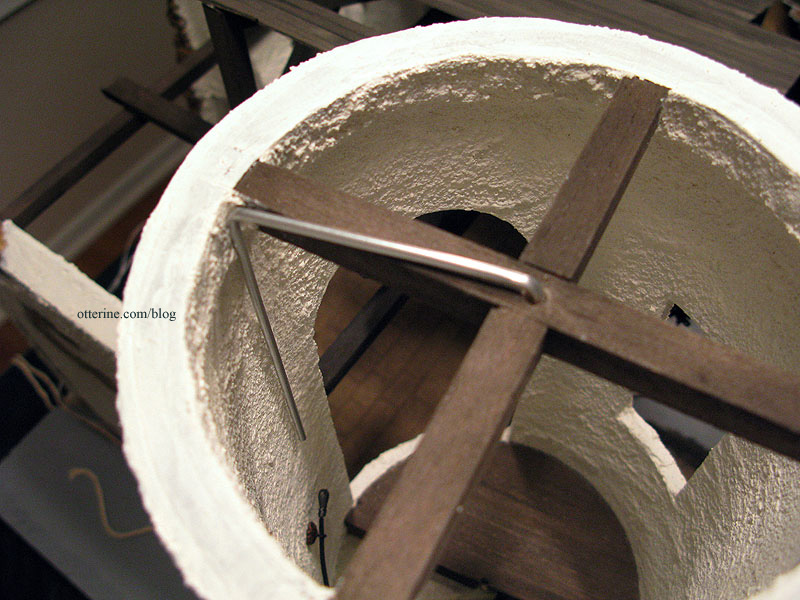
I went ahead and cut off the bamboo skewer support at the top of the spiral stairs, which was scary but ended up being okay. I added stucco to the window and arched opening edges. I also glued the foam ring and beam assembly to the top of the tower, added the stucco and painted the final finish. This sealed off access to the inside of the tower from the top opening, but I needed it in place to install the tower light. Yes, the tower was still removable at this point.
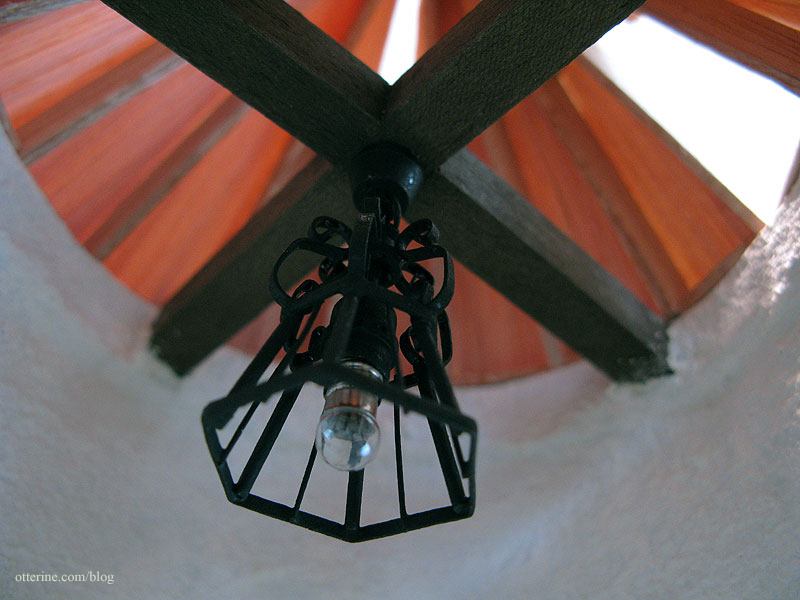
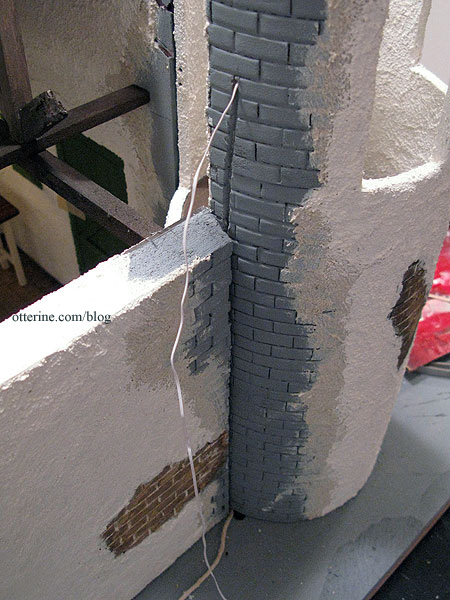
The most challenging light to wire in this build was this one in the tower. Even if I hadn’t made the tower roof removable in the end, I wanted exposed rafters and holes in the roof. That meant you would be able to see the wire, even if I cut a channel into the balsa beam and painted it.
I opted to hide the wire in plain sight with conduit made from 3/32″ aluminum tubing from my local hobby shop Ad-Venture Hobbies. Remember the tubing bender I posted about awhile back? This is why I bought it. Now, bending aluminum tubing didn’t work out to be as easy as bending brass tubing. The aluminum was softer and more prone to tearing. I had to make a few attempts before getting it to work properly. I ended up making 3 or 4 small bends right next to one another to stretch it out a little before doing the final bend. It’s not as clean as the brass, but it does work.
I eliminated the chain on this light and made it a ceiling fixture. This is a much later photo from when I started working on the tower roof, but it’s the best shot I have of the shortened light.
The wire goes up through the beam, through the conduit and out the side of the tower.
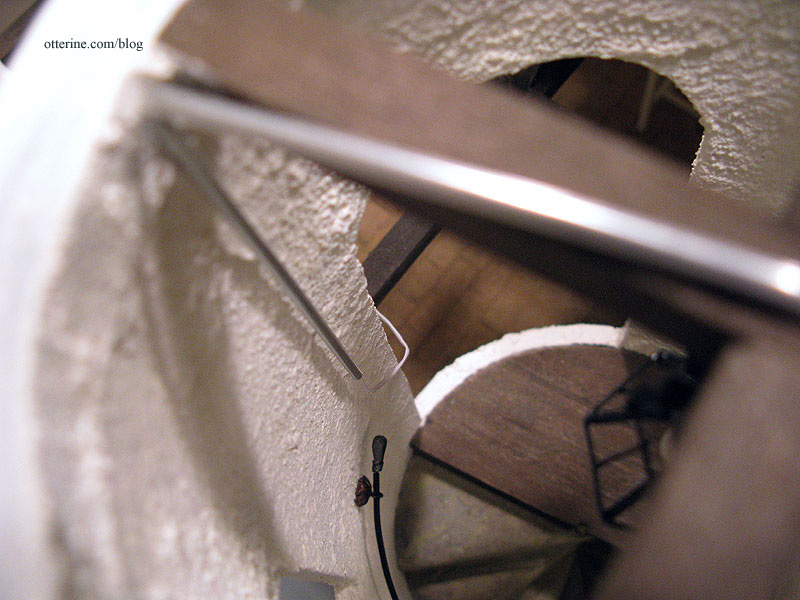
The wire exits the wall through the end of the tubing.
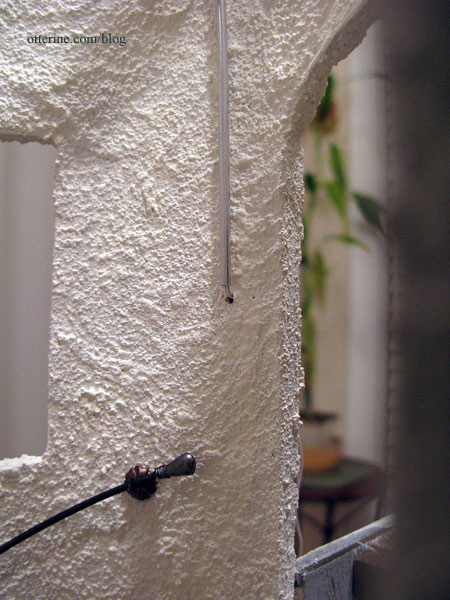
The end wire runs between the tower and side wall, eventually to be covered with stucco.
To disguise the end of the wire inside, I used a round wooden bead.
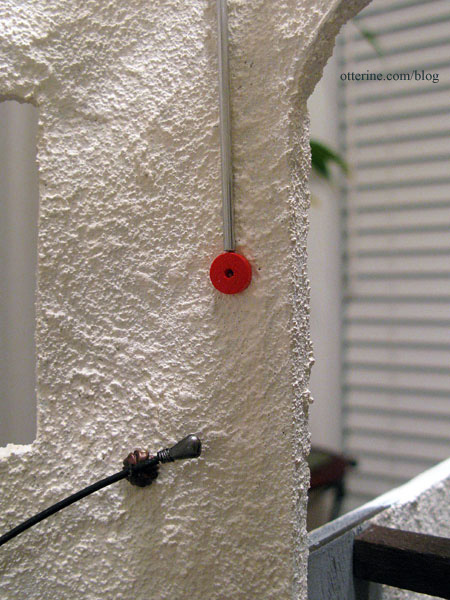
I painted the conduit on the beam brown to match the wood. I painted the conduit along the wall and the wooden bead warm white to make it blend in with the wall color. I have seen conduit done like this in real life many times.

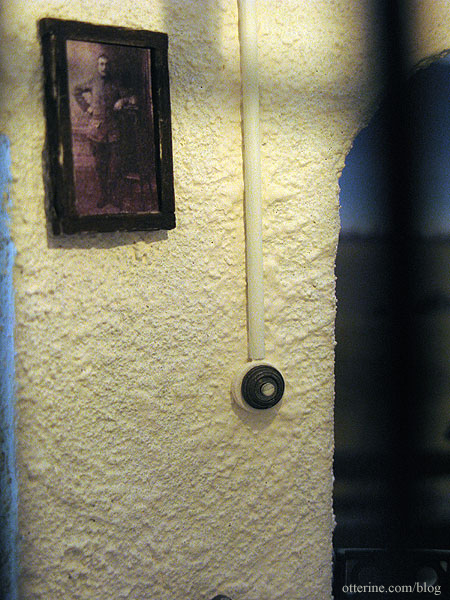
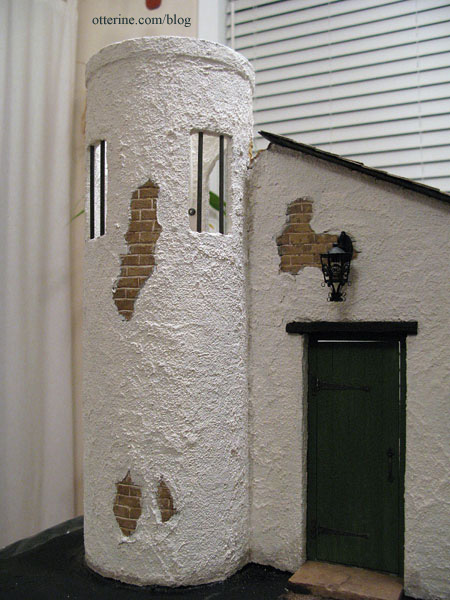
I added a metal doorbell from Sussex Crafts to act as a vintage light switch. :D Now the illusion is complete.
With the tower wiring finished, I got ahead of myself, glued the tower in place and finished the stucco application between the tower and the main building, shown here before painting.
I had forgotten to add one important element before doing all this. Once you have a balcony, you have to keep people from tumbling over its edges. Luckily, there was good enough access through the upper arched opening so I could reach the top of the balcony. Whew!
At the edge of the staircase, I used a portion of pre-assembled wood railing and a Houseworks narrow newel post. I opted to paint it Warm White to blend in with the tower wall. It’s a small space and too much contrast wouldn’t have worked.
For the portion overlooking the main room, I bent a piece of plastic railing from The Dolls House Emporium. I also cut off the finials from the upper edge. It wasn’t easy to bend and I did snap one of the small connections which had to be super glued, but overall it worked well. The curve isn’t that severe. I later sprayed it with flat black to tone down the plastic sheen and glued it in place.
In this photo, both railings are shown as works in progress.
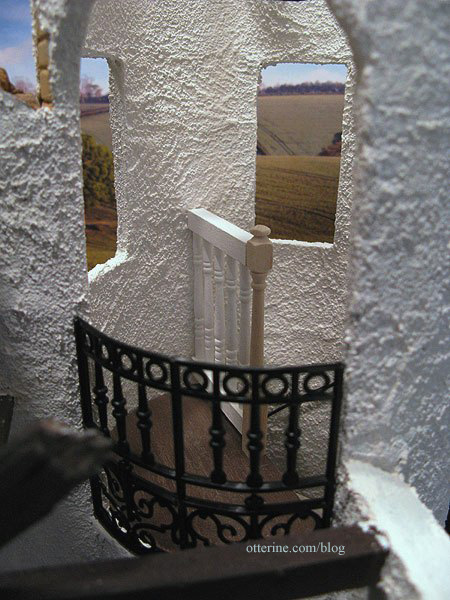
And, here is what they look like finished.
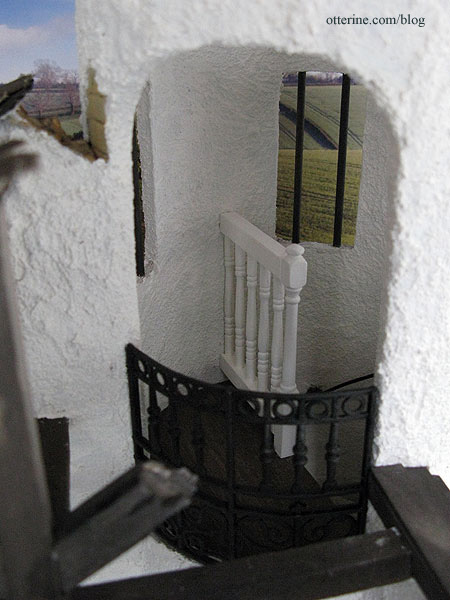
I added lengths cut from an 1/8″ diameter dowel to make the window bars. These were painted Bittersweet Chocolate by Americana with a wash of black to age them. I like that you can see the light switch through the window here.
Continued here. I thought the tower roof deserved its own post. :D


