
Continued from structural details, part 1 for The Aero Squadron Lounge.
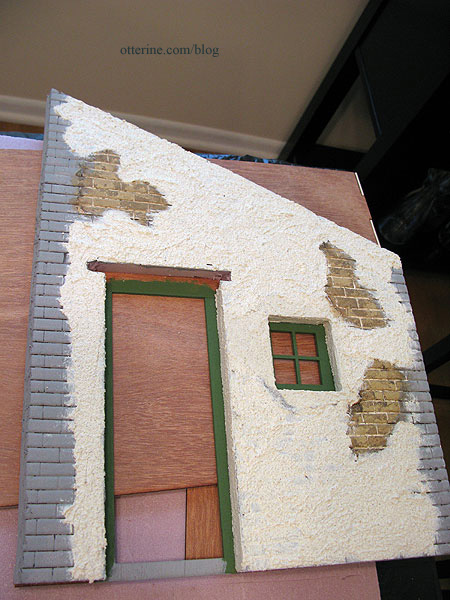
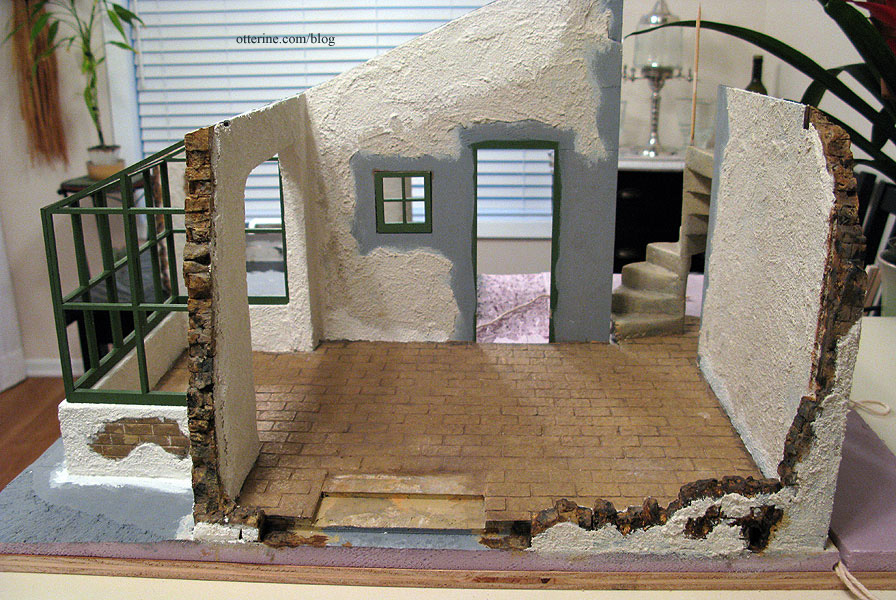
I used regular household stucco patch from Home Depot to cover the walls inside and out. I eventually painted the stucco surfaces Warm White by Americana. In the photos for this post, you’ll see a lot of back and forth with painted and unpainted stucco. I applied most of the stucco while the walls were flat and left the areas where the walls would join clear.

I cut out a recess in the foam above the front door to leave room for a cross beam. As I had done for the window, I painted the area around the door opening green, applied the stucco and painted it before gluing the foam outer wall to the wood inner wall.
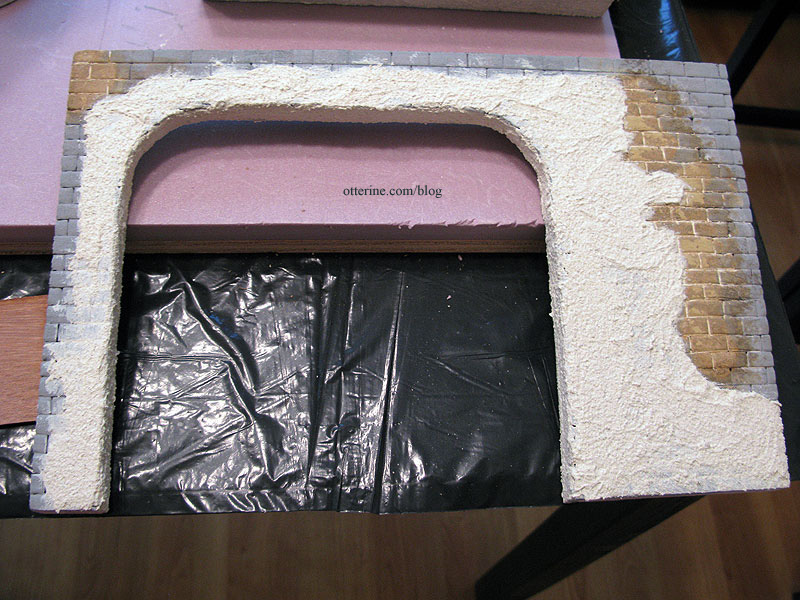
The original kit wall leading to the greenhouse had a square opening, but I cut the foam padding with an arch. I filled in the gap between the two layers with stucco so you couldn’t see where the square points had been. I later broke apart this wall’s back edge (right side in this photo) but I wasn’t sure how much I would need to keep the building complete…so I left it intact during the first part of construction.
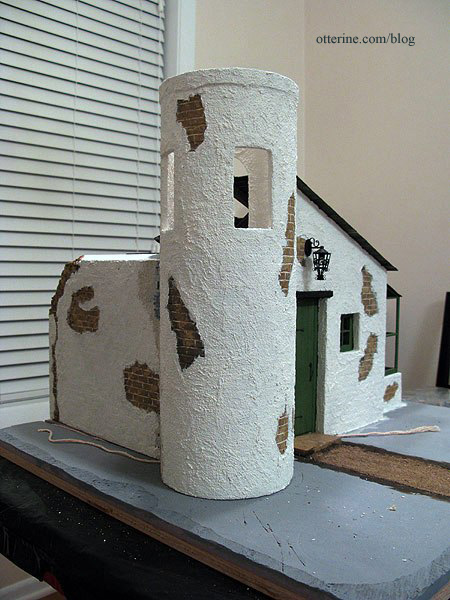
I’ve detailed the tower construction, including its stonework, in separate posts starting here.
The spiral stairs inside the tower were added after the floor was secured to the base board but before the tower was attached. I have a more extensive blog post on the stairs here; these required a good amount of math and planning. :D

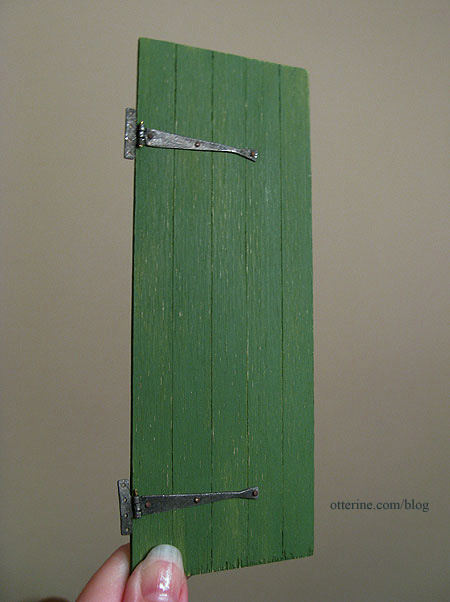
The front door from the kit originally had a window. I opted to make a solid door from balsa, scored to look like it was made from planks. I added a Z support structure on the inside.
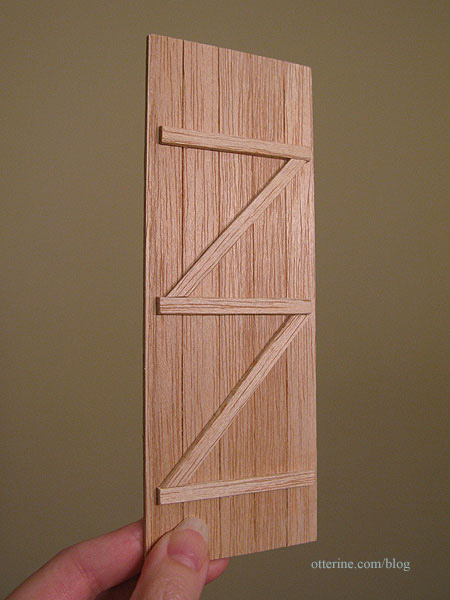
I painted the door Clover by Folk Art with a light sanding afterward. The working hinges are from Olde Mountain Miniatures.
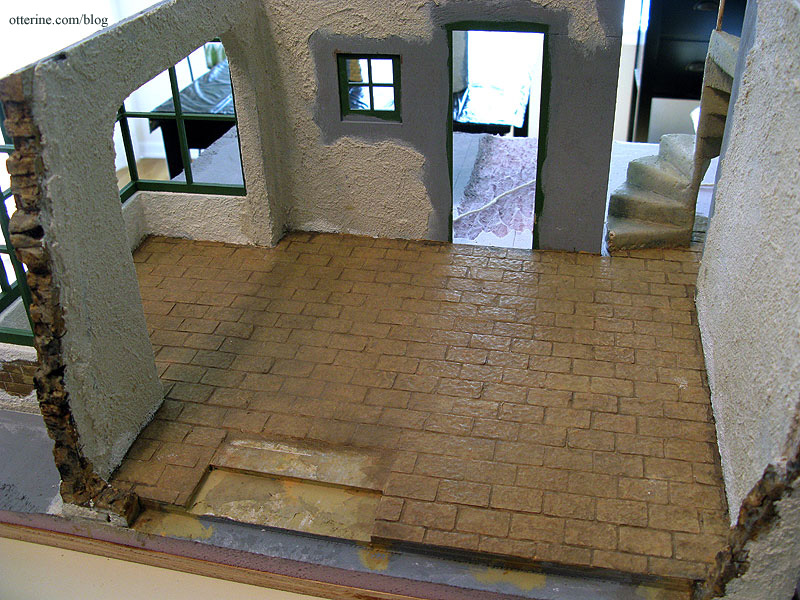
The flooring is made from 5/8″ x 1″ egg carton tiles. The fireplace hearth is a solid piece of egg carton material as well. It is attached to the fireplace but not to the main floor.
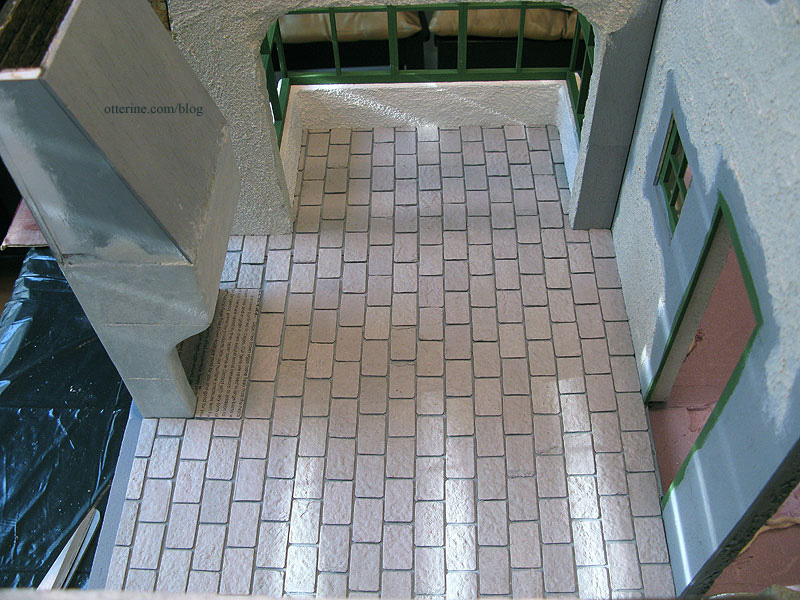
I painted and sealed the tiles before grouting with spackling, then added multiple washes to add depth to the coloration. The recess in the back is where the fireplace sits; I later painted it to blend in.
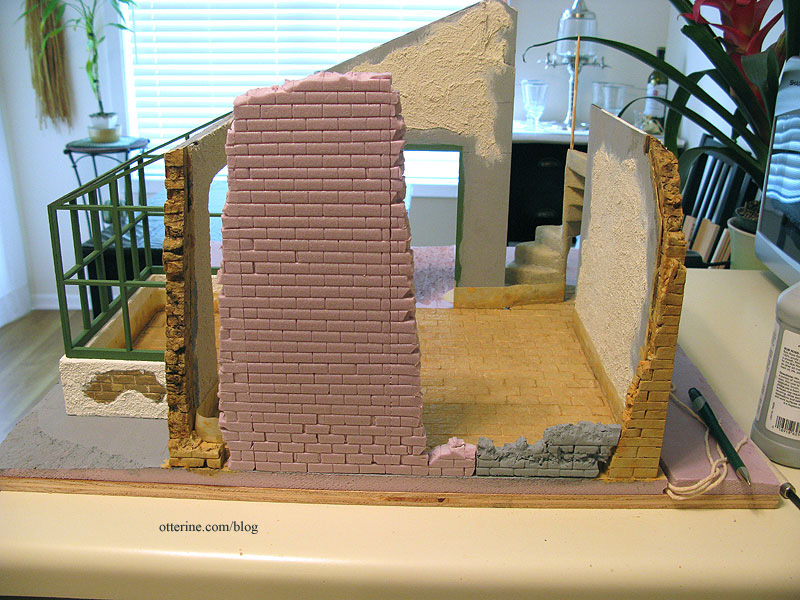
The fireplace unit is situated in the open back. To make this a 360° build, I added rubble walls to the back wall that tied in with the back edges of the side walls and the back of the fireplace. I was able to do this only because I planned for part of the roof to be open. This and the bombed out condition of the back wall would allow access inside the structure even when the fireplace is in.
Here you can see what is permanent to the building when the fireplace is removed.
And with the fireplace in.
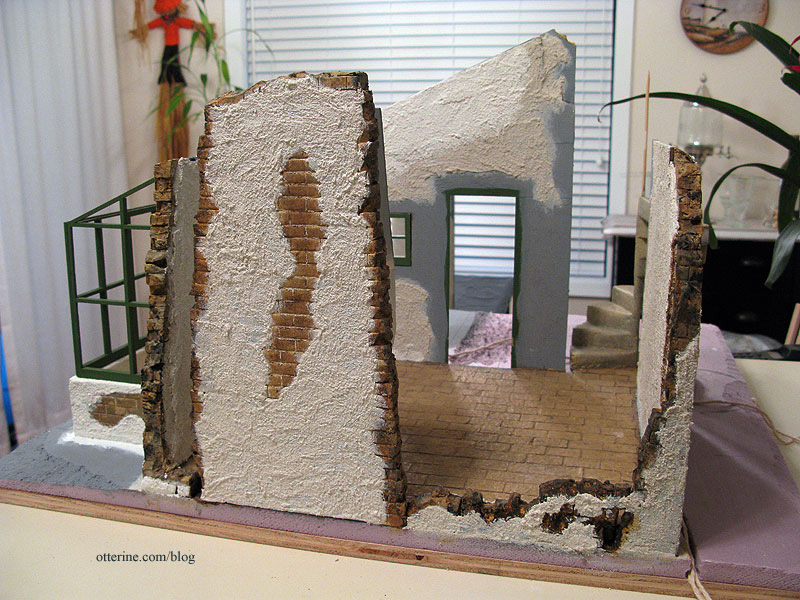
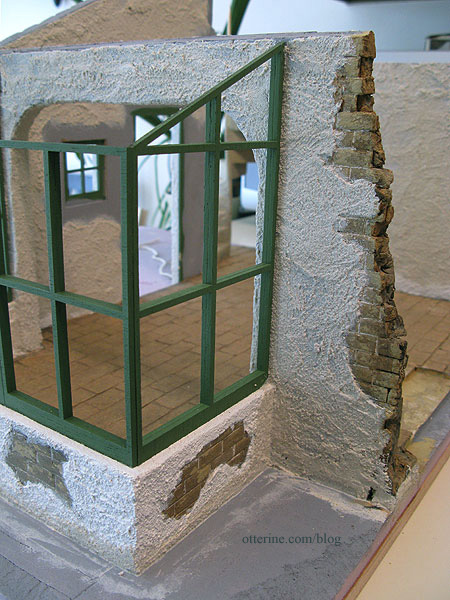
Here you can see the broken side back wall near the greenhouse. I used flat nose pliers to rip pieces away at random before painting and grouting. This wasn’t easy as the builders foam was rather resistant to tearing. You can also see that when I joined the greenhouse to the main room, I applied stucco over the seams and around the base of the walls.
Continued in part 3.


