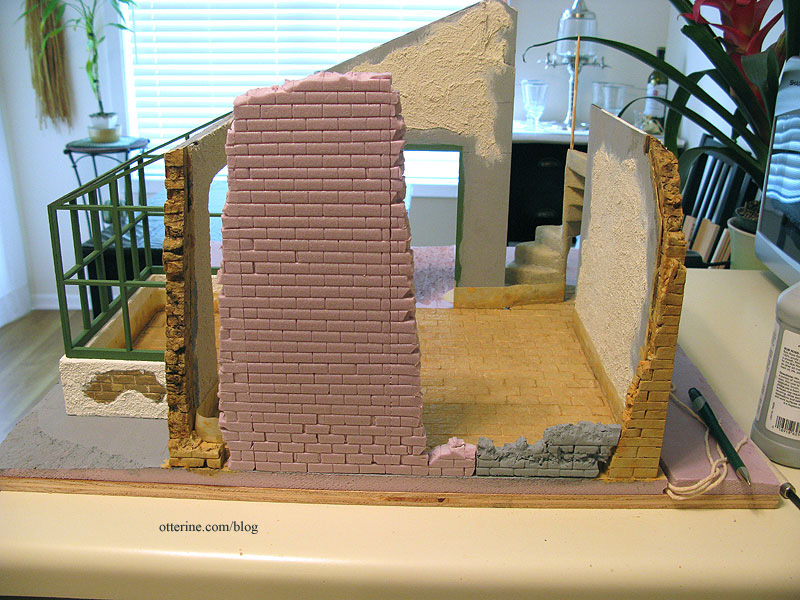
Or, turning stryofoam into stone. For the initial structure, I used regular white stryofoam for the side walls since it was easy to cut and shape with sandpaper.
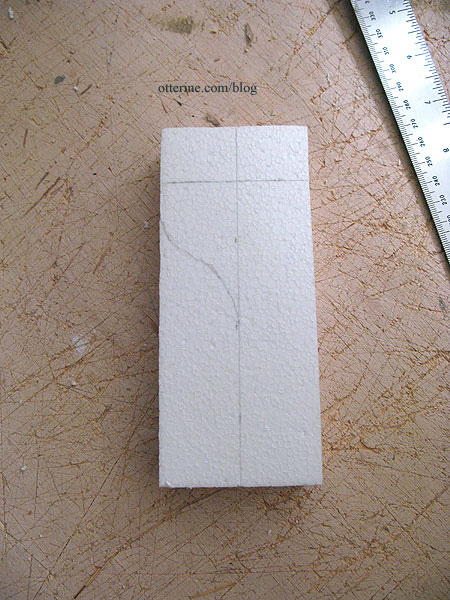
I added builders foam across the front only because I had the perfect sized scrap for the opening. The back and upper sides are foam core board and the upper front is balsa…a little bit of everything from the scrap box.

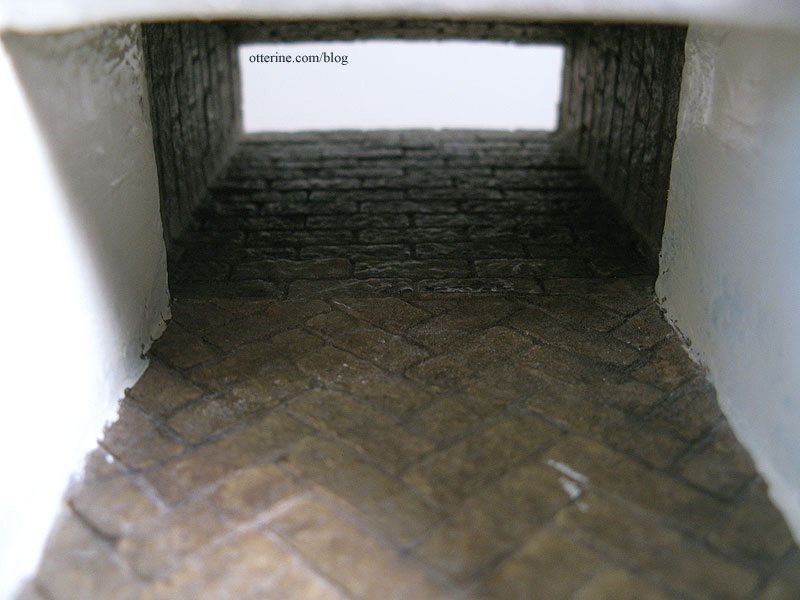
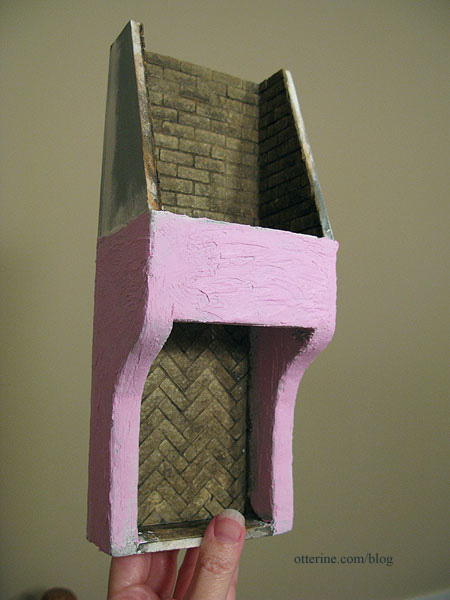
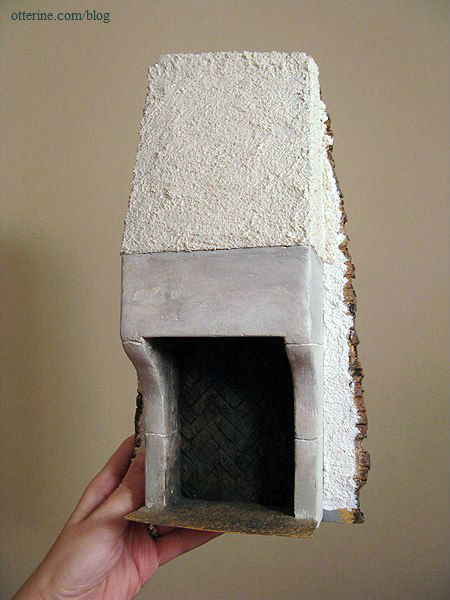
The back of the fireplace is made from egg carton bricks placed in a herringbone pattern. As I had done for the Heritage chimney, I used a printed grid to help keep the pattern consistent.

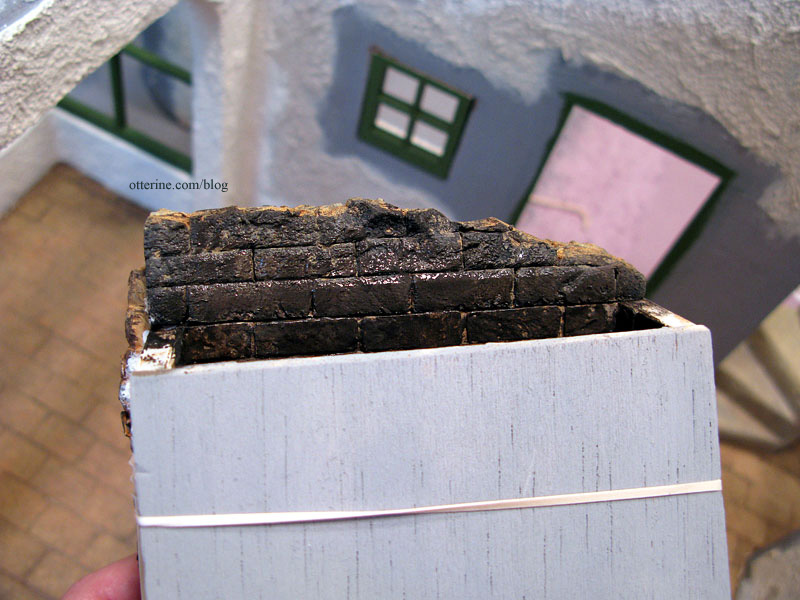
The fireplace is actually bricked all the way up inside as you can see in this work-in-progress shot. I changed to regular brick pattern from the upper edge of the stone fireplace through to the top of the chimney opening.
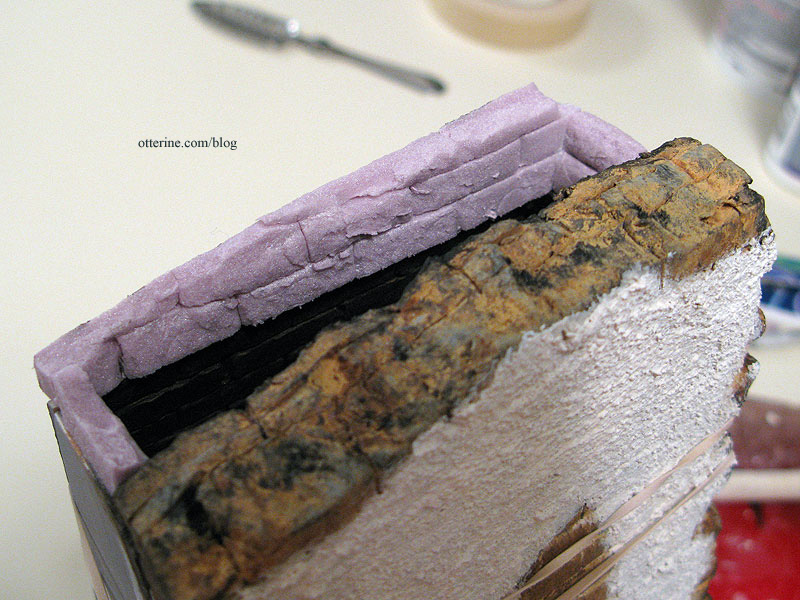
I had to do this in two sections, the back and sides first and then the top front, which wasn’t glued in place until after all the painting and grouting was complete. Below, you can see the brick on the back and sides in progress as well as the initial coat of spackling on the stone portion of the fireplace.
I painted the bricks with Camel by Americana using a stencil brush to stipple on the paint. I did the same thing with Desert Sand by Americana, leaving some of the Camel underlayer showing here and there. I sealed the bricks with Delta Ceramcoat satin varnish and then used spackling for grout. I followed that with washes of browns and black to reach this coloration.
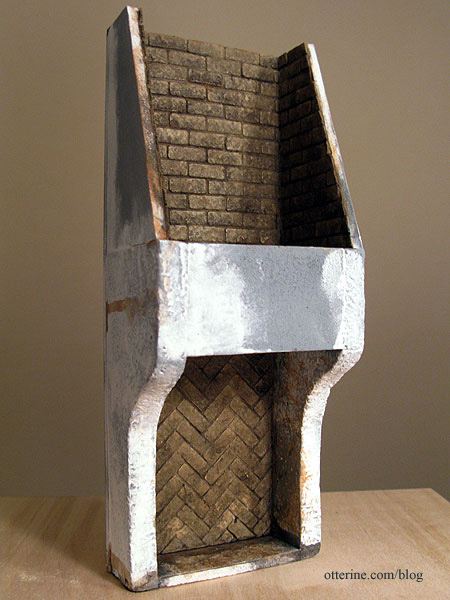
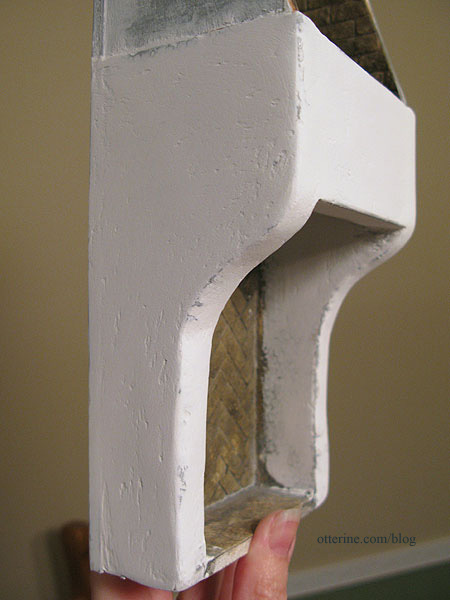
I was very heavy handed with the spackling on the fireplace.
After sanding, it really did start to look like real stone.
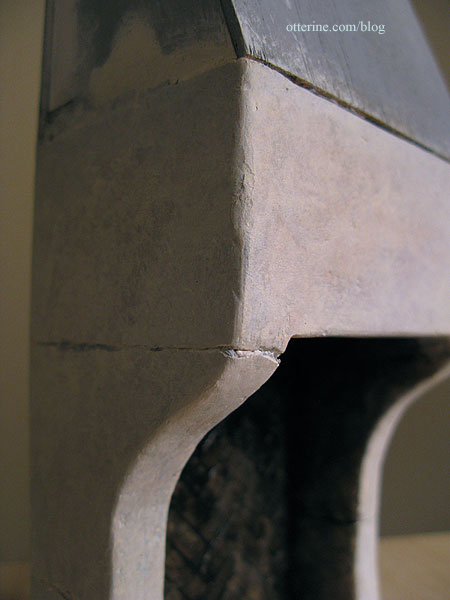
I then layered on paint washes, rubbing the surface with my fingers to make sure there were no brush marks left. I used an X-Acto knife to draw lines on the stone. I wanted it to appear to be made from stone slabs. Going over the lines with an awl chipped the stone and made the seam lines more realistic.
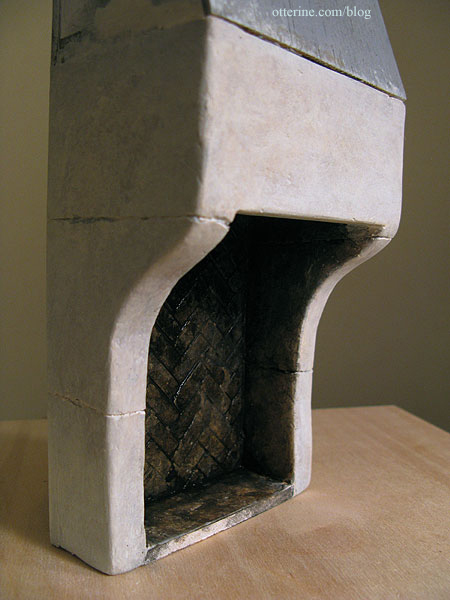
The fine detail is something I didn’t expect but just love about it. It now even feels cool to the touch like real stone.
I bricked, painted and grouted the interior of the front top piece (no photo unfortunately) and glued it in place. I then cut builders foam pieces to make the back wall that the fireplace would have been attached to at some point, with some extra broken bits to fill in the space.
This was painted and covered with stucco to match the rest of the building.
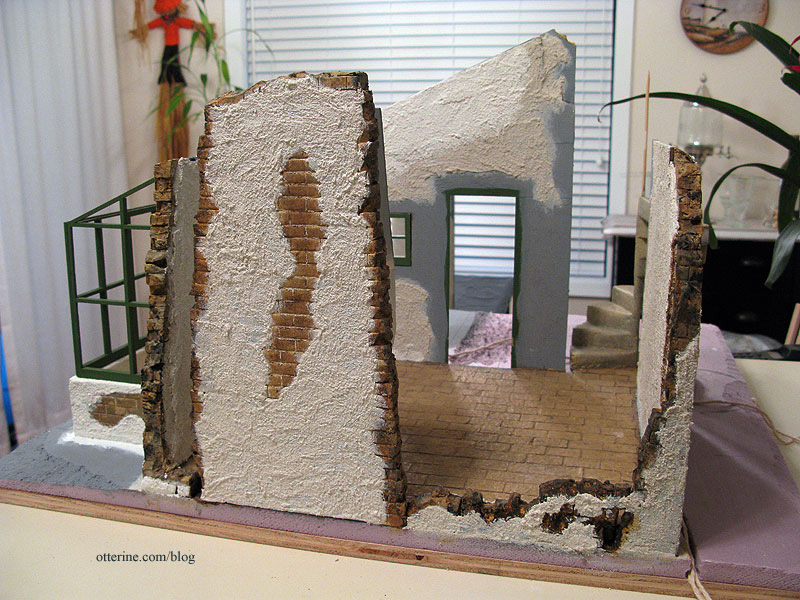
On the inside of the back foam piece, I scored the surface to mimic the egg carton brick on the interior. It was then painted to match. Here it is still wet from the paint washes.
I made the top front and sides of the broken chimney from scraps of builders foam, finishing in the same manner. Here they are before painting.
I then covered the front and sides with stucco to make a complete unit.
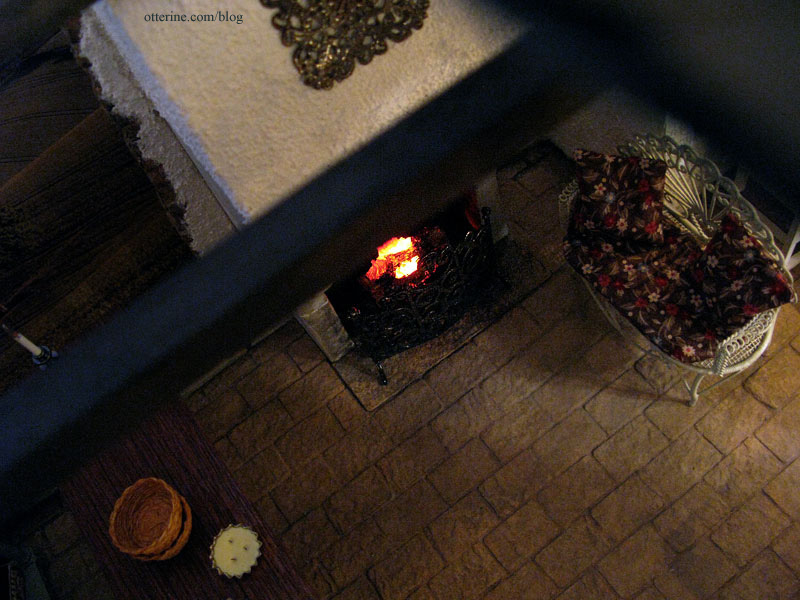
The lit fire is an acrylic log piece with a red bulb. I drilled the hole for the bulb through the bottom and later made a channel in the floor for it to curl out of sight when the fireplace is removed. More about that later.
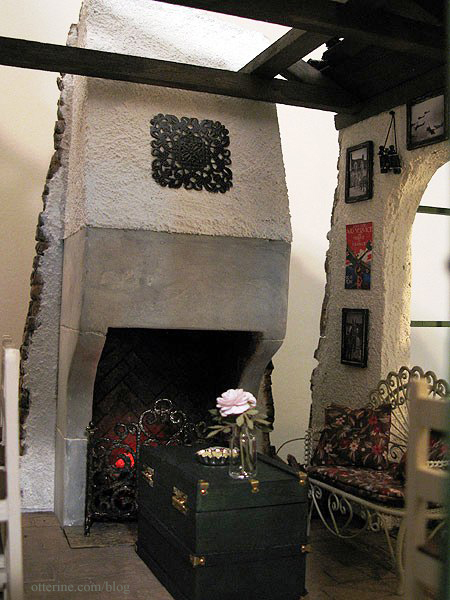
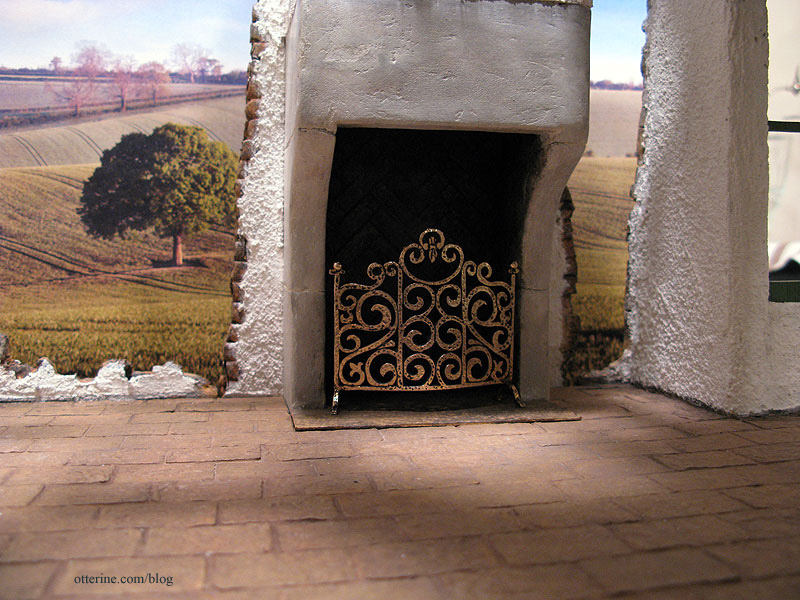
The fireplace screen is by Jeannetta Kendall and purchased from lacyhome4boys on eBay. Here’s the shiny new screen in place; it looks like I built the fireplace around it but that’s just coincidence. :D I bought this as a last minute addition.
I used black acrylic paint to age it and tone down the shine. Much better.
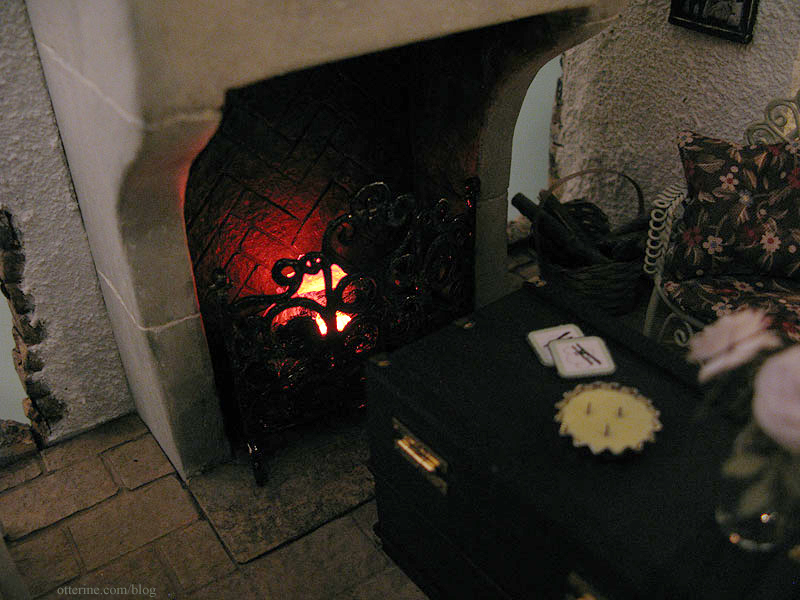
The medallion above the fireplace is a jewelry finding. Overall, the fireplace is not that easily seen in the final layout, but I love it and think it adds so much.