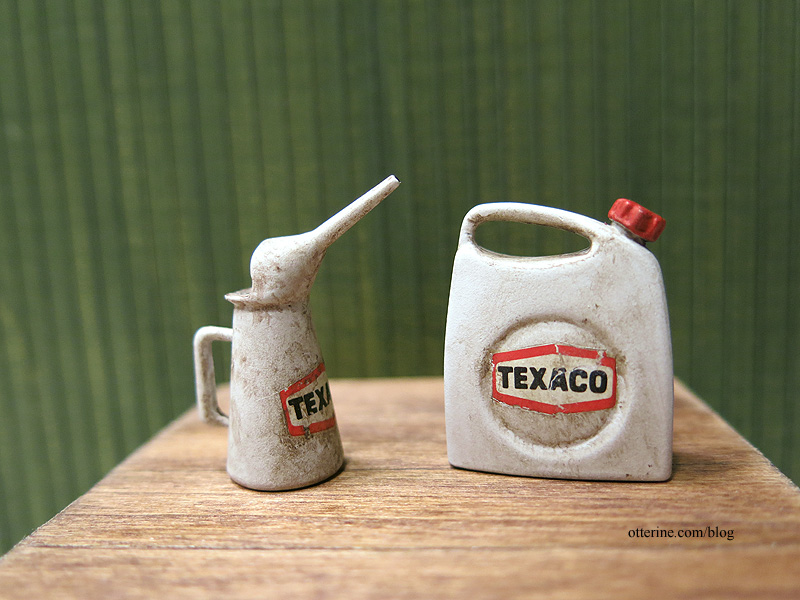
Continuing work on the 1:12 scale Tamiya tool set. I’m starting with the polyethylene tank and oil jug. Here’s a reminder of what these looked like after assembly and initial sanding.


I primed them with grey spray primer and then followed that up with flat white spray paint. The grey toned down the white, which is good for a base to start aging.
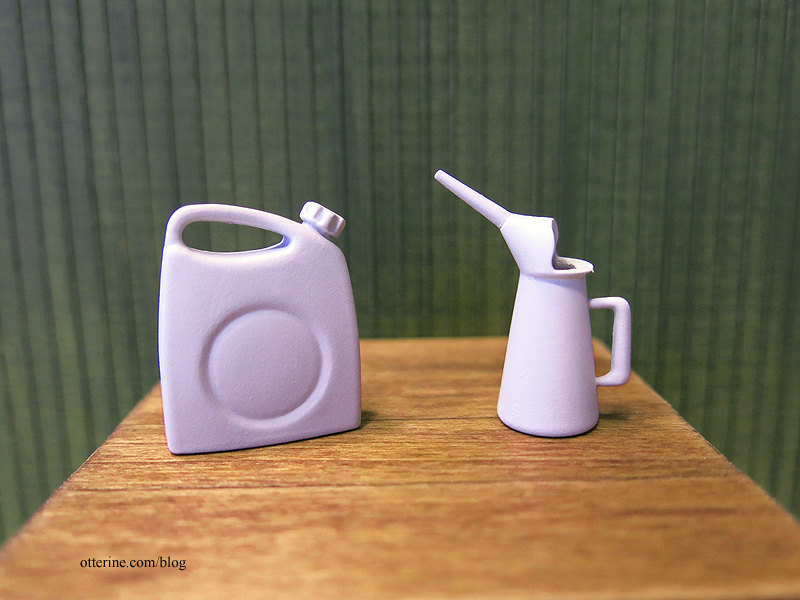
The vintage Texaco jugs I found online were all red, but I liked the white on the kit box, so I stuck with that. I painted the interior of the jug silver.

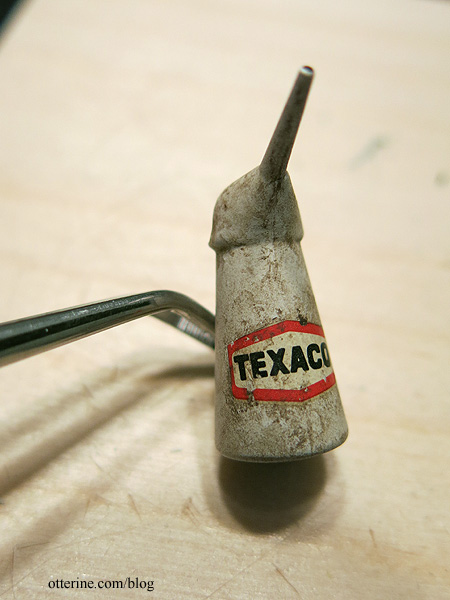
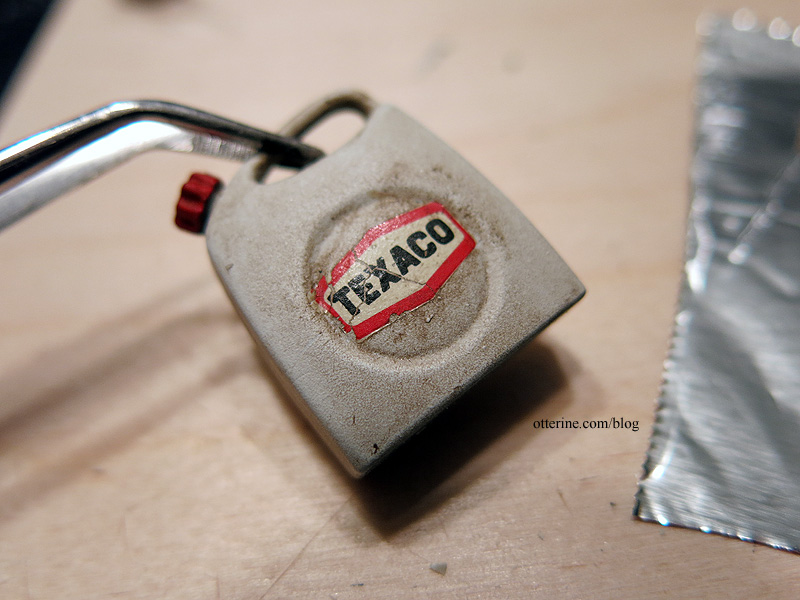
I added grime with acrylic paints thinned with Staining Medium. I left the decal whole when applying but scraped some holes from it after it dried in place. I also cut away the shiny clear portion around the outside of the decal as best I could. I put a dot of black paint at the tip of the spout to give the illusion of an opening.
For the polyethylene tank, I added the same grime and painted the cap red. I mixed some of the grime paint wash with satin varnish. Using a tiny paintbrush, I made a dribble of dried liquid down the side.
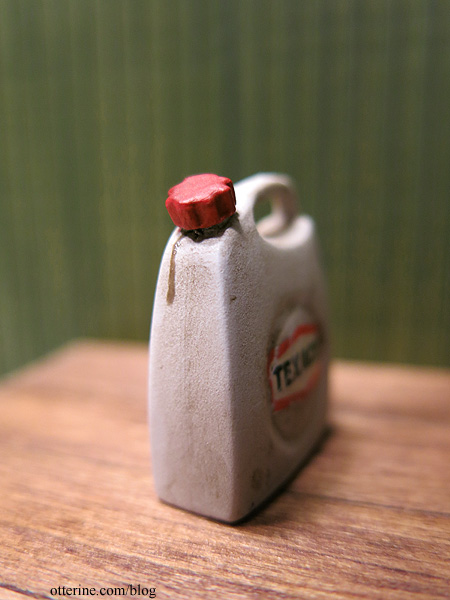
For these decals, I split them before applying so they appear broken and misshapen. I scraped holes and removed the clear halo from these as well.
I built up the cracks in the label with white paint, followed by an aging wash to tone down the brightness. Now it looks like a paper label that has loosened, cracked and moved after getting wet.

I love the way they turned out.
