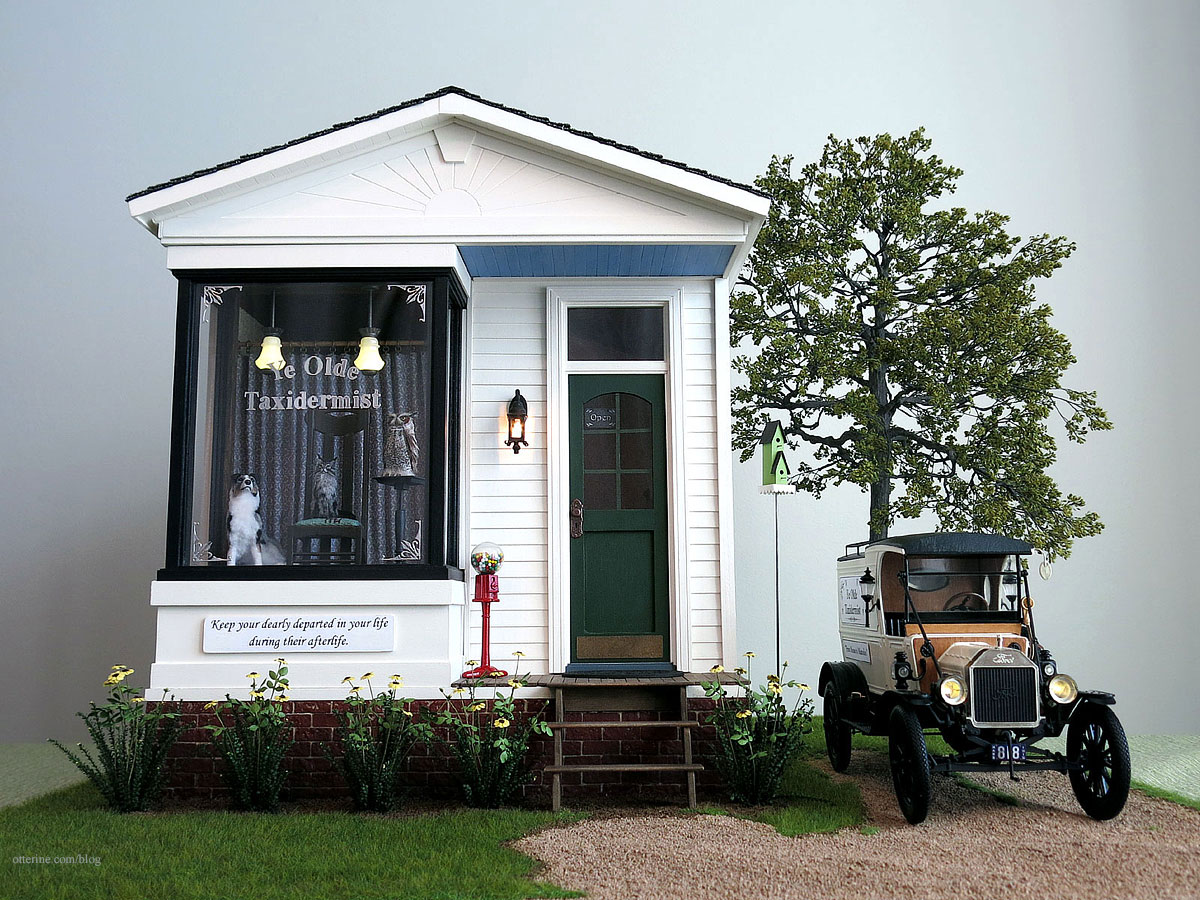
Here are the front gable parts that come with the Creatin’ Contest kit.

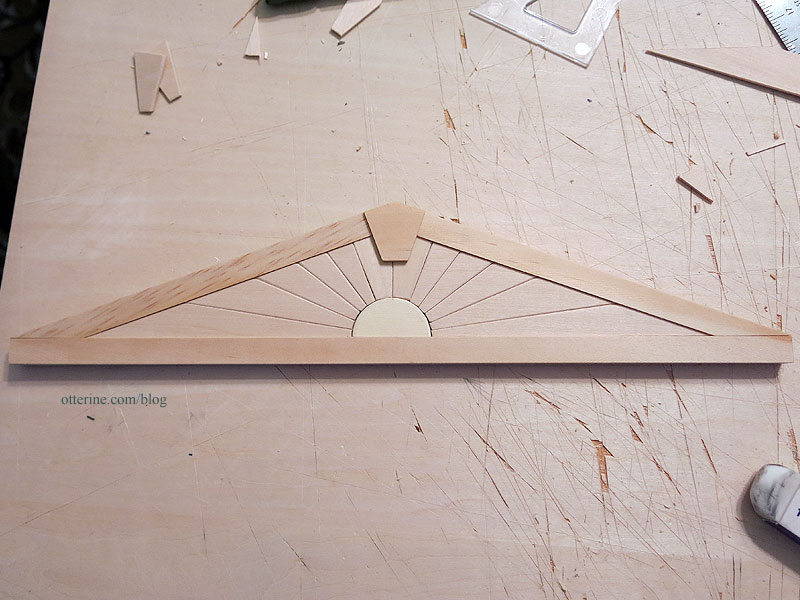
I started by gluing the bottom trim piece in place.

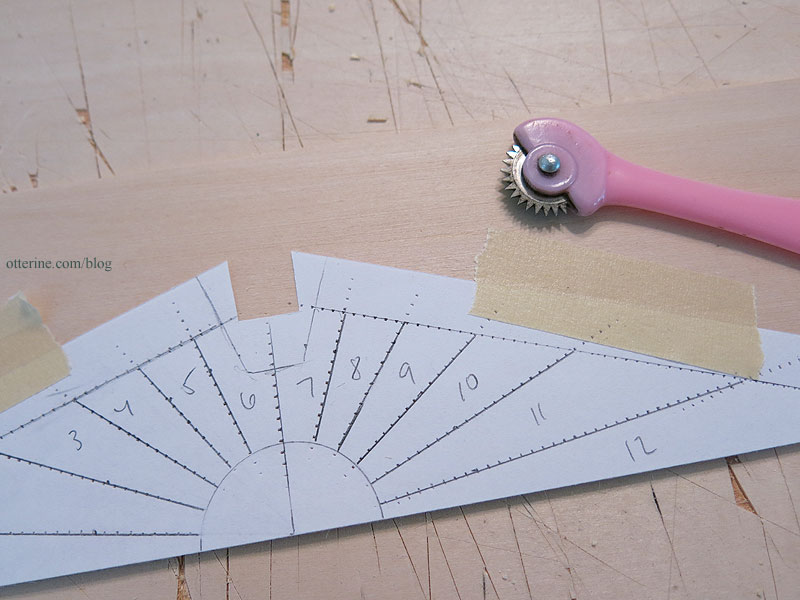
I cut a piece of paper to fit the surface above the lower trim piece. I cut a Woodsies circle in half and centered it on the paper. I marked the circle and upper trim placement on the piece of paper.
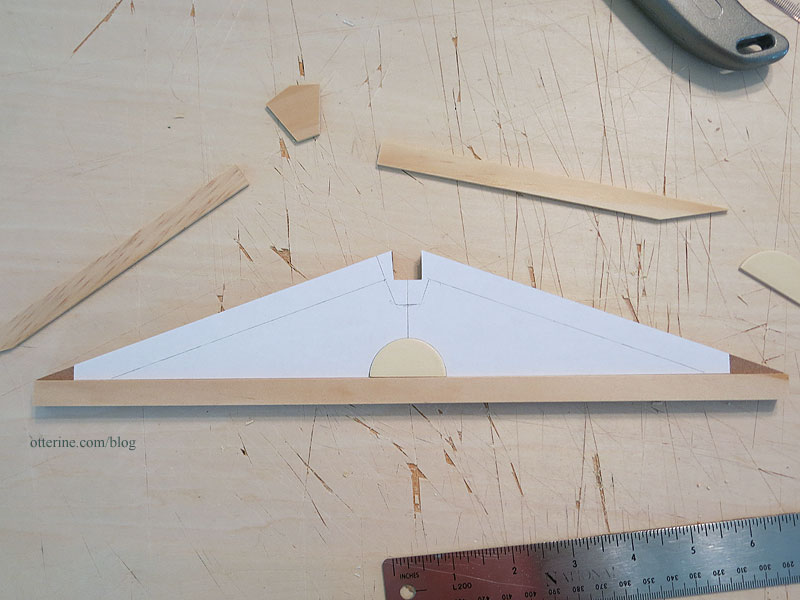
Using a protractor, I marked where I wanted my sunbeams to intersect the circle hub.
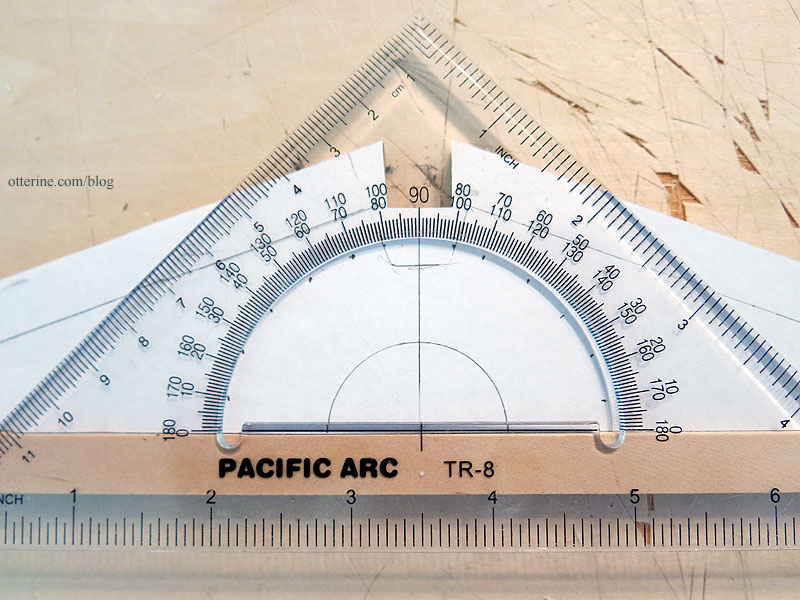
After drawing the lines, I checked the pattern to see if I liked the look. SOLD!
I used a tracing wheel (a sewing tool) and a ruler to transfer the marks onto a piece of 1/16″ thick basswood.
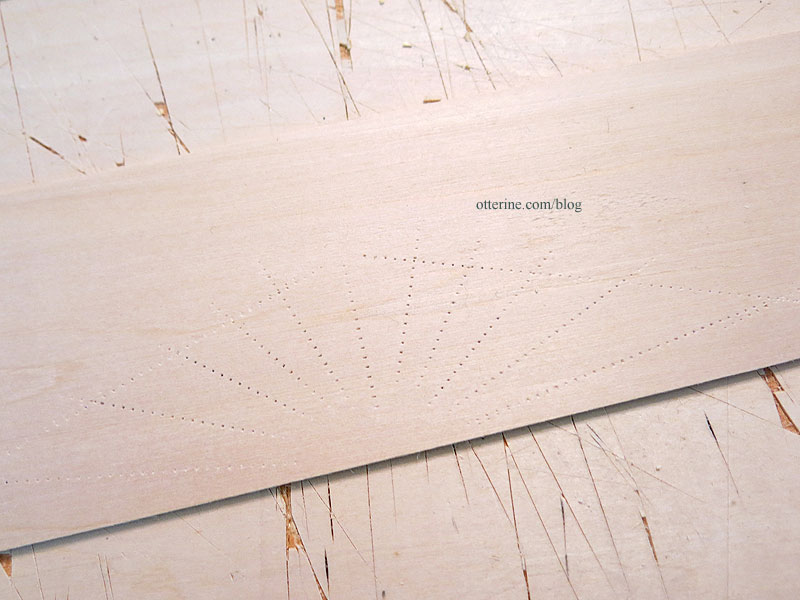
I cut along the dots with a blade and ruler.
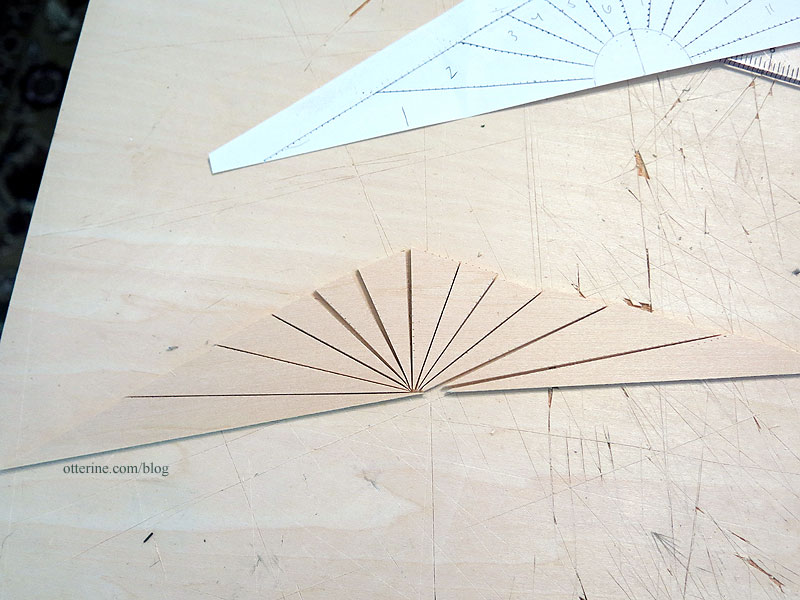
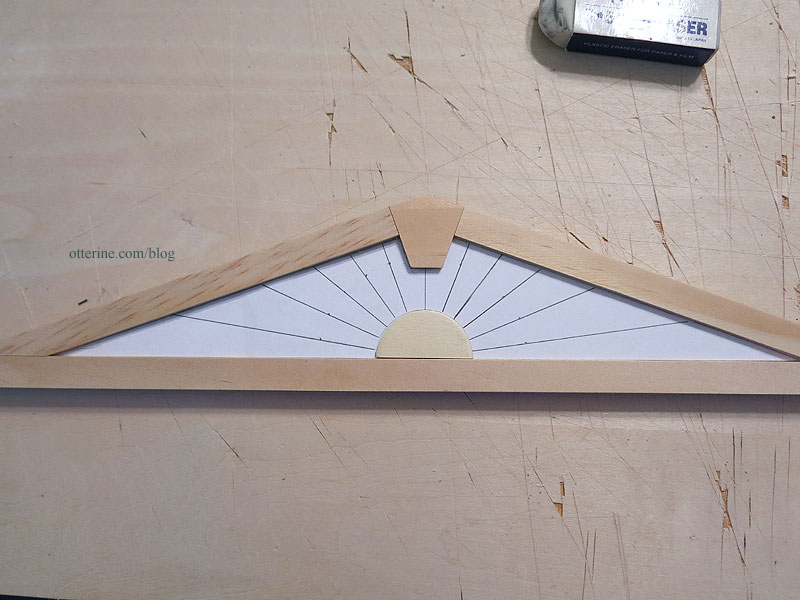
I glued the upper long trims in place and then sanded the sunbeam pieces along the edges to remove any hint of the transfer dots. Starting with the largest pieces, I fine-tuned the fit and marked where to cut each sunbeam in order to frame the circle hub. This is all in dry fit — no glue on the sunbeam pieces or the circle hub just yet.

I continued until I reached the middle pair. Due to the cutting and sanding, these ended up too small for the space so I custom cut two new pieces to fit.

I glued the sunbeam pieces and circle hub in place before adding the small trim piece on top.
After painting, I added just enough detail.