
Continuing work on the RX-7 in half scale. After letting the paint rest awhile, I decided to tackle the few dust particles on the hood. The second attempt at painting brought the finish from a 95% to a 95%, just different. The hood looked great, but the sides were orange peeled. :\ I let it rest again, then tried a third time. This time, the hood and sides were 98% and the back end was 60%. Oy. Instead of risking the entire car, I masked the back along the panel lines and painted only the damaged portion, just like a real auto. Now the whole thing is a 98%, and I would have to say that’s the best paint job I’ve ever achieved.
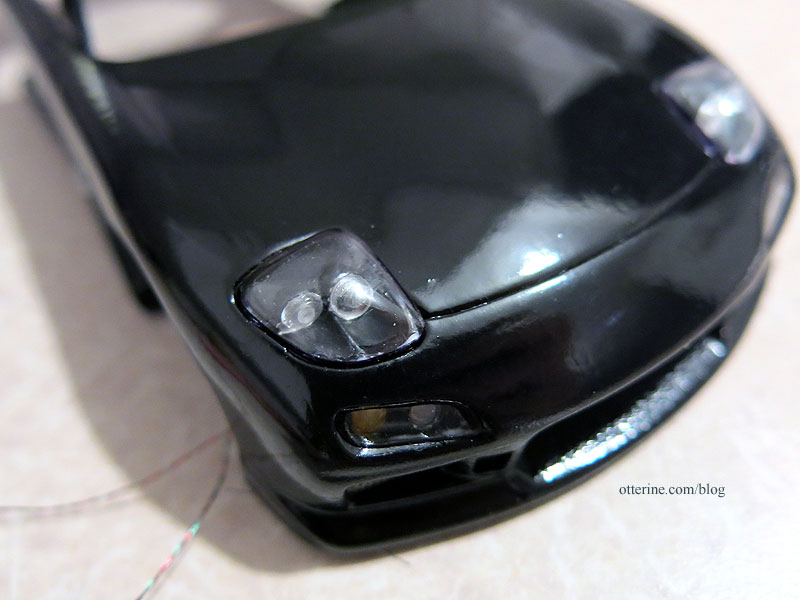
Now, when tackling the LED headlights (using 3V pico cool white from Evan Designs), I had to be mindful of where my fingers were on the finish at all times. One slight brush of glue, and it’s all over! I did as much as I could while the lights were separate from the body. First, I drilled holes for the LEDs (headlamps only, not the high beams).
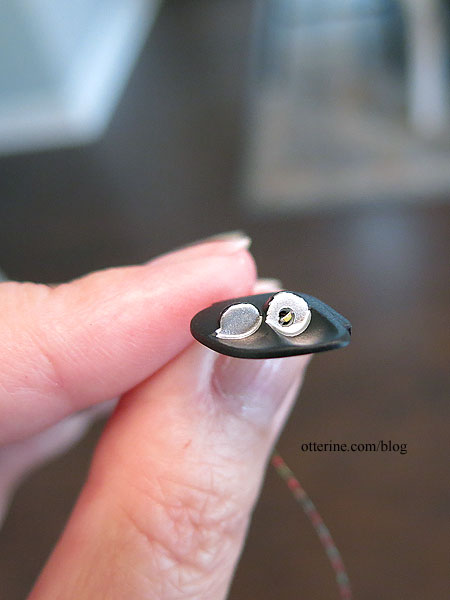
I fed in the LED, then secured it on the back with electrical tape. I don’t want light escaping through any cracks; the light needs to be forward only.
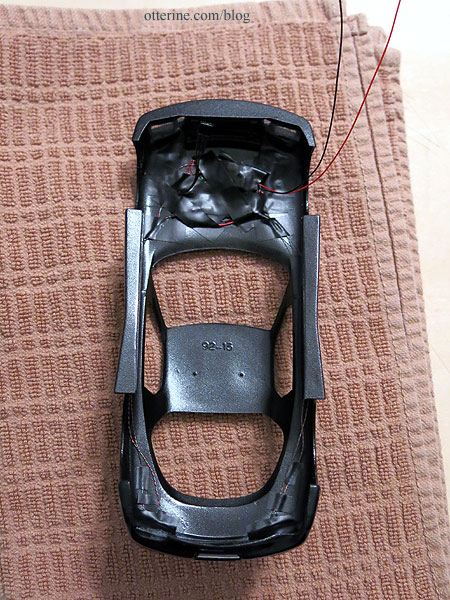
You may recall, I had to cut away the body panels for the inset light customization.
Since the front skirts are a separate piece, you’re going to get only so close in alignment. There were gaps around the piece since it’s not exactly the shape I need on either side.
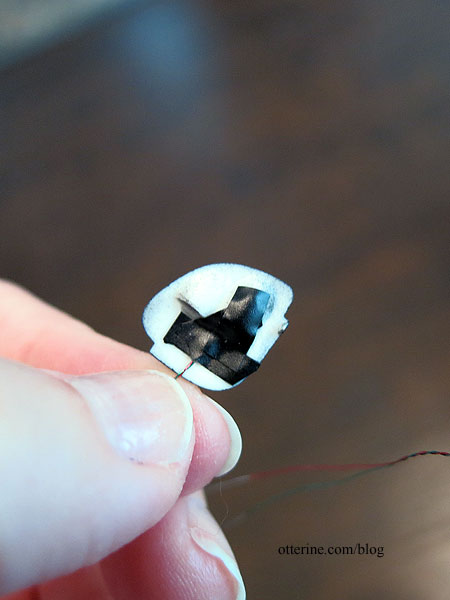
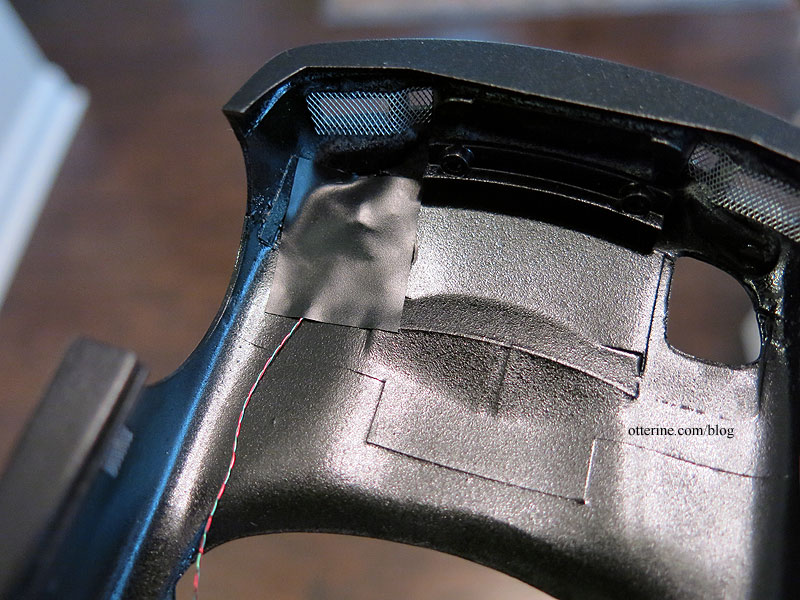
The light assembly is glued into the car, but there are contact points on only two of the four sides. Yeah, that’s glue overrun you see below since you have to work from the back. After everything dried, I touched up the flat black paint as best I could. These marks should be concealed once the clear covers are on, but I wanted to prep it just in case.

I cut a larger piece of electrical tape and supplemented the adhesion with super glue gel. I want this patch to stay put.
Since I had used super glue on the headlight assemblies, I let this sit for two days before touching it again. I had had some fogging issues with the Model T and didn’t want to risk it with this one, so I let the glue gas out completely. I glued the tiny circular lenses over the LED headlights and unlighted high beams with Testors Clear Parts Cement. Most of the clear parts are attached with this glue. I lined the edges of the clear covers with a black Sharpie marker.
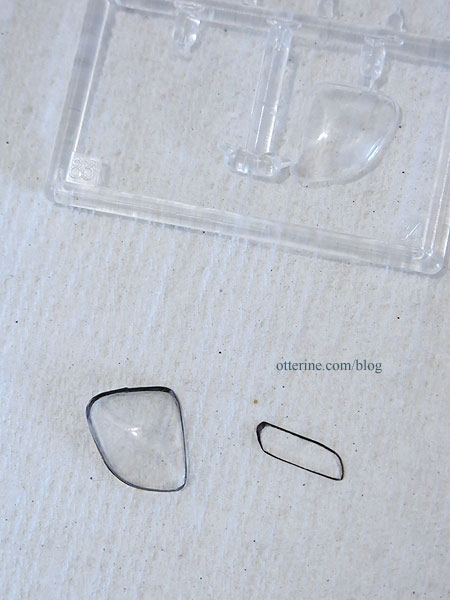
It’s a cleaner look than just plopping them on top. The one on the left is with the outline, the one on the right is without. You can see it appears more a part of the car with the outline.

I tried using the Testors Clear Parts Cement on the headlight covers, but they would not stay. I ended up using Weldbond, a white glue. It’s not the cleanest if you study it closely, but there is so much going on there, it fades into the background relatively well.
I also glued on the taillight cover.
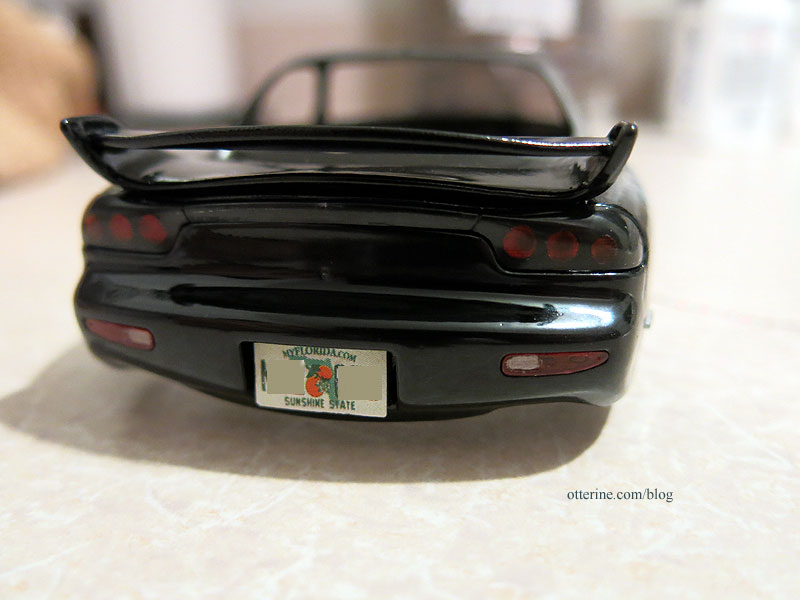
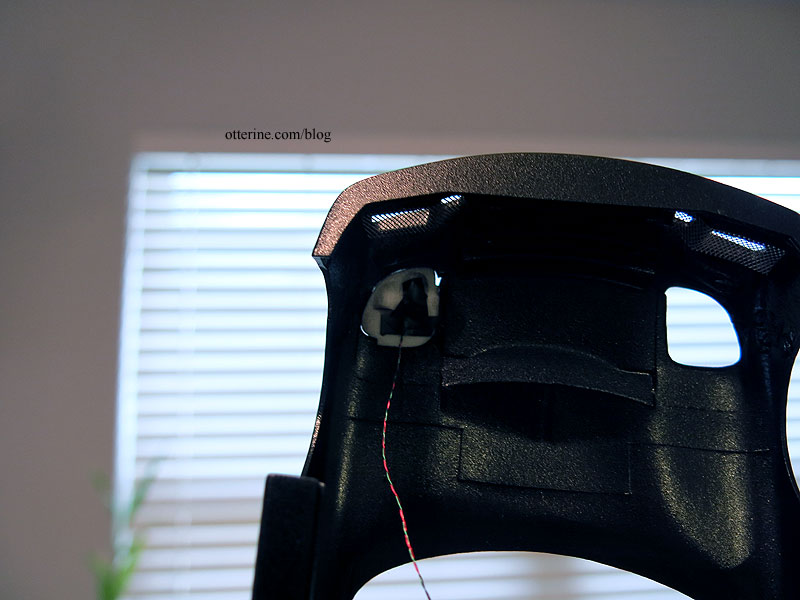
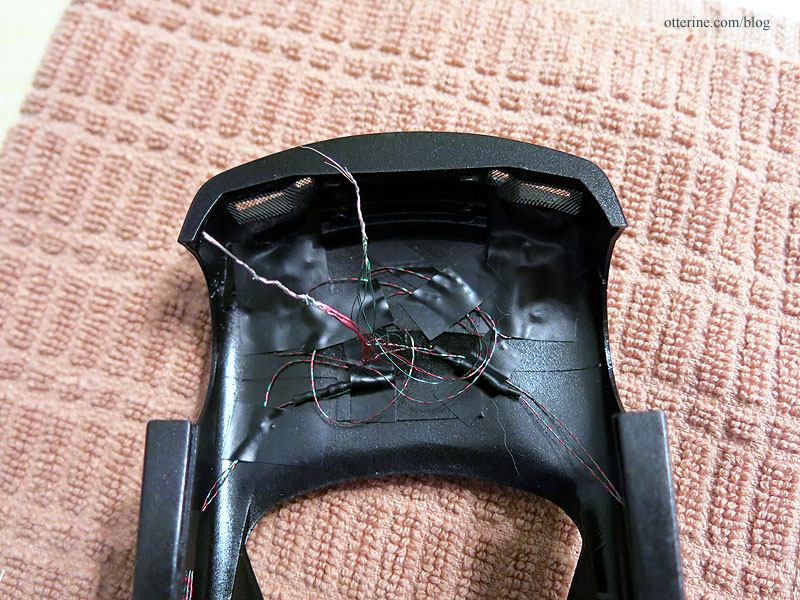
I taped the taillight wires toward the front to join with the headlamp wires. There is more room in the empty space where there would normally be an engine. The wires are matched up to work as one.
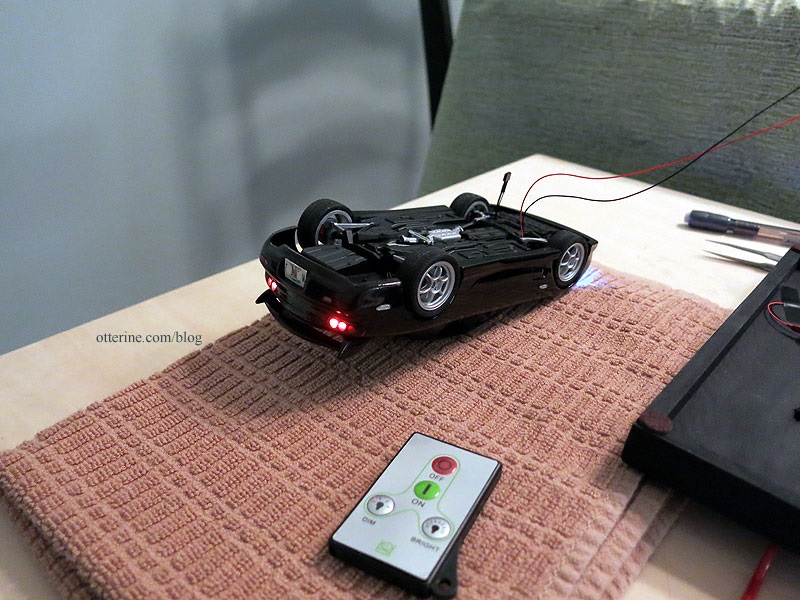
I am using a 3V battery with switch and a remote control unit. However, there is no way to hide the battery and access it in the small auto, so I am also using a connector. I built a base from wood, covered it in adhesive backed cork and painted it black. I drilled a sizeable hole in the base so the connector can be fed through and hidden underneath. It’s not the cleanest solution, but it’s the only way I could have the car disconnect from the base and have the wire relatively hidden. The battery will be housed underneath.
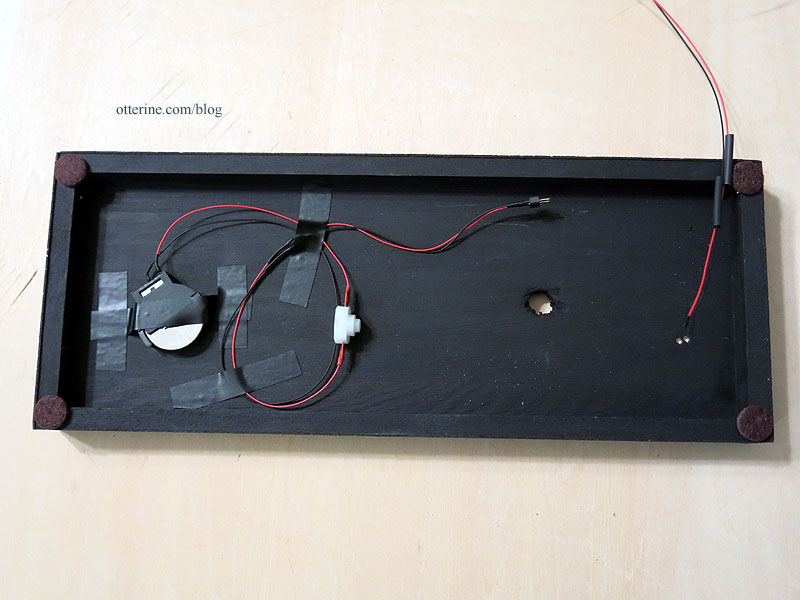
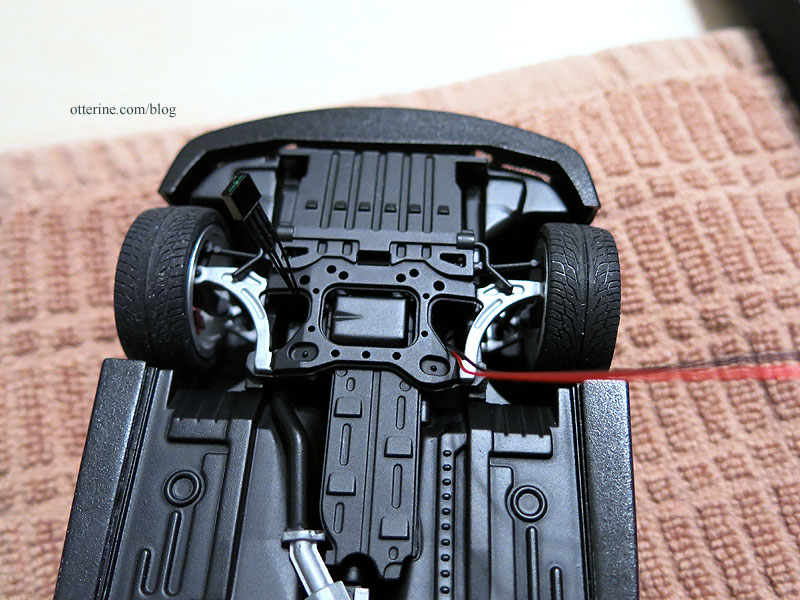
The sensor will need to be mounted on the car outside of the engine compartment, and it has plenty of excess length so I can position it on the chassis after I get the car assembled. It’s easy enough to push any unneeded length of wire back in after assembly. The remaining half of the connector will hang from the car to be plugged into the base. On the inside, there is plenty of electrical tape holding things neatly in place.
Here I am checking the fit without glue.
Checking that the lights work after each step is imperative in working with LEDs. You don’t want to get through the whole ordeal just to backtrack to find your issue.
I know, all this chatter about lights, and I leave you without a photo of the pizzazz? You won’t have to wait long. I want to finish up the build and use the wow photos for the final post.


