Now I can tell you why I had been searching for shoddy Dura-Craft trim wood. To make a rustic floor in The Artist’s Studio, of course! :D I love the variation in colors and texture.
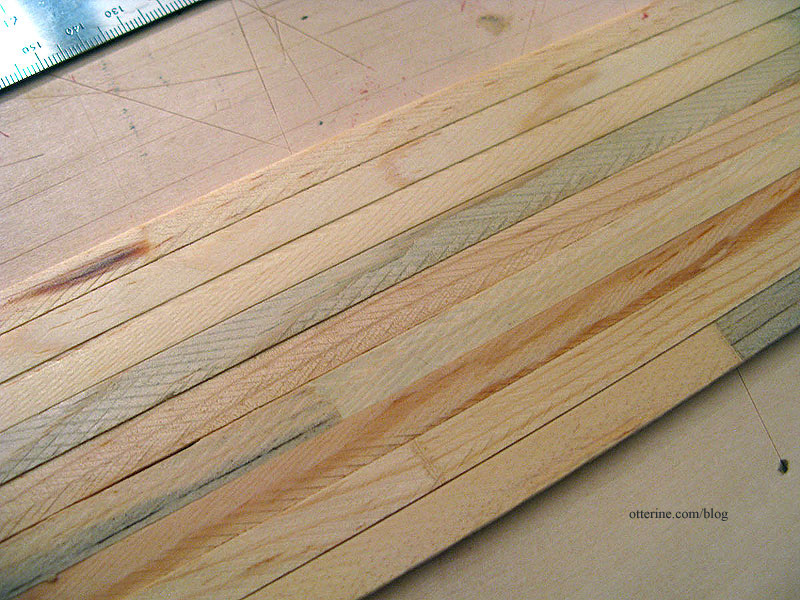
Alas, the Studio was too big for the minimal amount I was able to gather. A few people sent me some scraps, but it still was not enough. But, fear not!!! Mike has come to the rescue! I sent him some samples of the original wood, and he cut a whole bunch of random planks of poplar and pine for me using the originals for size reference.
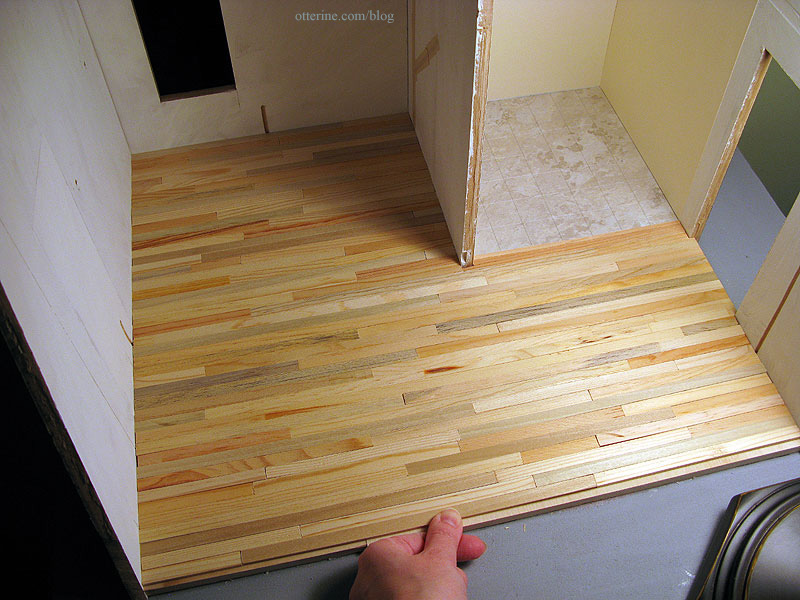
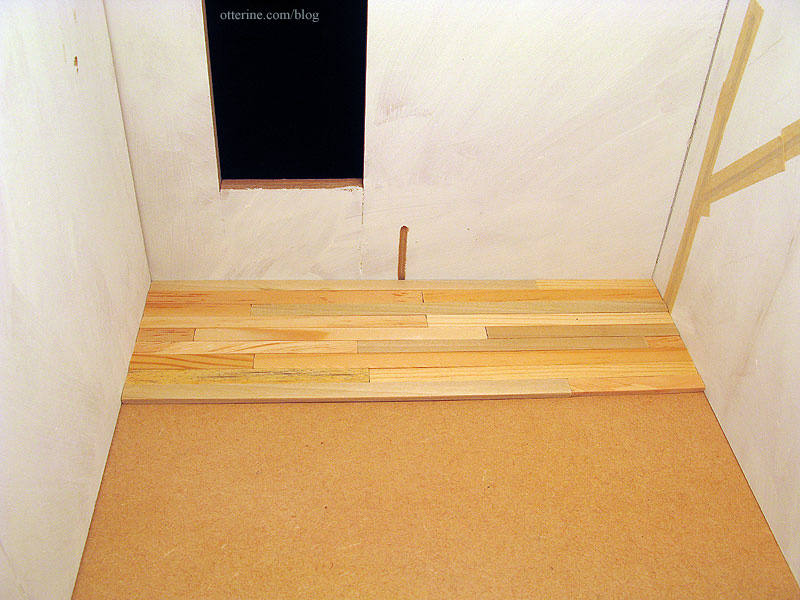
I will use my Dura-Craft boards mixed with his planks to blend the various colors. Most of the floor will be covered in the back left portion of the room, either with the stove platform, rug or furnishings, so most of the fancier Dura-Craft boards will be used toward the front. Here’s a quick random layout. I think it will be wonderful!
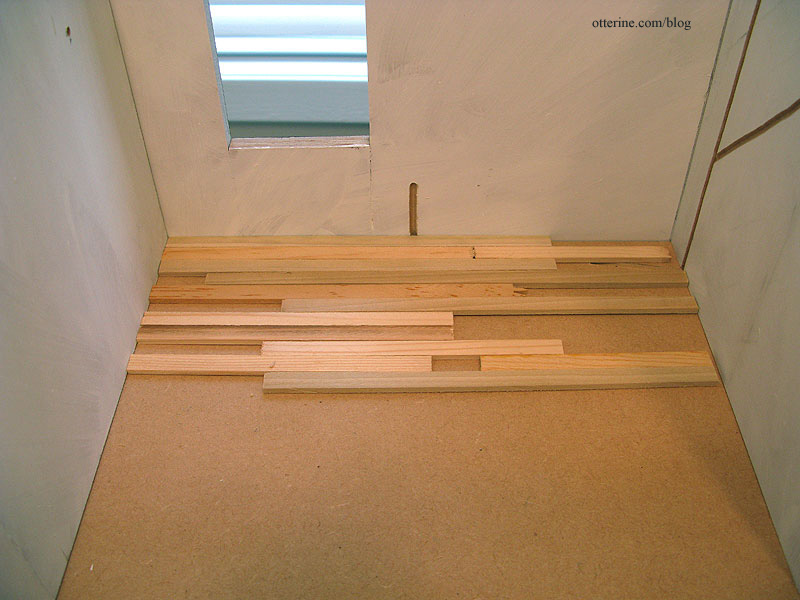
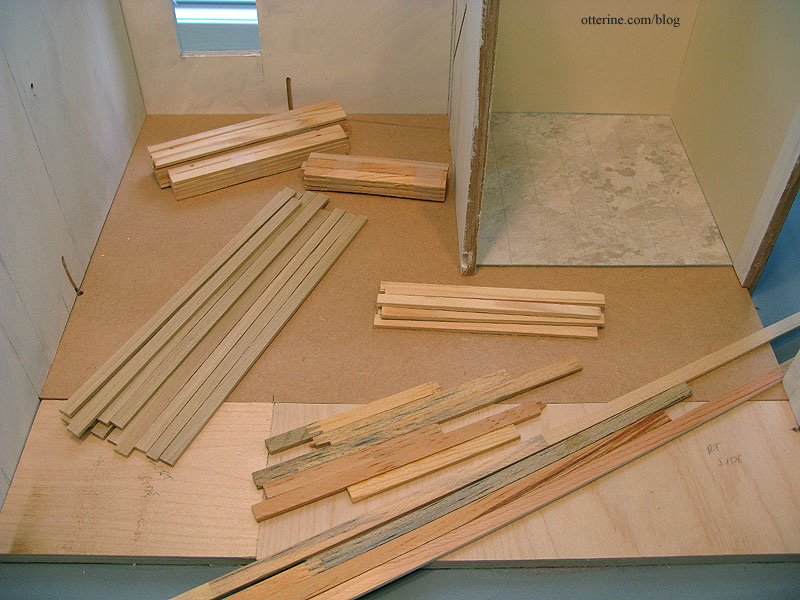
My scroll saw and I are getting acquainted quickly. I started cutting and placing the wood boards for the rustic floor. I’m doing my best to make it a random plank floor by using the various lengths Mike cut for me and then piecing end boards to finish each row.
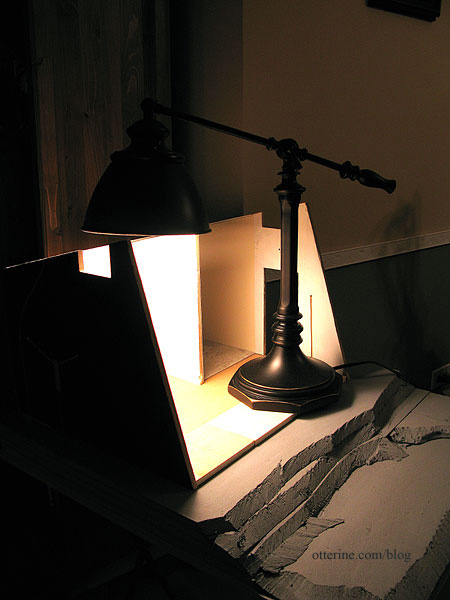
My scroll saw is clamped to the end of the dining room table (I just had an image of carving a Thanksgiving turkey with it…haaaa!). The Artist’s Studio, however, is set up in the breakfast nook in my kitchen. That setup seemed like a lot of back and forth work. I moved the Studio to the dining room, but the light isn’t the best in that area. So, I’m using my sewing lamp as a work light. Not quite to scale, is it?
I decided to cut and place the entire floor without glue. I’m positive Mike sent me plenty of wood, but I wanted to see it whole before installing it permanently. Love it!
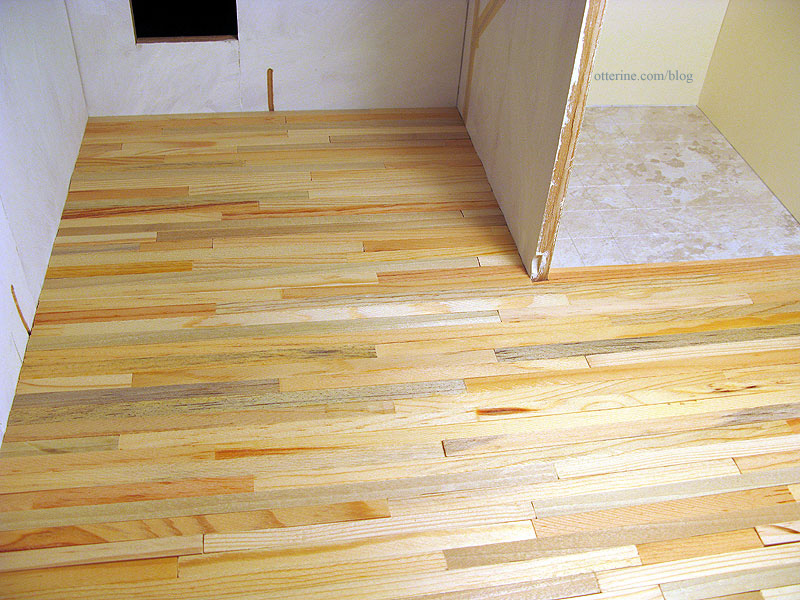
Toward the front, I interspersed the Dura-Craft wood I had at the start. I’ve left the very front edge uncovered and will finish that row once the whole floor is glued in place.