
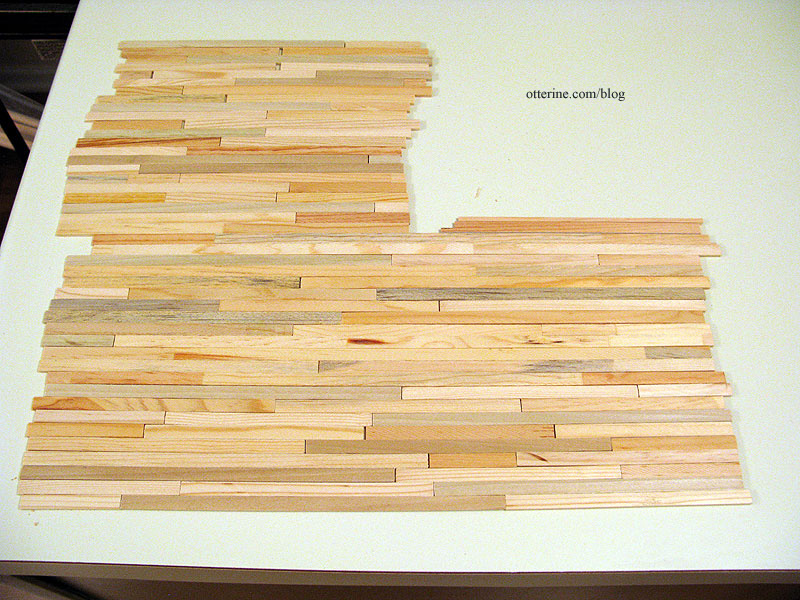
Lucille suggested using a template, so that is where I started with the rustic wood floor. I moved the boards I cut previously onto the kitchen counter.
I cut a template from regular drawing paper. I had used a darker color for the Heritage attic, but I didn’t feel like running to the store just for a piece of paper. I didn’t think much of the white paper would show ultimately.

I glued the boards in place with the template inside the Studio. I hoped it would make for a better fit. It was such a great fit that I had a hard time taking the assembled floor back out of the structure. :D

I sanded the boards with my Dremel Multi-Max oscillating tool, first using a medium grit paper followed by a fine grit paper.

The end result was a smoother surface, but I took Mike’s advice and left it a little uneven to keep the rustic beauty.

For finishing, I brushed on two coats of Delta Ceramcoat satin varnish. It warmed the wood slightly and gave it a subtle sheen.

I used a modest amount of glue to install the flooring since the thicker boards were relatively flat. Love it!


