
I bought the white Robox with the intent of altering the color to be more mechanical. The green (military) was darker than I wanted.
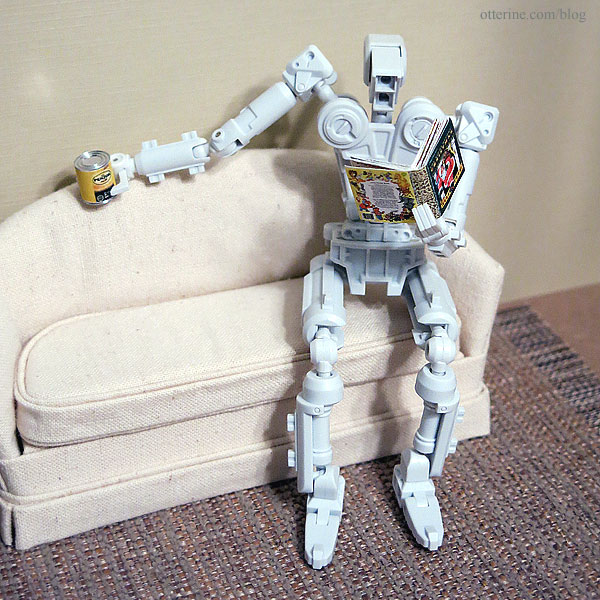
Painting is an option, but the figure can’t be taken apart other than removing at the shoulder, elbow, hip and knee ball joints. The head and ankles also separate but are smaller joints. The remaining connections have pins. That would make painting difficult and possibly disastrous, so I researched the possibility of using dye. It would still settle into joins, but it might be easier to control than paint.

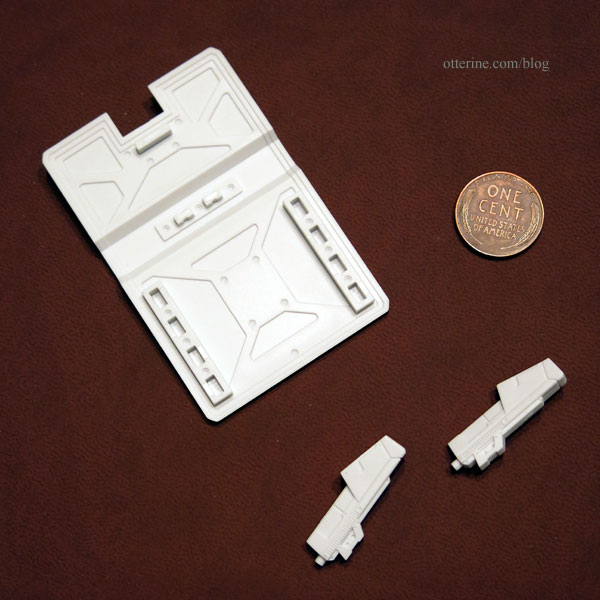
I had two weapons and the shield to use for testing dye.
I bought a saucepan, tongs and aluminum trays for craft use only. I also had latex gloves and a clock with a second hand for tracking time.
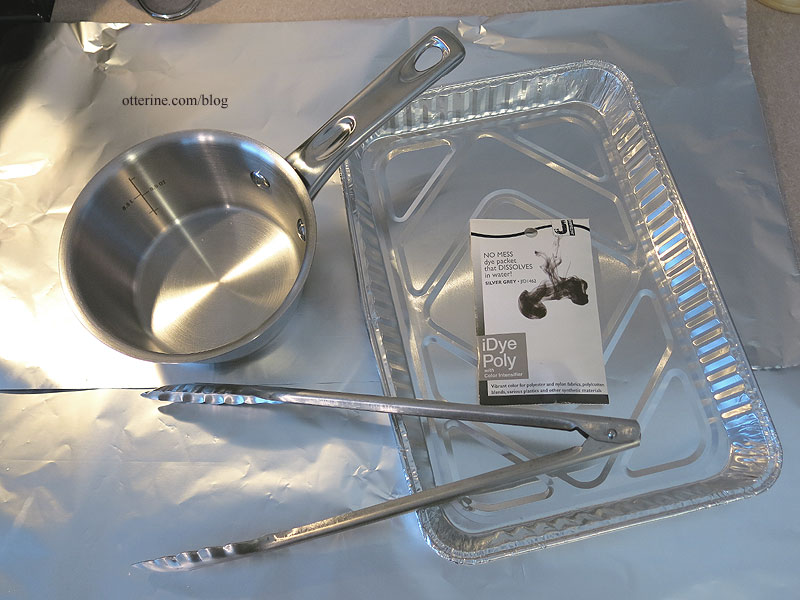
The first attempt was with iDye Poly in silver grey. You are to use the whole packet which dissolves in water, but that is also meant for a large amount of fabric. I didn’t use the intensifier since I was looking for a lighter color change.
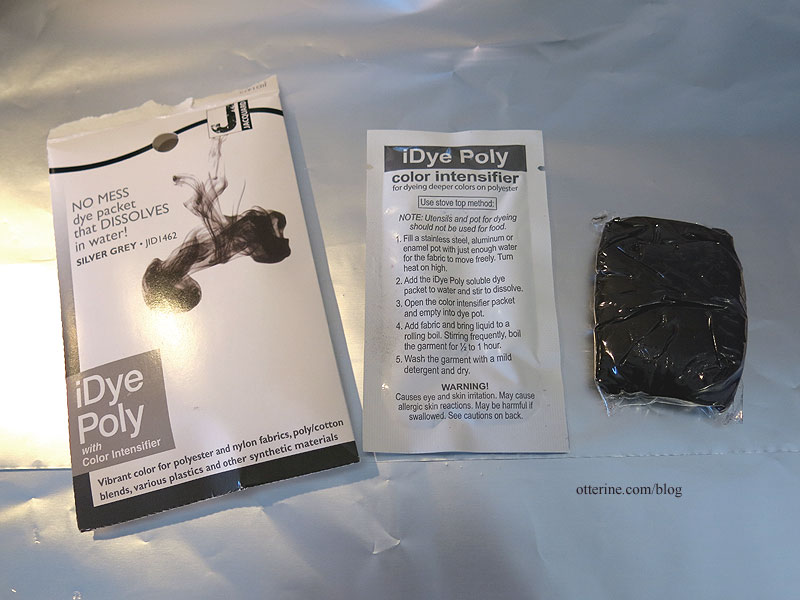
I decided to cut the packet open in a sandwich bag to use less. I started with a plastic teaspoon measure of the dye in a half quart of water.

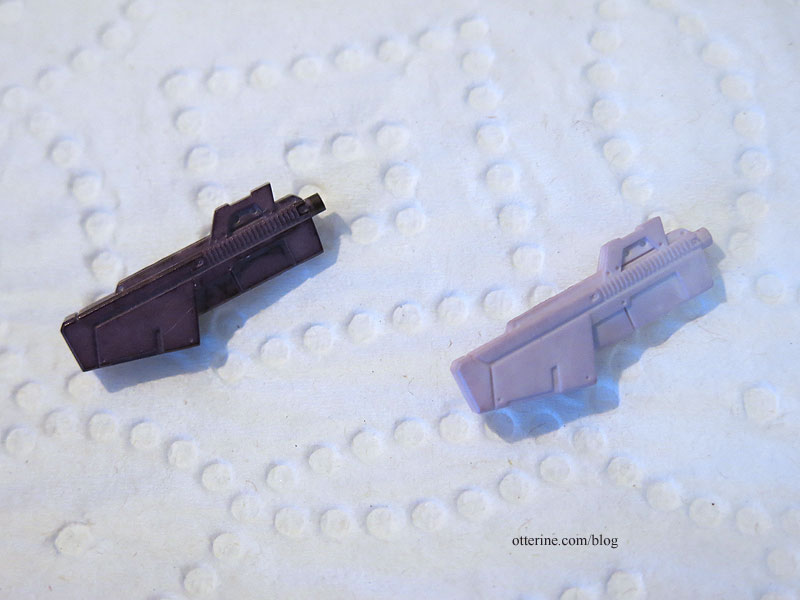
After one minute in the boiling dye water, the color came out a dark violet purple. Not exactly what I was going for. I dumped that water completely and then used half the amount of dye in a half quart of fresh water. As expected, this made the plastic lavender. There was just more red in the mix than I wanted. What I did like was the subtle variation in coverage, which gave the items more depth and character.
I cut the shield into pieces for the remaining trials. Since I had three additional colors, I decided to try all of them to make the final choice. First, one teaspoon of iDye Poly in gunmetal in a half quart of water. This was just another shade of purple.
Second, two teaspoons of RIT Dye More in Frost Grey in a half quart of water, which I did for short duration and longer duration for two good results of grey. Third, one teaspoon of RIT Dye More in Graphite in a half quart of water, which was again purple and dark. I opted for RIT Frost Grey in the medium tone.

I pulled the figure apart at the major ball joints.

I had to do three batches since the water would boil off as I went: arms, legs, then torso/head as one unit. My end result was a 95% success. In an unexpected but promising turn, the joints turned darker and that would save me time trying to detail those. One calf and one forearm turned a slightly different shade of grey with more brown in it; the calf is the most obvious. The functionality was impacted slightly in that the ball joints are very tight now (I suspect the heat impacted the two types of plastic differently), except the head rolls about. :D I added some mini hold wax to the head joint and fixed that issue. I will add some lubricant to the other joints.

I will add further details and aging, but I am pleased with the results so far. I can work on the mismatched coloration, or perhaps he’s had an overhaul or two with not-quite-right replacement parts. :D


