Alright, Heritage, I’ve accepted your challenge of rough interior walls, warping and large gaps! :D
I put together the attic floor, though it won’t be glued in for quite some time. I tested the fit against the roof that gave me such trouble. It doesn’t fit in the same places where there are gaps between the walls and the roof. With minor adjustments, I should be able to keep and use most of this board. I know I will have to re-cut the part that fits into the front gable because the gaps are all around and there is no way to attach it to the house.
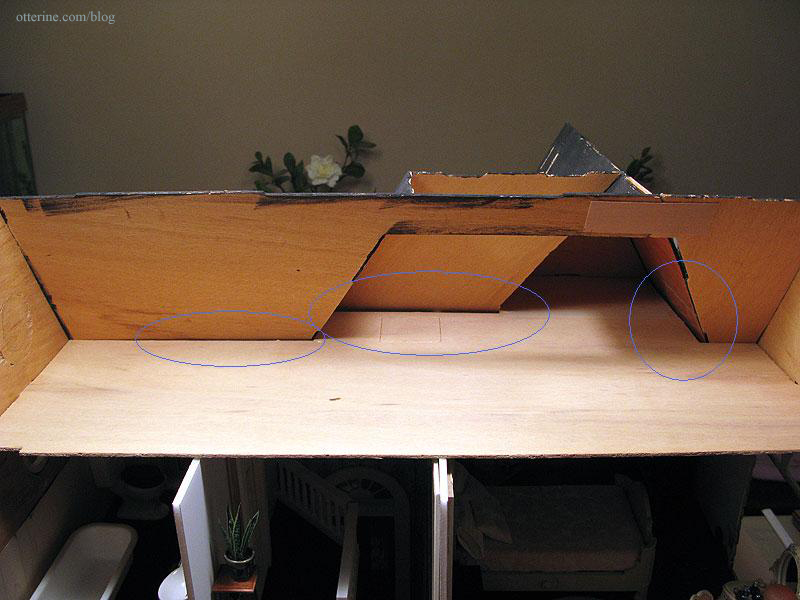
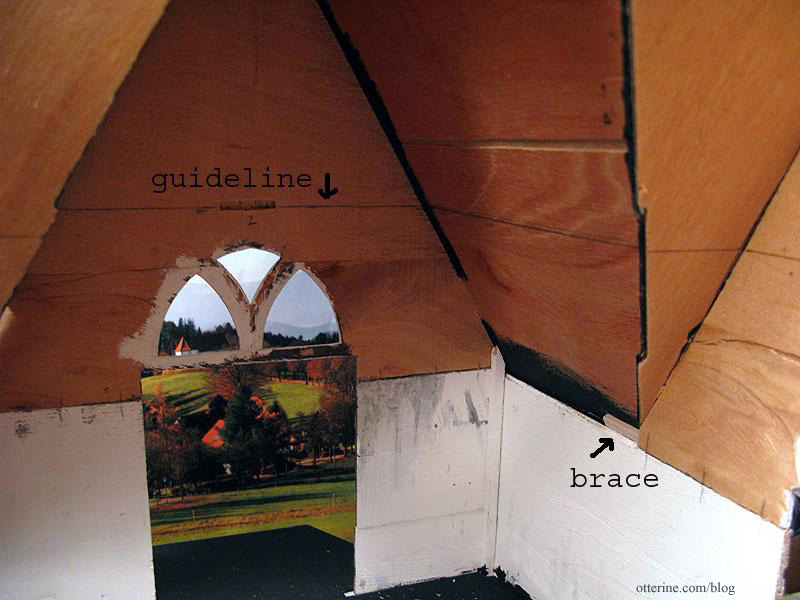
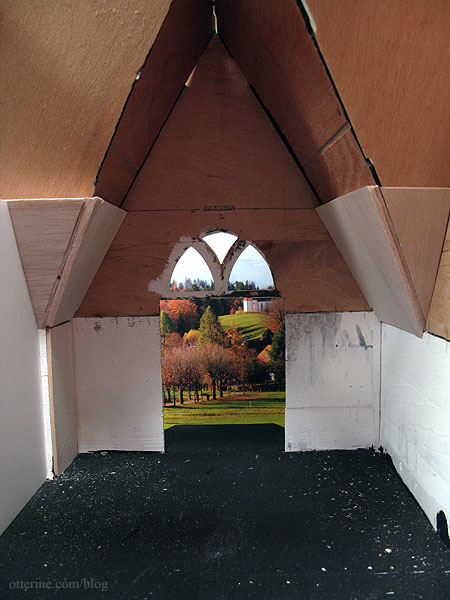
I marked the line around the house where the attic board sits: 7 1/4″ on the bathroom/parlor side and 8 3/16″ on the bedroom/kitchen side. This guideline shows me where the walls end on the second floor.
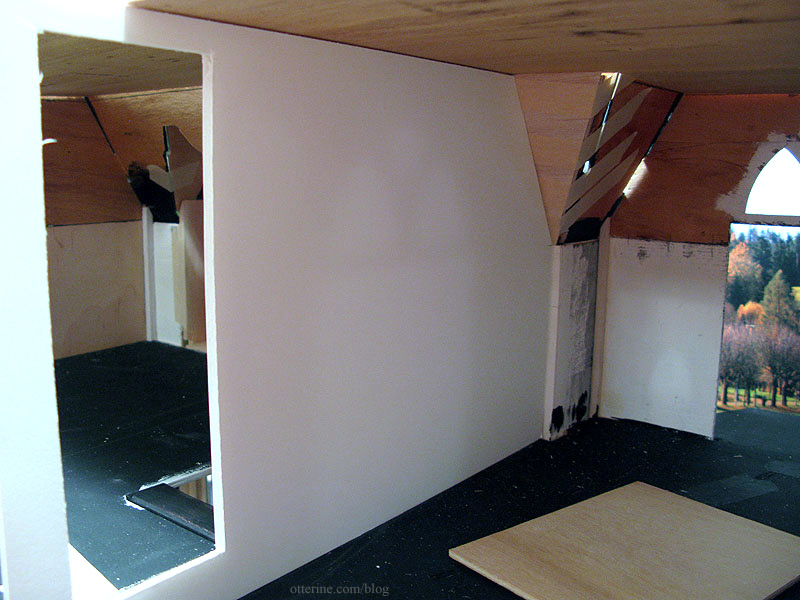
Now, for the gaps. Even though the two main gaps between the lower edge of the roof and the upper walls don’t show from the outside unless you look for them, light will stream through if they are left uncovered. They also make it difficult to wallpaper since there are uneven surfaces and breaks in the wall.
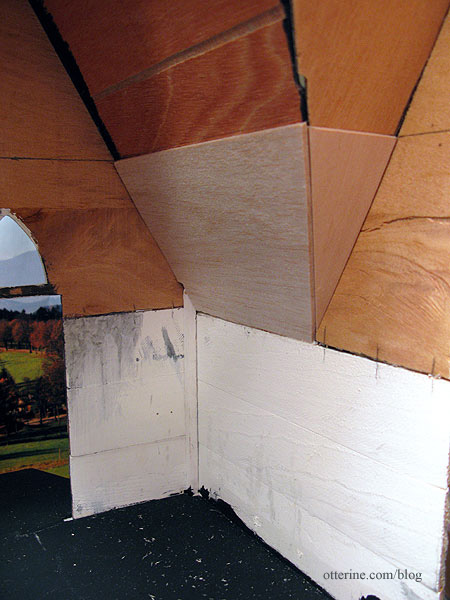
I decided to address the bedroom gap first since it seemed the most straightforward. I needed to join the wall with the ceiling in a fluid manner. I started by adding a scrap wood brace at the top of the wall.
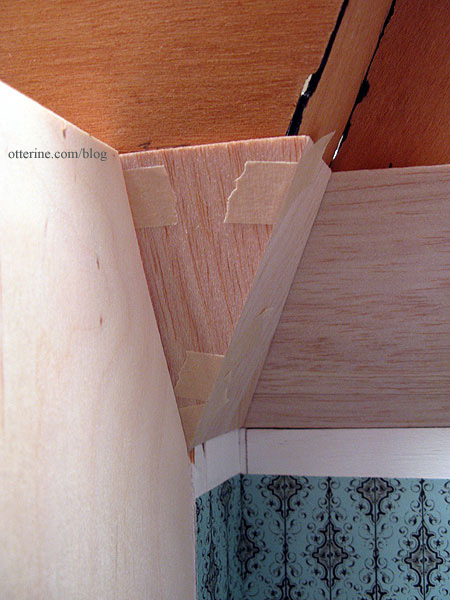
I then covered the surface of the wall with balsa cut to meet the ceiling guideline and the triangular bend in the wall. This minor bit of padding won’t interfere with the fit of the windows and smooths out this entire corner.
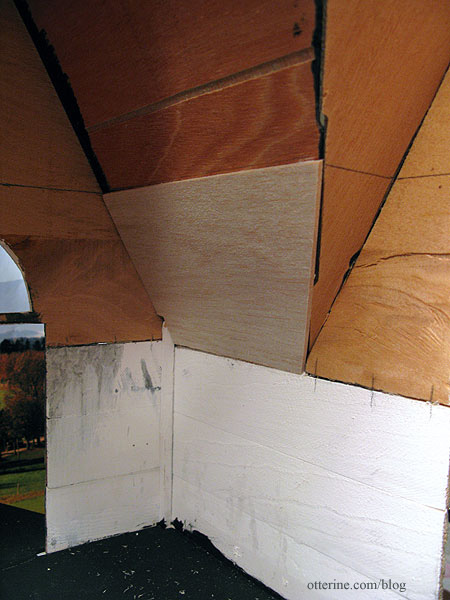
I added a small basswood triangle to finish off the edge. There is now a flat, even surface for the wallpaper.
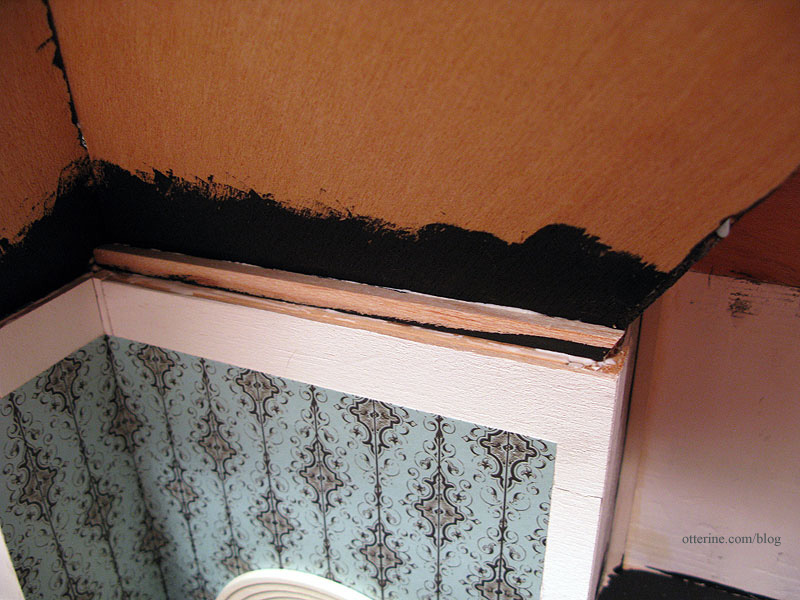
The large front gap in the two-story foyer was at least uniform. I built up the front wall with strip wood and used black paint on the side that might show from the outside (if you were standing on your head and looking where you shouldn’t be looking).
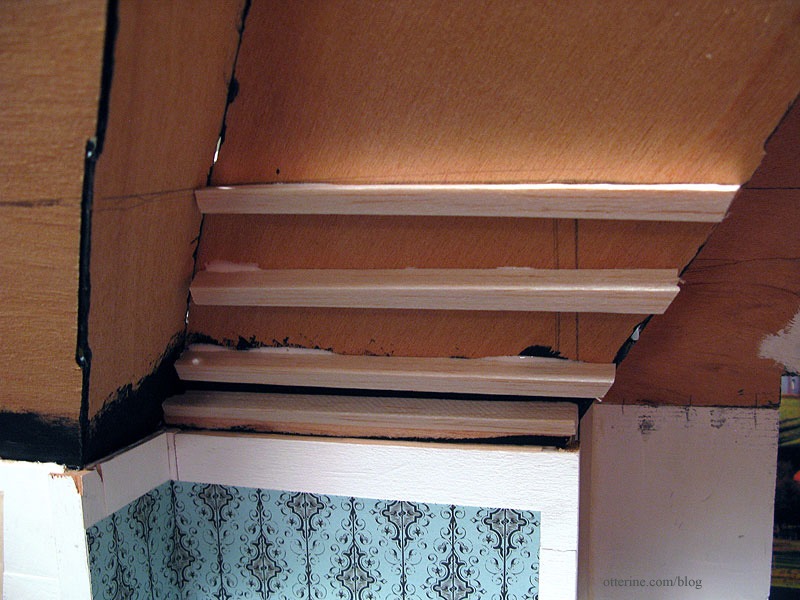
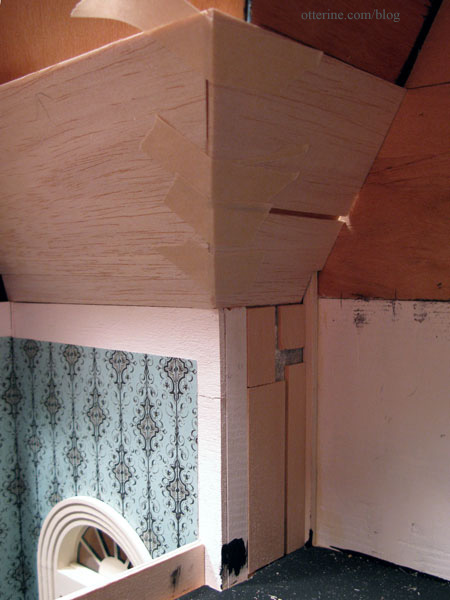
There was more to build up on this wall, so I made makeshift rafters, cutting the top one at an angle to support the attic floor. I’d like to avoid putting in crown molding if possible. If anything, flat decorative trim would be the only thing possible with all the angles and pitch changes in the roof. I also made sure the ends of the rafters followed the angle of the side wall into the bedroom.
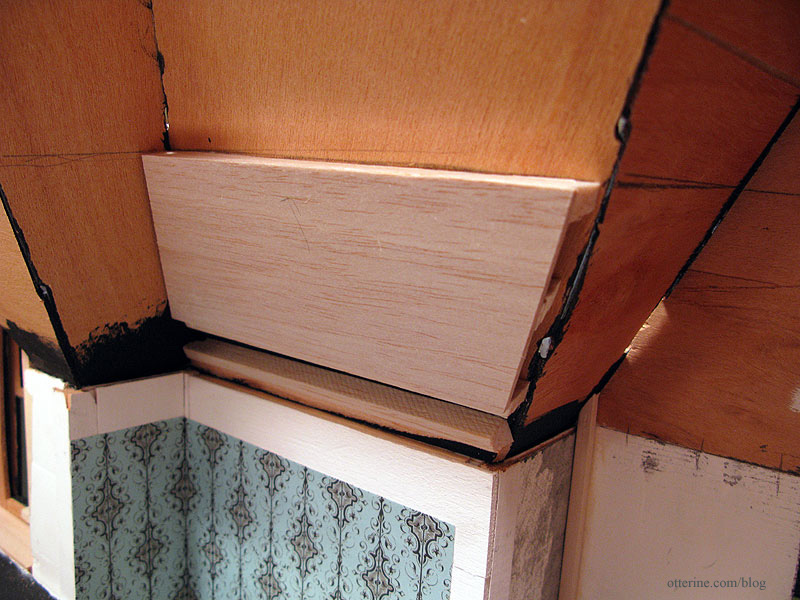
I cut pieces of balsa sheet to cover the rafters, using two layers. The start of the first layer is shown here.
I had to adjust the angle of the bedroom wall template.
On the left side of the bedroom, I finished padding the wall and angled ceiling. I first added scraps of 3/32″ thick wood to fill in to the depth of the inner wall connector.
I then filled in with 1/8″ thick wood to the depth of the outer wall connector. Now I won’t have to wallpaper around those angles.
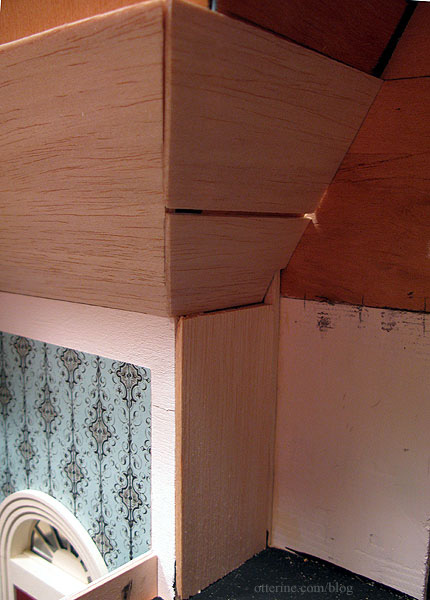
I finished the angled ceiling with 1/8″ thick balsa to even out the transition between the wall and the ceiling. Since I added more wood to this side than I had to the opposite wall, I added one more layer to that wall to balance out the sides. I have since applied spackling over the few gaps and ends to even out the surfaces further.
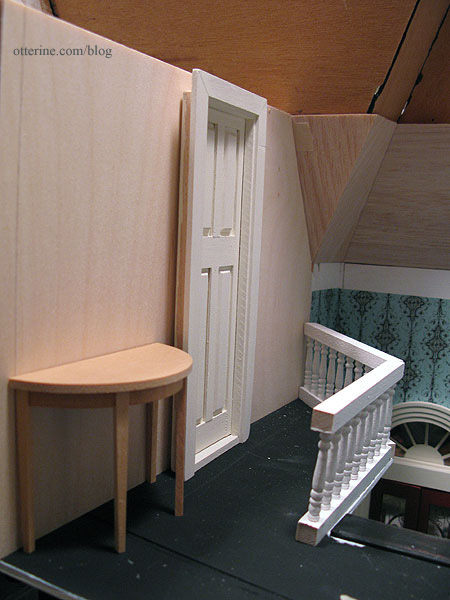
I finished padding the left upper corner in the two story foyer and cut the new bathroom wall from 1/4″ thick plywood.
The wall isn’t yet installed since I need to cut the door opening. I think the House of Miniatures Hepplewhite Side Table will be the perfect addition to this small space.