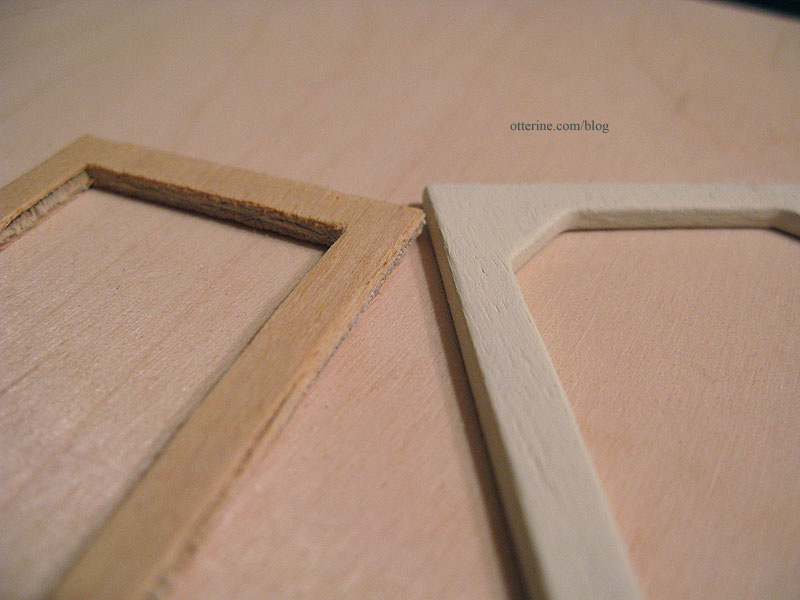
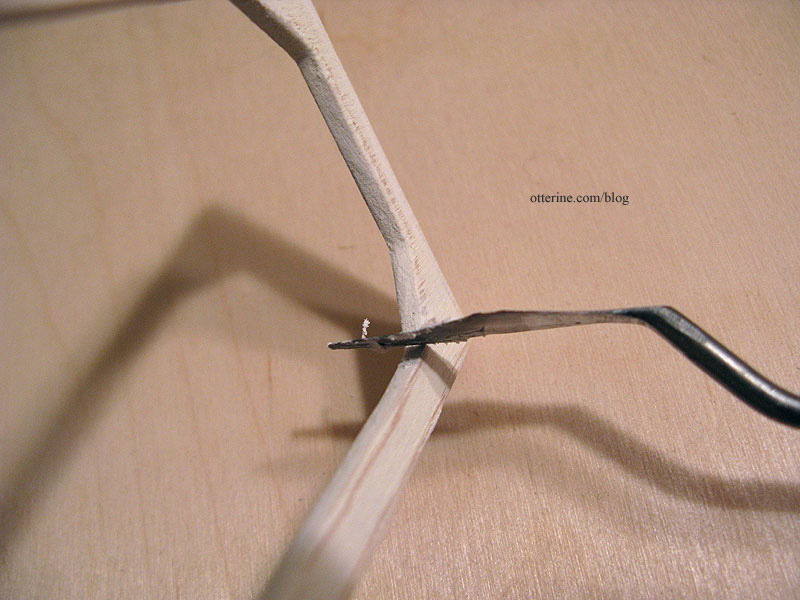
I’m guessing there are other ways to do this, but this is the method that works for me. The die-cut kit parts for the Heritage are mostly good, though a few are just plain awful. They are both dried up and poorly cut…stamped more than die-cut, actually. They are splintered and brittle.
I first cut them out from the frames with a blade trying to limit the splinters and uneven edges. I then sand them lightly to remove the obvious imperfections. I use 320 grit sandpaper since I mainly want to remove the top layers and not reshape the pieces.
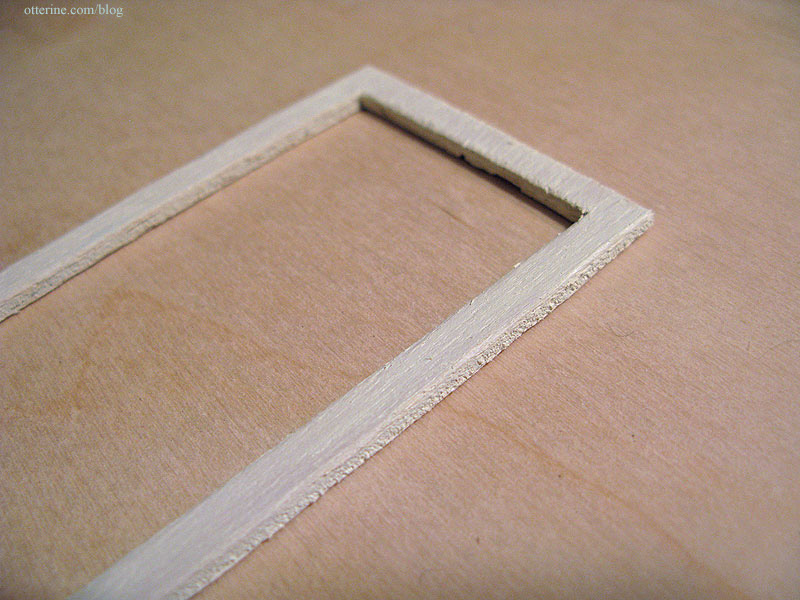
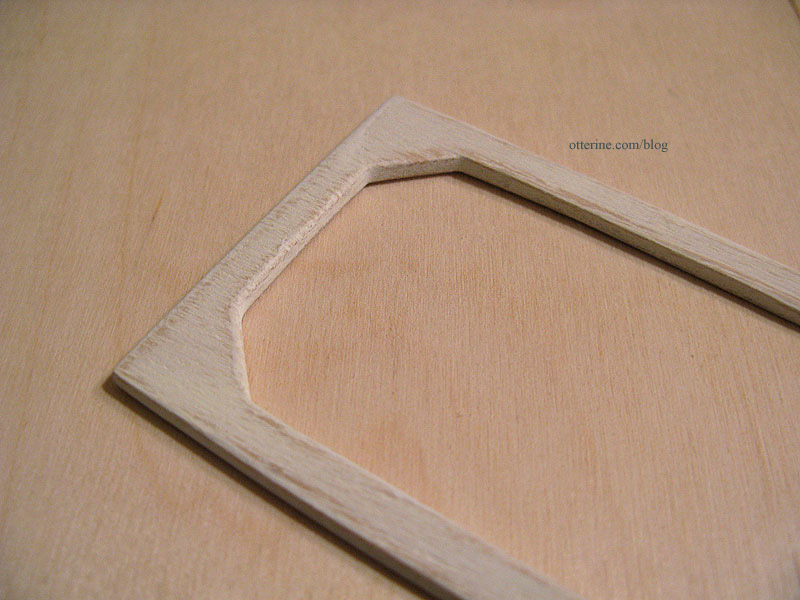
As you can see, the wood is still pretty lousy – especially on the edges.

I paint one coat of acrylic, keeping the layer even and thin. I also paint in the direction of the grain instead of across it. Yes, it looks worse before it gets better. :\
I let it dry completely, even overnight before doing the next bit of sanding. The paint bonds to the wood fibers and makes it easier to achieve a smooth finish. I end up taking quite a bit of this first layer of paint off with sanding. It already looks better, even with those two bad places still needing repair.
I then spackle any imperfections along the edges, applying the compound with my fingers. It’s easier than trying to use a large tool for application and the main objective is to push the spackling into the tiny gaps in the wood. Other than repairing obvious or larger flaws, I keep the spackling only on the edges. I don’t want to take away the wood grain by filling in the face of the frame.
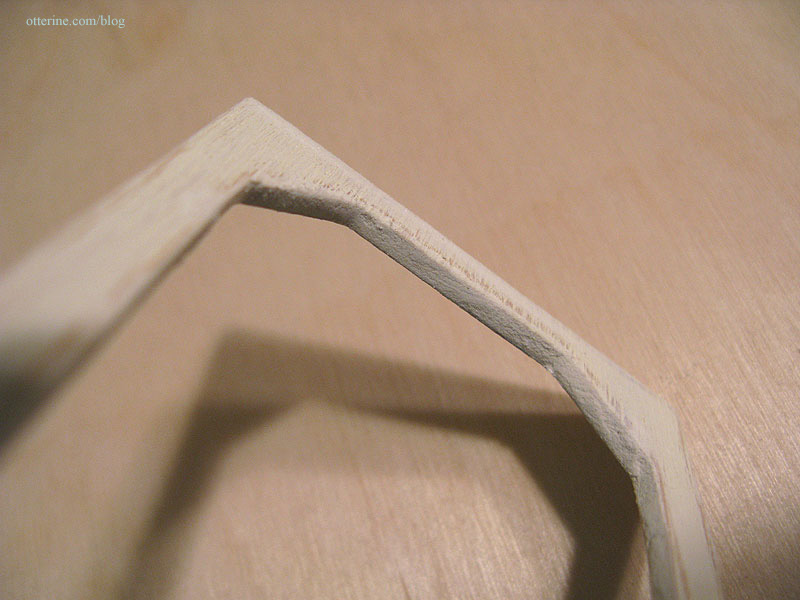
When it builds up in the angles or corners, I clear out the excess with an old painting palette knife that’s seen better days…but it’s one of the most valuable tools in my miniature making toolbox! :D
After this has dried completely, I sand again. If there are any more obvious imperfections, I spackle those and wait for it to dry again.
I wipe down the piece to remove as much dust as possible and paint, again keeping with the grain of the wood. The key is to work with light layers and use long brushstrokes. The leftover dust will make the paint gum up a bit if it’s applied too heavily or overworked.
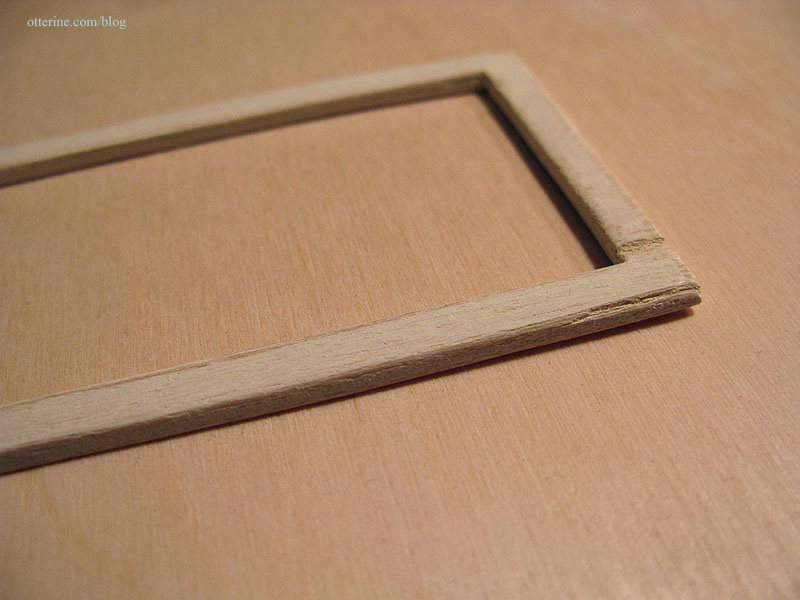
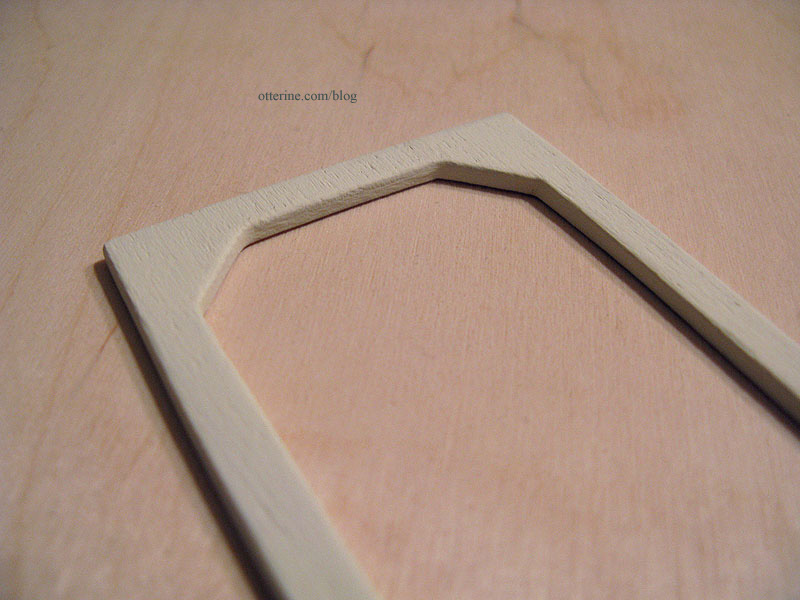
And, here we are…painted wood with a nice finish. :D
I don’t always use a sealer – depends on the type of finish I want. For interior trims, I leave them unsealed for a perfect matte finish.

This is a part freshly cut from the frame compared to my new finished piece.