If you recall from a previous post, I noticed that the Heritage bedroom paper had buckled in a few places on the long wall after using Yes paste. After posting a question on the Greenleaf forum for suggestions, I received two great ideas. (Note: I no longer recommend Yes paste – I use Wallpaper Mucilage instead. Yes paste has problems with longevity.)
One suggestion for fixing the paper involved using a glue syringe. I would cut a small slit in the paper, lift the edge and inject glue under the paper. I would use a credit card or similar flat edge to distribute the glue and even out the paper. To disguise the slit in the paper, I would just hang a framed photograph or small painting. The other suggestion was to form a curtain behind the bed. I’ve seen fancy valances and partial canopies that fasten to the wall and have draped fabric hanging down to the floor.
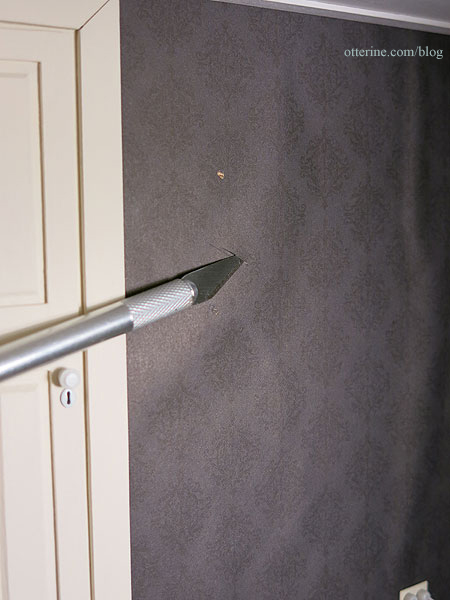
First, I worked on repairing the one large bubble between the bed and the door. I used a bright light to make sure I was getting the right spot.
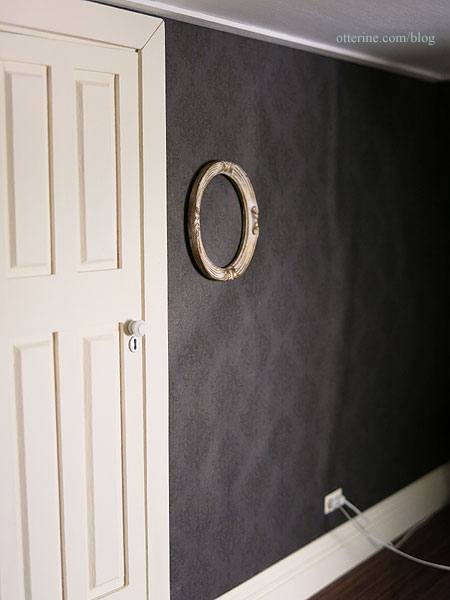
I kept my oval frame in place to show where the cut would need to be. I used a brand new blade to make a clean cut in the paper about 1/2″ long.

The dot above the cut is the mini hold wax I used to hold the frame in place. I left it to make sure I put the frame back in the same spot after the repair.
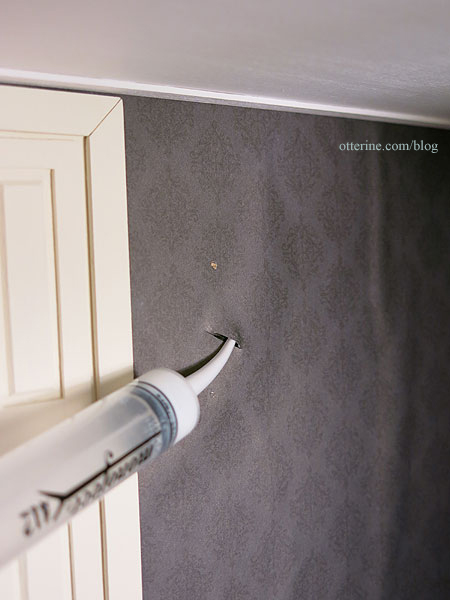
I put some Aleene’s Quick Dry glue into my syringe.
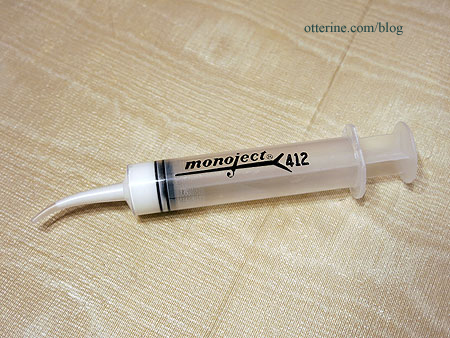
I lifted the edge of the paper and inserted the syringe tip. I squeezed out a good amount of glue into the bubble.
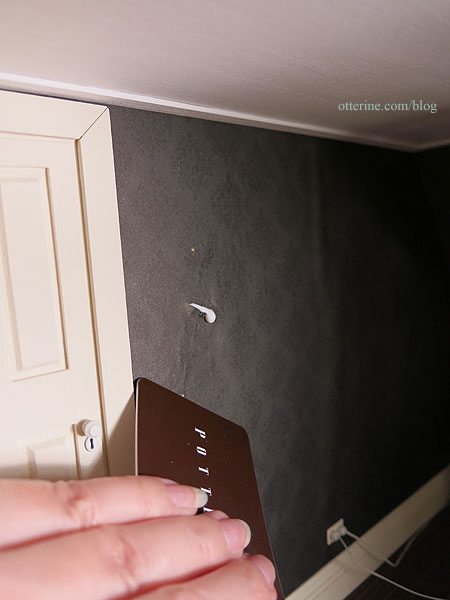
Using a plastic gift card, I smushed (technical term there) the glue around inside the upper portion of the bubble. I then repeated the process for the lower portion.
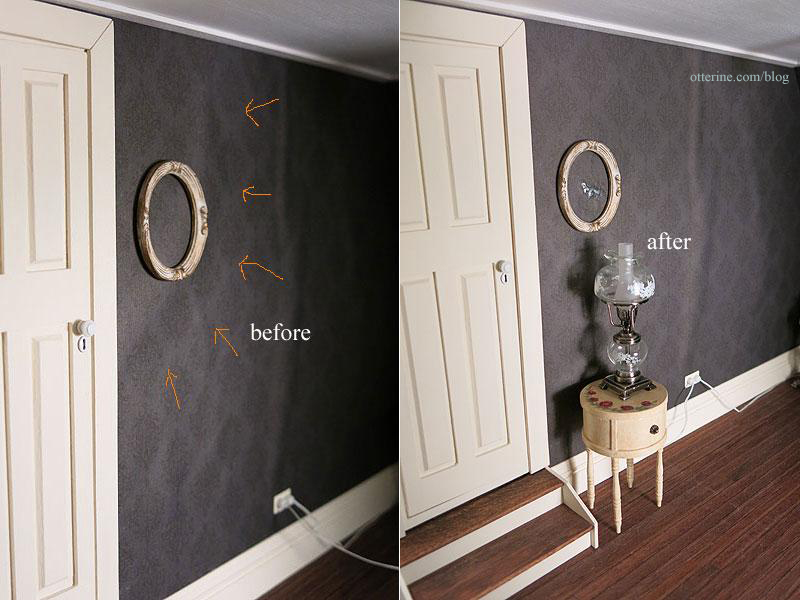
I used the back of my fingernail and lightly rubbed the surface in a circular motion to even out the texture. It’s not perfect by any means, but it looks so much better than it did. There was one spot where there was something under the paper, so it marred the front just a little. The tall lamp covers that without a problem. The seam will be behind the oval frame and hidden. I just need something for the frame…I’m thinking a 1920s wedding photo. :D
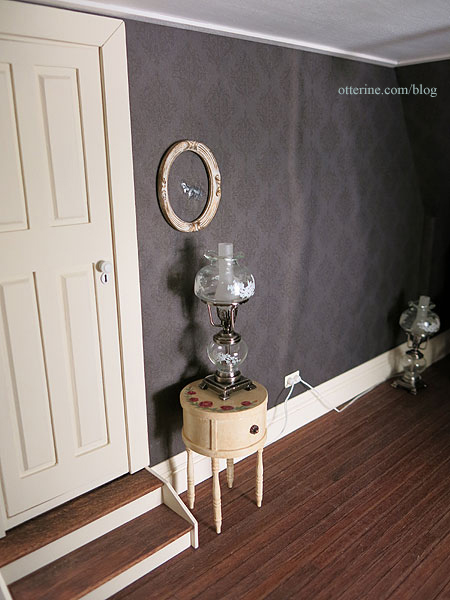
Success!
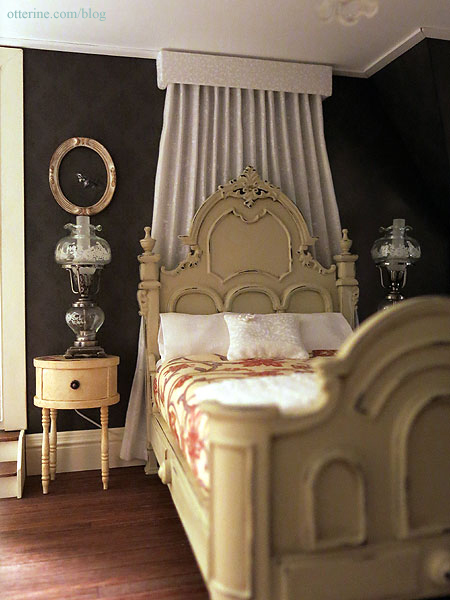
For the larger vertical bubble and the small one right next to it, I used the wall curtain idea instead of attempting to inject glue into the bubbles. I mocked up a drapery panel with plain white paper even though I wasn’t sure about using a light colored fabric behind the light colored headboard. But, I loved it instantly, and it was just quickly folded paper! The drapery would be less stark since the fabric I had in mind was relatively sheer.
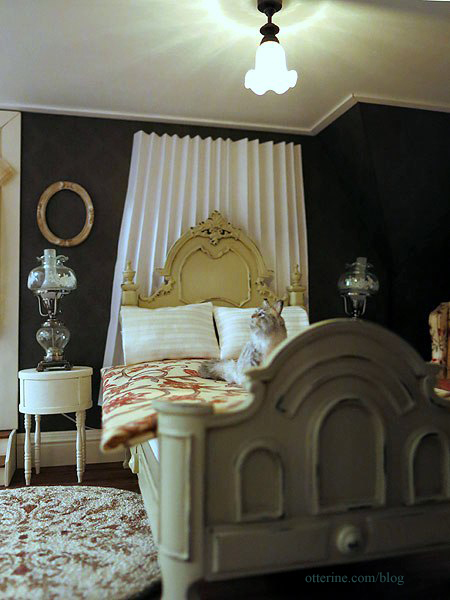
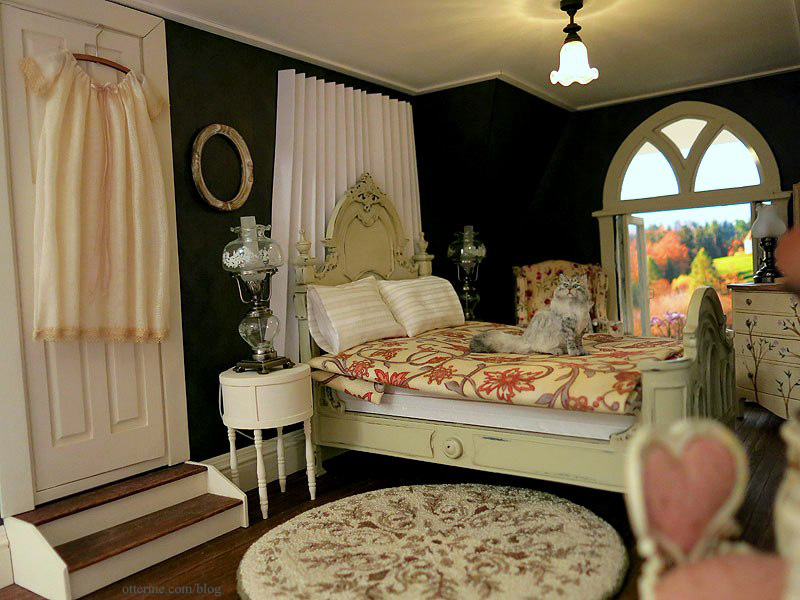
The drapery panel also creates the perfect balance with the two floor-to-ceiling windows on the other two walls.
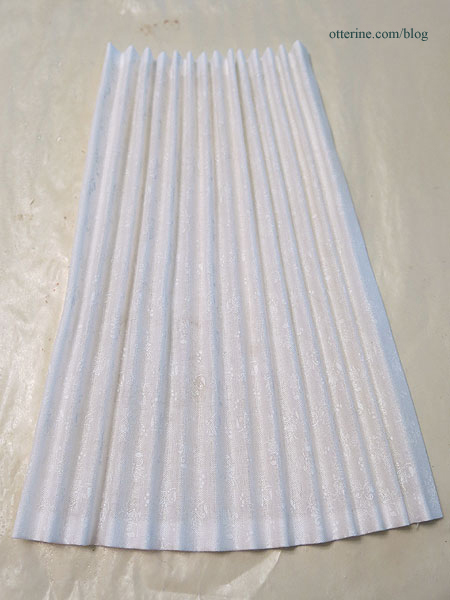
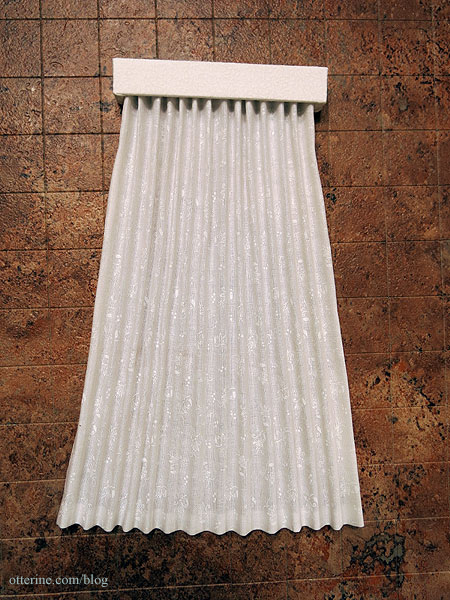
I made the wall panel a few days ago using the Millie August Magic Mini pleating tool. I made the pleats with the tool and then sprayed them with Aleene’s Stiffen Quik to set my final arrangement.
I made a pelmet for the bedroom curtain (top) smaller than the one I made for the parlor (bottom).

I painted it white and then covered it with the same fabric I used for the accent pillow on the bed. I hadn’t needed to paint the pelmet in the parlor since the fabric was darker. I glued the curtain inside the pelmet.
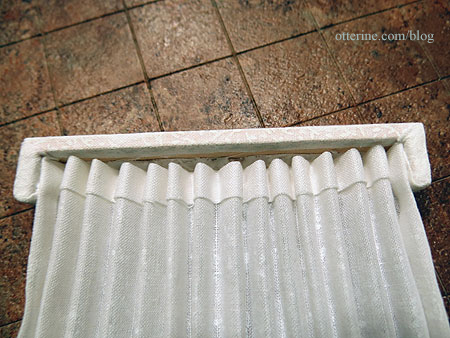
I used mini hold wax to attach the pelmet to the wall. If I ever need to remove it for cleaning or replacement, I won’t risk damaging the delicate paper on the wall.
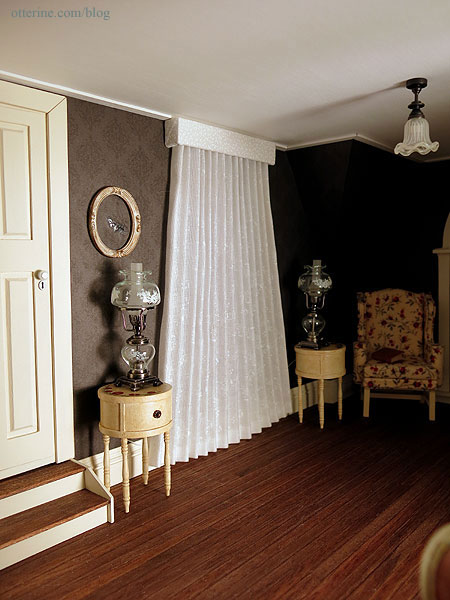
The bubbles are covered, and the panel adds a wonderful design element. I would never have done this without the wallpaper problem, so I suppose it’s another one of those happy accidents. :D