Time to set up the work room for Hampton House. When I set up my fly-by-night scenes, I use a lot of tape in addition to smoke and mirrors. These rooms aren’t meant to be permanent, so the materials I use are quick and plentiful. I don’t use limited papers (unless they are only clipped in place) or spend a lot of time on room design. It just needs to be a box with finishes that will blend into the background.
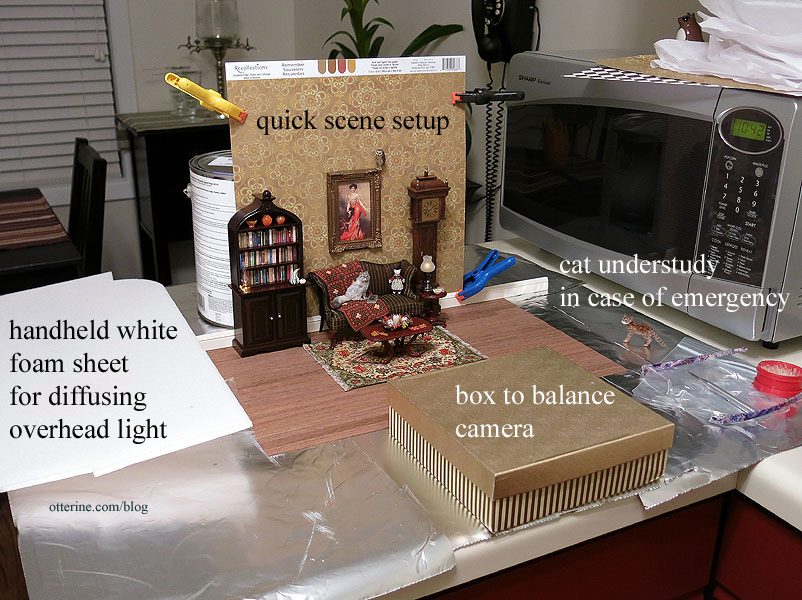
Here’s my Halloween 2013 scene, for instance. It was set up on the kitchen counter. I used a sheet of unfinished wood flooring, a scrapbook paper sheet clipped to a piece of plywood and held up by a can of paint and miscellaneous miniatures to create the scene. I have a box for balancing the camera in low light for the nighttime photos and a piece of white foam for diffusing the overhead light in normal lighting conditions.
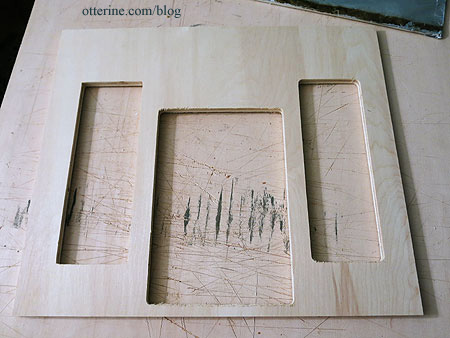
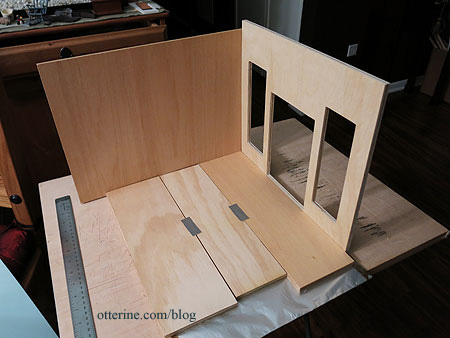
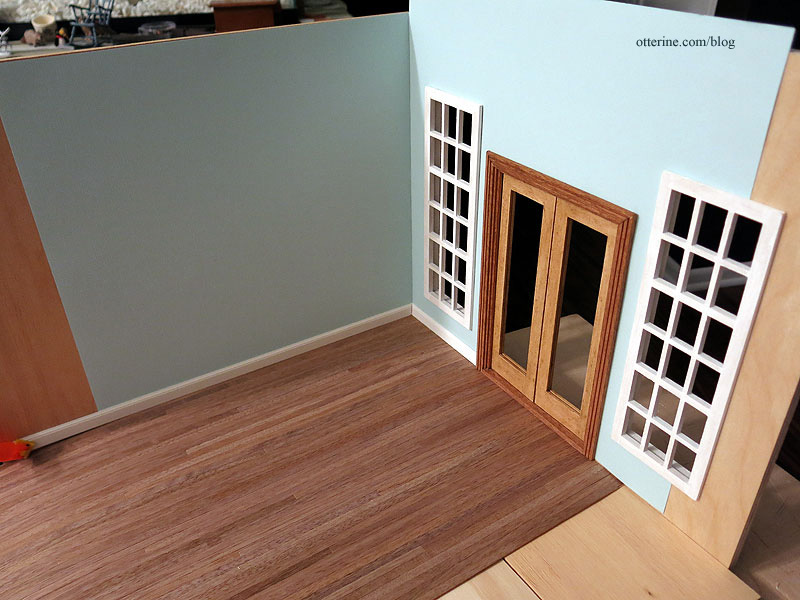
Since I’ll be working on this new scene for a few days, I set it up on a board so I can move it around. For a room with sidewalls, I usually use the pre-cut piece from the Foxhall Conservatory I used to make the Newport garage. Unfortunately, it was one of the few things ruined in the lightning strike, but I have the front board from that kit as well as the windows. I could cut a new board, but this will work for now.
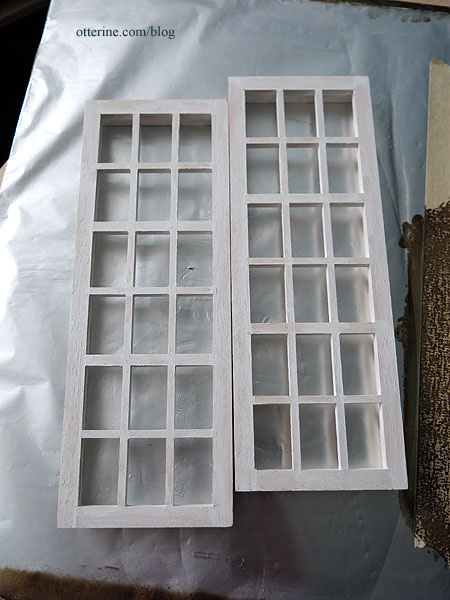
The windows have only a coat of primer, so perhaps I should take some time to finish them eventually. :D
I need one side wall for this setup, so I used duct tape to attach another spare board for better stability without permanence. I didn’t have a large 3/8″ thick board for the floor, so I used three smaller scraps.
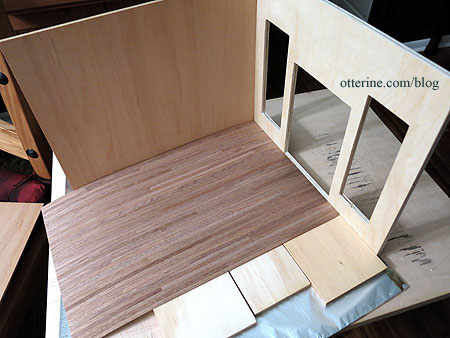
I taped an unfinished flooring sheet in place since I don’t have any finished ones awaiting installation.
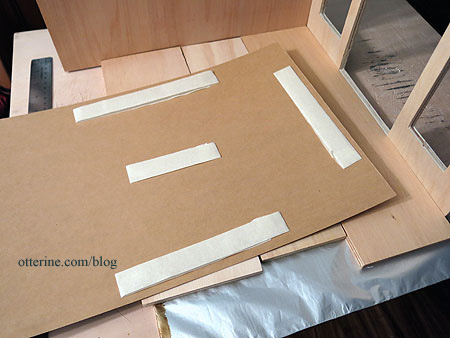
I use common cardstock paper in a neutral color when I cut for my temporary scenes. It’s replaceable after use, though I do try to keep it for future scenes if I can. I use double-sided tape to keep it in place.
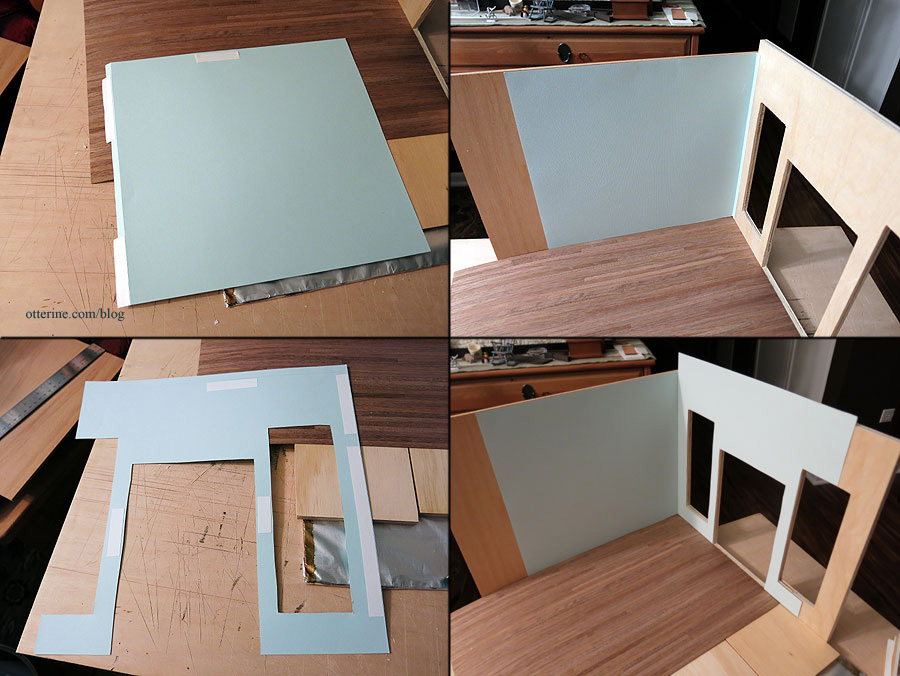
I install the windows backwards so I don’t have to worry about interior trim. I don’t have a double French door painted white, but I have one stained for the Chalet. I just hope it doesn’t offend anyone’s sensibilities to have white trim throughout, except for the door. I put the “glass” in the corner window but left it out of the door and far window. I happen to have some finished baseboard pieces, so I used mini hold wax and a clip to keep those in place.
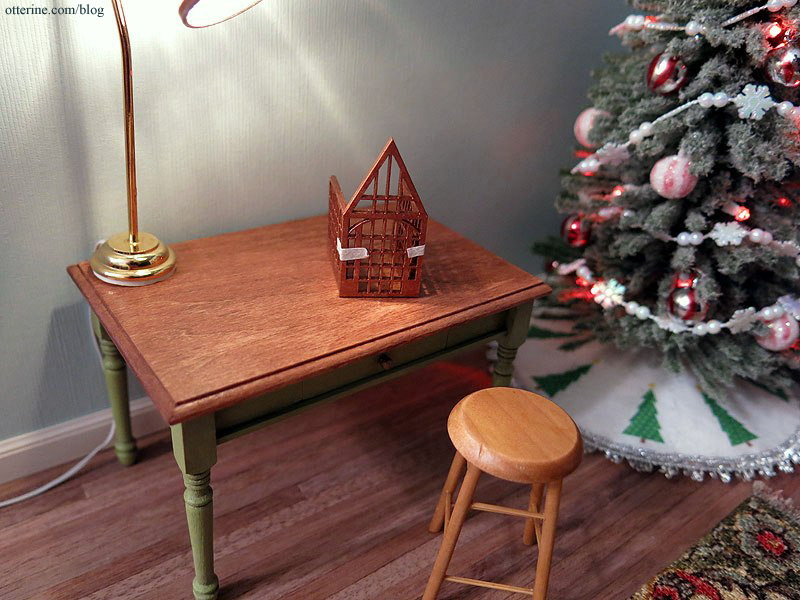
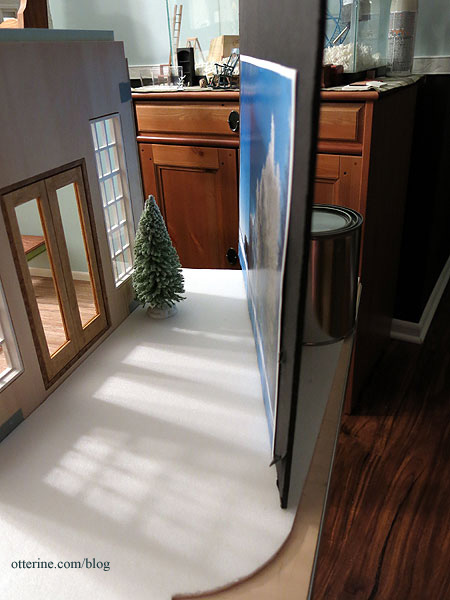
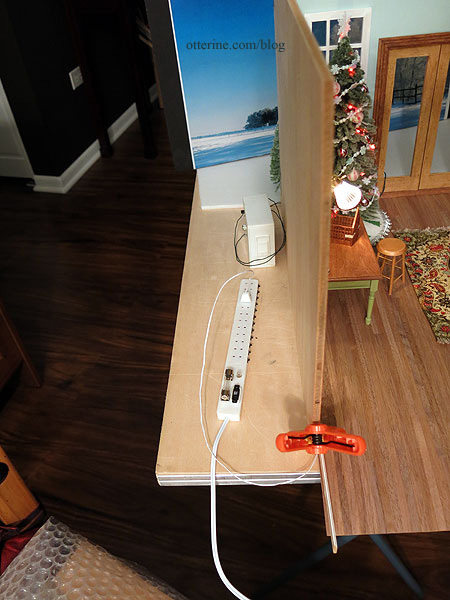
To fill in the view through the windows and door, I placed a scrap of white foam on the work board to simulate a snowy ground. I added a smaller Lemax tree that I bought to decorate for the Heritage…looks like that won’t be happening this year. It’s a nice stand-in for an exterior tree seen through the window. I propped up my scene board with a printout of Winter Landscape and Trees by Icefront that I found on Crestock.com. I will try to find a new scene for this set-up, but this is the only winter one I have on hand.
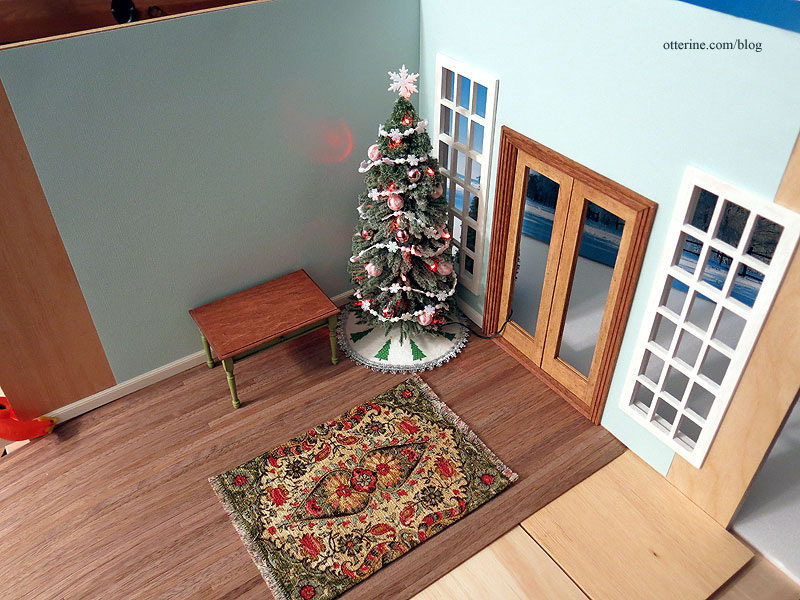
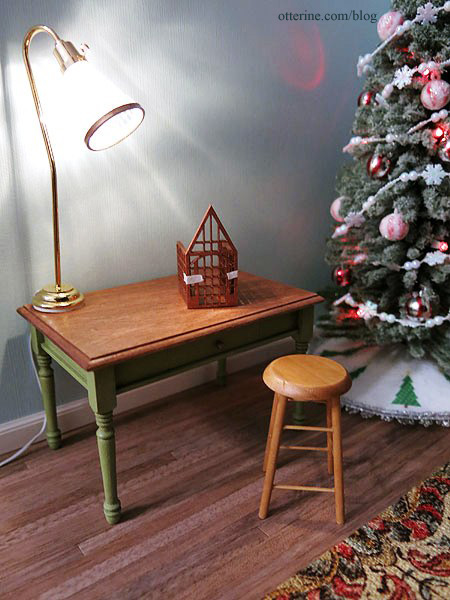
My decorated tree has lights operated by a large battery box. The rug is from Dale’s Dreams.
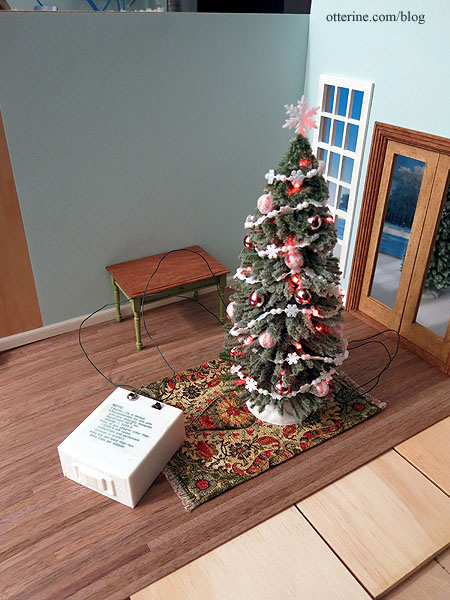
I set the tree in the corner and pulled the battery box through the door and around the solid side wall out of sight.
Now we’re getting somewhere! How to hide the wire going out the door? Two options…PhotoShop or a really huge present! :D

I tried out a work lamp (this is the lovely lamp Monique sent to me). The cord can exit stage left.
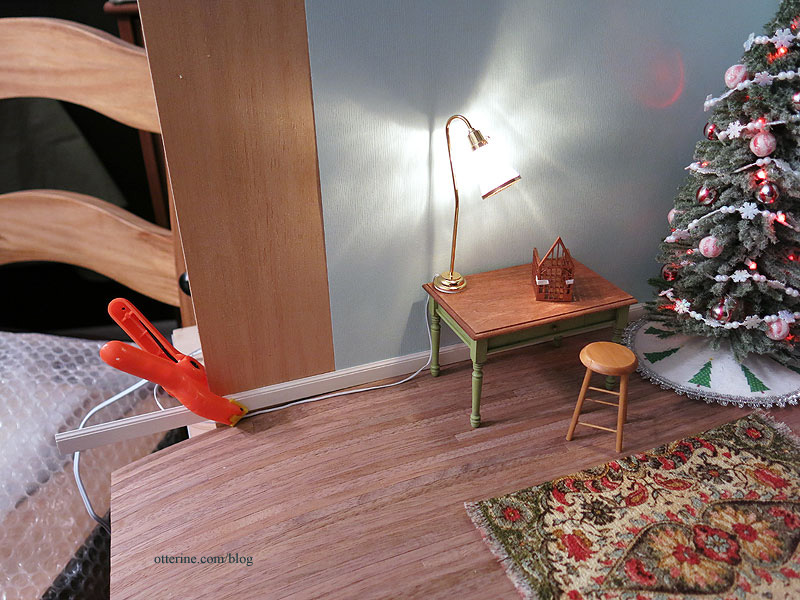
Both the power strip and the tree battery box are behind the scenes.
While I do love this lamp, I think it is going to glare too much for the scene. I’ll dig through my stash of lights to see what I have or I could whip up a new shade for it.
I have most of the Hampton House pieces painted. Soon it will be time for assembly. :]