I’ve been meaning to give punchneedle a try since I bought the fine rug for the Haunted Heritage from Katie Arthur. I love doing cross-stitch but it does have its drawbacks for absolute realism in mini. French knot rugs offer the best illusion of rugs in scale, but they are also time consuming. Punchneedle seems to be a good compromise.
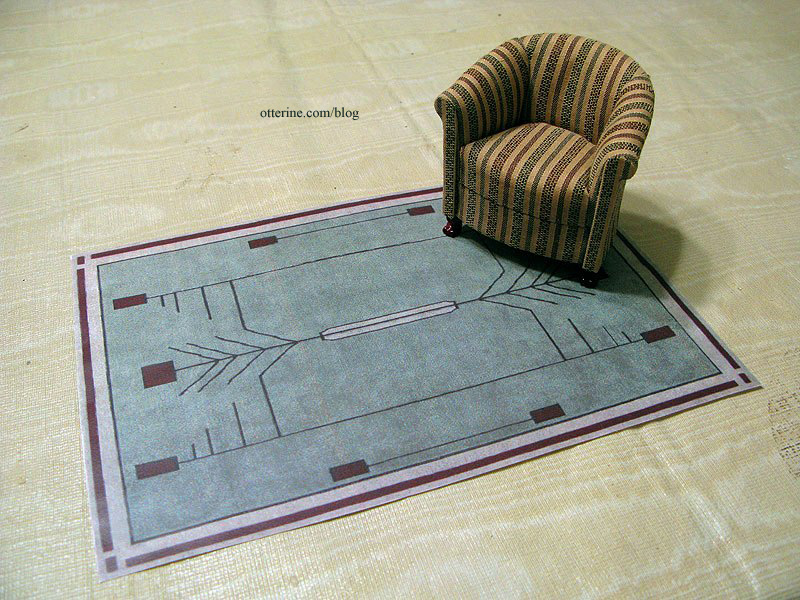
I found this beautiful Prairie rug on Mitchell’s Interiors and printed it out at 9″ x 6″ as a large area rug. It would be gorgeous in French knots but that would take forever! :O
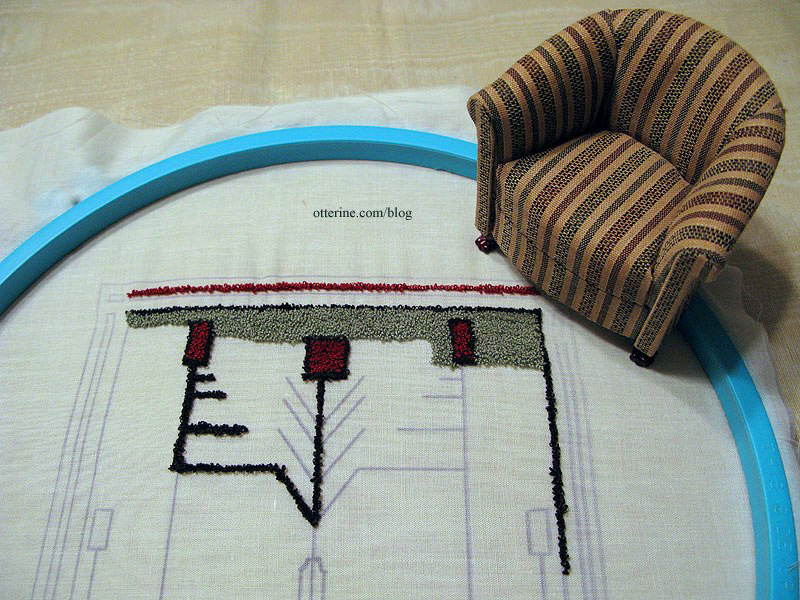
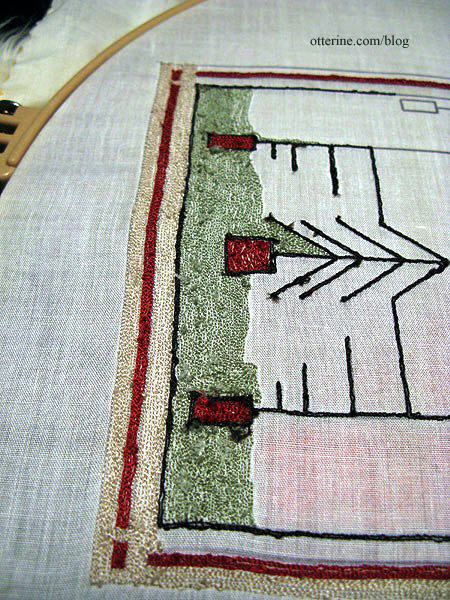
Click this post for instruction on getting from a printed image to a pattern on fabric ready for stitching. The area shown in the pic below took 3.5 hours to stitch, and at this point I am still going slowly to make sure I maintain good coverage on the background. It’s relatively easy to go back and add more loops in, but I figure it’s worth taking it slower and not having to rework areas later on. As you can see, it’s much faster than French knot work or cross-stitch. And, the more you fill in, the better it looks.
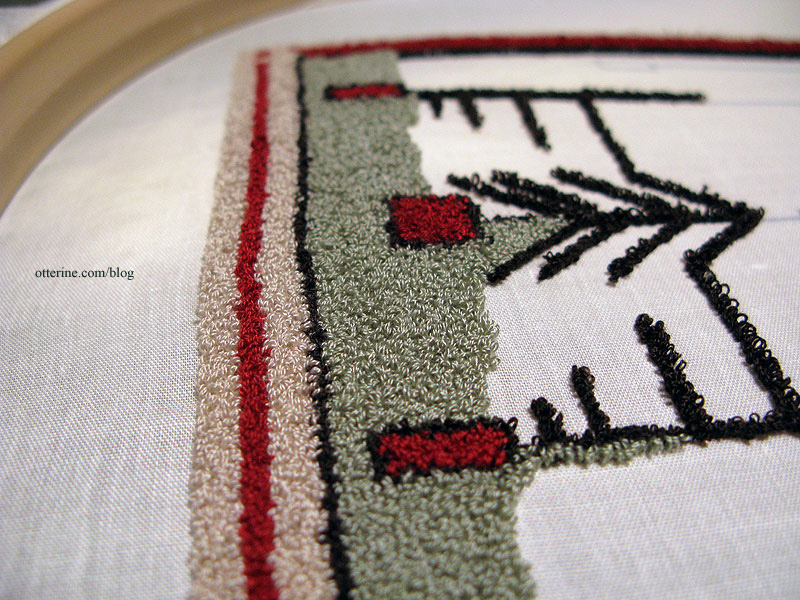
Here’s the rug at 9.5 hours of work. I’ve found the loops to be mostly consistent as I learn the process. Having the tighter hoop has made a world of difference, too. For the few loops that stick up too far, I just clip them with sharp embroidery scissors. As long as you don’t pull, there’s no risk of them coming out. You can also keep punching until you run out of thread, so you will have the occasional long thread hanging on the front side. These can be cut also, just don’t pull on them.
On the back, you can see the initial green areas where I worked are less clean and orderly. I’m getting the hang of working with the needle and cutting my strings longer. Holding your work up to the light helps to see if there are any thinner areas of stitching you need to fill in.
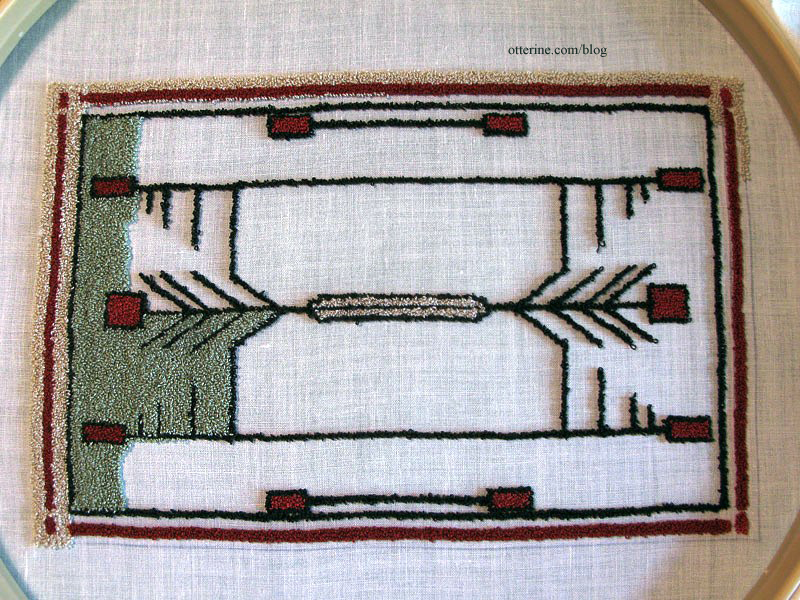
And, below at 14 hours of work with a lot more filled in.