
When I post photos of new minis, I don’t usually photograph them in a dollhouse or room box. I do a quick setup on my dining room table.
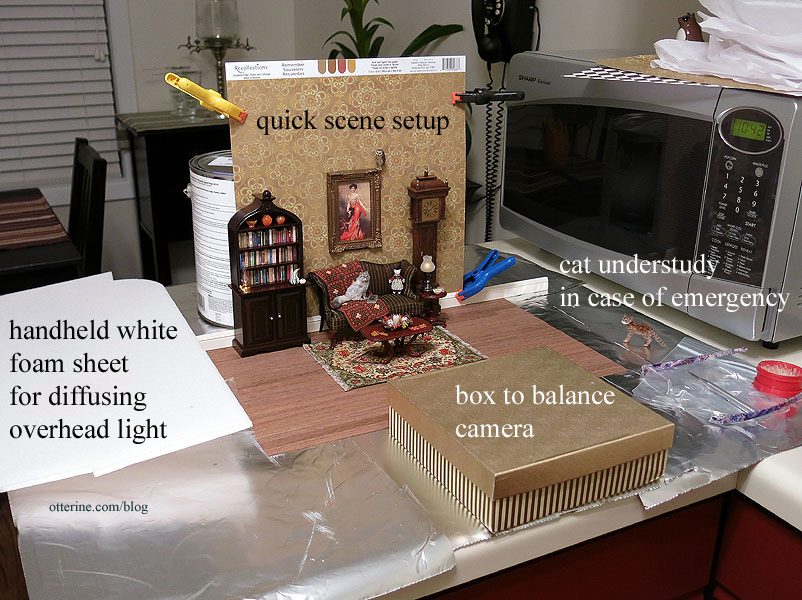
Here’s my Halloween 2013 scene, for instance. It was set up on the kitchen counter. I used a sheet of unfinished wood flooring, a scrapbook paper sheet clipped to a piece of plywood and held up by a can of paint and miscellaneous miniatures to create the scene. I have a box for balancing the camera in low light for the nighttime photos and a piece of white foam for diffusing the overhead light in normal lighting conditions.
I start with either a small box or a sheet of plywood on top of canned goods from my pantry. High tech all the way! I then put a sheet of unfinished wood flooring on top of the box or plywood. I use another can to hold up either a scrap of foam core board or plywood and place a sheet of scrapbook paper in front of that.

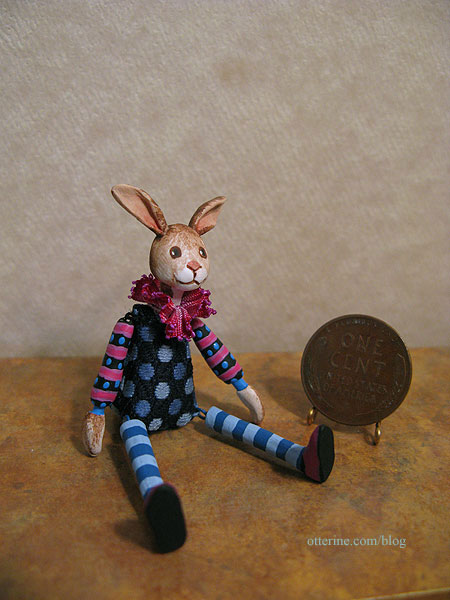
I place a long piece of baseboard trim in front of the wallpaper to finish the “room.” If it’s a table top item, I borrow a display table – usually this EuroMini’s island I painted for the Newport. Along with the item to be photographed, I include my wheat back penny on a wire stand for size reference.
I use the standard macro setting on my Canon PowerShot G9 with its standard lens. If I need to steady my hand, I’ll stack more canned goods to the proper height or use a box in front of the display table. I also use only the overhead lighting of my dining room fixture, which can be adjusted with a dimmer as needed.
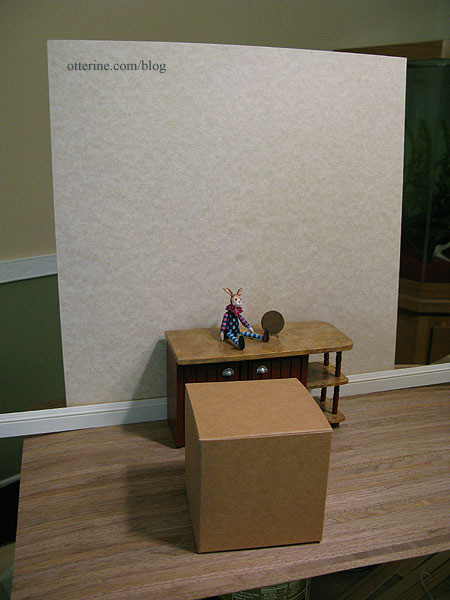
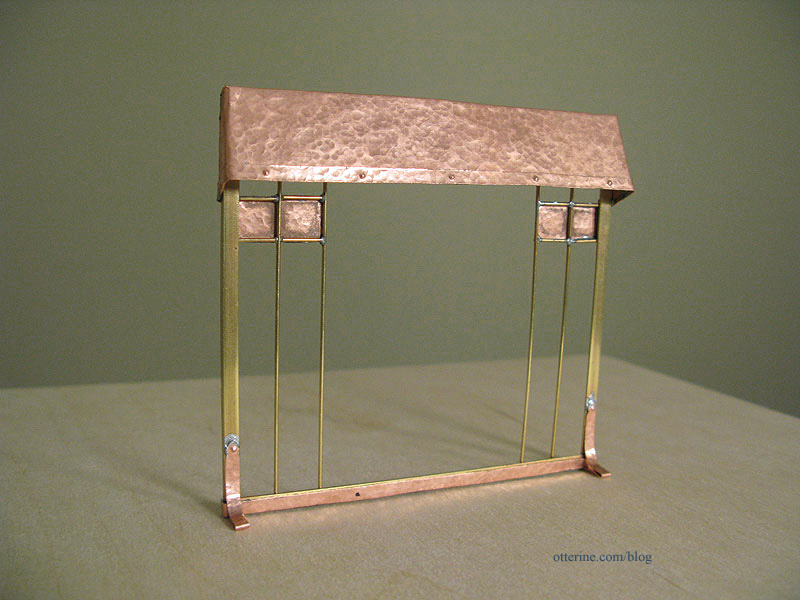
For non-table top items, I just use the scene as is without a display table. In this next photo, I’ve used a piece of finished flooring.

With this kind of quick setup, I can change the wallpaper and baseboard between photos easily. I can also add other props to the display.
If I am in a hurry or just need to photograph one thing, I don’t bother with any of the setup. I grab a clean plywood board, put my item on it, hoist it up in the air so my dining room wall is the backdrop and click the photo! :D
But, even with this on-the-fly setup, I can still put a piece of flooring on the plywood board beforehand.

For the Navajo rug, I place the stitching frame flat on the table, prop up wallpaper on the side and back, and include props.


