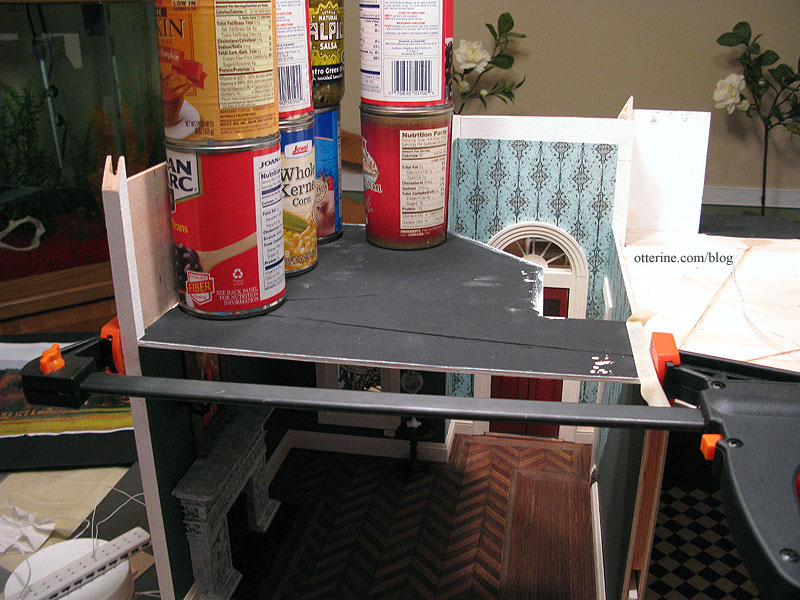
Continuing work on the parlor ceiling. I pasted in the remaining foyer wallpaper piece now that I had the new ceiling board cut.
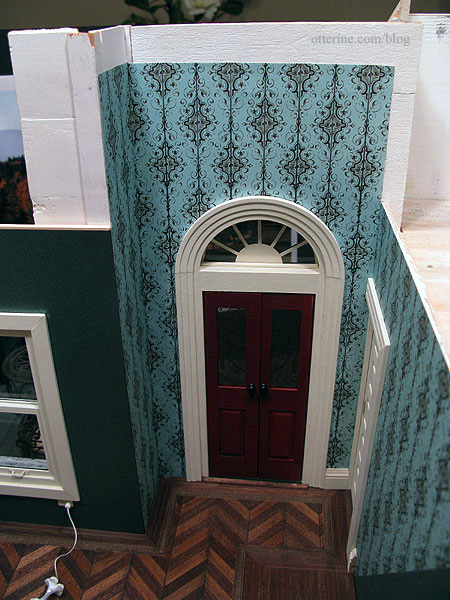
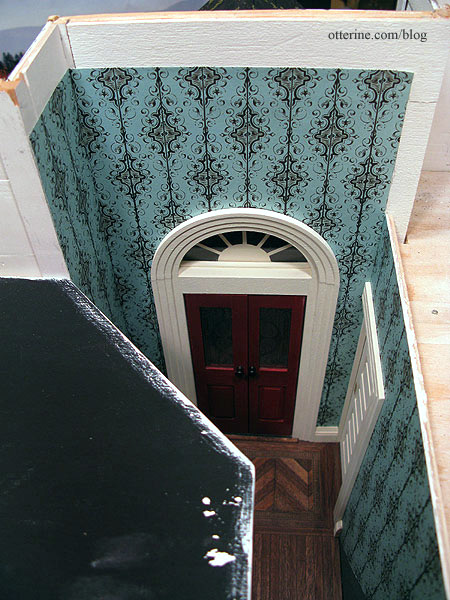
As you can see, the front and side walls have wallpaper continuing up to the second story while the pocket door wall is short. Since I couldn’t build the pocket door wall as a single two-story wall, I’ll have to piece the wallpaper on this side. If the seam is very noticeable, I’ll add some decorative trim to cover it.
I liked the heat register in the kitchen so well that I’ll add another here in the parlor behind the staircase. It will barely show since it’s a dark corner, but I add these relatively hidden details just for myself. For right now, I have a straight piece of baseboard cut to fit behind the stairs. I will work on the heat register and final baseboard trim behind the stairs after I get the stairs installed permanently. Since this in near the open back, it’s not necessary to complete it before the ceiling board is in place.
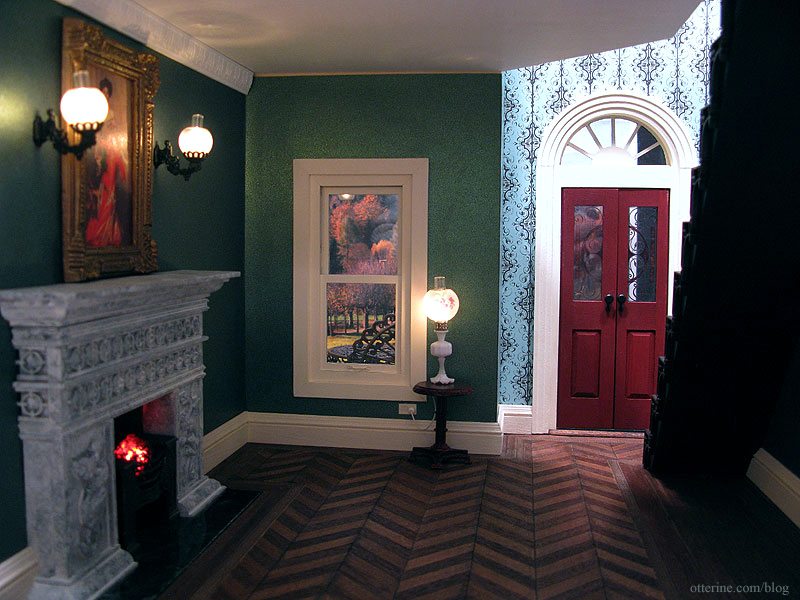
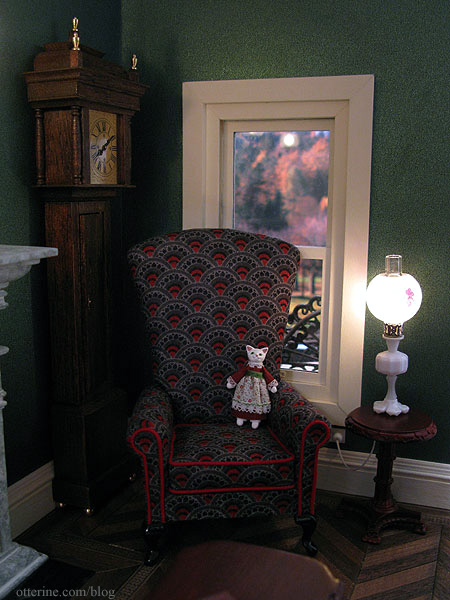
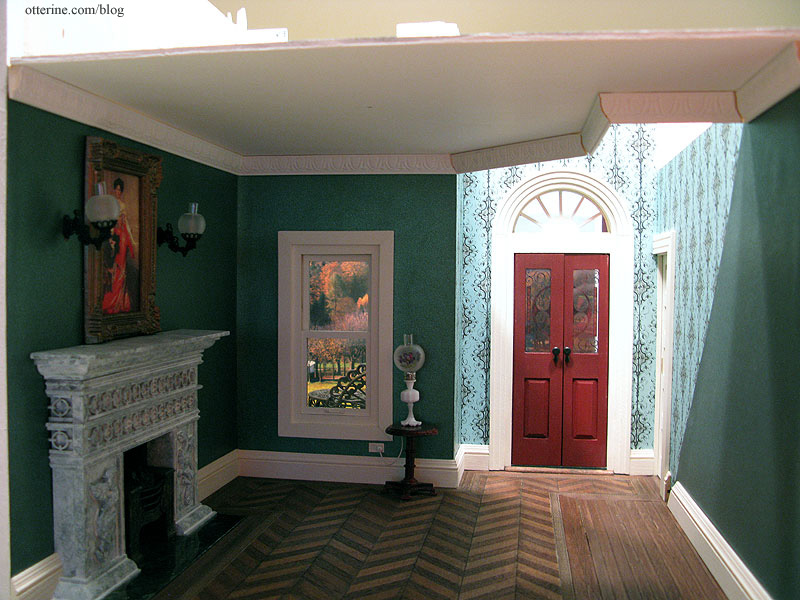
Baseboard really brings forth a lot of realism.
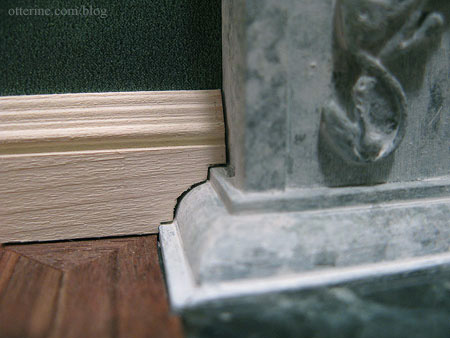
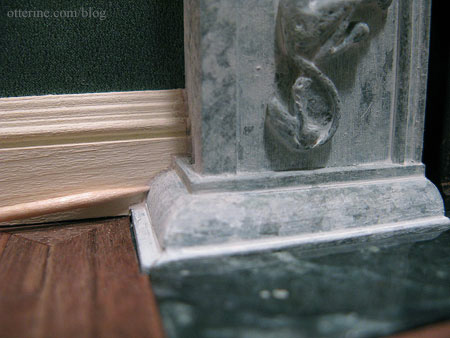
The baseboard on either side of the fireplace was tricky since it doesn’t have flat sides. I shaped the baseboard to wrap around the fireplace as well as I could possibly do, but there were still gaps that distracted me.
Since it would be difficult to add spackling after installation, I coated the ends with some of the material before gluing the pieces in place.
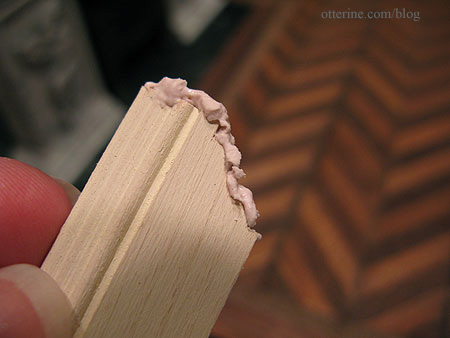
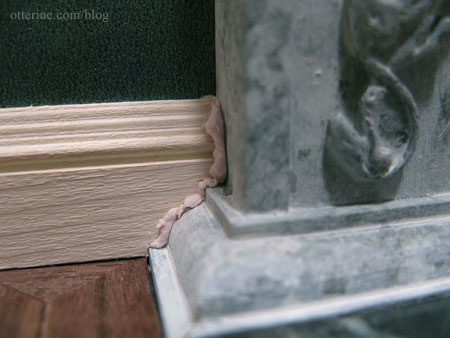
While the spackling was still wet, I was able to shape it with a toothpick. Even before touching up with paint, the joins are less distracting now.
For the crown molding, I went with a fancy real life sized carved trim that ties in well with the large medallion. I’ve painted the trim white to match the ceiling. I decided to finish cutting the crown molding pieces while the ceiling board was removable but I won’t install them until later. I might have to re-cut one piece that seems temperamental, but it’s a good start.
I then glued the ceiling board in place. I used a large clamp to hold the side wall inward and canned goods for weight along the outer edge. So far, so good.