
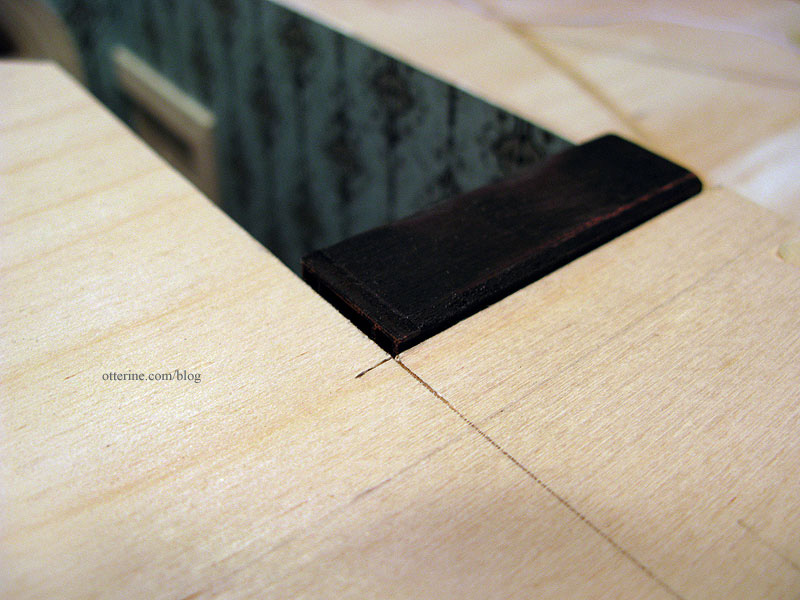
The padding I added to the side wall ended up a little higher than the padding on the front wall when I assembled the house, so I added a slim strip of wood to make up the difference.
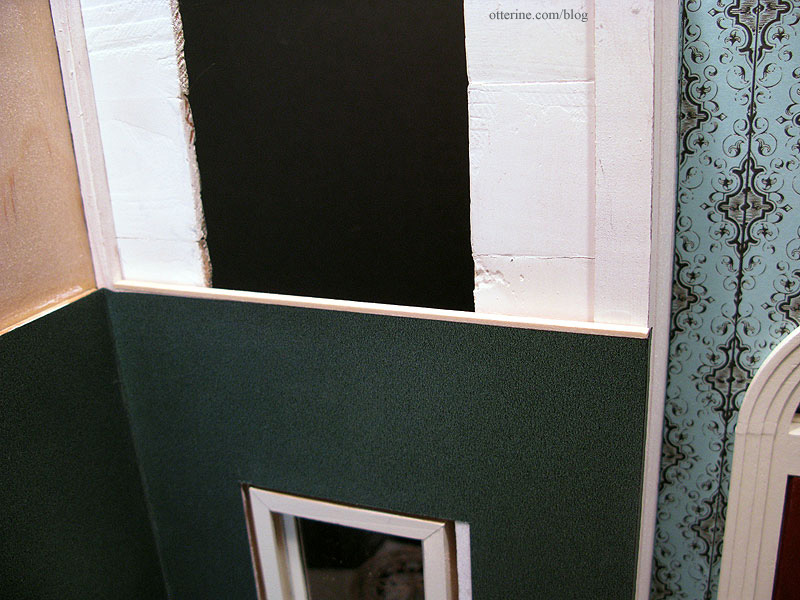
This shim will keep the ceiling board level. I am already planning to use crown molding in the room so it won’t show later on.
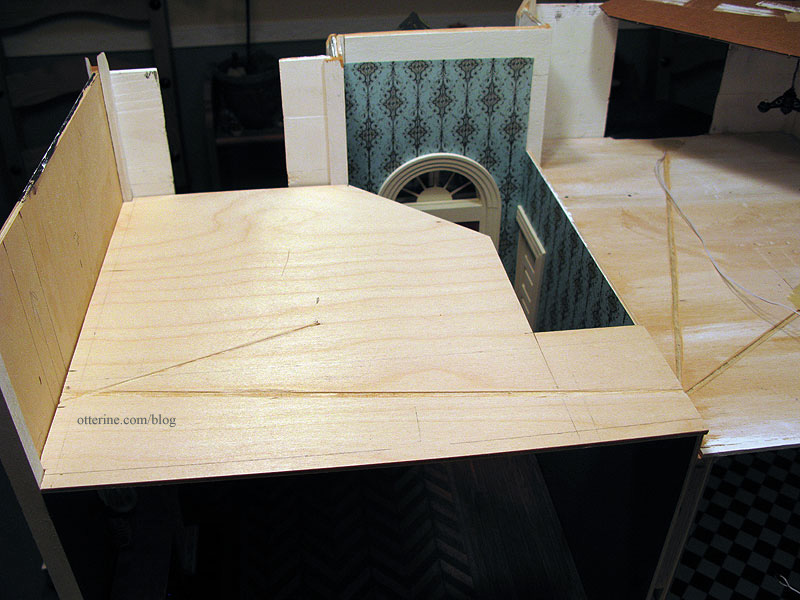
For the ceiling board, I was able to use the plywood board that I had cut incorrectly when making the pocket door wall. Nothing goes to waste! :D I added the additional depth needed and measured for the placement of the stairs.
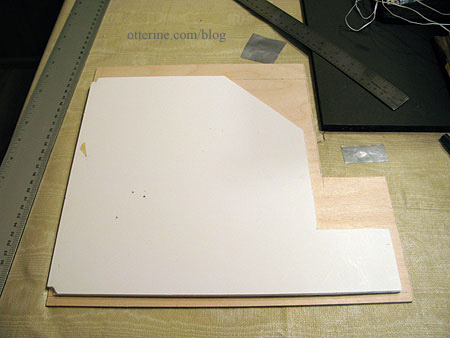
The board is relatively flat to begin with, so I am hopeful there will be minimal warping once the flooring and trims are installed. I plan to prime it on both sides and press it while it dries to help with this, too.
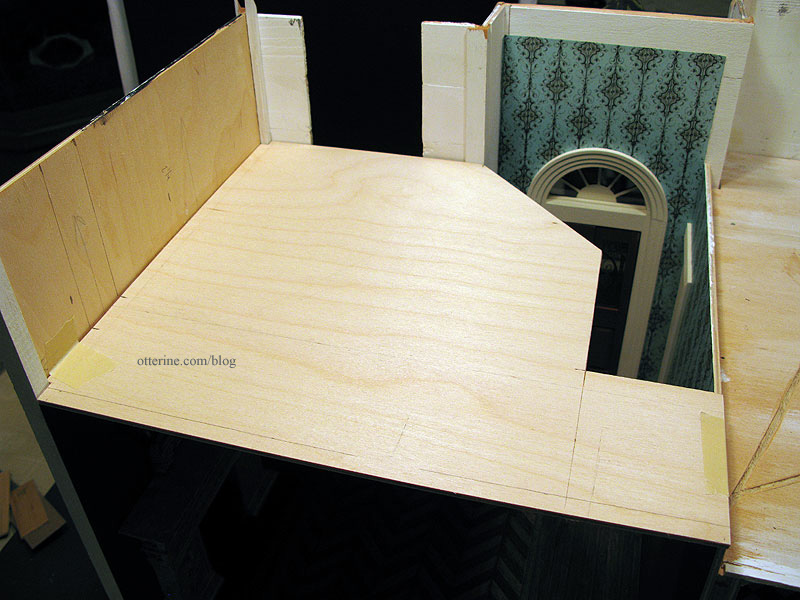
I positioned the stairs in such a way that they stick up above the plywood. This will allow for the thickness of the second story flooring materials.
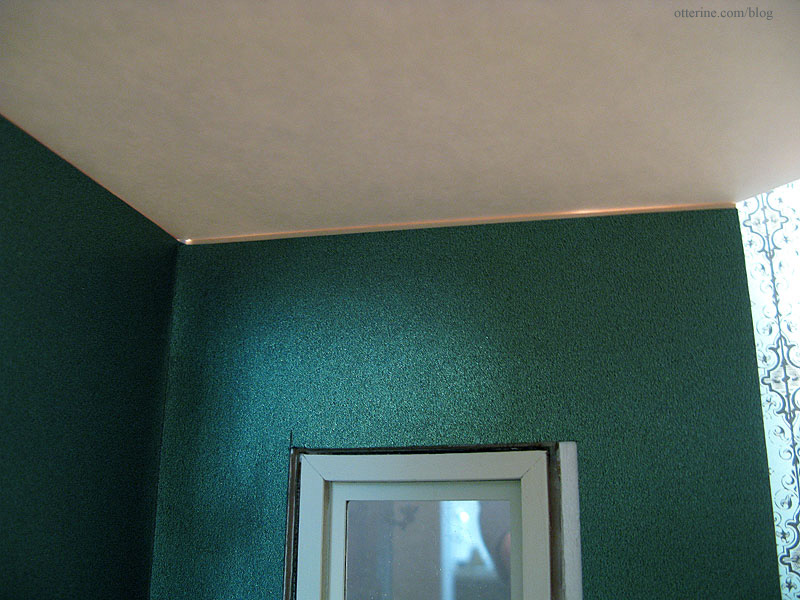
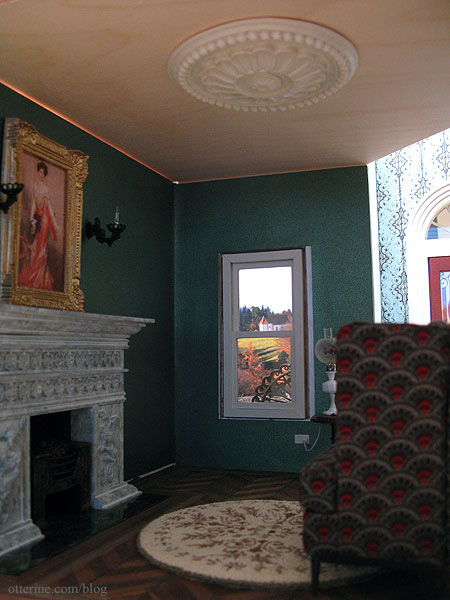
I taped a ceiling medallion by Unique Miniatures on the ceiling, using the Katie Arthur rug as a guide. There will be a chandelier in this room that coordinates with the sconces above the fireplace. The ceiling, crown molding and medallion will all be painted white to lighten the rather dark room.
I have a hard time with fancy rooms since they aren’t my usual thing.
The next order of business was cutting the wire channels for the parlor ceiling light as well as the two kitchen ceiling fixtures. These wires all terminate inside the chimney. The lights in the upstairs rooms will run along the attic floor and out to the chimney.
I already had the front window trim painted and ready to install. When I cut this new opening, however, I must have measured incorrectly since there is a lot of space on either side of the window.
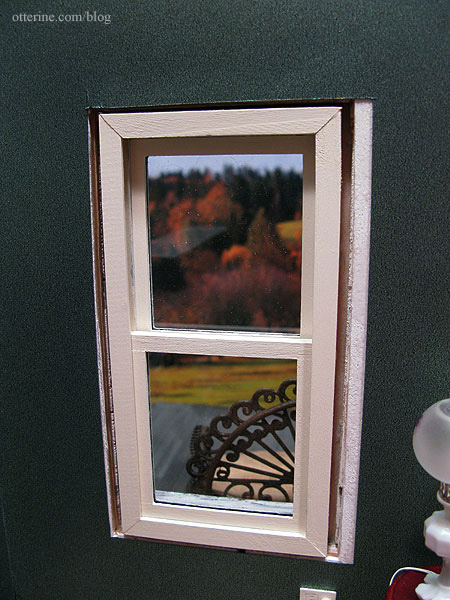
I was lucky that the outer trim covered this completely. I wanted to make sure no light would show through, so I added some strip wood to plug the gaps.
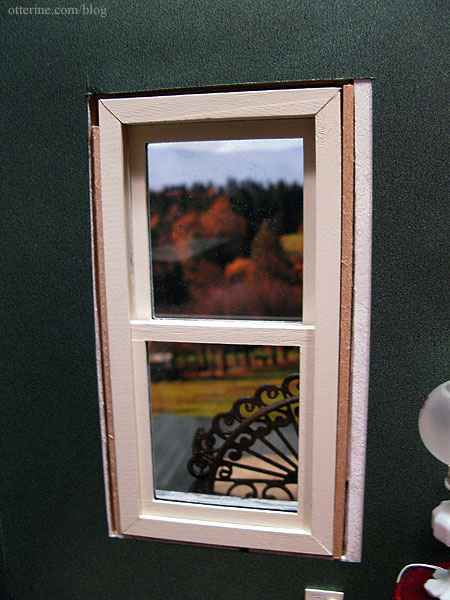
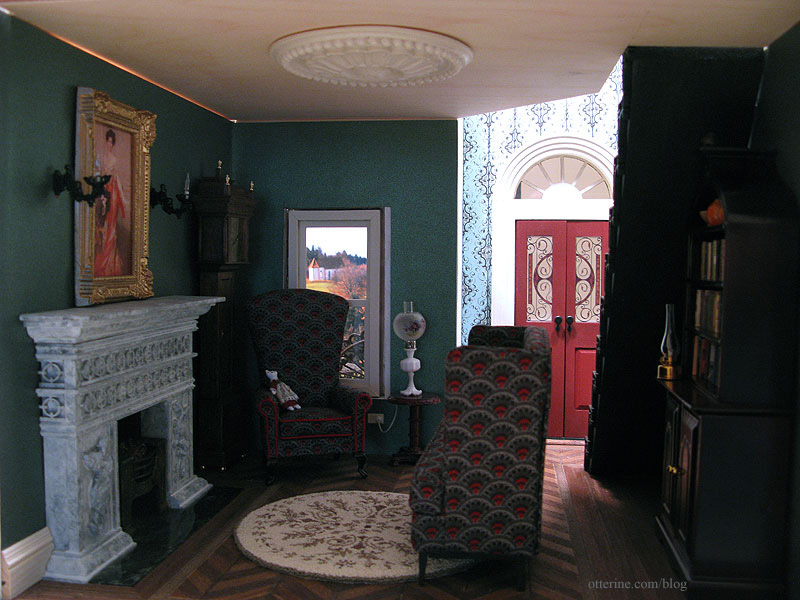
Once the trim was glued in place, I filled in any gaps, touched up the paint and added a window pull. I plan to add some drapery to this window, but it already looks so much more realistic. I think Miss Kitty approves. :D

Part 2 here.


