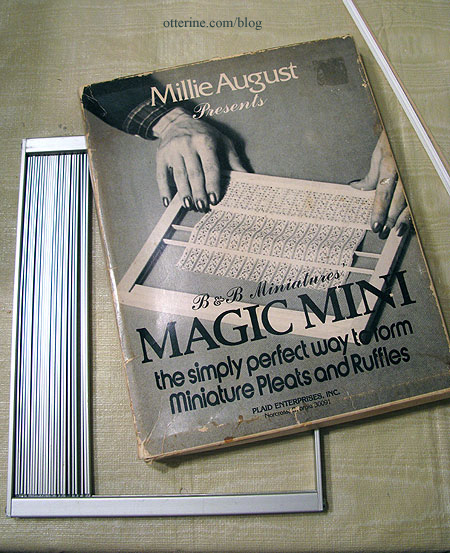
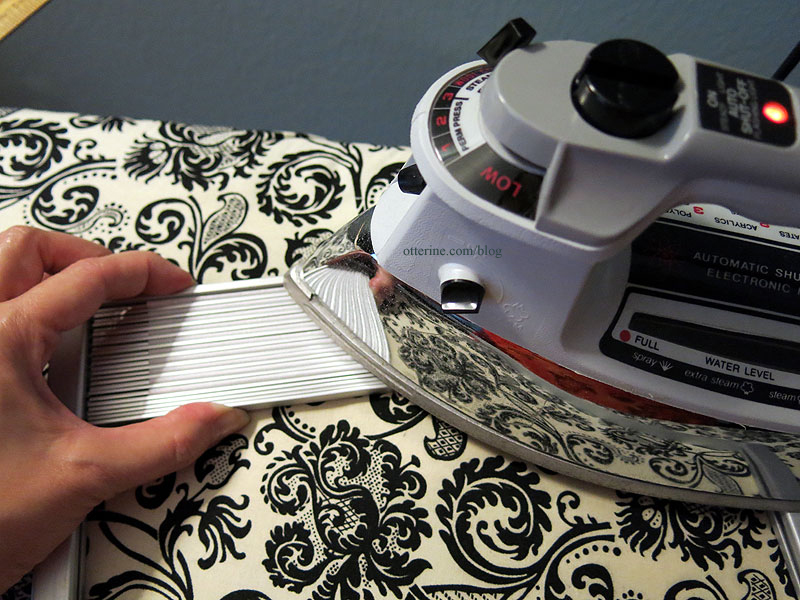
Today was a fabric day, and I used my vintage Millie August Magic Mini pleating tool.
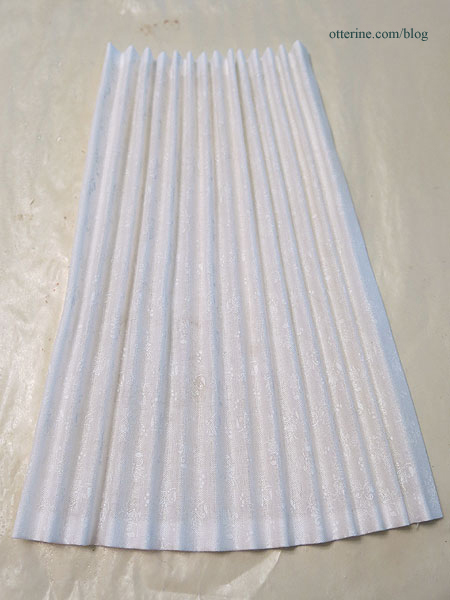
I turned under the four edges of the fabric panels first, but I didn’t sew or glue them. Once the drapery is in place, it won’t show and it won’t be touched so fraying isn’t much of a worry. Plus, I find that there is less pulling and binding when the edges are left unsecured.
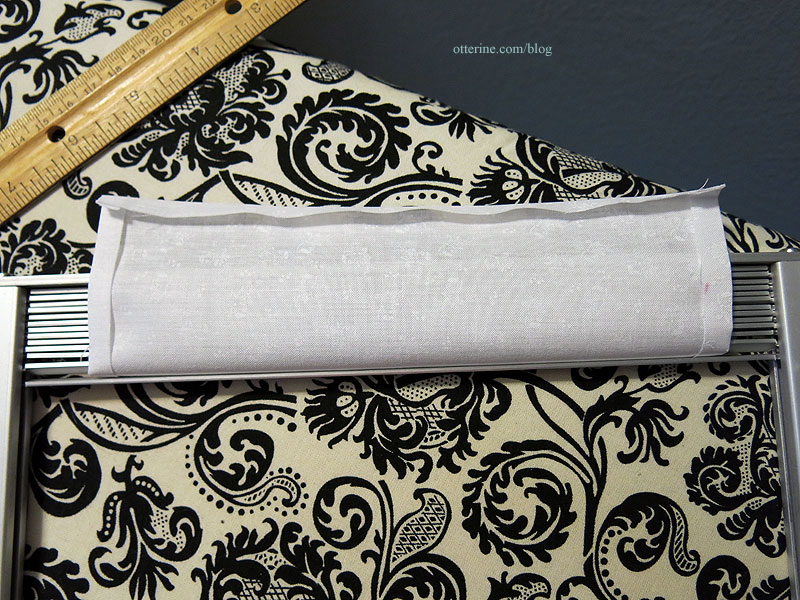
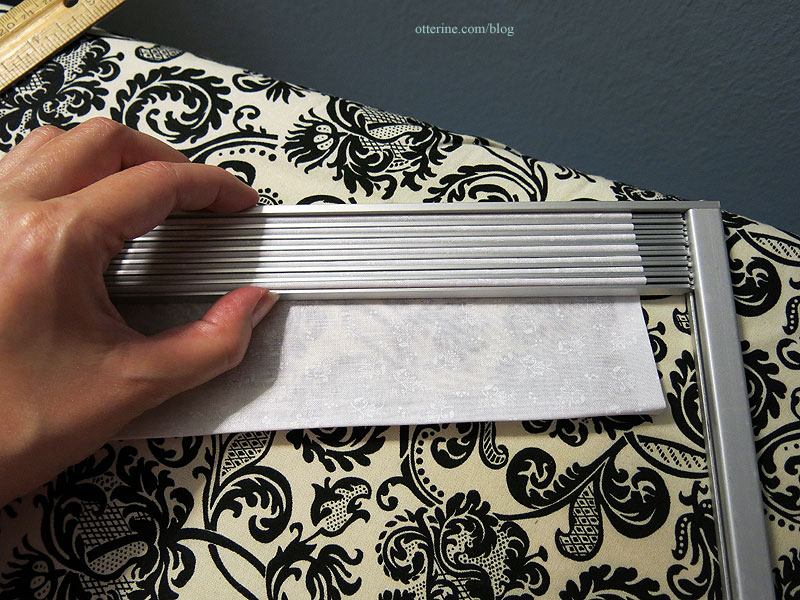
The instructions indicate you should wrap the fabric around the metal slats and then use a steam iron. So, that’s what I did. :]
I removed my panels just before they were completely dry so I could manipulate them more. For the bedroom wall panel, I adjusted the pleats by hand on a piece of waxed paper. I had to pleat this panel in sections since it was wider than the number of pleat bars could handle at once.
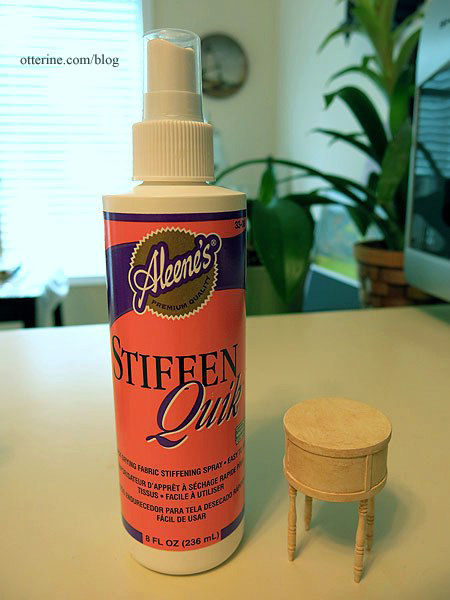
I used Aleene’s Stiffen Quik to hold the shape. The panel will stay here until completely dry.
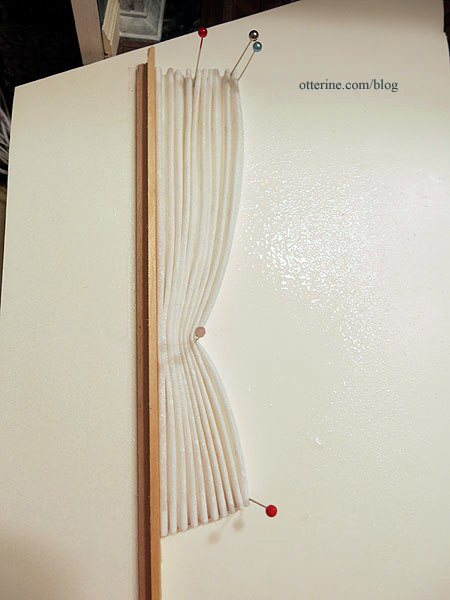
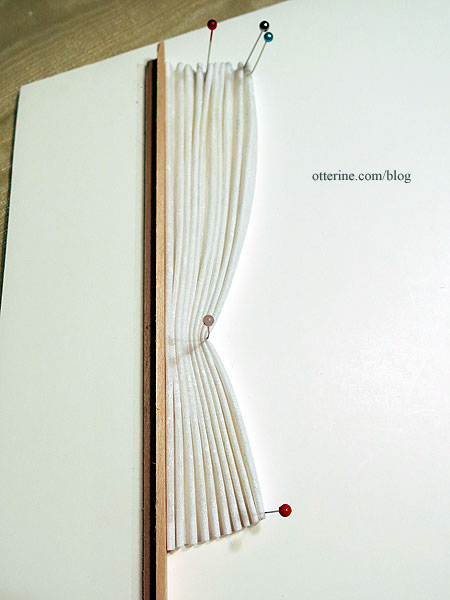
For the parlor drapery, I took a scrap of foam core board and attached a spare piece of wood trim using double sided tape. This gives the drapery a straight back to lean against. Using as few pins as possible, I created the fold where the tie back will be. Pins do leave holes in the fabric that can sometimes be tricky to remove, especially on white fabric where the slightest dark spot can show so easily.
A good spray of Aleene’s Stiffen Quik, and the panel was set aside to dry.