After seeing the dry fit with the Palladian door, I was sold!
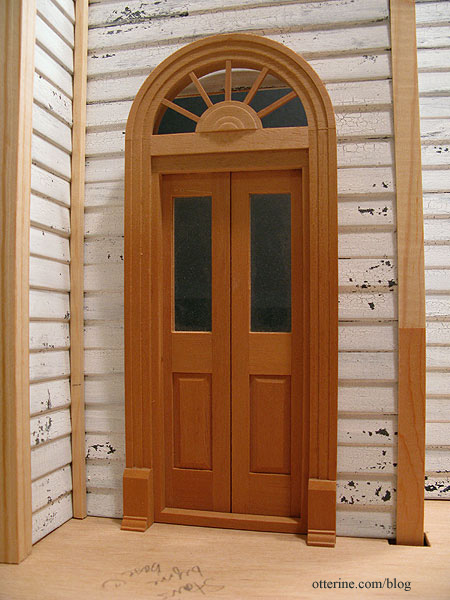
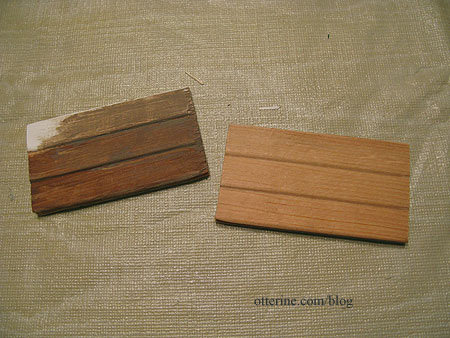
To get this door to work, I needed to adjust the rectangular hole to fit an arched door. You can’t tell from the above photo, but there were two triangle shaped gaps on either side of the top. Enter in two spare pieces from my old lost Dura-Craft kit. I had previously used one to try out finishes.
I had to disassemble the two long pieces on the front wall, but they pulled apart easily.
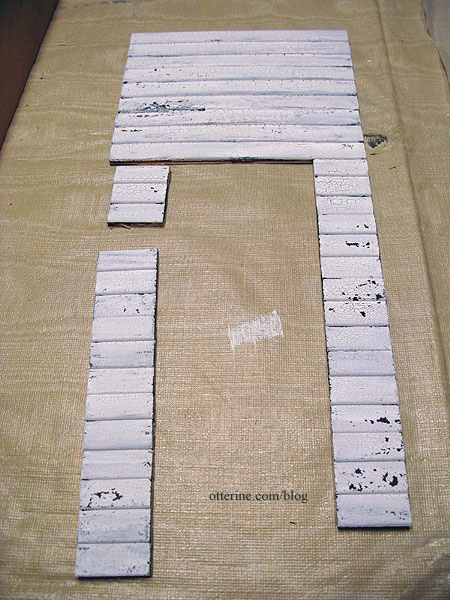
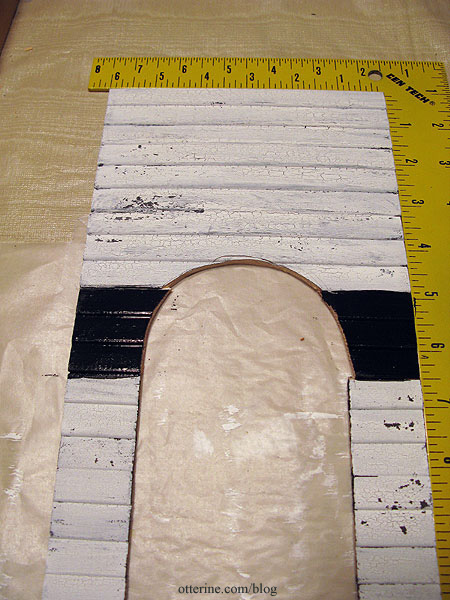
I marked the door opening on the new pieces and the bottom of the overhead piece and cut out the required opening.
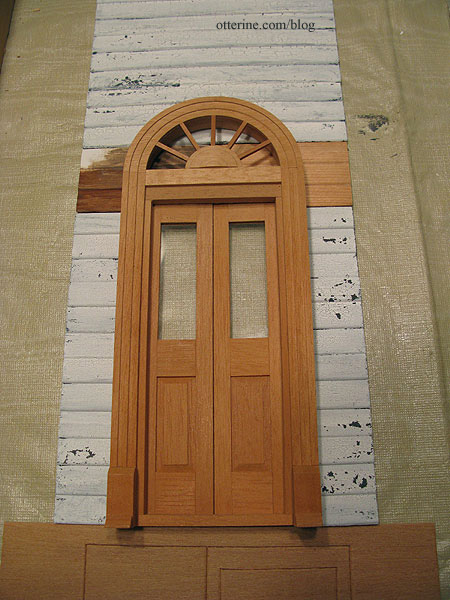
My cuts aren’t the best since I had only a utility knife, but they work fine – no gaps. :]
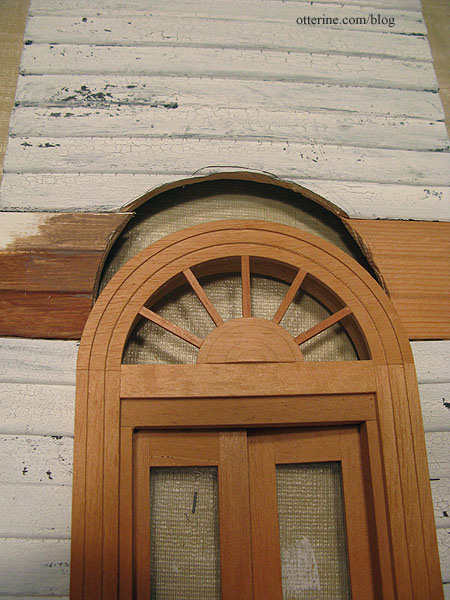
I glued the new pieces in and prepared the finish as I had for the rest of the walls.
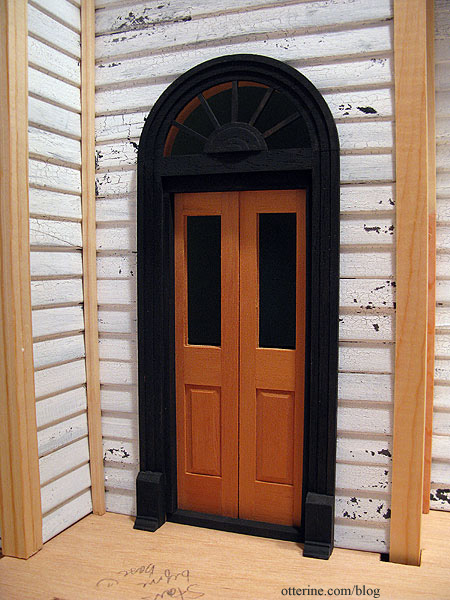
Voilà! Since the wood of this door was on the red side, I’ve painted it charcoal grey as the base layer on the outer trim.
And, a close-up of the top.
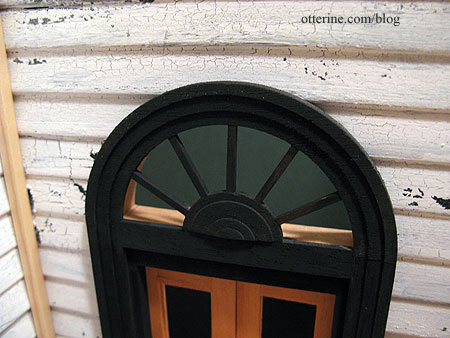
I am undecided as to which color I’ll crackle over it, but I needed the dark underlayer besides. The interior trim color will coordinate with the interior finishes…so that is also undecided. I’m still thinking about a door color, too, but might go with blood red. No, literally! I somehow managed to cut myself on the door…first time in awhile that I’ve sacrificed blood to a project.
Now, this door change will require other changes. First, the front porch will have to be lifted to clear the top of this taller door, but I had already planned to replace the square posts with turned posts to dress it up a bit and those posts are taller anyway. I can cut them to the size I need. Second, there’s a window on top of the porch that will have to be shortened on the bottom. And third, the interior trim on this door will be too tall for the first floor ceiling. I am thinking a two-story foyer leading to my new centered staircase ought to fix that problem! Besides, a haunted house needs a dramatic entrance.


