
Archer
Yeah, so I went a little *Reve* crazy this week. :D

I’ve named this delightful squirrel Archer.

I do so love his rosy cheeks! I raided Sydney’s hamster chow for a “nut” to use in the scene.

I made the topiaries a long time ago, and the foliage has faded. I will remake these someday. The patio set was bought on eBay a long time ago as well, and the leaves are from the bunch I made for the Heritage.
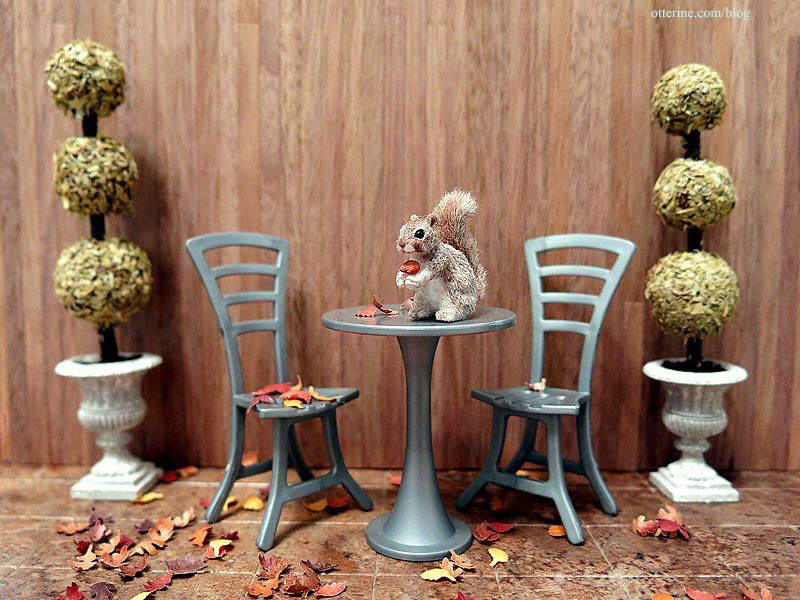
The table and chairs are a little small for 1:12 scale, but they work well here. I’ve seen the cast iron patio sets in real life that are smaller than you would think. When I get around to using these, I will spray paint them for a more authentic look. They have no manufacturer markings, unfortunately, so I don’t know where they originated. I do love the shape of them.
Categories: Animals and birds
January 11, 2014 | 0 commentsPunchneedle tips and tricks
I’m not an expert on punchneedle, but several people have contacted me about it so I decided to make a blog post with some of the things I’ve encountered. I haven’t finished a punchneedle rug, but when I do I will add those instructions here.
Find the largest (highest resolution) image of your design as possible if you are adapting from a real life design. This will help you capture as much detail as possible. Print the image in the finished size you want in the house, test out the fit and adjust as needed.
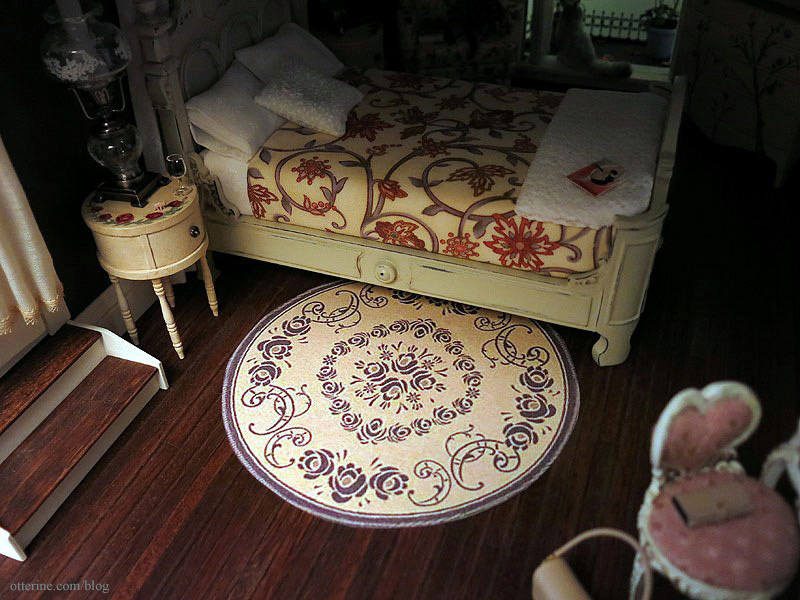
Make a high contrast printout in the final size (shown on the left in the photo below). You can do this with any program that allows you to adjust the brightness and contrast of an image. You need to be able to see the design through the tracing paper.

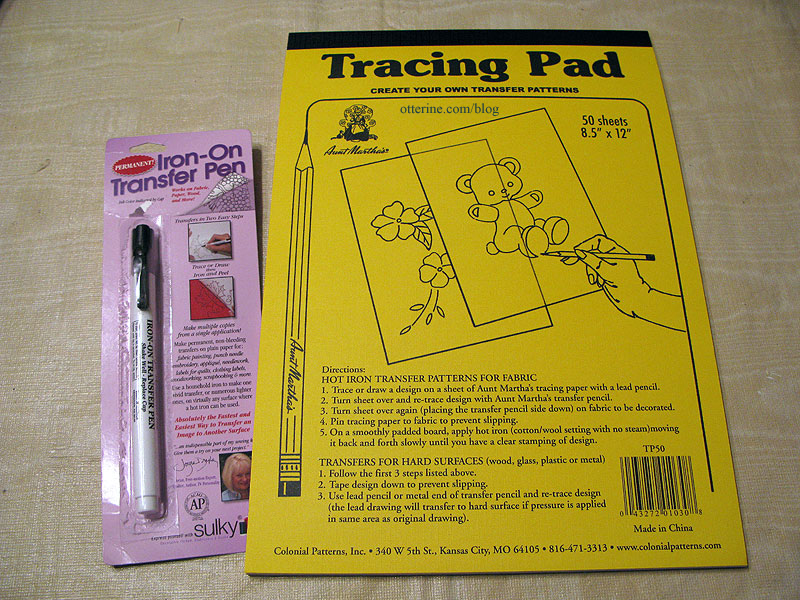
Trace the high contrast printout using Aunt Martha’s Tracing Paper and a Sulky Iron-On transfer pen in black (as an Amazon Associate, I earn from qualifying purchases). Simplify the detailing. You can stitch in more detail, but you don’t have to draw it all in. (Note: I’ve since found fine tip transfer pens at Sublime Stitching which offer a better pattern for fine needlework. See this post for more info.)
The recommended fabric is “weaver’s cloth” but I’m not sure exactly what that is. You can purchase it from the same place that sells the needles. I went to Joann and bought a poly/cotton, relatively sheer woven fabric. You don’t want anything bulky. I bought a Dee Lite Ex. Small punchneedle (website defunct as of 2024) and adjusted the dark blue stopper as close to the tip as possible while still getting the loops to stick.

The pile on my rugs is roughly 1/16″ high, about as short as you can get it without issues.

You’ll need needle threaders, but I think those come with the punchneedle. Take really good care of these since a bent one won’t work and you can’t use the needle without one. I keep mine in a folded Vermont Covered Bridges map since it’s the right size and doesn’t bend.

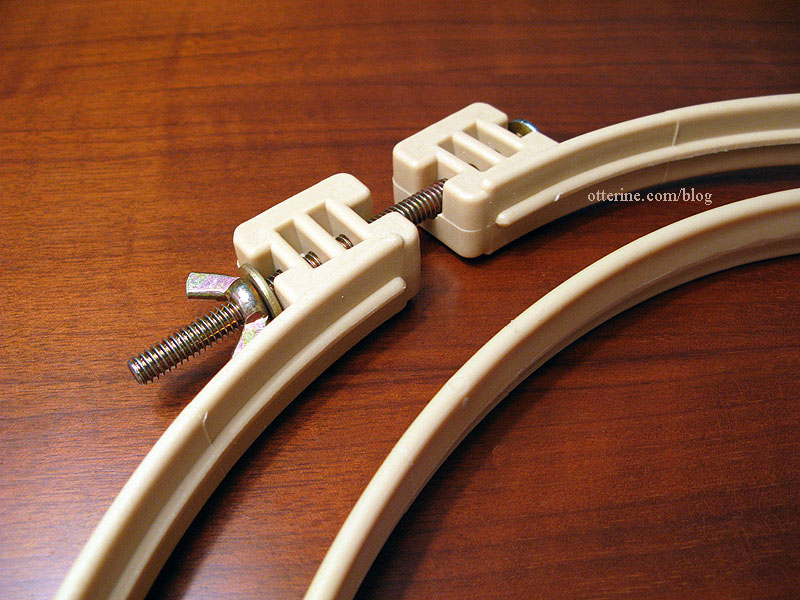
Get a Morgan no-slip hoop in the appropriate size (my review here). You’ll want a little room around the rug design but also consider the size of any rugs you want to do in the future. The fabric has to be as tight as you can get it, otherwise the loops slip out during stitching. (As an Amazon Associate, I earn from qualifying purchases.)
Follow the package instructions for the iron-on transfer to your fabric. Be sure to take into consideration your hoop size when you place the design on the fabric. You will be working from the back, with your finished design away from you. Your transfer will be “opposite” of your original, but the final piece will match your original. In other words, you don’t need to flip your design.
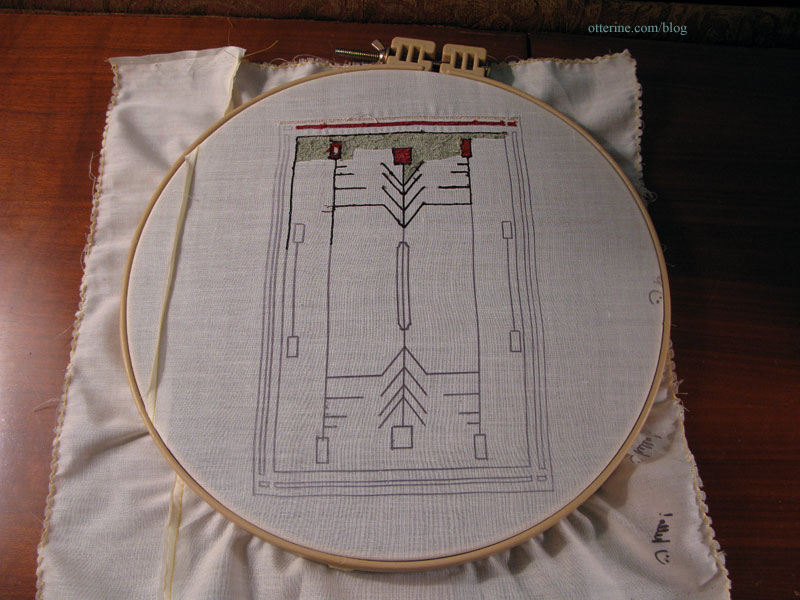
Here you can see where the hoop would pull on some areas if not large enough to frame the entire design.
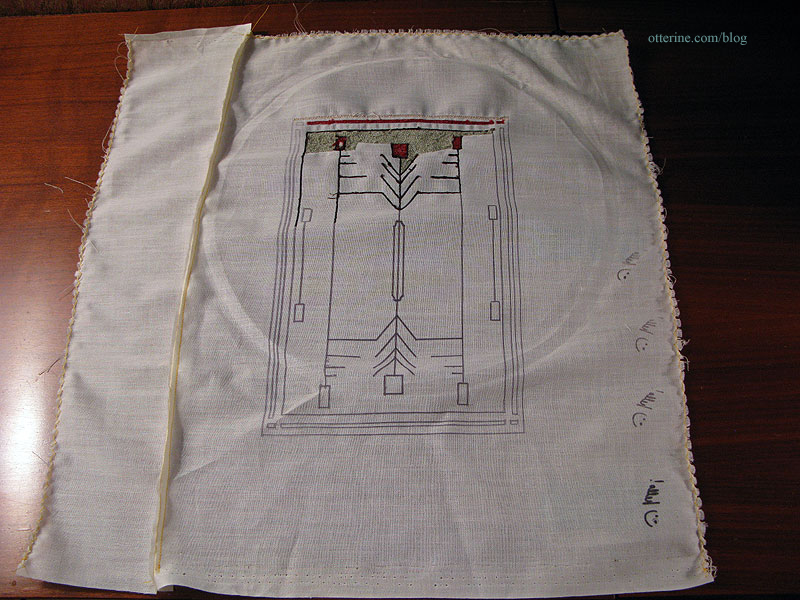
And, you can see where I had cut my fabric too close, so I had to sew on some additional fabric.
Buy DMC embroidery floss in your chosen colors. You will need more than you think. Punchneedle takes a lot of thread. Wait for a sale or a coupon, but buy a lot of each color, especially backgrounds. Make sure the dye lot numbers match, too.
When working with the floss, I’d cast the skeins onto cardboard bobbins first (as an Amazon Associate, I earn from qualifying purchases). Then, you will cut a long, long, long strand to work with while stitching. Once you’ve done some stitching, you’ll see what I mean about wanting a long strand. Otherwise, you spend all your time threading the needle. You’ll need to separate the floss into individual strands as shown here. This method cuts down on knotting.
Here is a good video on threading the needle and punching. She is using a larger needle and more floss strands than you will for miniature projects, but the technique is exactly the same. I don’t think it’s possible to describe the technique in words, though.
Some miscellaneous tips for punching:
- Get a good pair of sharp embroidery scissors.
- Pay attention to the direction of your needle when stitching. You want the open part of the tip toward you with the thread trailing.
- Keep in mind that punchneedle work doesn’t look like anything good until you get a large area covered.
- Start with outlines. You’ll want at least 2-3 “rows” for each line you want to show up in the final design. Once the fill colors abut the outlines, the lines will “shrink” visually in the final design.
- Try to get as many loops as possible by controlling how much space you skip in between. You can always go back and fill in, but it’s better to do this from the start. Since we’re using 1 strand of floss, you want a lot of loops to get full coverage.
- Punch until the thread runs out. You can snip the start and finish ends right to the fabric. Be careful not to pull the thread once you’ve made loops because they will come right back out.
- If you end up with loops that are too tall (sometimes the needle will push a previous loop out of place), just snip them level with the pile on the front.
- If you don’t like an area, you can pull it back out and move your fingernail against the fabric to close up the weave…then start over.
If you’re interested in the comparison between punchneedle and French knots, here is the Bees and Trees rug in French knots compared to the Prairie Rug in punchneedle. The pile is definitely finer with French knots, but punchneedle takes considerably less time and is still convincing in miniature.

I hope that answers most of your questions and points you in the right direction.
Categories: Needlework - French knot rugs
January 9, 2014 | 0 comments3 Blind Mice – Jan 2014
The first of the year’s shows ran tonight and is going on again tomorrow. We’ve had some crazy weather in the area, so there were fewer vendors than scheduled at the 3 Blind Mice show. But, I still found a lot of goodies! :D
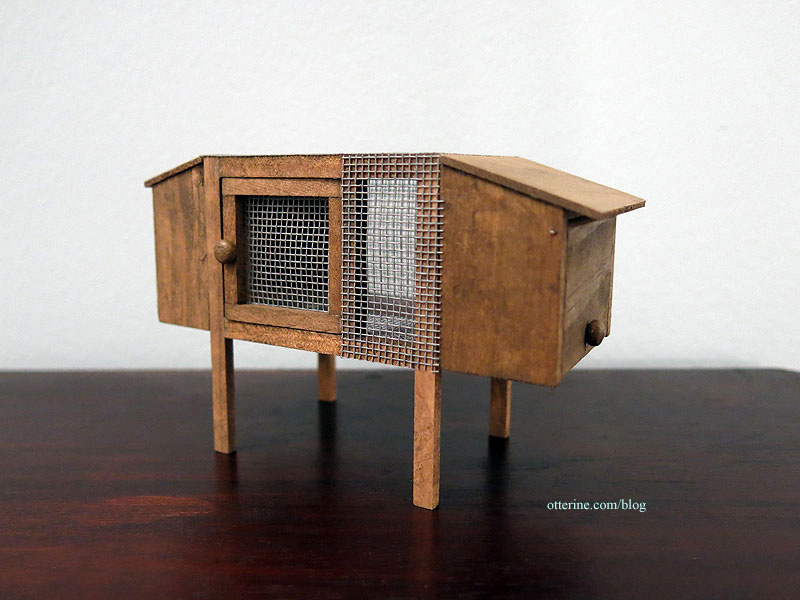
Unfortunately, the first vendor I visited didn’t have their name on the receipt and the setup didn’t follow the original vendor map. :\ I bought a lovely rabbit hutch…more on this later. ;D
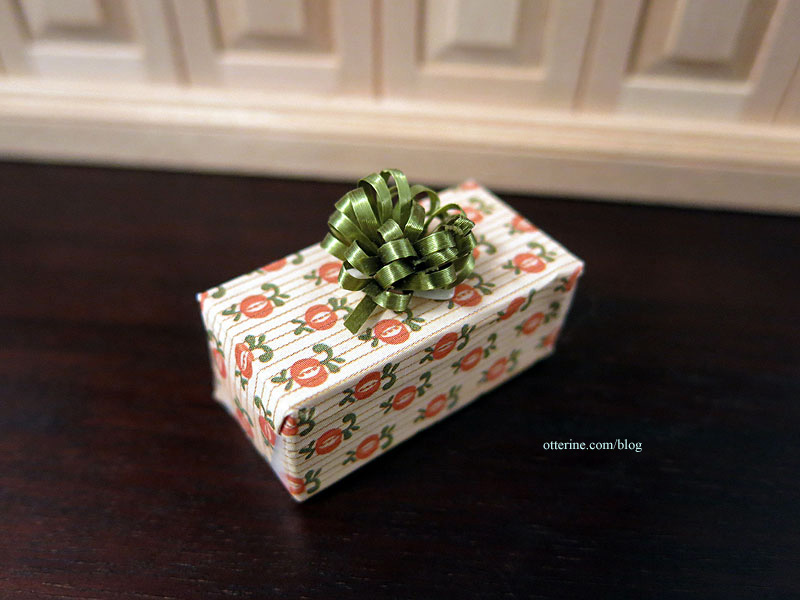
A beautiful wrapped package…do those look like turnips? Must have had rabbits on the brain.
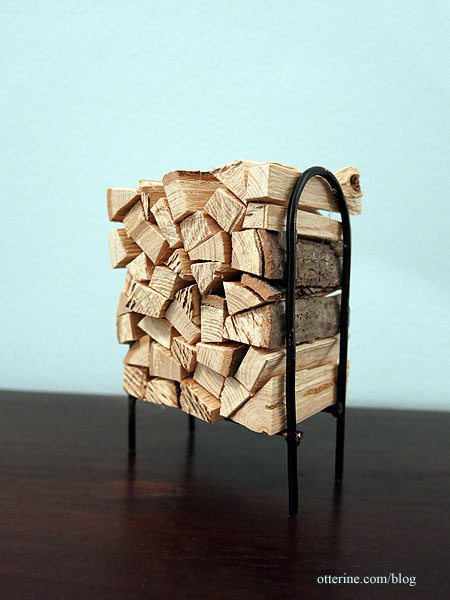
And this awesome firewood stack!
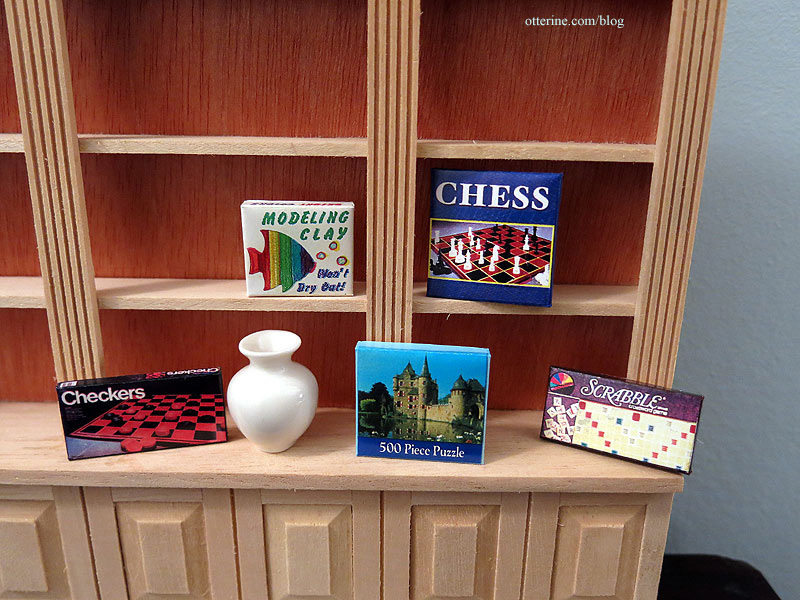
From Debra Rundle, I picked up a lovely white vase, boxed games, a puzzle and clay, all very well made.
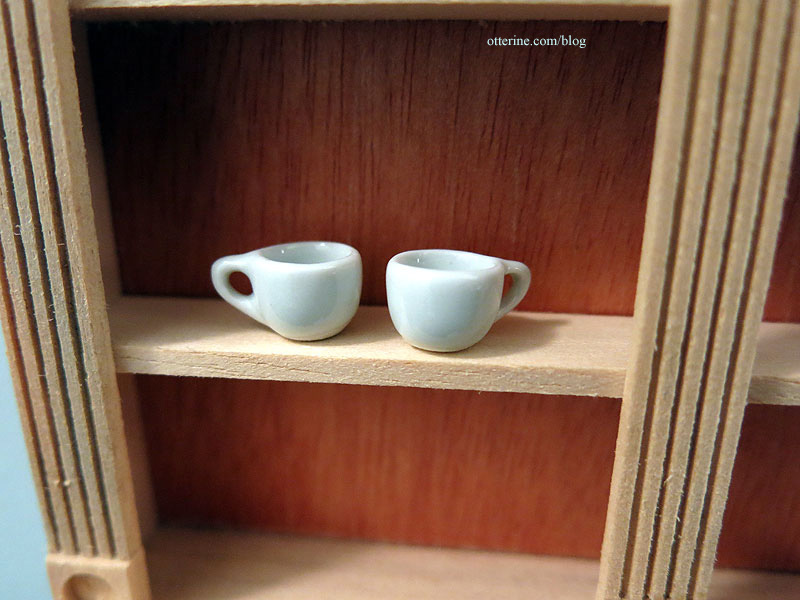
She also had a set of white mugs; I liked the shape of them.
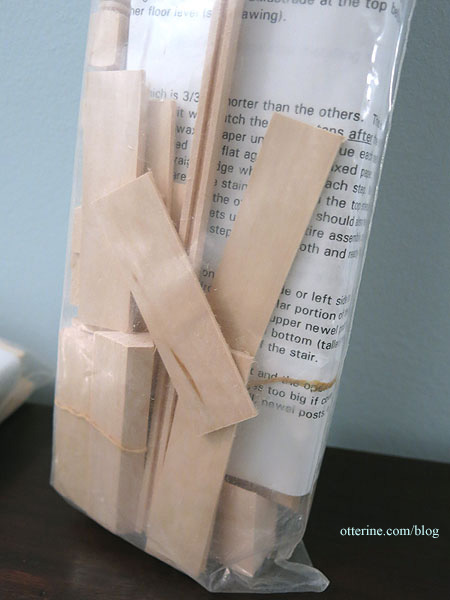
The place where I found the most treasures was All About Miniatures. He had two lovely stair kits from Architect’s Choice. They have individual pieces to make the base stairs.
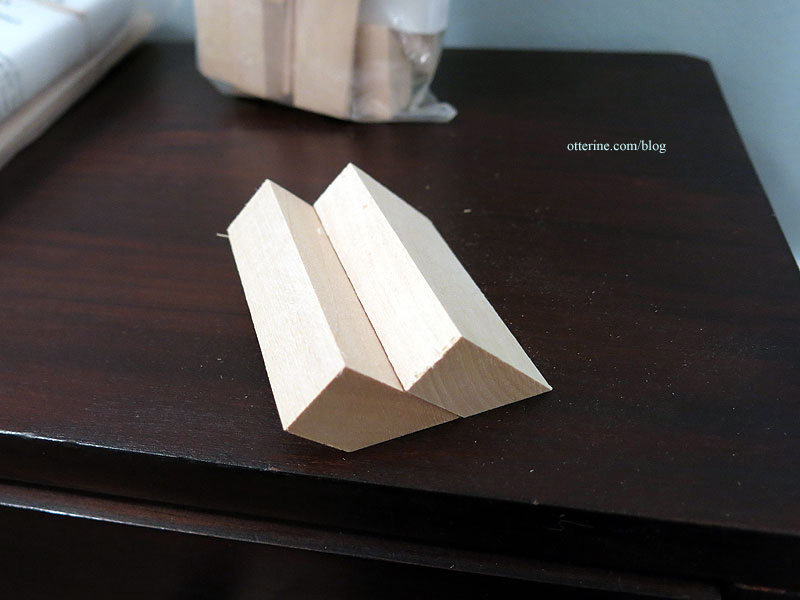
With separate treads.
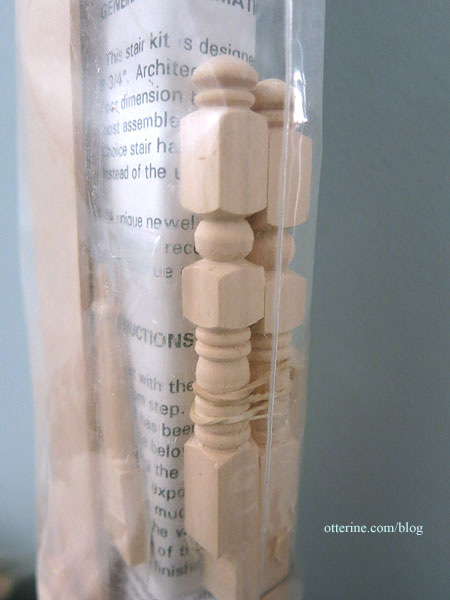
But, what sold me were the newel posts. Look at these beauties! :D
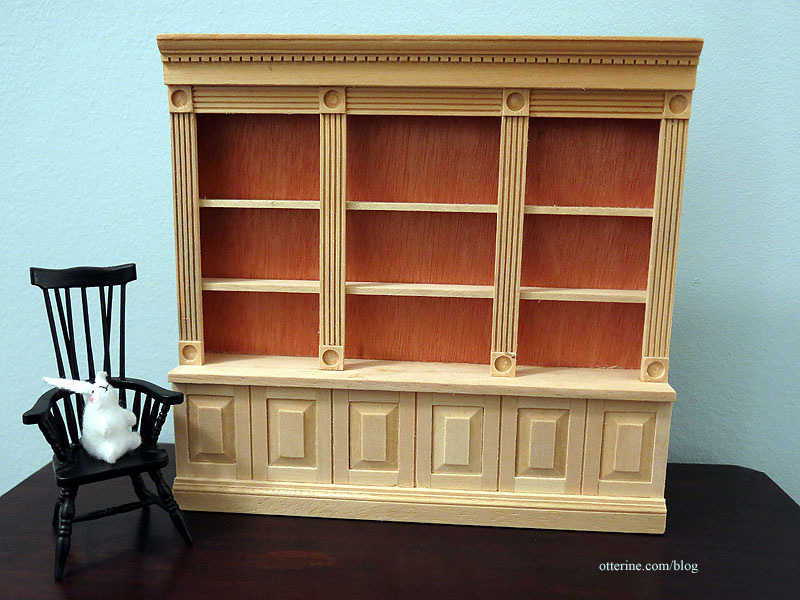
I picked up a wonderful Walmer triple bookcase.
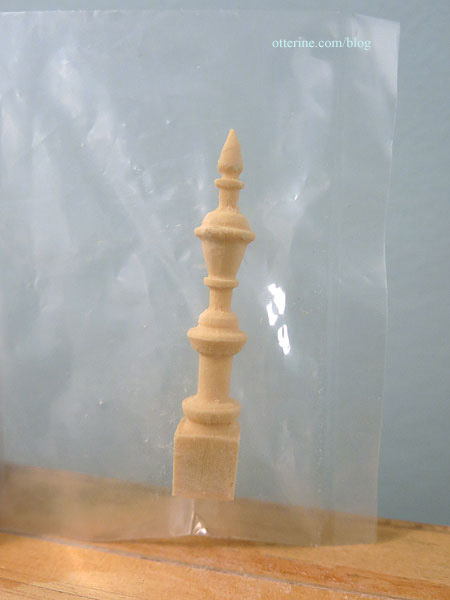
And, a lovely tall finial.
There was a Walmer skylight kit that caught my eye, and Greg opened the package so we could see what it was supposed to look like assembled.
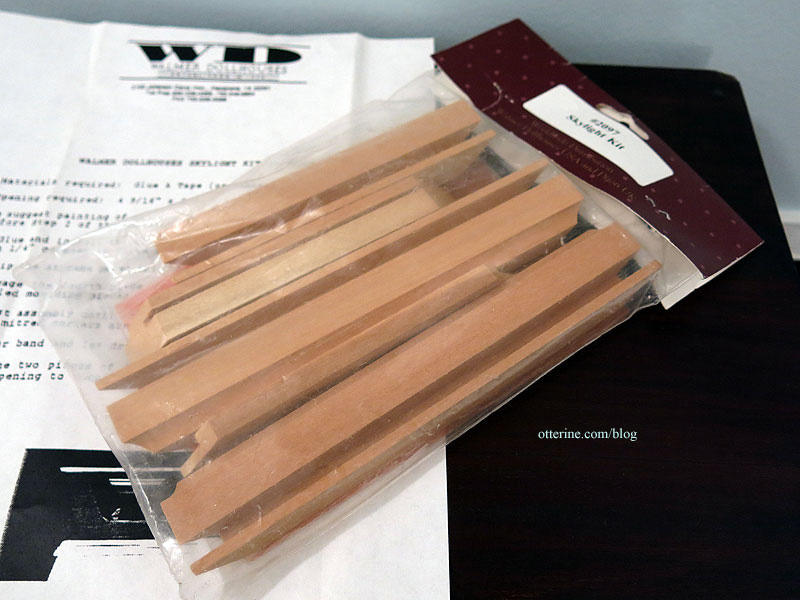
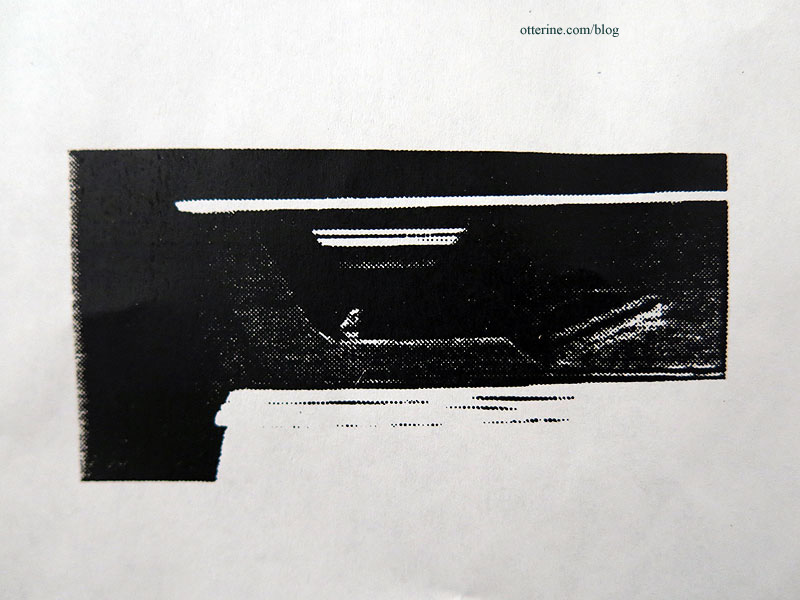
Erm…is that an ultrasound?!! No kidding…that’s the kit photo on the instructions. hahahaha!
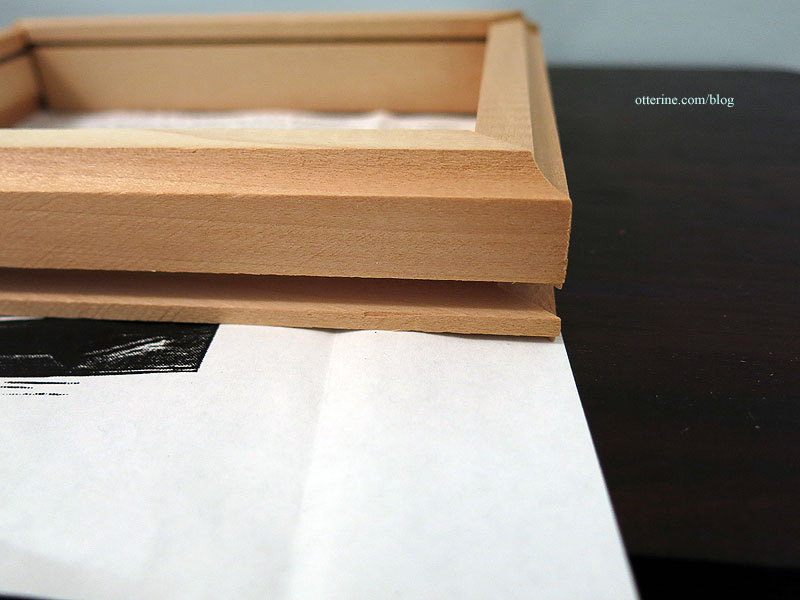
Looks like you install this around an opening in a 1/4″ thick ceiling board.
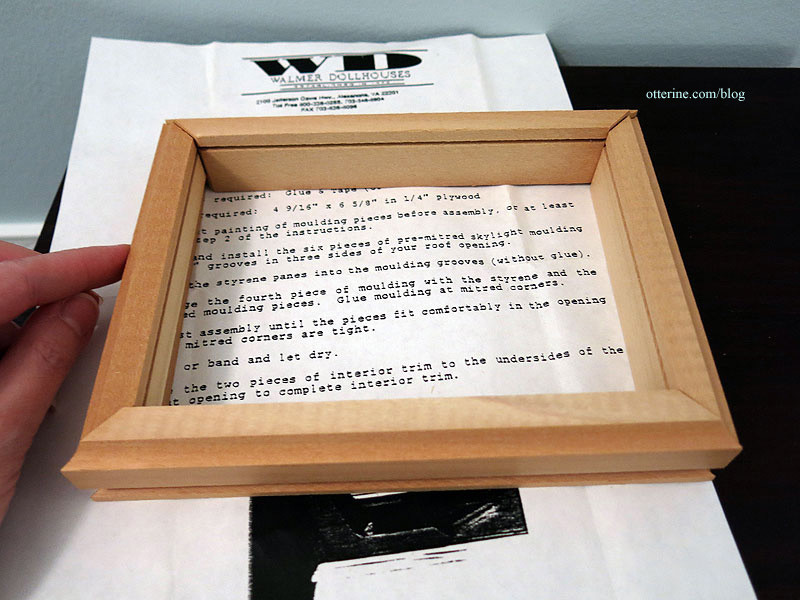
“Glass” is included, but I have something in mind besides a plain window.
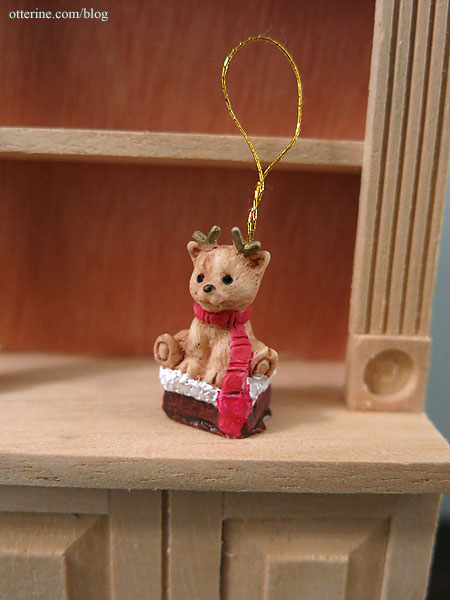
And, my welcome gift from the generous show organizers was this cute reindeer figurine. Well, he’s a mini ornament, but I will snip that thread and use him as a figurine in mini.
Categories: Miniature Shows and Shops
January 3, 2014 | 0 commentsThrowing away the Yes paste
Yes paste is a big No for me now. I’m not sure where I read about Yes! paste being used for dollhouse wallpaper, but I wish I had never seen it. It has failed in every dollhouse I’ve made where it was used. :[
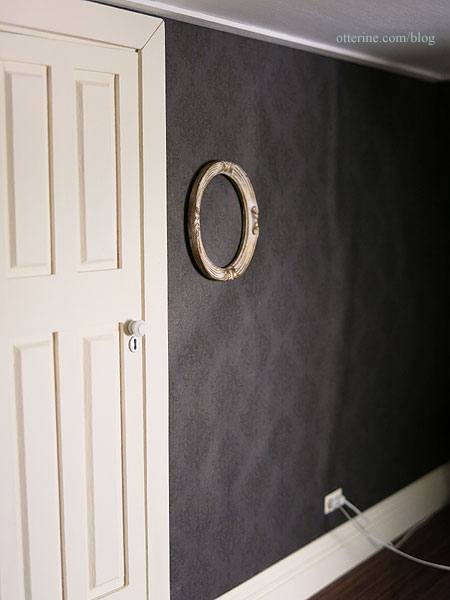
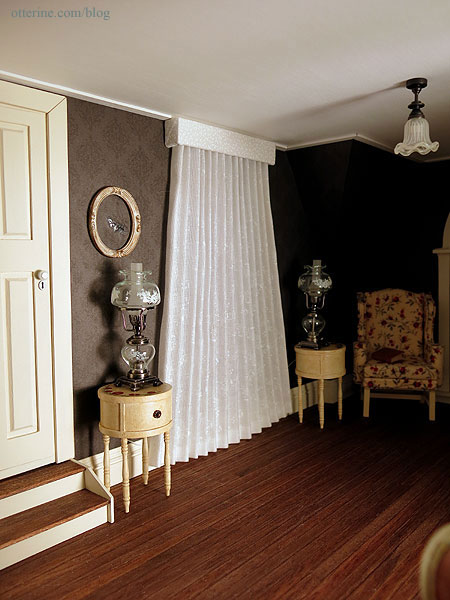
You saw my repair in the Haunted Heritage. There are other places in the Heritage where the paper has separated, but it is not noticeable.
Before:
After:
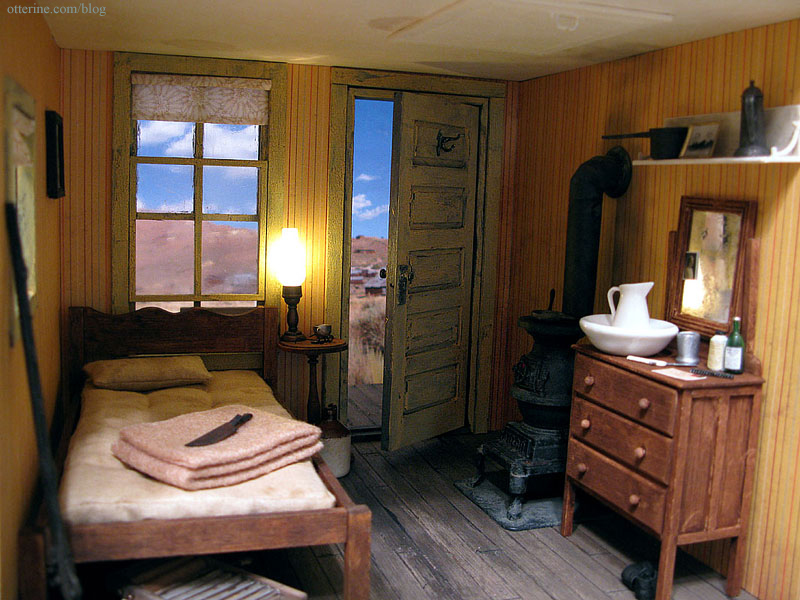
For Baslow Ranch, it’s an old building so wallpaper ripples are no issue. There is only one room with paper and while it has separated some, the gap isn’t noticeable and it’s not rippled just loose.
In The Artist’s Studio, however, it is very obvious and a repair on this blank wall will require removal of the old paper and redoing it using Wallpaper Mucilage. What’s bothersome is this is a very recent build and the paste failed that soon.
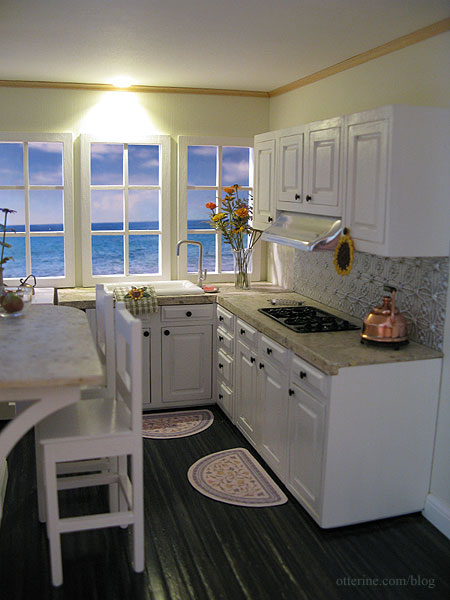
The worst of them is the Baxter Pinte Villa kitchen. This is what it used to look like.
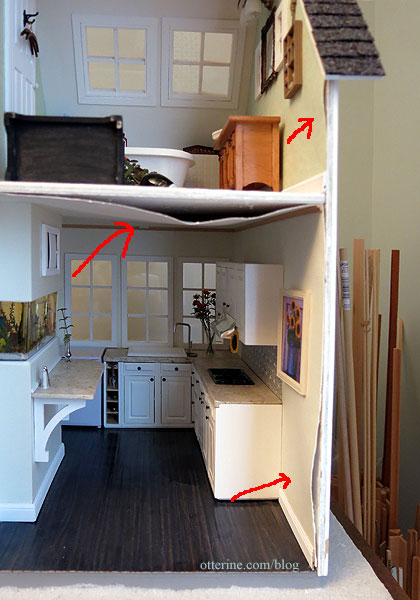
Now it is a couple of years old and most of the paper throughout remains intact. Except around the kitchen…including the walls, ceiling paper and part of the wall above in the bathroom. The bathroom repair will be easy – just slip some new, better glue under the edge and clamp.
I did a complete demo on the kitchen since the whole thing needs to be redone. I am planning to list this house for sale, so it needs a kitchen redo first.
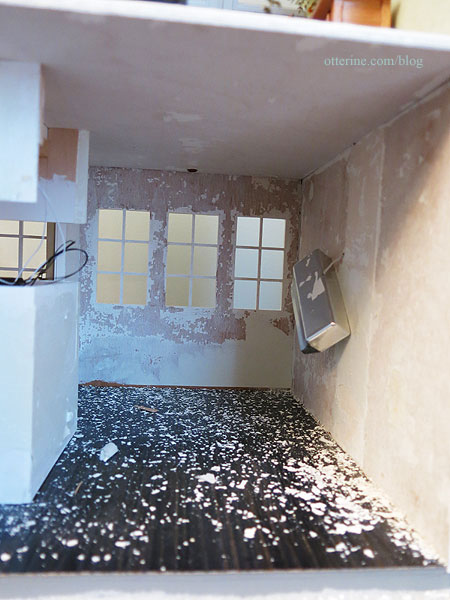
The primer paint is completely desiccated and crumbling.
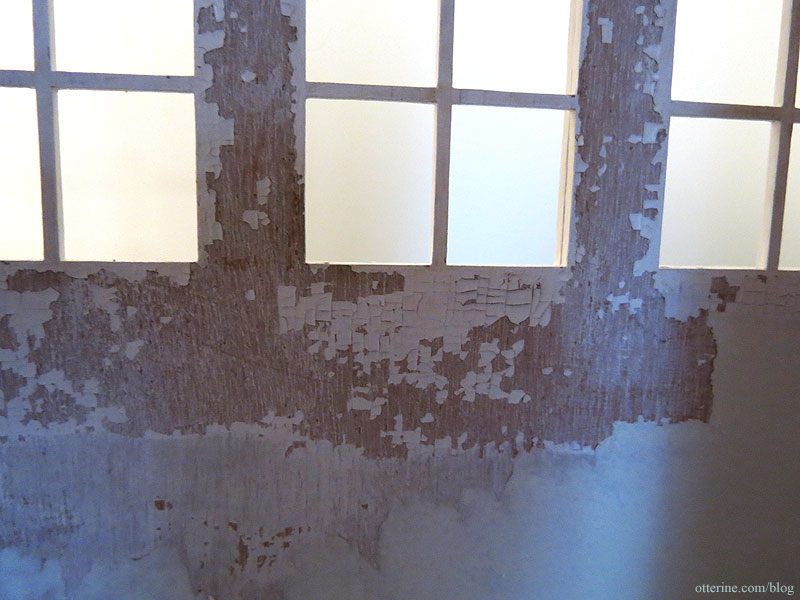
Maybe that is the issue with Yes paste; maybe it doesn’t bind well to painted surfaces. Either way, it’s already in the trash can. Buh-bye, Yes paste.
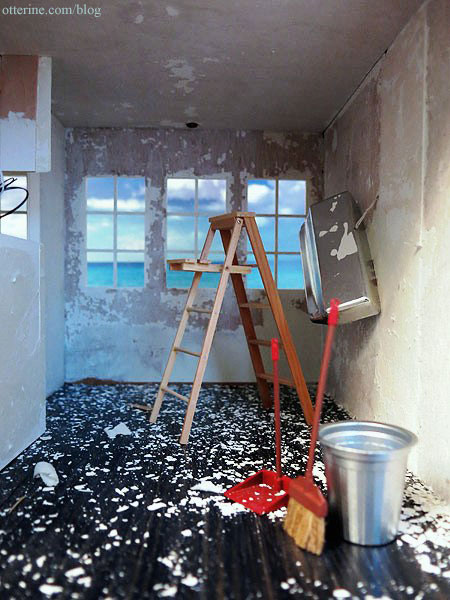
Well, I guess if I am going to renovate, I should have some fun with the photos. :D
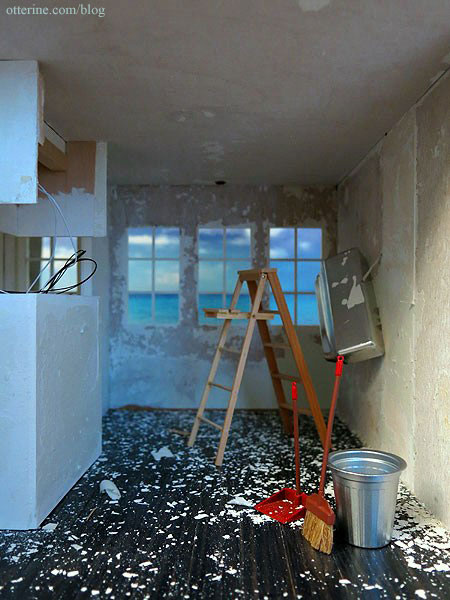
Baxter Pointe Villa is closed for repairs.
——-
Update: here is the product I use now…Wallpaper Mucilage.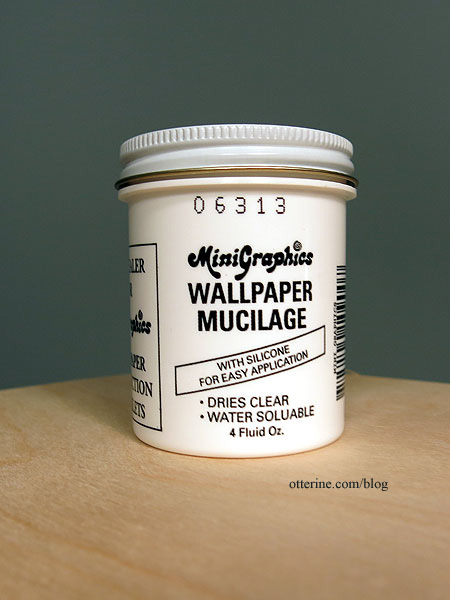
Categories: Tools
December 28, 2013 | 0 commentsTips and tricks for the Greenleaf Lighthouse kit
While I did make a number of changes to the basic Greenleaf lighthouse kit, there are some things that might make it easier for someone putting one together out of the box. Or, these tips and tricks might make you think of another method to help with assembly.
Since I eliminated the bottom and middle floors, I didn’t assemble the walls according to the instructions. I also wanted to finish the upper floor tile and support underneath before installing the floor inside the tower.
My first bit of advice is to cut any new windows or doors before you assemble the structure. For the actual assembly, I used Tyvek strips. I glued strips to one edge from top to bottom and let the glue dry completely.


I then added glue to the opposite edge and glued the pieces as close together as possible. Even during the dry fit, the floor was a bear to fit, mainly because you are juggling so many pieces at once. I did have to adjust the tabs and slots slightly for the final fit, but the Tyvek strips made the tower assembly much easier.


The Tyvek strips held the edges together while still allowing for flexibility.

Before installing the upper floor, I added all my wiring channels using the Dremel Trio.

I used this same method for the lantern room roof. If I had had more time, I would have liked to make this open with rafter work. Next time…. :D

I added glue per the instructions.

After the glue was dry, I spackled the joins. I later spackled the flat surfaces to remove the wood grain so that it would look like metal once painted.

Most of the structural changes I made involved the lantern room. Since I added a Fresnel lens and lighting, I needed the lantern room to be removable since it’s a closed room with no opening in the back. To that end, I couldn’t glue the walls onto the base. I assembled the walls with the handrail in place but no glue between the walls or on the top and bottom pieces. From there, I glued the vertical trim #6 pieces at each lower join and then added cut pieces of Houseworks siding between the trim pieces.

I finished the hand rail and glued it in place. I assembled and finished the crown as well but left it detachable in case I want to add the acetate windows later on. It sits snugly over the lantern room walls and keeps the room solid. To add stability to the upper portion where the windows are, I glued pieces of 1/8″ strip wood cut to size (making sure these fit under the crown).

I added 1/16″ strip wood under the hand rail to finish the gaps between the siding and the hand rail and spackled the joins in the top crown assembly.

I added Plastruct 1/16″ double diamond plate plastic sheet around the exterior landing of the lantern room base, cutting it to fit around the lantern room walls.

In order to cut the holes for the railing, I used a flashlight to shine light through the plastic.


I traced the laser cut holes and cut them with an X-Acto blade.


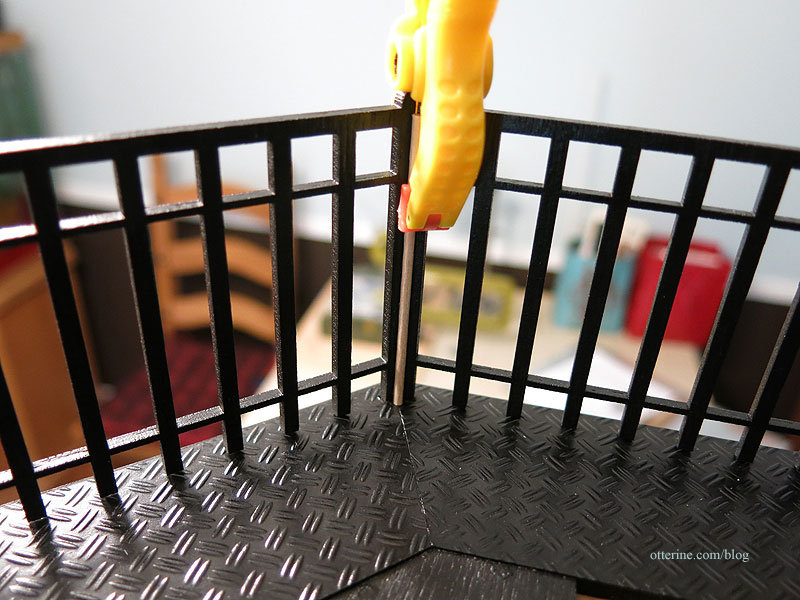
I glued the railing in place and held the pieces together with clamps.

I reinforced the railing with small dowels since there wasn’t much surface area to glue them side to side. I painted these black and you can’t even tell there is anything there.

The lantern room and its roof lift off the base. The base and railing are attached to the tower permanently. The laser cut tabs and slots hold the lantern room in place.
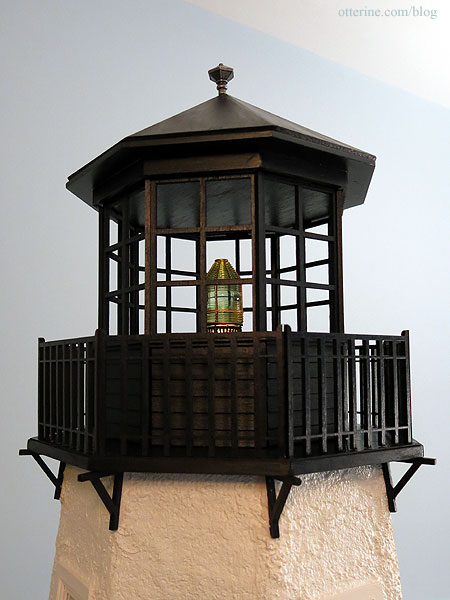
I used flat black spray paint and Minwax Satin Polycrylic spray on most of the pieces of the lantern room and hand painted only when necessary.
You can find the specifics on the Fresnel lens and its support mechanism in this post.
Categories: Walnut Bay Light
December 27, 2013 | 0 comments
NOTE: All content on otterine.com is copyrighted and may not be reproduced in part or in whole. It takes a lot of time and effort to write and photograph for my blog. Please ask permission before reproducing any of my content. Please click for copyright notice and Pinterest use.


