
The Brownstone – foam core board mockup
Update on The Brownstone. The kit instructions have you assemble a grid from vertical and horizontal notched pieces, as you have seen in previous dry fit photos.
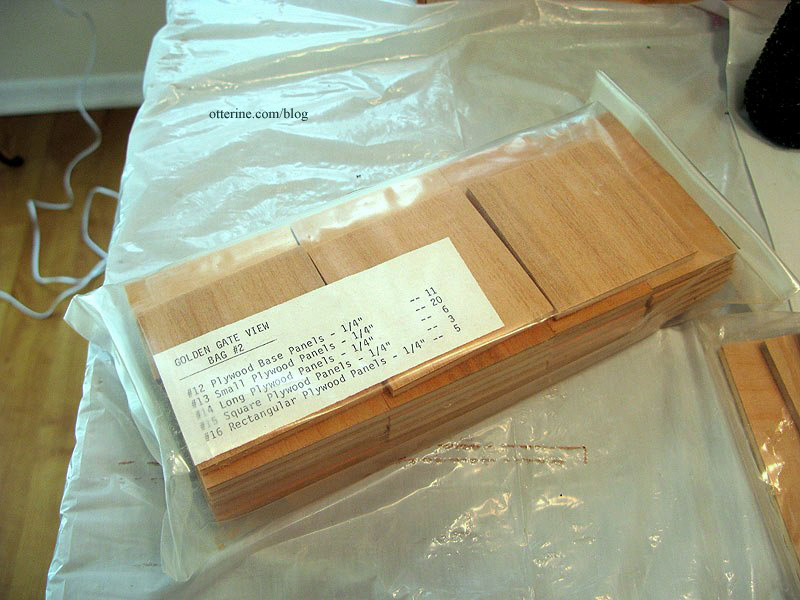
Later in the build, you add pre-cut inserts to complete the walls.
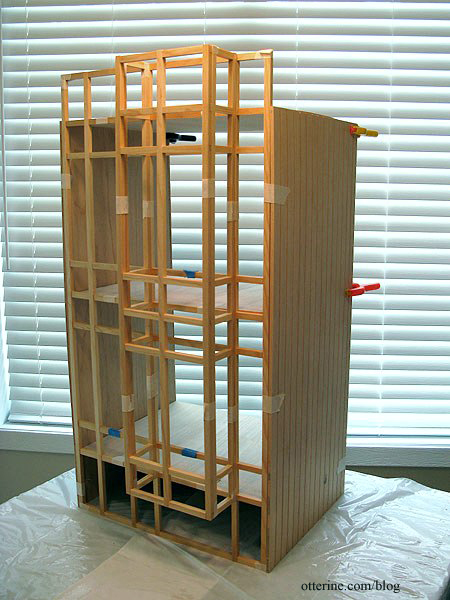
Since I need to add some width and height to the facade, I’m going to approach the assembly in a different manner as well. I’ll start with a full board cut to size. I had to piece the foam core board but my final wood panel will be one solid piece. To this front panel, I will add the grid trim and finishing inserts. I will trim the bottom of the grid flush with bay portion since I’ll need the lower portion open for the garage door.
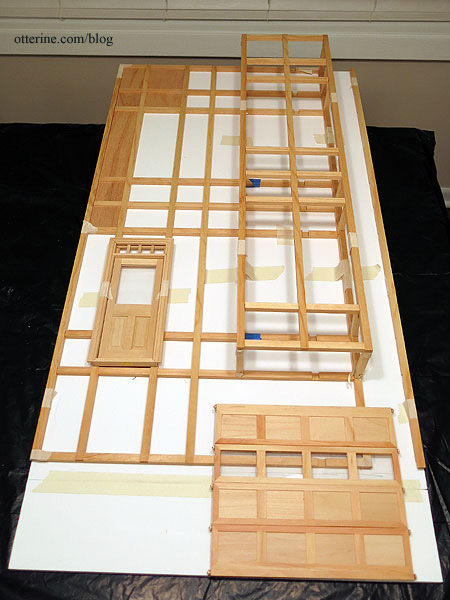
A few inserts worked just fine. As I noted before, I would think it prudent to use these as spacers when assembling the front wall and bay window grids to make sure it all fits precisely, but the instructions don’t have you do this. The grid is tight because there are notches to match up on the verticals and horizontals.
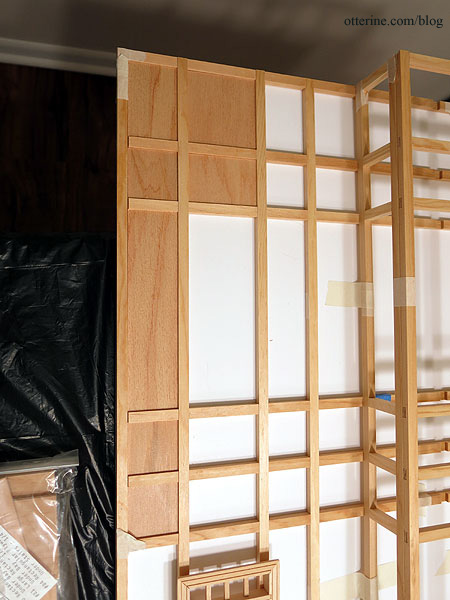
And, a few brought forth my least favorite phrase: “sand to fit.” I foresee some issues later on. I have to cut new pieces for the added width anyway.
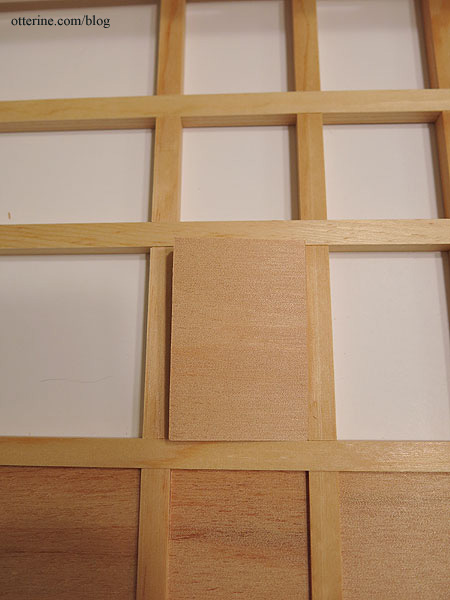
Having a solid front board allows for a smooth surface on the interior and a stable base for the front detailing of the structure. This front board ended up being 33 1/2″ tall by 17 1/4″ wide. The build is just shy of knocking into the ceiling light fixture above my work table. Whew!
I’ve used the interior stairs kit just as a trial. I have some supplies ordered for the new staircase. The front door will also be recessed and not floating in space. The original kit has a portico top, so there will be good visual interest here.
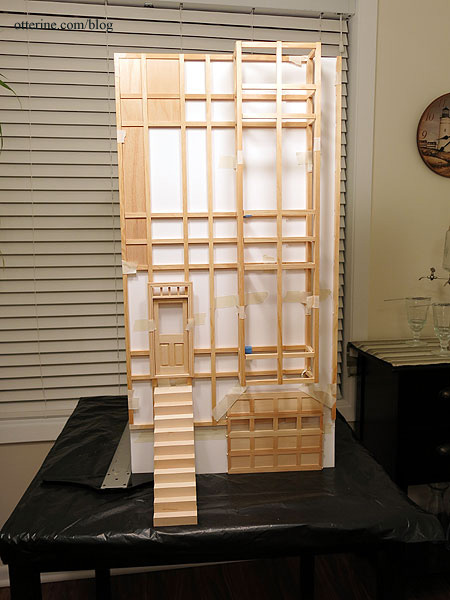
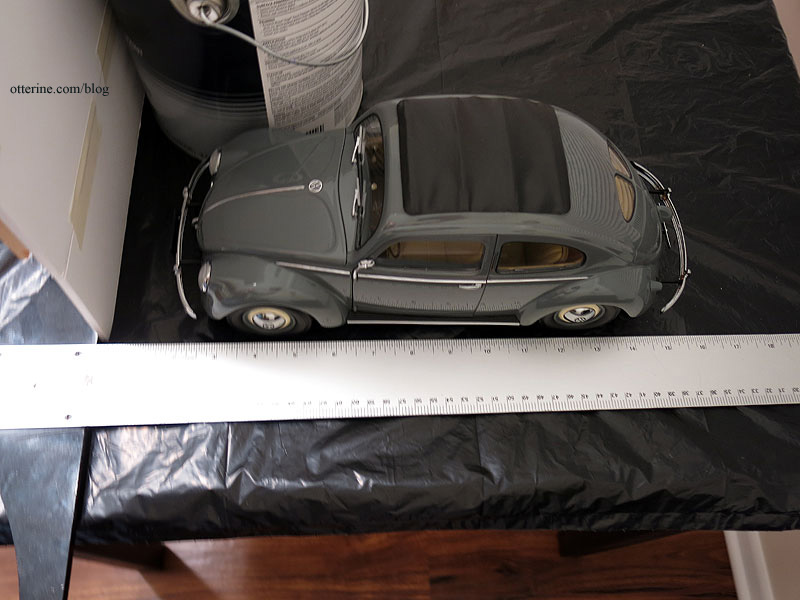
The next step was determining the depth I will need to fit the rooms and accessories I want. The garage needs to be at least 16″ deep to accommodate the Beetle comfortably, but this is the least of the issues.
The side walls are shorter than the front in the original kit as well, so I started with a piece of foam core board 30″ tall by 20″ deep.
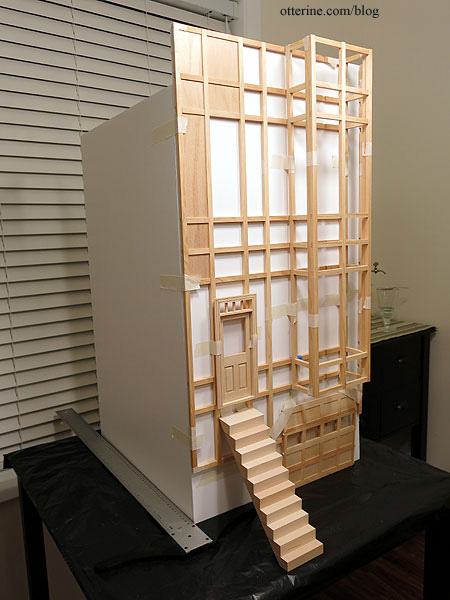
As you can see, I didn’t bother to put in the first floor for the interior layout since the overall shape is a tall rectangle. Each room is the same as the next.
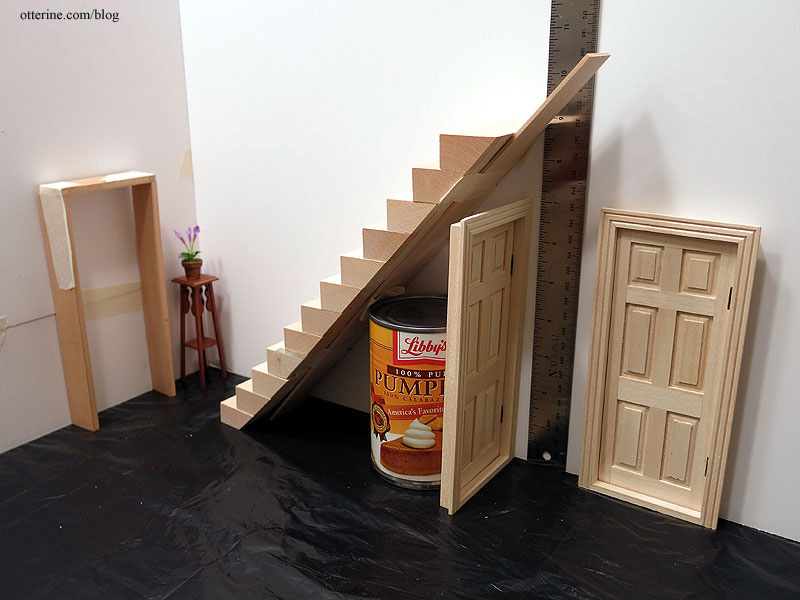
I put the pieces for the recessed entrance of the original kit in dry fit to see how much room this will take up on the inside. Only about an inch. I am going to see if I can keep the kit door, which needs assembly. I will be foregoing working windows to follow the kit construction, but I must have a working front door. There may be some bashing involved here, and I have a Houseworks door (not the one shown in the mockup pictures) as a backup.
From the front door, I want a full staircase to the second floor. I will be using the Architect’s Choice stairs purchased at the 3 Blind Mice show earlier this month. I taped most of the steps together to get a feel for the size. They are 3″ wide before any embellishment, which I am sure to add. I need enough room behind the stairs to add a door to the garage stairs and a door to the side addition. I also need enough room for a realistic landing on the second floor. The 20″ depth seems to be perfect since it will give me some breathing room during construction.
There will be a wall between the staircase and the living room. I borrowed the Newport study fireplace and a Bespaq sofa for placement. The Navajo rug will live in this room permanently, but the other pieces will be replaced.
I borrowed the Baxter Pointe Villa kitchen cabinets since they are out for the remodel of that kitchen. This won’t be the exact layout, but the kitchen can be sizeable with the added depth. I like the idea of a breakfast counter, but there might end up being enough room for a table. We shall see. I like the idea of an open concept here between the kitchen and living room, so I’ll likely add only what support is needed to keep the ceiling level.
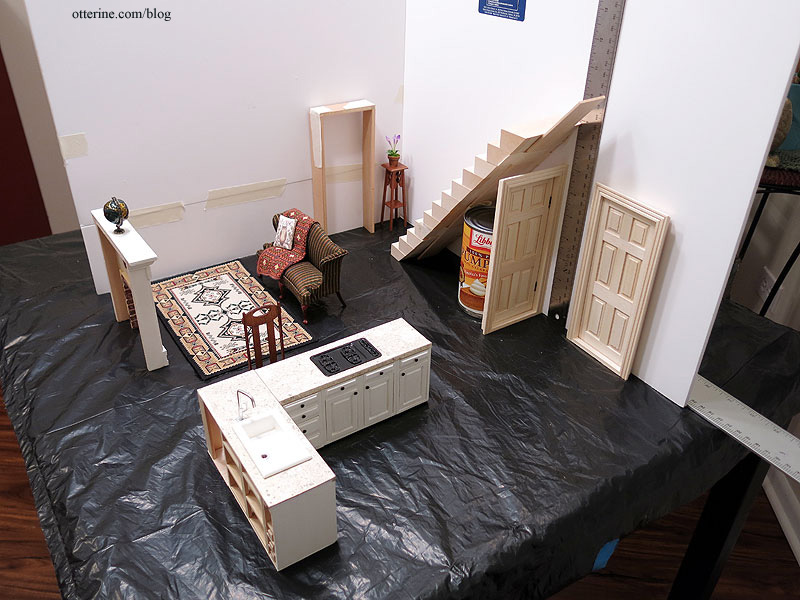
I already know the landscape base board will be deeper than 25″, which is the maximum measurement I use for the shortest side of any build’s base. The reason for this is that I need the builds to fit through the doorways in my house. Yes, the exterior doors are wider to move the builds out if I need to, but I don’t want to be limited to where I can put my finished builds since I don’t have a ton of room in the first place.
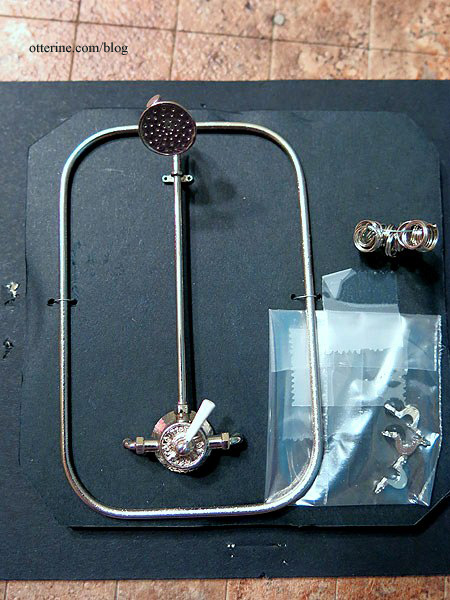
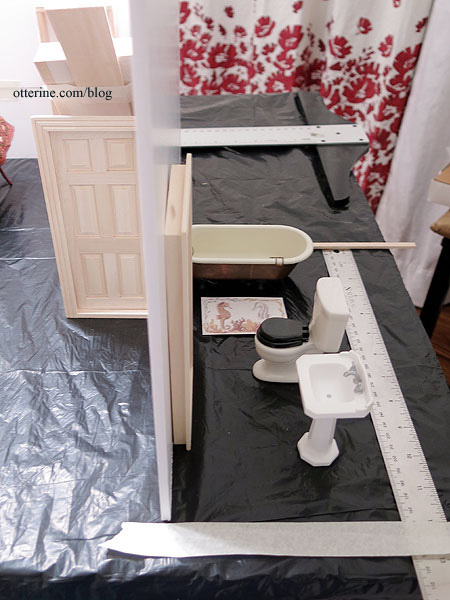
So, this meant the width of the landscape board has to be 25″ and that didn’t give me a lot to work with for the side addition. Mainly, I’m looking to add a full bath on the second floor, so I used that as my guideline. I want to make this beautiful bathroom (the warm brown tone bathroom) using the shower set I won in a giveaway by Pepper at MitchyMooMiniatures.
I borrowed the bathtub from the Heritage, the toilet from Baxter Pointe Villa and added the sink from Houseworks. The side addition will be 5 3/4″ wide by 12″ deep. Just enough for a cozy vintage inspired bath.
On the first floor, I’m thinking a washer dryer set inside a mudroom. The imagined back door will be in the open back. In the garage, there can be a work room with mini tools. And, if I’m ever going to construct a furnace and water heater, this is the build.
Categories: The Brownstone
January 27, 2014 | 0 commentsWalnut Bay Light – the spiral staircase
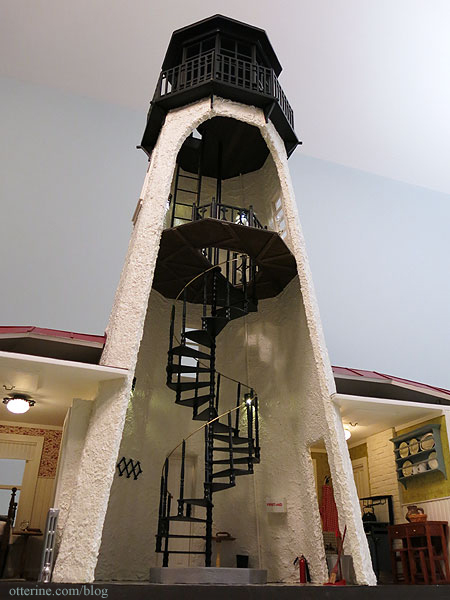
One of the prominent features in Walnut Bay Light is the 16.25″ tall spiral staircase in the tower. It was scratch built from textured and smooth plastic sheet, an orchid stake, wood beads and spindles, jewelry findings and brass wire.
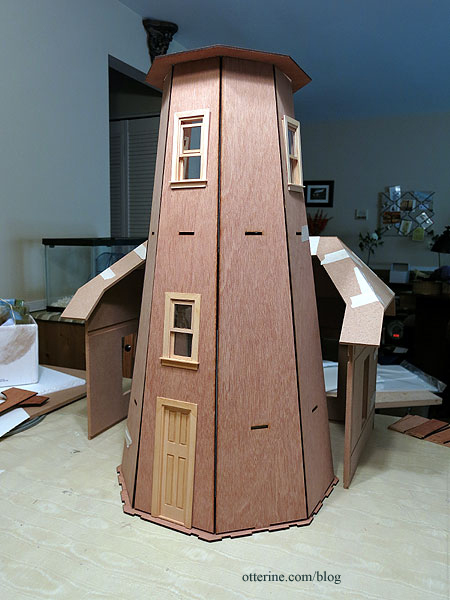
Since I planned to have a substantial base, I cut part of the first floor of the lighthouse tower down. I replaced the kit windows and door with Houseworks working attic windows and narrow door.
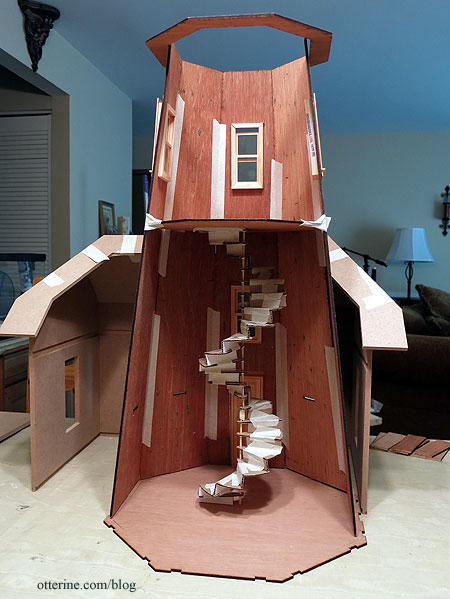
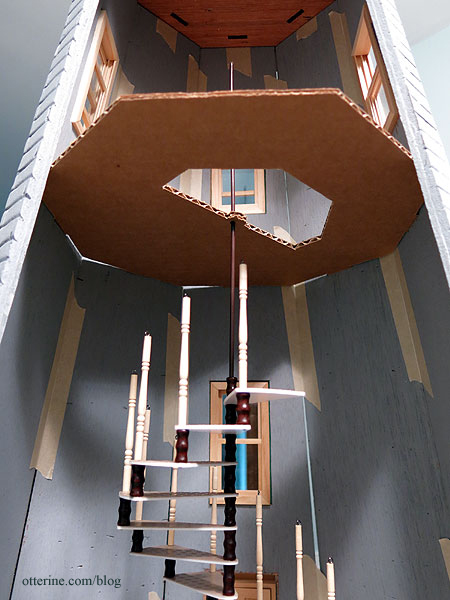
This eliminated the middle floor in the lighthouse tower, which meant I needed a breakneck staircase to access the upper floor. That’s my initial mockup of the spiral stairs in cardboard, tape and bamboo skewers. Yes, there was math involved, but it worked out really well.
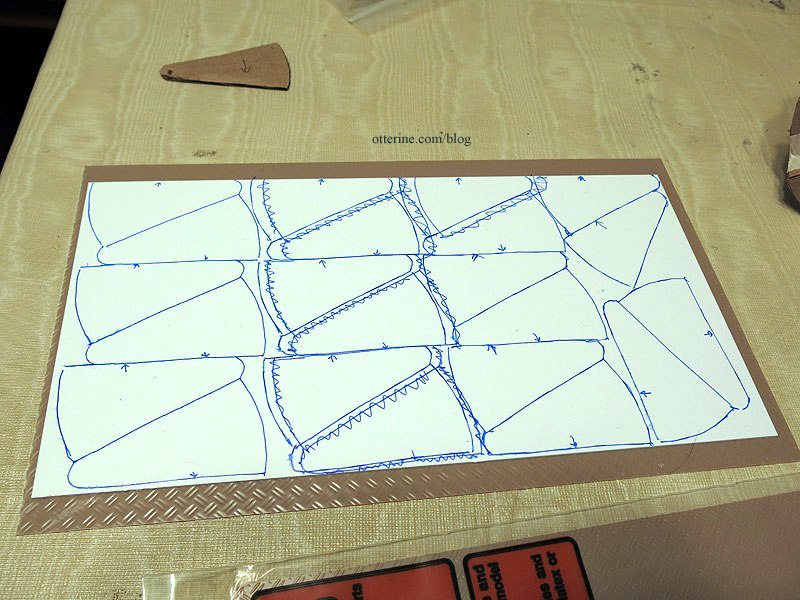
The textured sheet is 1:16 scale double diamond plate by Plastruct. Due to its thinness, I glued plain white styrene to the back and then traced my tread pattern onto the sheet. I had to redraw part of it to fit all 22. Each one was marked with an arrow to keep the direction consistent.
Each of the stairs was cut using my Proxxon scroll saw — I actually used that saw more than I thought I would for this build. It saved me so much time and aggravation.
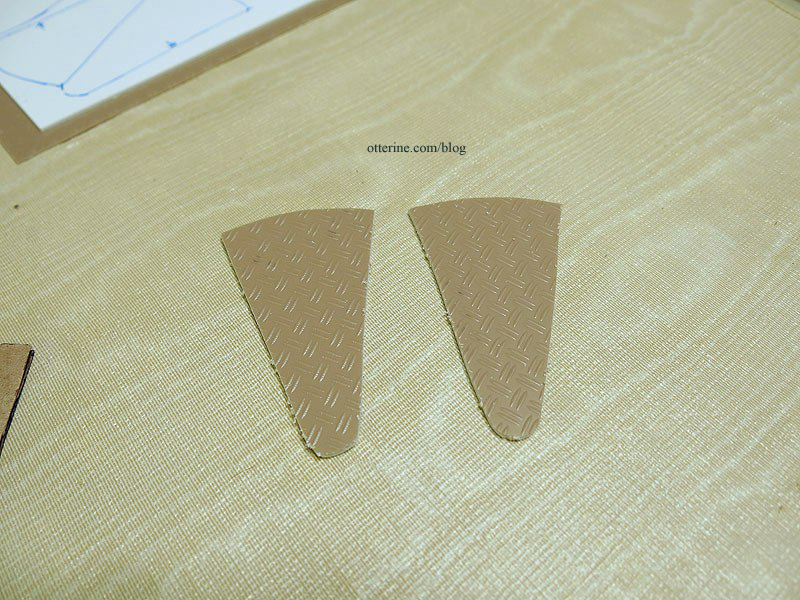
I then sanded the edges smooth and added the drilled holes in the middle (for the main support) and outer points (for the spindles).
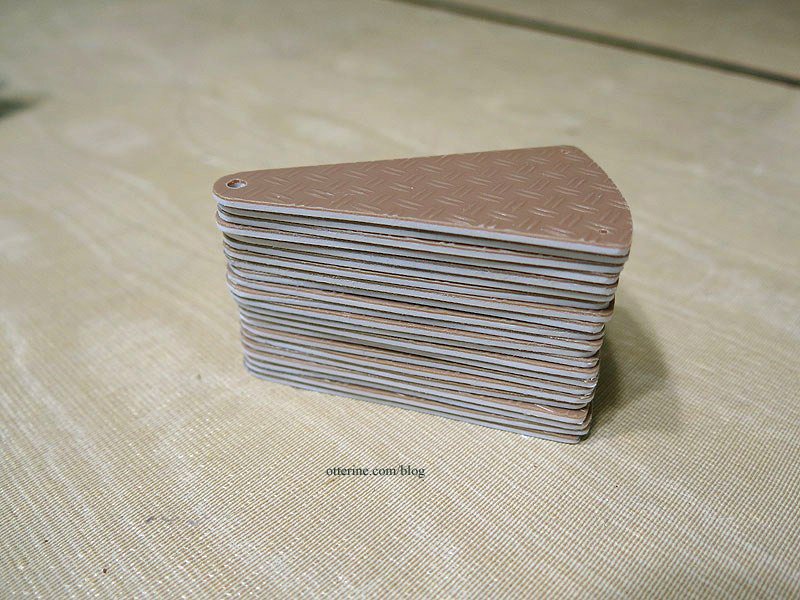
Here is the trial run with the final materials.
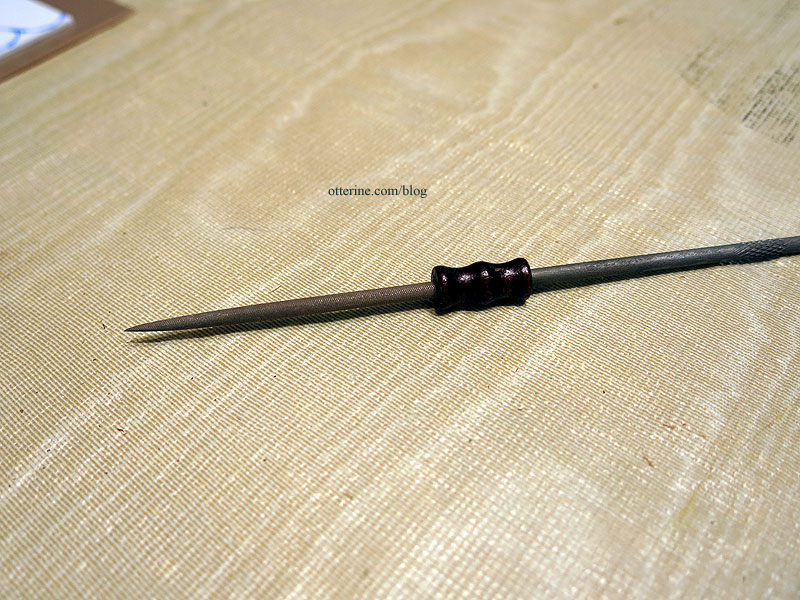
The wood beads are 1/4″ x 5/8″ and have a fancy shape to them, but the holes were just a little too narrow for the orchid stake used as the main support. I used a metal file to open the hole wider for the ones in the middle support. The outer beads didn’t need adjustment.
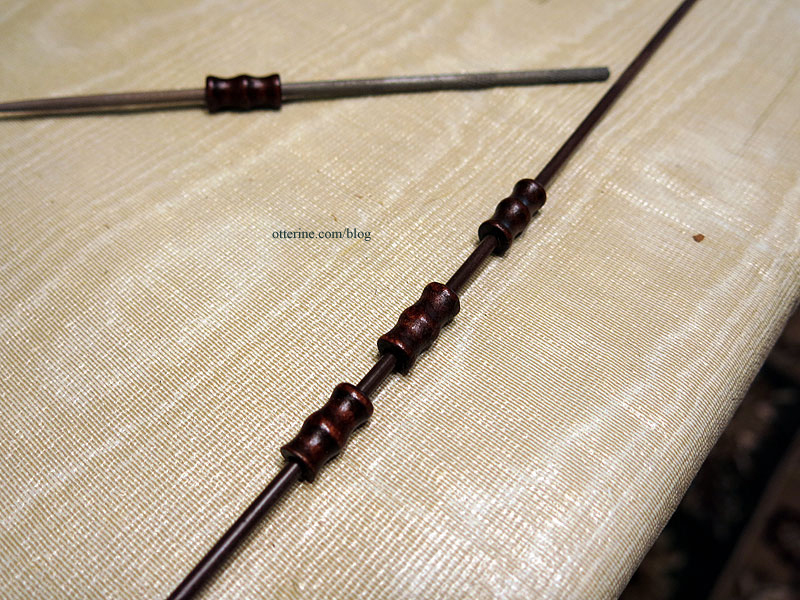
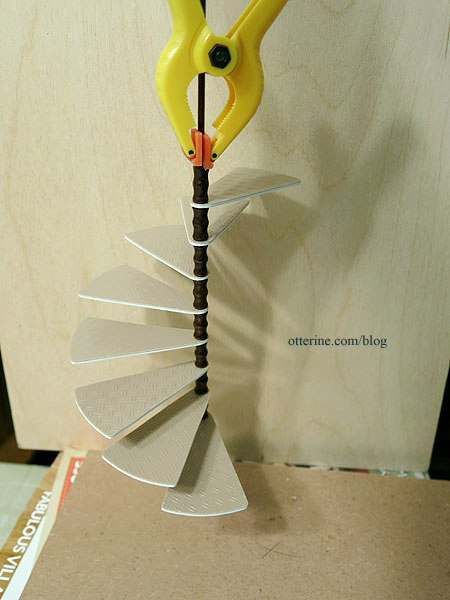
I used a combination of E6000 and super glue gel. I needed each part of the assembly to be solid to build the next one on top. I used a headpin inserted from the bottom of the lower tread, up through outer spacer bead, through the upper tread and then clipped to fit into a pre-drilled hole in the spindle. The spindles each had a drilled hole to insert an eyelet pin.
This is just over half of the staircase completed. I left a few inches of the orchid stake open at the bottom to insert into the base for stability.
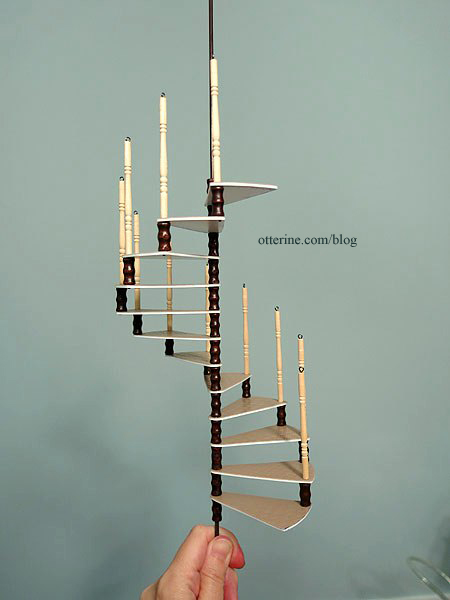
Once it was spray painted flat black, it transformed. :D I later applied a semi-gloss sealer.
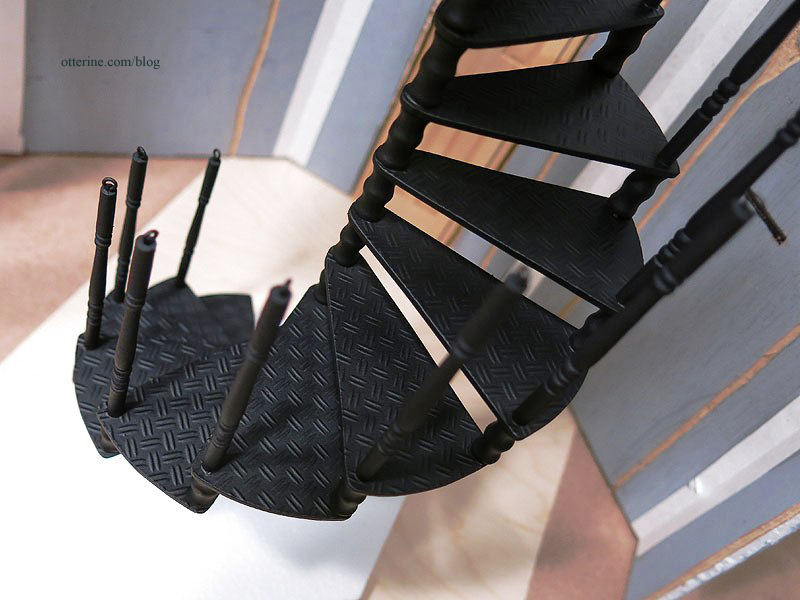
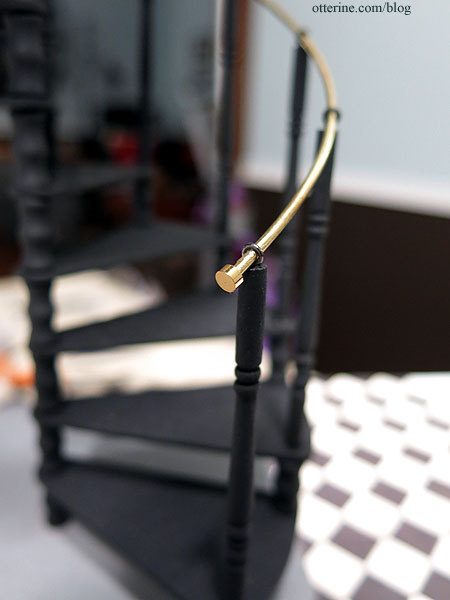
The 1/16″ brass railing was curved by hand and then fed through the eyelets as the last stage of construction.
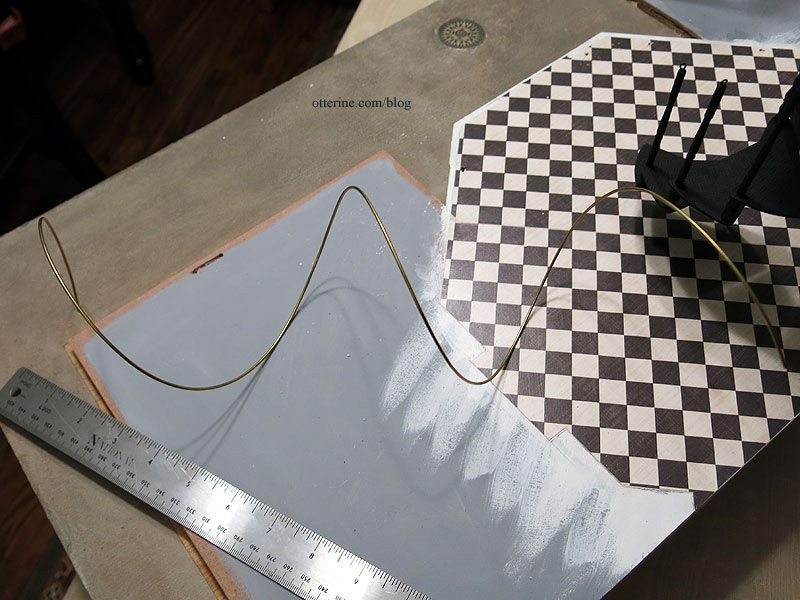
Yes, this was a right proper pain. Spindles and eyelets popped repeatedly, but I was able to wrangle it into submission and glue it all back in place. :D After final installation, I finished the ends of the brass with round caps from Bindels Ornaments.
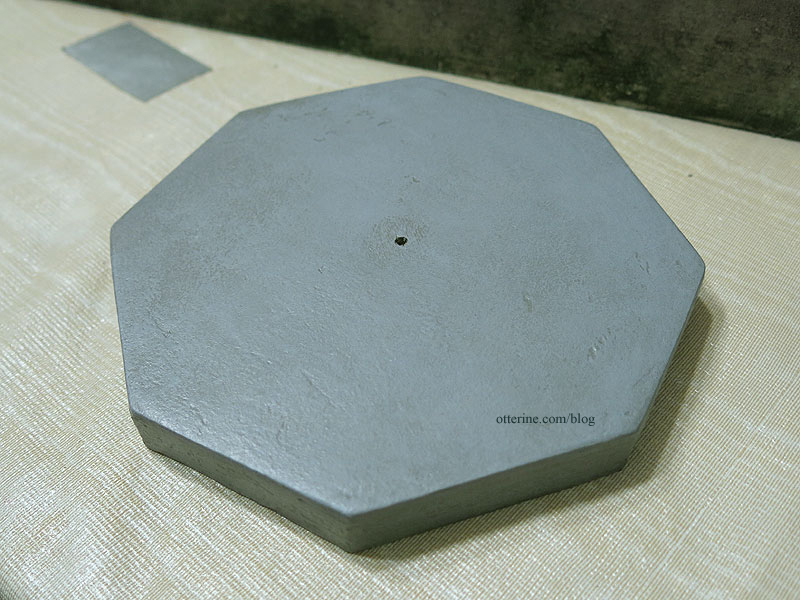
The staircase ended up being about 1/2″ too short, so I made an octagonal base for it from styrofoam.
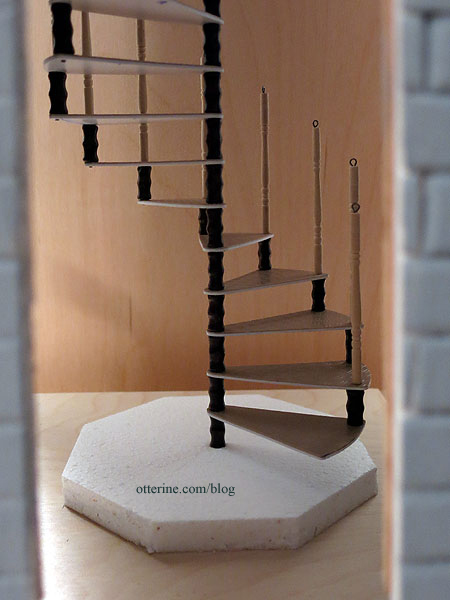
I covered the top with wood and the sides with cardboard.
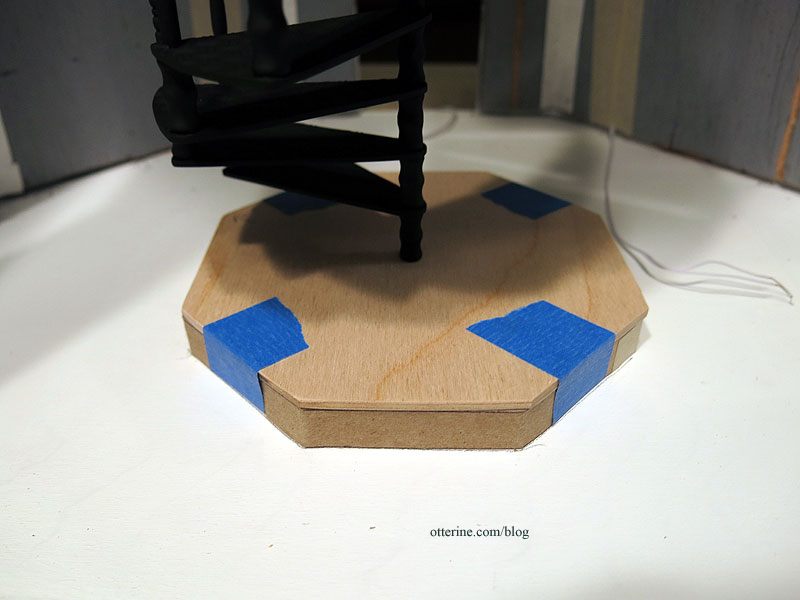
After spackling the base, I sanded and painted it to resemble painted concrete.
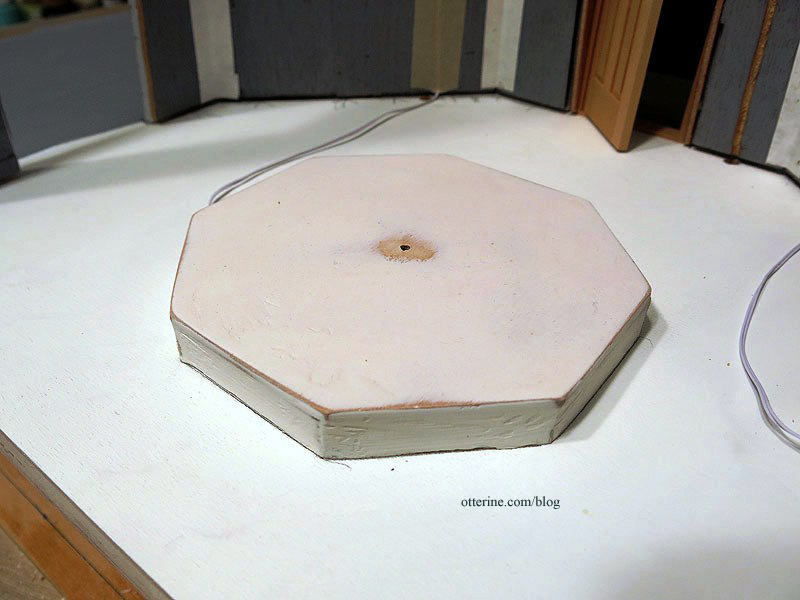
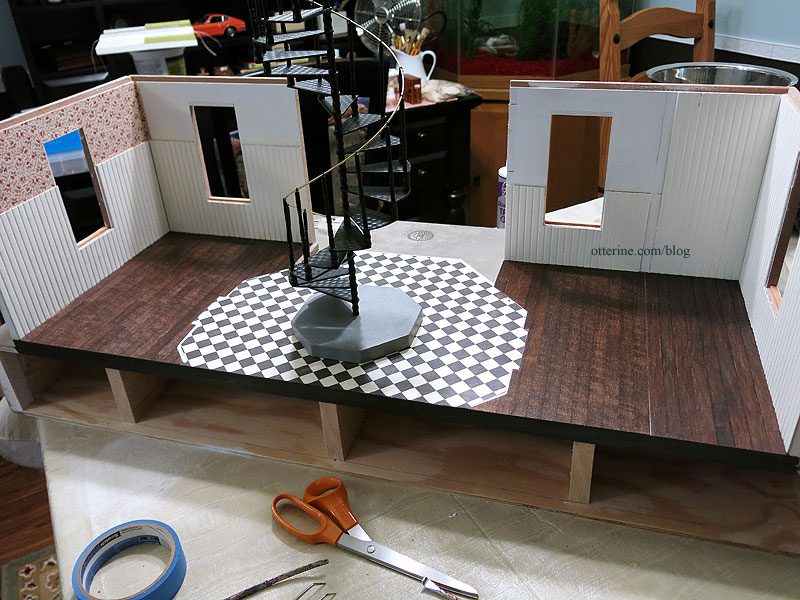
I installed the lower tower tile floor and adjacent wood floors before installing the base and staircase.
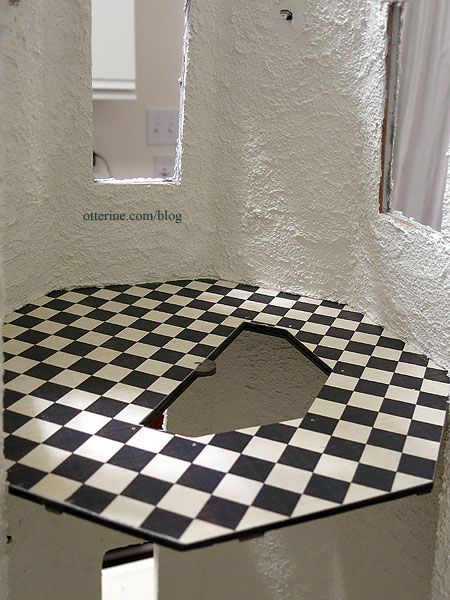
I made a mockup of the upper floor from cardboard to determine the opening since I didn’t want to risk ruining the kit board.
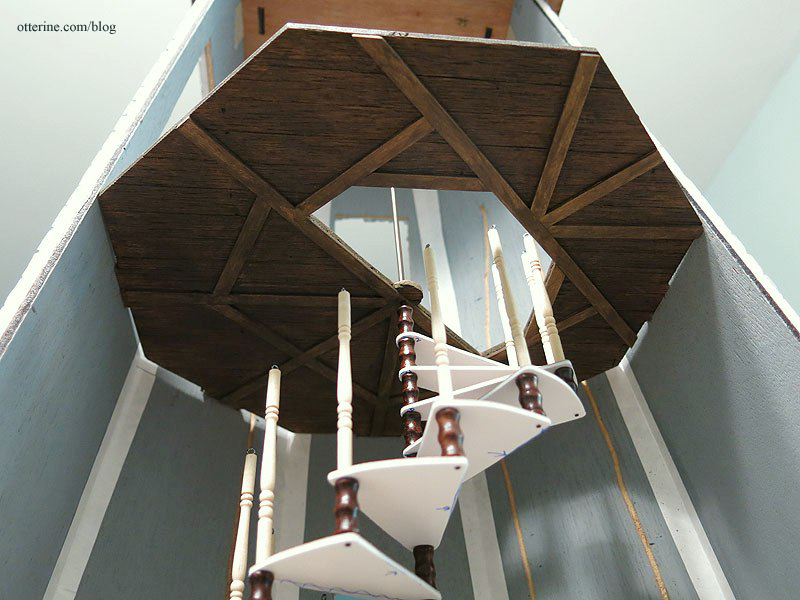
Once I had the shape and opening cut in the mockup board, I altered the original kit piece, using the scroll saw for the opening. I scored lines on the bottom of the board and added strip wood trim to mimic support beams. After staining, it looks like a convincing structure. You can see my arrows on the underside of the treads.
I added scrapbook paper called Cream Diamonds by The Paper Studio to the top side of the upper floor, sealing it with Delta Ceramcoat Satin Varnish. Even though I glued the upper floor in place before applying the stucco finish, the tower remained removable until I was ready to install the spiral stairs permanently since there was a guide hole in the upper floor.
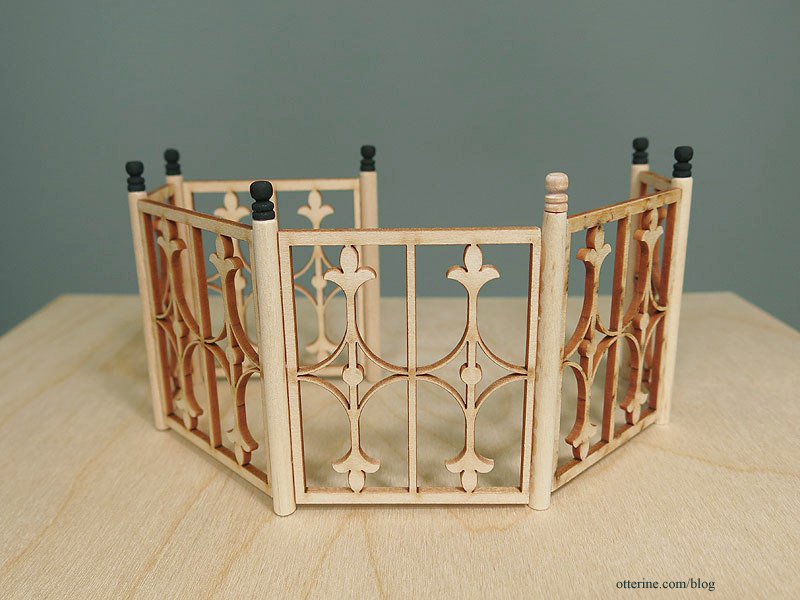
The upper railing was made from Laser Tech railing, wooden dowels and Tiny Turnings.
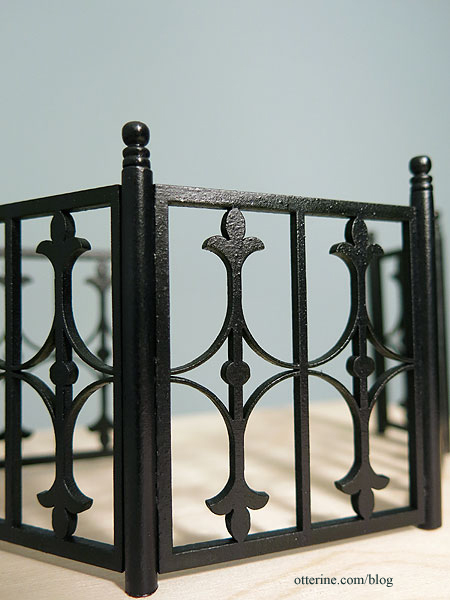
I sprayed it flat black followed by Minwax Polycrylic Semi-Gloss spray sealer for a wonderful wrought iron texture.
There’s a hollow aluminum tube that extends from floor to ceiling in the upper tower room. I sprayed it flat black and then added a satin sealer.
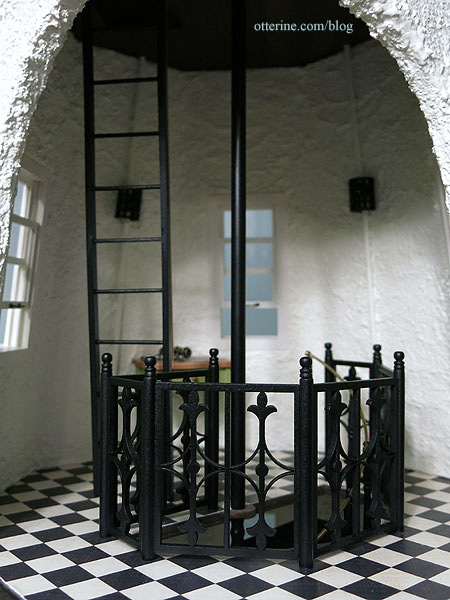
The tube encloses the top portion of the orchid stake.
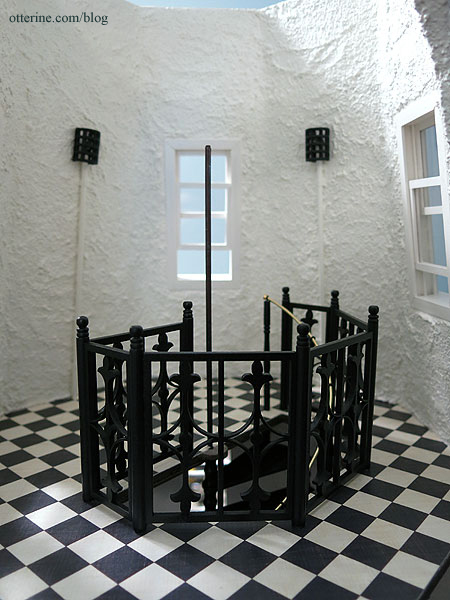
I’m so pleased with the way it turned out! :D
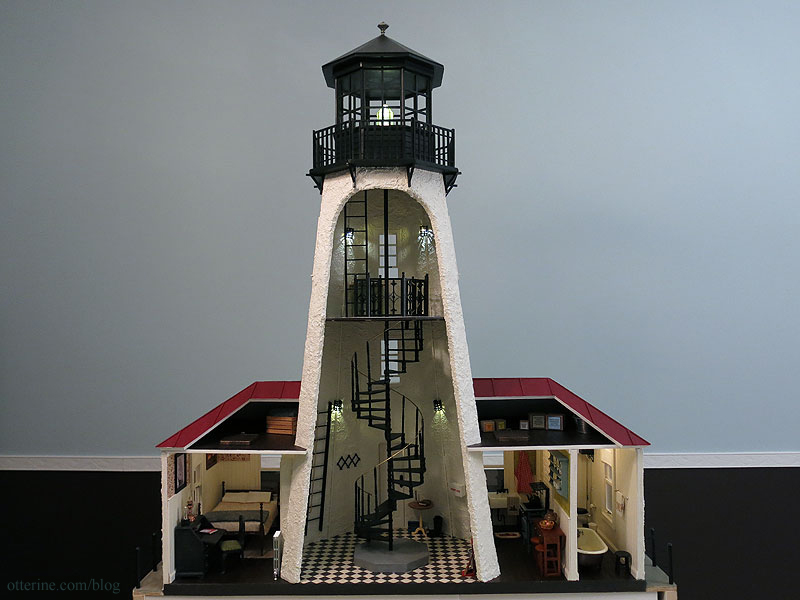
It fills the tower but still allows for a realistic amount of room to move about and place lighthouse related accessories.
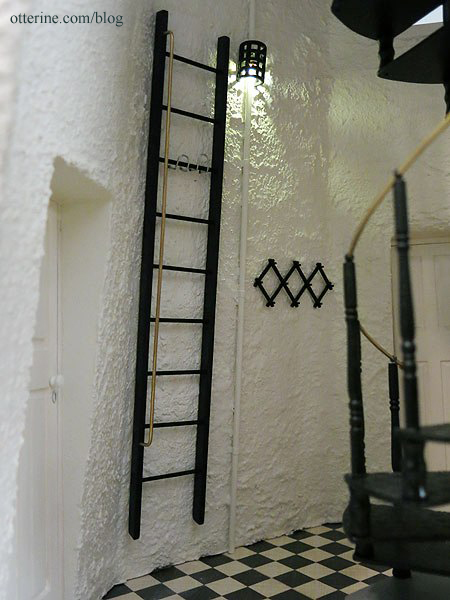
Categories: Walnut Bay Light
January 15, 2014 | 0 commentsTomato – tomahto – Radio – rahdio
When people meet me in person, they often ask where my accent is from. These are people who live in the Midwest right along with me. I’ve lived in the Midwest my whole life, but I know I have an accent. This comes from the fact that I like the way people from other locations say certain words and I tend to pick that up. I’m good with some full-on accents, too, when I try. And, some words are just more fun said in a different way. One of these words for me is radio, which I like to say the way it sounds in German, rah-deeo. :D (Yes, I even like to say rah-diator in jest.)
Anyway, this cute little radio isn’t necessarily meant as a dollhouse miniature, but look at it!!! It’s so tiny! And, yes, it works!
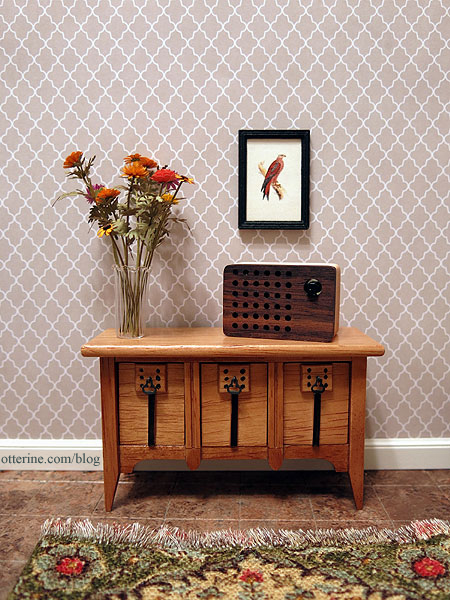
This is a Motz Wood Portable Speaker, FM Radio and MP3 Player. It supports micro SD cards, iPhone, iPad, iPod, MP3 players, laptops and other electronic devices with 3.5mm audio. They aren’t that pricey, but I used some rewards points to snag this fellow for $5. :D I had actually meant to get one earlier, but they sold out. I snapped one up as soon as the stock was replenished. There’s also one in the shape of an acorn.
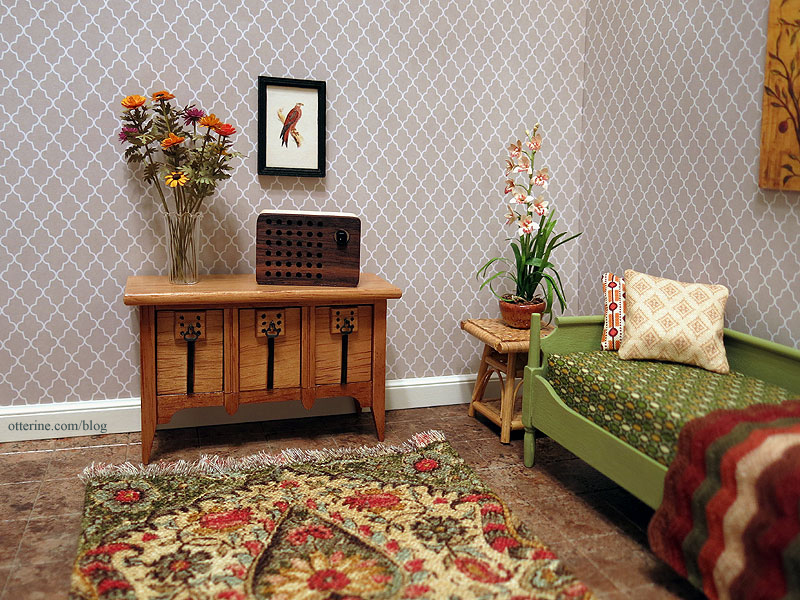
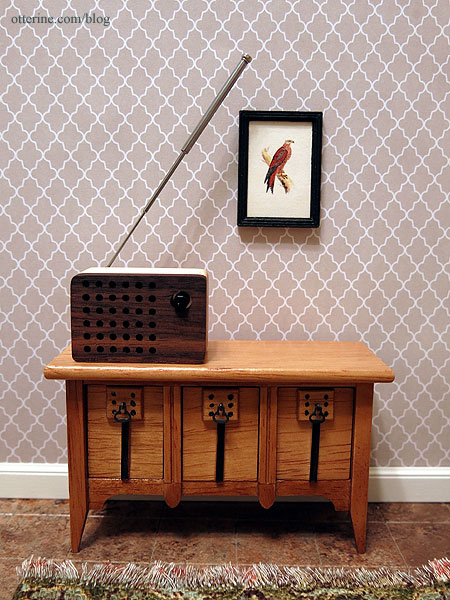
It has an antenna that moves about, even folding out of sight in the back.
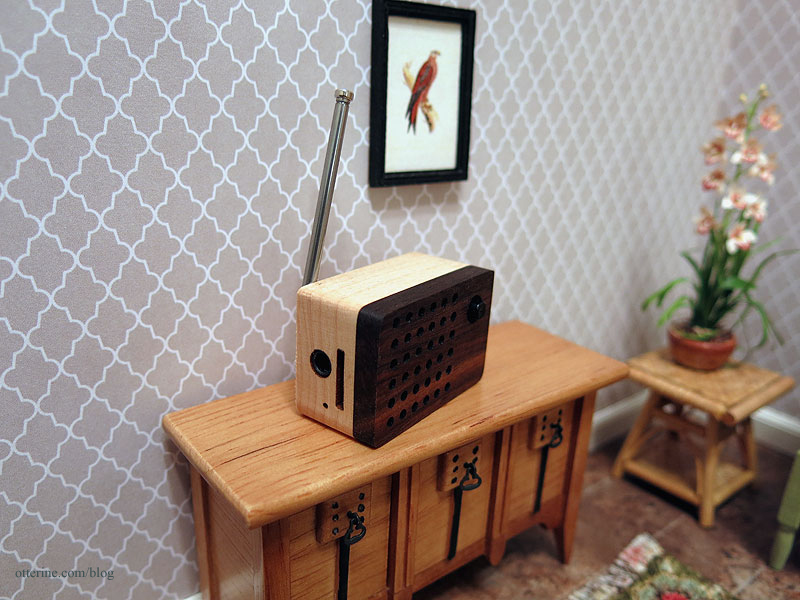
It also extends.
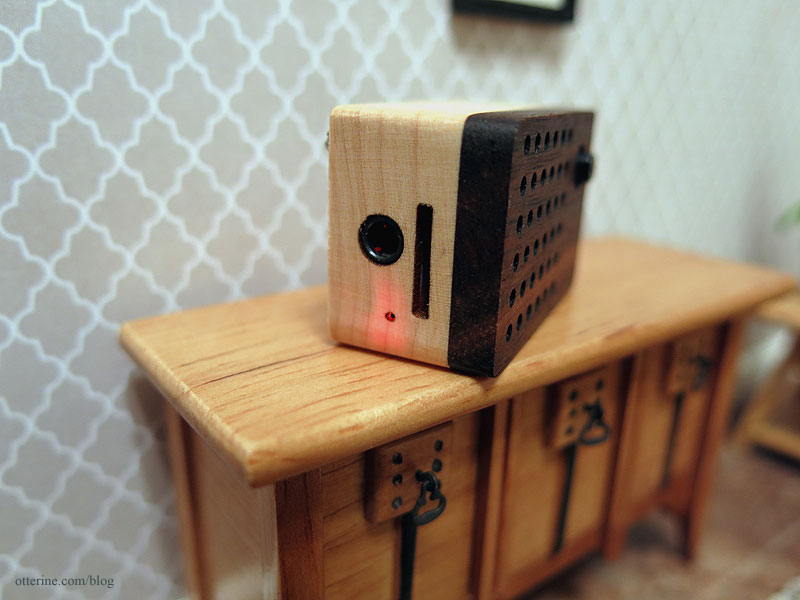
There’s the tiniest LED to show you that it’s working (red for on with the radio and micro SD card, green for charging).
It comes with a USB cord to recharge the battery by plugging it into a computer or USB charger.
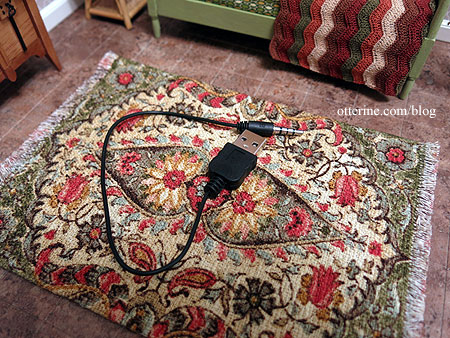
The other cord connects it to a sound system…like an iPod. It has good sound quality as an external speaker for the iPod if you don’t want to listen with earbuds. :]
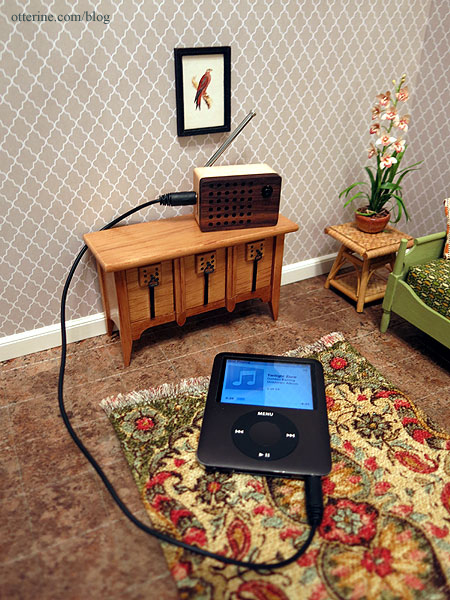
If you were to use this in a miniature setting, tuning in the FM radio or using the micro SD card with MP3 files on it would be your best bet. Or, you could just let it sit there being cute. :D
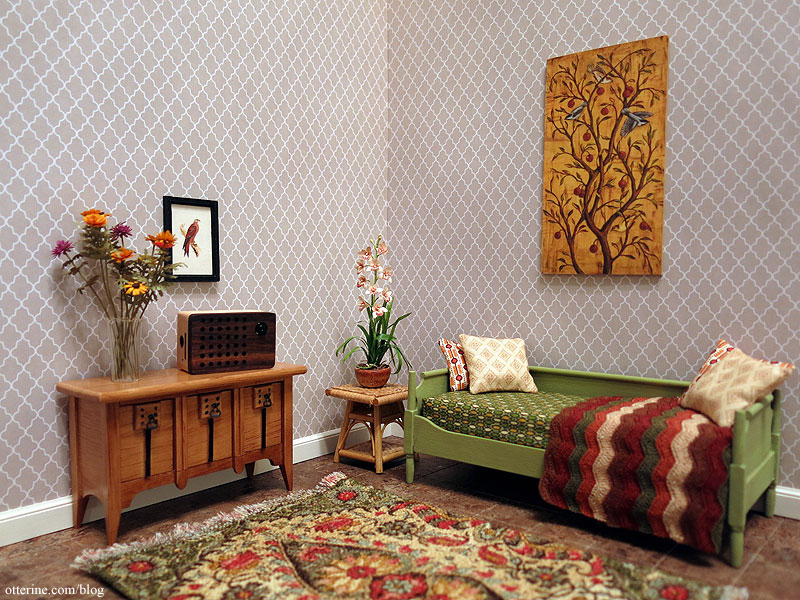
I don’t have a micro SD card, but I will have to get one now.
Categories: Miniatures
January 14, 2014 | 0 commentsPrairie Rug II
As you may recall, the first Prairie Rug ran into a major problem with dye lot mismatching.
I used the original pattern I had made with Aunt Martha’s Tracing Paper and a Sulky Iron-On transfer pen in black (as an Amazon Associate, I earn from qualifying purchases). You can obtain a few transfers from the same pattern.

I chose a slightly darker purple-red and have made the brown DMC 3371 outlines thicker. One nice thing about starting over is being able to change things you were unhappy with in the first run. Punchneedle goes relatively quickly, so below is 7.5 hours of work. The border is done as well as most of the interior details. After that, it will be all green, green, green. I bought nine skeins of DMC 522 all of the same dye lot, so I hope this means the issue will not repeat itself.

Below is 15.5 hours of work. It seems to be going faster this time around now that I have the hang of the technique.

I finished stitching the Prairie Rug II with 24.75 hours of stitching time, which is a lot less than what I put into the first one I had to abandon. As I mentioned, I had a better handle on the technique so I was able to work more quickly.
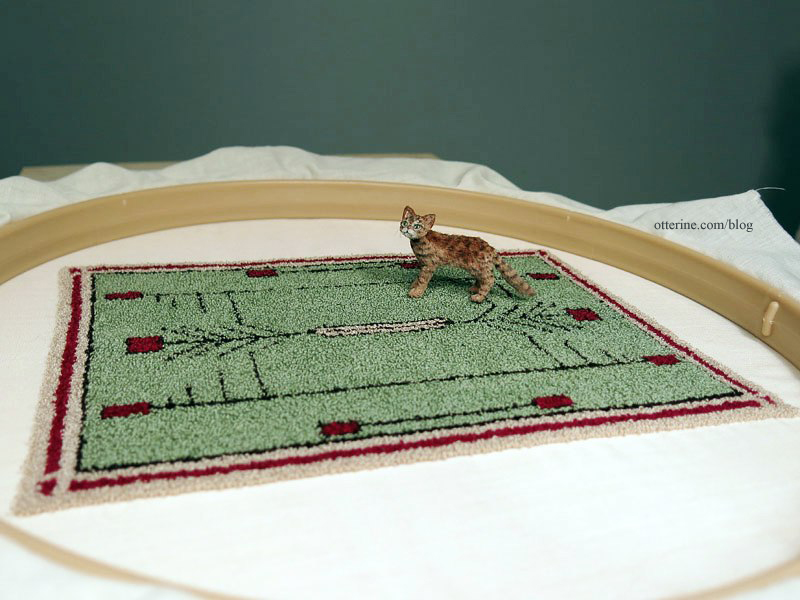
I need to go back over it once more, clip any random long loops and fill in anywhere I think it needs it. Then it will be time for final finishing around the edges.
Categories: Needlework - French knot rugs
January 13, 2014 | 0 commentsNew minis in the mail
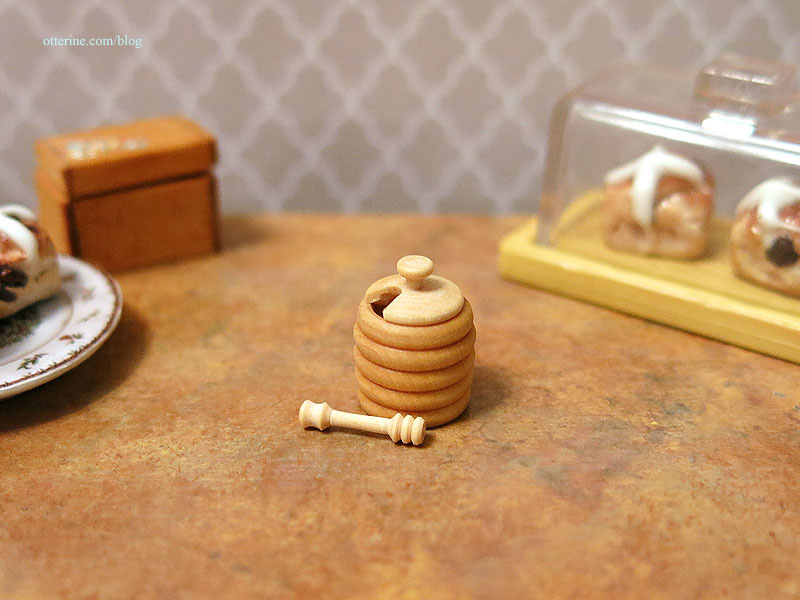
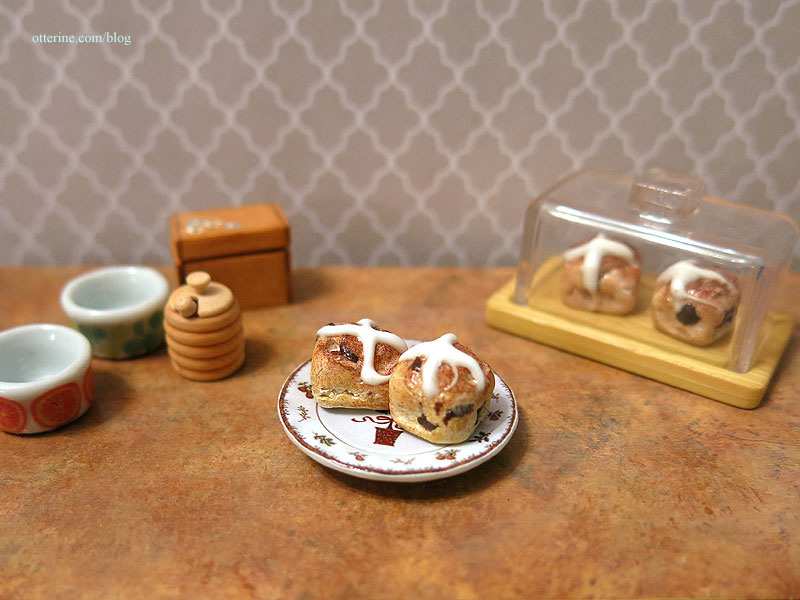
I’ve added a few new minis to my collection. The first is a wonderful honey pot with dipper by David Provan.
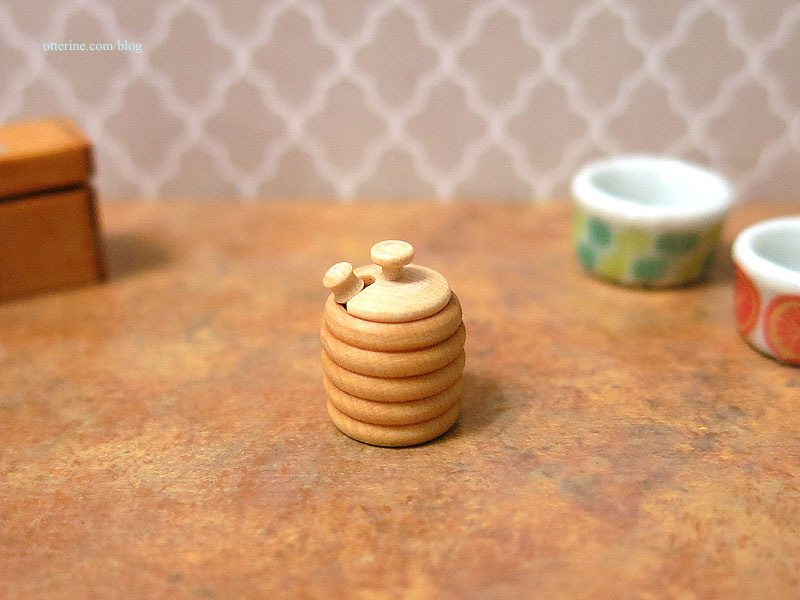
It’s so tiny, so well made. I’m feeling the need for some hot tea with honey. :]
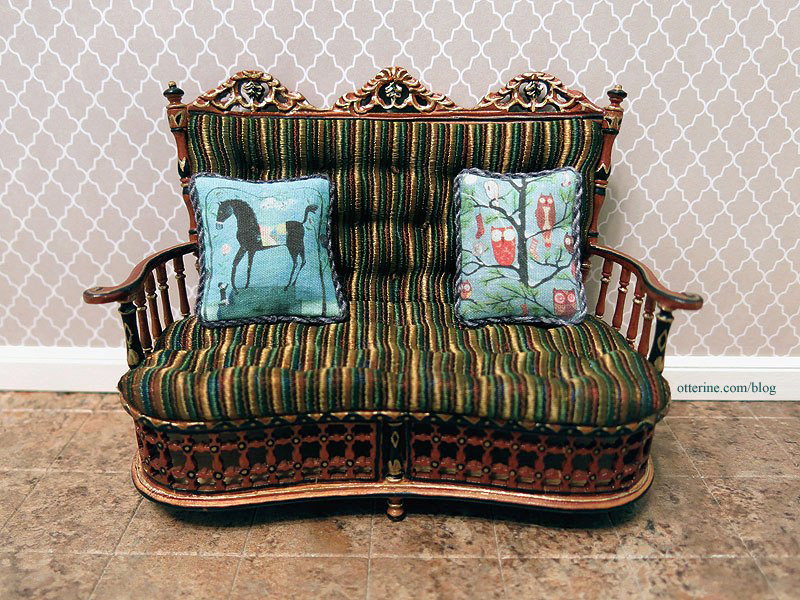
Next are three pillows from DollhouseLittles.
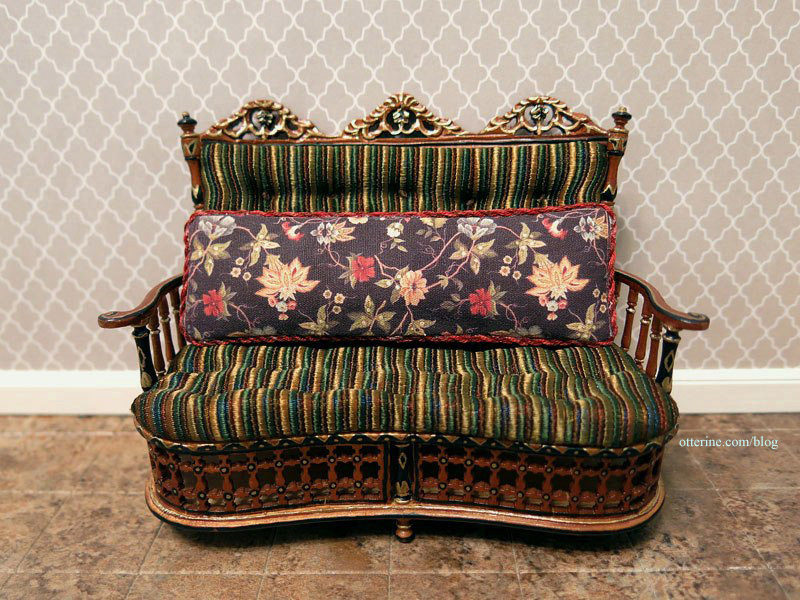
Katie Arthur makes the most stylish textiles in mini. :D
For the kitchen, I bought a set of hot cross buns by Amy. These are from a new miniaturist, though you’d never know it from the lifelike quality. She doesn’t have a miniatures website up yet. Yum! :D
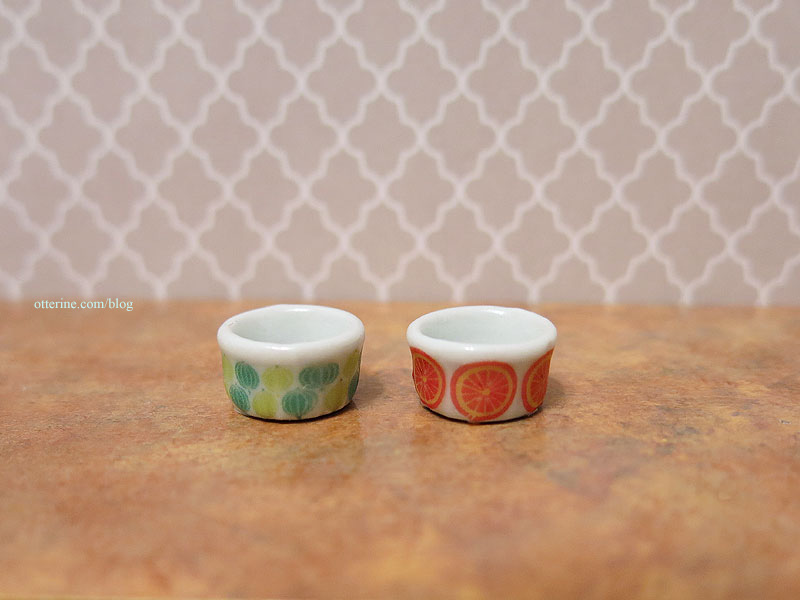
I bought these over the summer, but I didn’t mention them at the time since I also bought something for April and didn’t want to bring attention to the shop. ;D These jam pots are from Something Tiny – one in orange and one in gooseberry pattern.
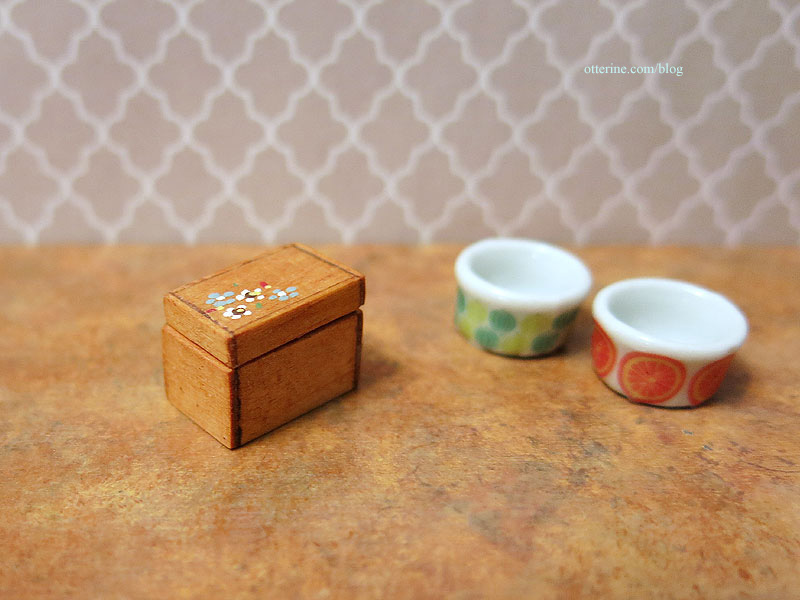
I also picked up a miniatures lot on eBay recently that included this super cute recipe box.
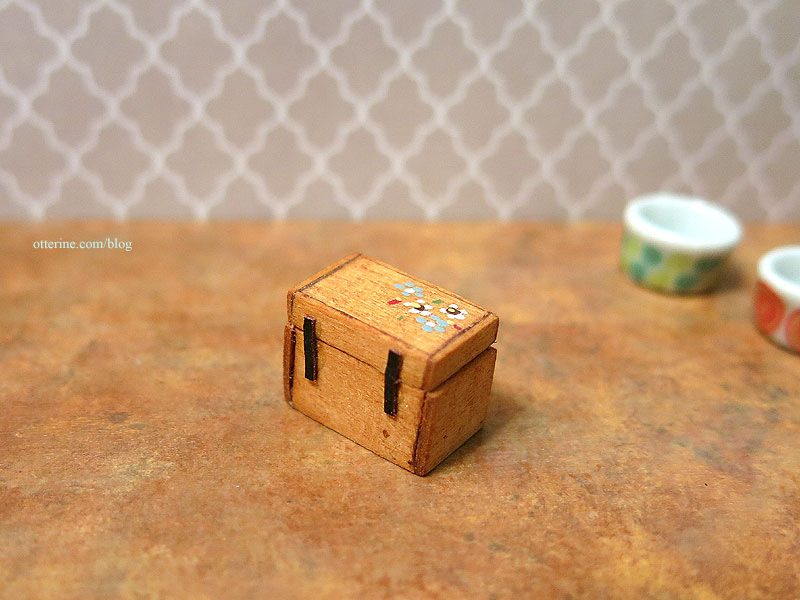
It has tiny hinges and opens, too! :D
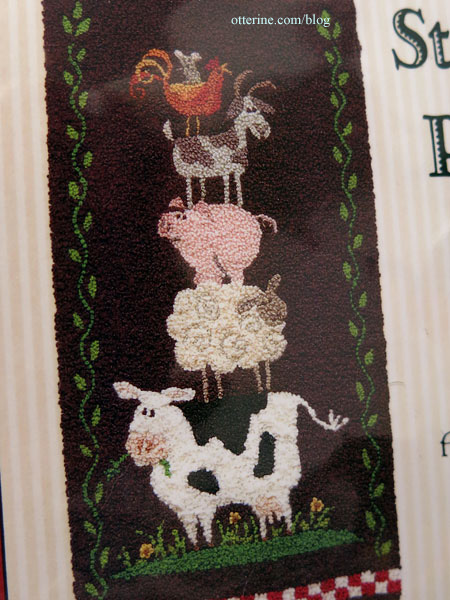
Another Christmas gift from mom — Stock Pile — a kit by Teresa Layman. It’s so cute! :D
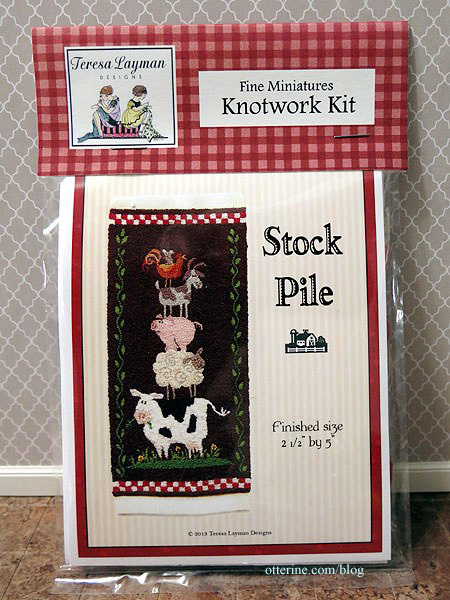
I have a few needlework projects ahead of it, but I’m glad to have it.
Categories: Miniature Shows and Shops
January 12, 2014 | 0 comments
NOTE: All content on otterine.com is copyrighted and may not be reproduced in part or in whole. It takes a lot of time and effort to write and photograph for my blog. Please ask permission before reproducing any of my content. Please click for copyright notice and Pinterest use.


