
One settee, two settee, and always an animal on it…
Last year, I used HBS’s generous 40% off April Fools coupon on the Greenleaf lighthouse kit for Walnut Bay Light. This year, I bought the Alayna Settee, an item that is a little out of my usual style. Something about it just drew me in.

Ophelia seems to like it and another settee I picked up on eBay awhile back.

I acquired this beautiful Bespaq settee awhile ago, and I don’t recall exactly where. I love this green stripe. I have several Bespaq pieces with this same fabric.

Hey, what are you doing, Sherwood?!
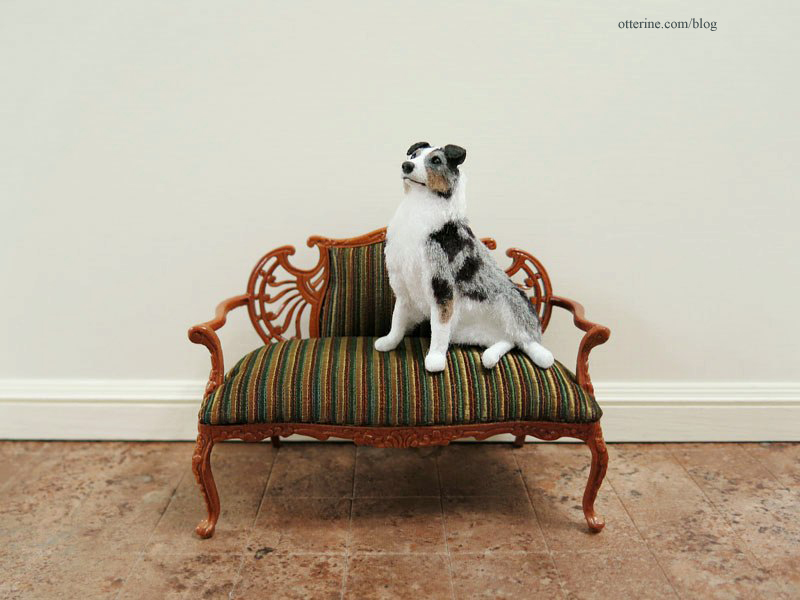
I don’t know why I like miniature settees so much. There are more on my wish list. Maybe because they can be so impractical in real life, but in mini I can have as many as I choose. Looks like I might have to build a miniature store and call it Brae’s Settee Emporium. :D
Categories: Furniture
March 13, 2014 | 0 commentsScirocco in mini
The most adorable tiny VW Bus was featured on Call of the Small a long time ago. I search eBay every once in awhile to see if I can find one for my own collection. Searching eBay is dangerous, because there are a lot of cute wee automobiles. This 1:87 scale Scirocco by BUB from nathan1002010 caught my eye.

In a 1:12 scale dollhouse, this would be slightly smaller than 1:6 scale, so a playscale car for a dollhouse. Look at that tiny VW emblem. :O

Race ya! :D

Categories: Model Cars, Vehicles
March 12, 2014 | 0 commentsMorgan Lap Stand
I’ve shown you the wonderful wooden Baby Z Lap Frame I have to hold my needlework projects. It’s portable and well made. It is relatively heavy, but that works well to hold it in place while in use.

I’ve also shown you the Morgan No-Slip hoop that holds the fabric tight.
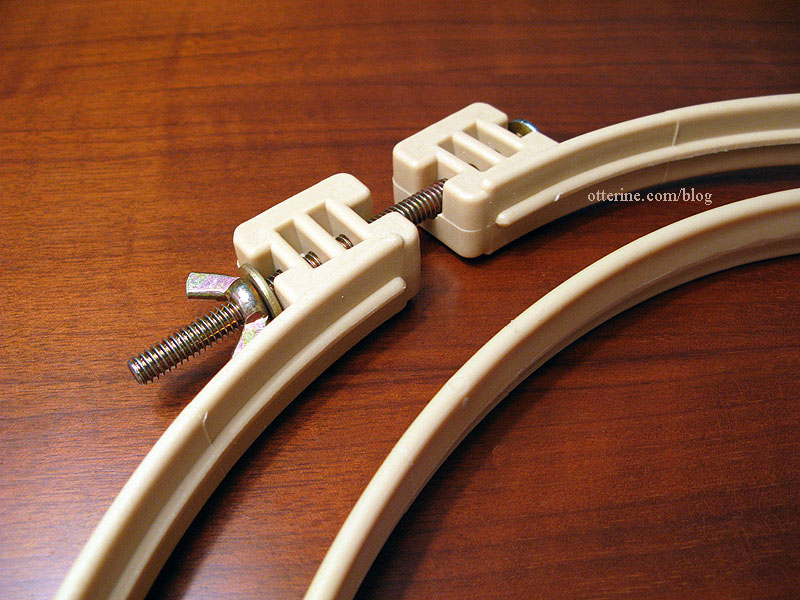
Well, I now have a Morgan Lap Stand. This set has two no-slip embroidery hoops and extenders to create a lap frame. (As an Amazon Associate, I earn from qualifying purchases.)

There are many sizes available, but I chose the 7″ and 9″ set. You can use the stand with either the large or small hoop as the base.

This is especially nice for French knot work or if you want to rotate the work at all. It can be used either on your lap or on a tabletop. You can also use either hoop by itself. These will fit in my wooden lap frame, too. It collapses for travel and storage, though you’ll need a bag to keep all the pieces together.

I found working with this frame on a tabletop to be quite comfortable even though it is a flat surface. You could probably prop a towel or pillow under one edge to angle it if desired.
Categories: Needlework - French knot rugs
March 11, 2014 | 0 commentsRoland Sneakypants
How’s that for a name?!! :D
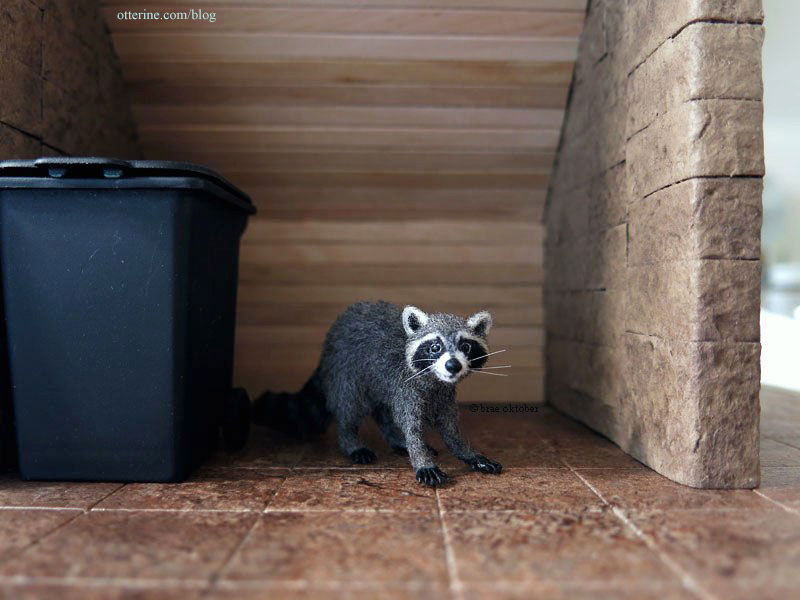
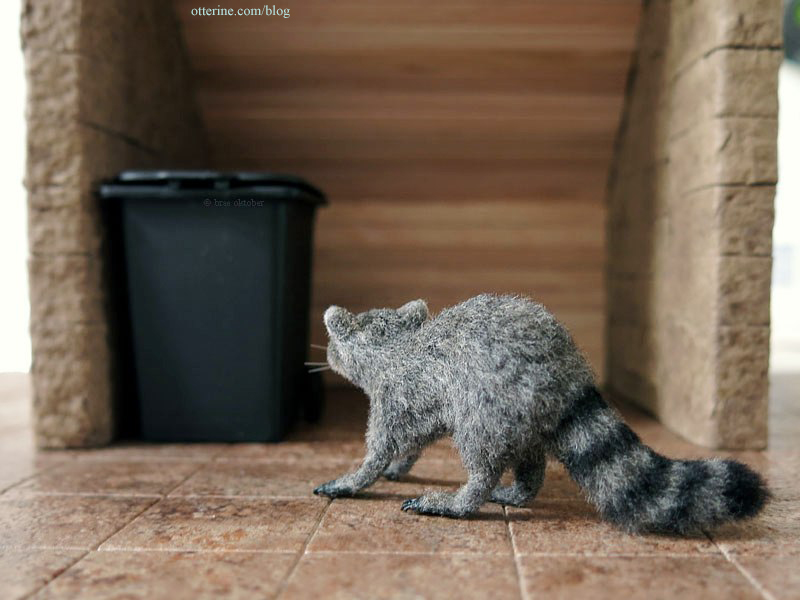
Roland the raccoon is a fine miniature made by Steve Panner. Steve has been doing miniatures only a short time, but you’d never know it. The work is remarkable.
Get out of the trash, Roland. I’ll make you a sandwich.

Roland is the perfect city animal for The Brownstone, though I am sure he’ll be well traveled. Here he is sneaking about Baslow Ranch.
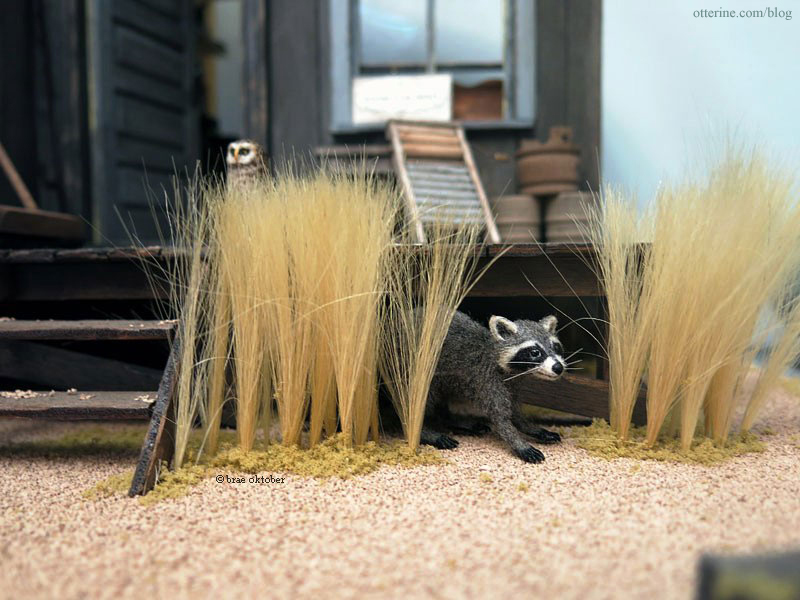
At The Aero Squadron Lounge. Roland’s wool fur is so soft. He has the perfect stance and face…too stinkin’ cute!
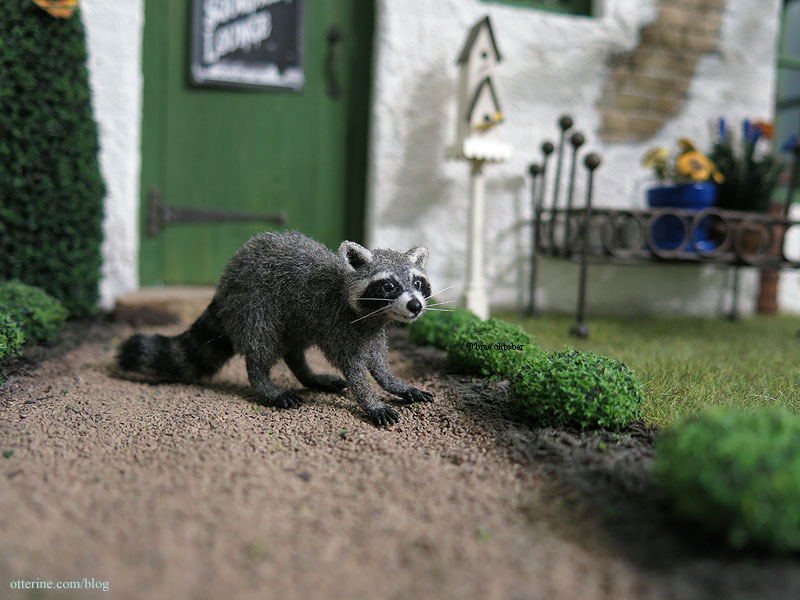
I’ve been waiting a long time to find a really well done raccoon in mini, and none spoke to me the way Roland did. I’m so glad he’s mine! :D
Seriously, I’ll make you a sandwich…just hold your horses!
Here’s a fun video showing a real life raccoon sneakypants! :D
Categories: Animals and birds
March 10, 2014 | 0 commentsThe Brownstone – openings and padding
With the new boards cut and marked, I needed to start cutting the openings for the windows and doors. I am cutting them with a utility blade. The thickest boards are 3/16″, so it is reasonably easy and quick.
Since the timber assemblies sit on top of the structure boards, I needed to pad the lower areas that will be covered in egg carton stone. The side addition front has 5/16″ thick timbers, so I first added a 3/16″ plywood layer.

I then added a 1/16″ mat board layer. I could have used 1/4″ plywood, yes, but I was trying to use up the scraps I had on hand. The sides will have 1/8″ thick timber assemblies, so I added a layer of 3/32″ balsa — again using up the scraps I had on hand.

I have a small Timberbrook working basement window from All About Miniatures that I’ve added to the lower side wall.

Since you can’t take it apart to finish, I decided to try staining it before cutting the opening. If it turned out to be a disaster, I wouldn’t have wasted my time and energy cutting the opening for it (and then have to fill it back in). It worked well. This is Minwax Dark Walnut.

I cut the garage door and lower entry door holes in the 1/8″ thick main backer board. I cut a 3/16″ thick padding board for the lower front (not glued in place yet). This will have egg carton stone covering it.

I cut the opening for the front door and checked the fit. Hooray! :D

I cut the three openings for the bay window section and the single upper window above the door.

Categories: The Brownstone
March 9, 2014 | 0 comments
NOTE: All content on otterine.com is copyrighted and may not be reproduced in part or in whole. It takes a lot of time and effort to write and photograph for my blog. Please ask permission before reproducing any of my content. Please click for copyright notice and Pinterest use.


