

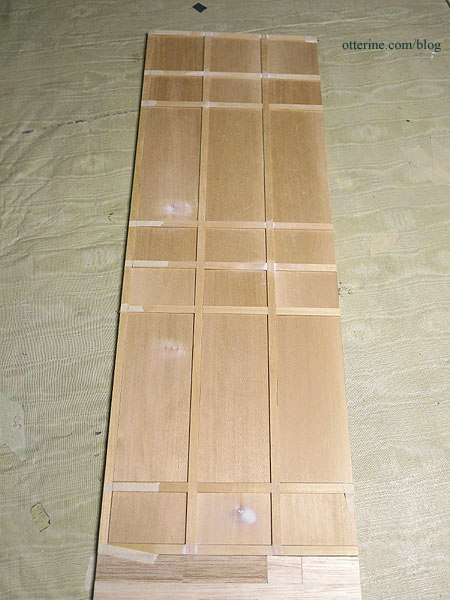
The Brownstone – bay window section, part 1
Here’s the bay window section. I have the timbers and filler pieces painted and glued together, but the three sections will remain separate until I complete work on the windows. These are nice large window openings, as you can see from our lovely model Ophelia.
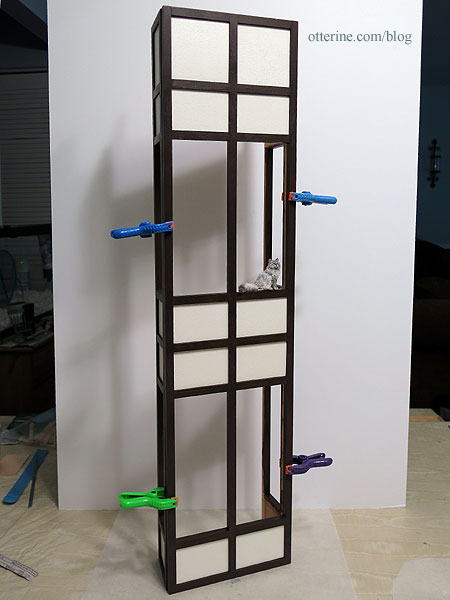
Inside, the grid creates an uneven surface that will need to be addressed after the windows are in place. I’m thinking 1/32″ thick veneer for a smooth wallpapering surface. There will also be trim work to finish the interior windows. All of my ideas are still floating around.
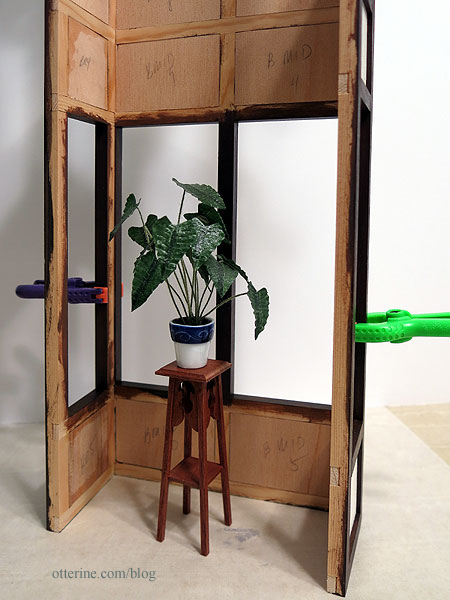
It’s a good interior space, as shown by Sherwood and Ophelia.
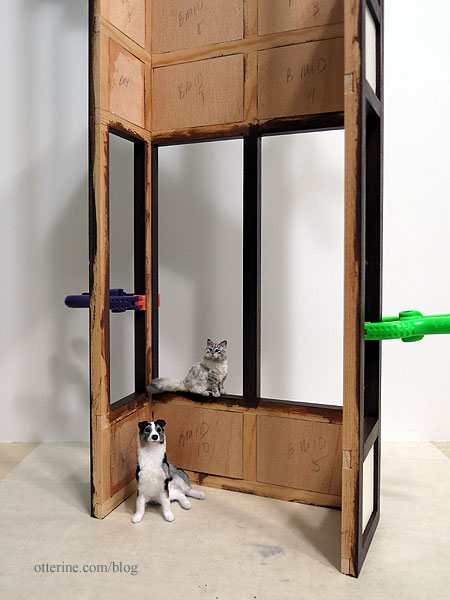
I’m thinking plants for the main level (maybe a settee or window seat in the bedroom above).
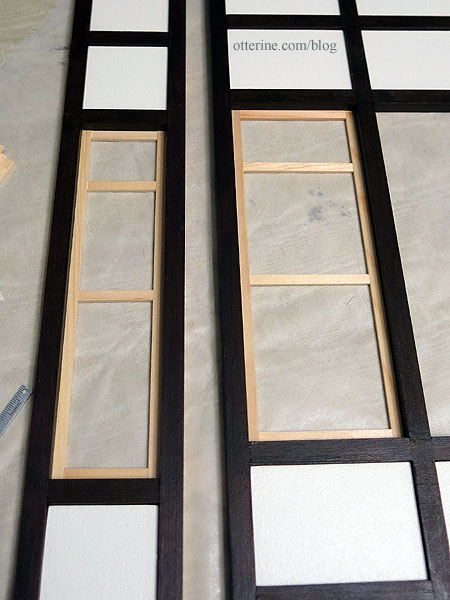
The original kit has non-working windows and for the ease of assembly, I am using those. I do love working windows but not enough to overhaul the entire assembly process.
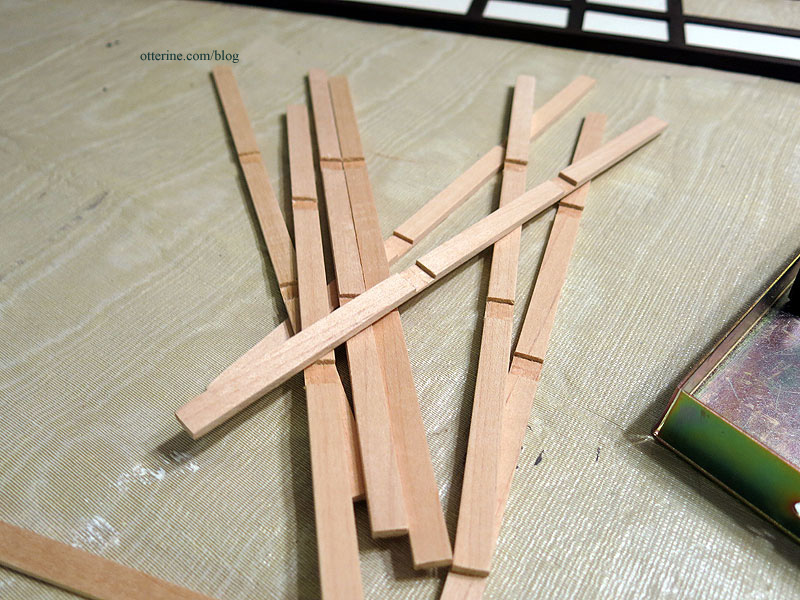
The kit comes with pre-cut pieces to make the window frames. Some fit perfectly and some will require my least favorite phrase “sand to fit.” The pieces are to be glued in, but they hold well on tension alone.
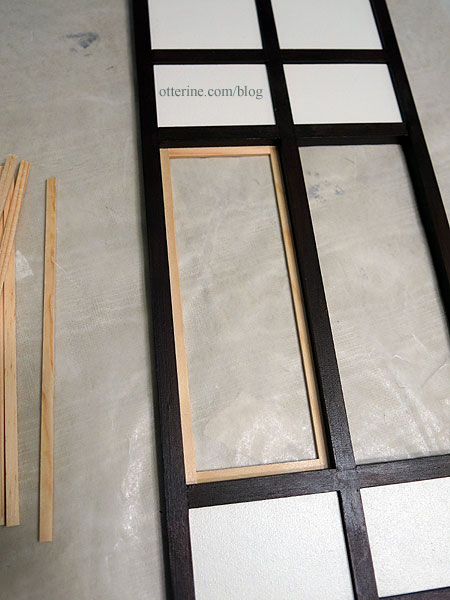
The top divider for the stained glass detail and the middle divider are added after the frame. I’ll actually measure when I do the final installation.

The side bay windows are slightly thinner than the front bay windows but created the same way.
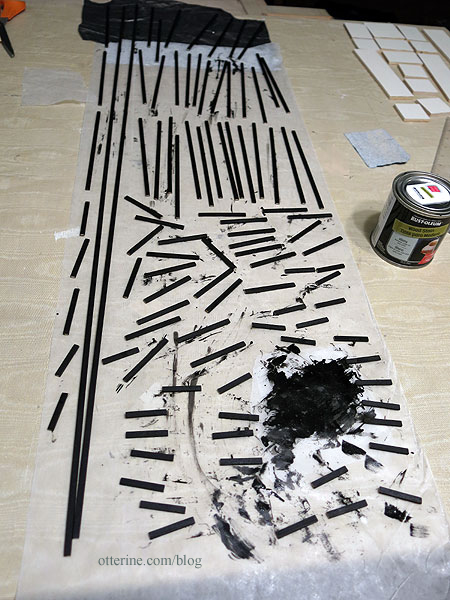
Since I added windows to the side addition and the kit also has the wrong amount of pre-cut pieces for the existing windows (the amount listed in the instructions is incorrect for the amount needed), I bought some additional lengths of wood from National Balsa when I placed my large order. I stained all the pre-cut pieces and two of the additional lengths I bought using Rust-Oleum Ebony.
Next up – preparing the stained glass inserts and gluing the pieces in place.
Categories: The Brownstone
March 24, 2014 | 0 commentsViolet
This adorable kitty doll is from Mirianata. I found a picture of a kitty doll I liked, but it had been sold. I spent some time going through the past and present listings. I contacted the artist and requested a kitty doll of my own. She was very busy with orders (no surprise) and said it would be some time. I would wait.
Miriana wrote to me awhile later to let me know my kitty was ready. :D

I’ve named her Violet. I was impatient during her journey from overseas, but she was more than worth the wait.

Too cute! :D

Categories: Animals and birds
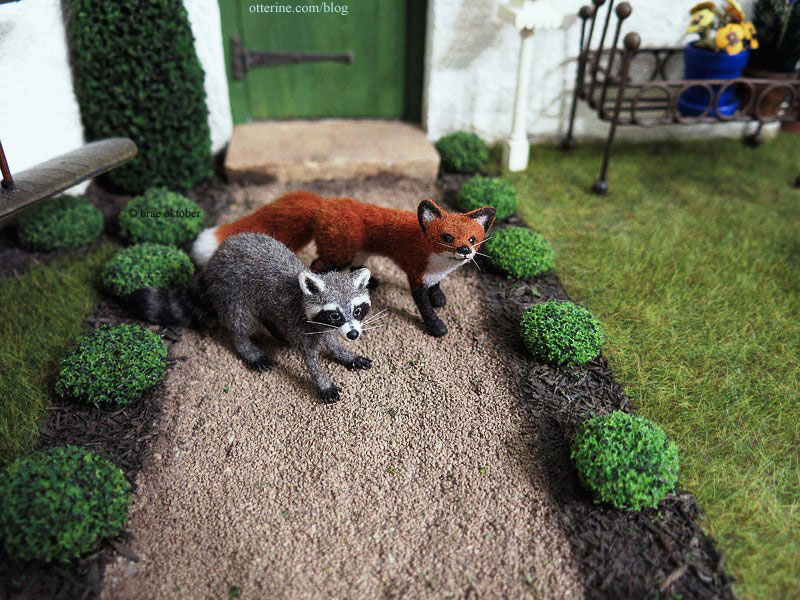
March 22, 2014 | 0 commentsWhat in the…
Well, this isn’t good…be back shortly. :\
Categories: Animals and birds, Roomboxes and Mini Scenes
March 21, 2014 | 0 commentsSanford, the red fox
Sanford the red fox is a fine miniature made by Steve Panner, the same artisan who made Roland Sneakypants. :D
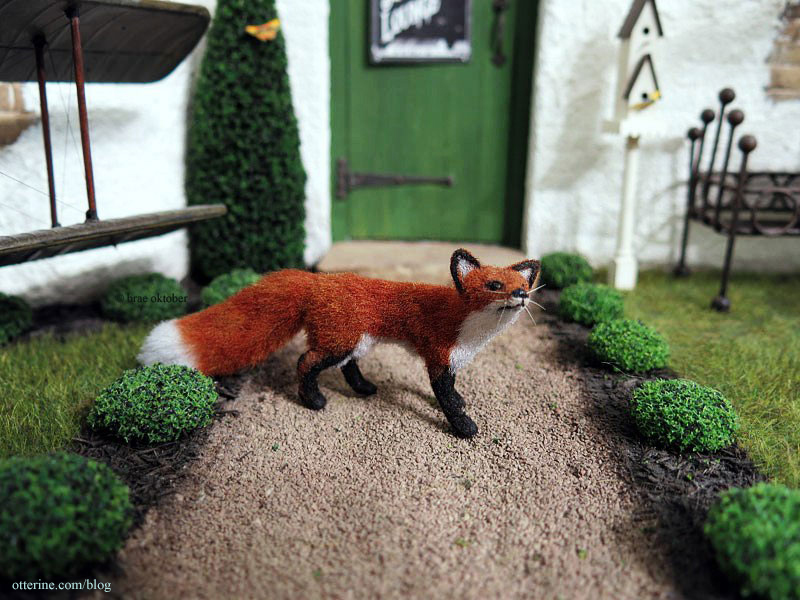
Again, Steve has created a beautiful animal with soft fur and an inquisitive expression.
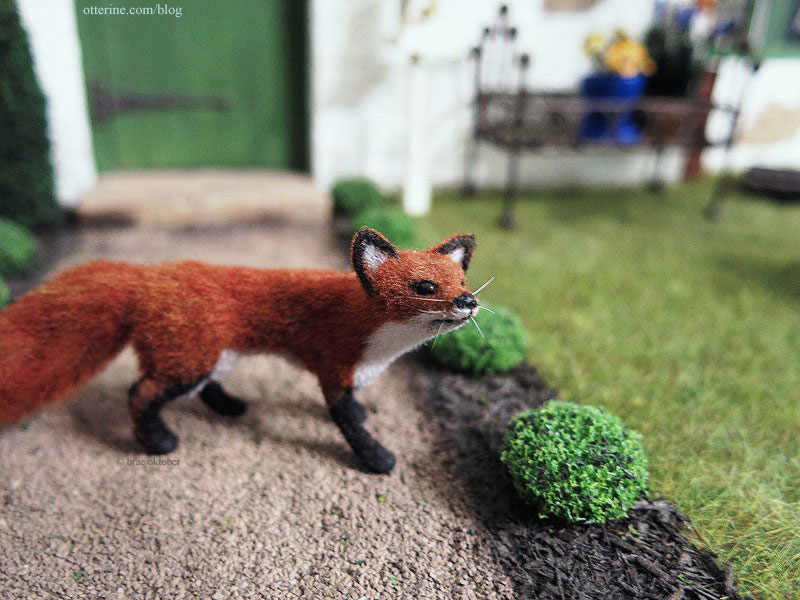
The name is derived from a 1970s American sitcom called Sanford and Son. One of the show’s stars was Redd Foxx. See what I did there? :D
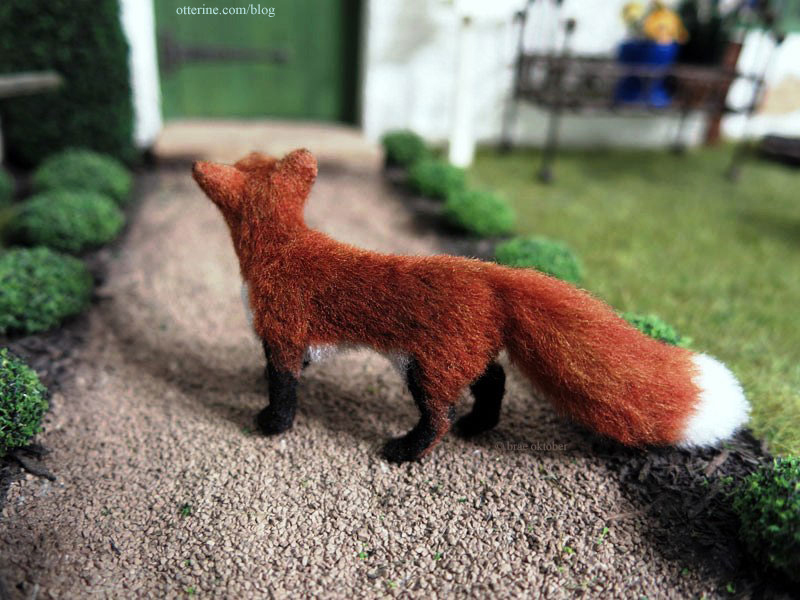
Sanford will be a traveler just like Roland. Oh, yeah…this combination isn’t going to lead to any mischief whatsoever. :O
Categories: Animals and birds
March 18, 2014 | 0 commentsThe Brownstone – timber grid, part 3
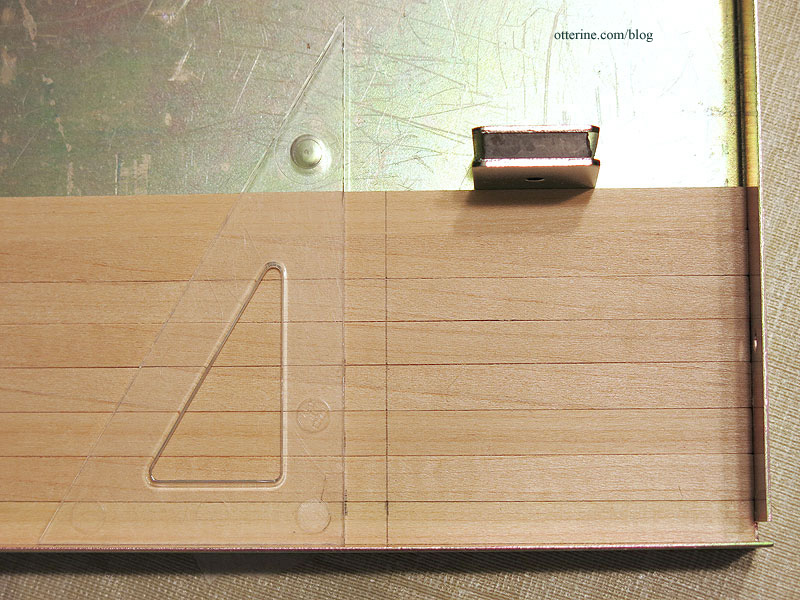
Continuing work on the timber grid. The front wall of the main structure was made from the original kit grid, with the grid pieces measuring 11/32″ wide by 5/16″ deep and the filler pieces measuring 1/4″ thick, leaving 1/16″ of the grid depth exposed. The front wall of the side addition was made from purchased basswood, with the grid pieces measuring 5/16″ wide by 5/16″ deep and the filler pieces measuring 1/4″ thick, also leaving 1/16″ of the grid depth exposed.
To cut down on the overall width of the structure, I approached the side walls differently. For these, I used grid pieces measuring 5/16″ wide by 1/8″ deep and the filler pieces measuring 1/16″ thick, still leaving 1/16″ of the grid depth exposed. I followed the horizontal pattern of the front wall but spaced the vertical beams evenly across the width of the wall. I marked the grid on the side wall of the addition and cut the beams to match. There is no right-hand vertical beam on the side wall since the horizontal beams will abut the corner beam of the front wall of the addition, which will be turned perpendicular when built.
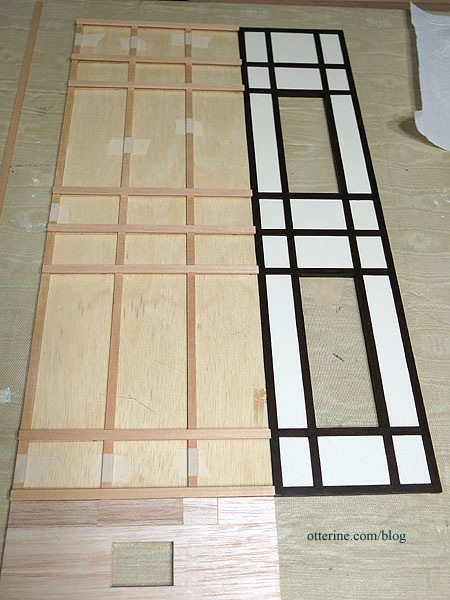
I notched the center beams as I had done for the front wall of the addition.
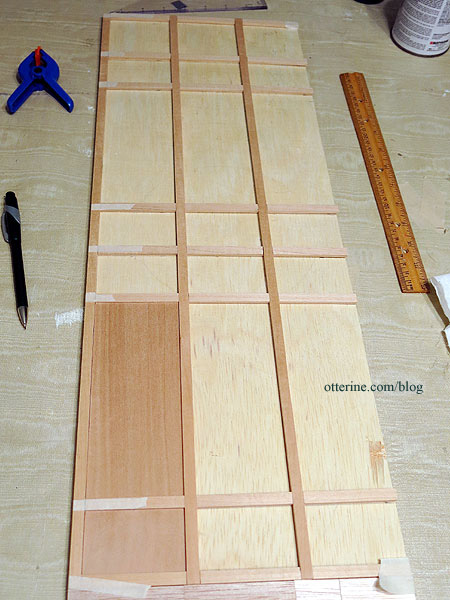
To get them even, I measured the bottom board first and locked them together in my gluing jig. I then used a triangle and pencil to mark the measurement across all the boards.
I cut the horizontal beams to abut the back vertical beam so I wouldn’t have to spackle the joins on the back surface. I cut filler pieces for the new grid from 1/16″ thick basswood. Cutting thinner wood is easier and faster. That and the lower cost of supplies are the reasons I switched to smaller thicknesses for the side walls.
I bought all this wood from National Balsa because finding 36″ lengths of basswood strips and sheets locally is impossible. They shipped fast, and it’s good quality wood.
I opted to omit windows on the upper two floors since these will be small rooms with interior doors and I need all the wall space I can get. There will be front-facing windows in each upper room (mudroom on the main floor, bathroom on the top floor), so there will be ample light. The bottom floor will have only the basement window on this side.
I’ve filled a few knots and joins in the beam structure so the grid and filler pieces are ready for painting. This particular wall likes to warp, so I ran the plywood board under water and pressed it flat to dry for several days. When it is not on my work table, it is pressed under magazines and paint cans. I won’t let it loose until it’s time for final assembly, which should fix the warp permanently.
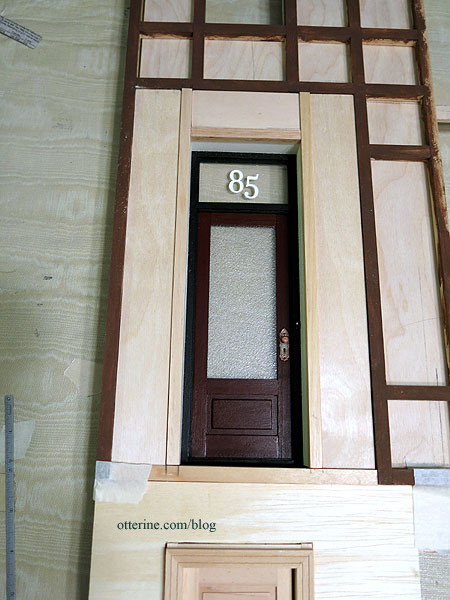
With the opening for the front door assembly cut, I could finish the grid for the main front. I slipped the door into the new opening and taped the previous grid in place.
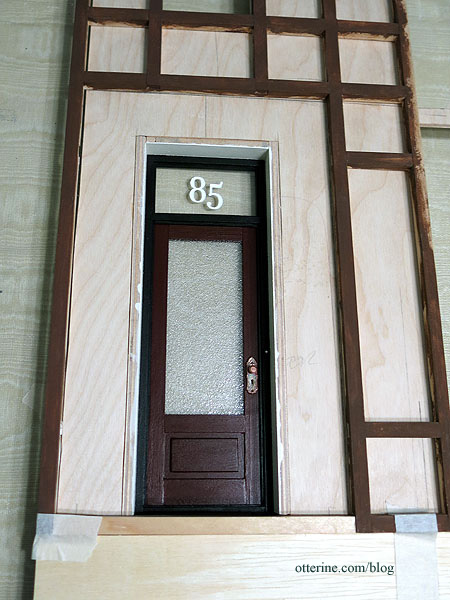
I cut two vertical pieces to finish the sides of the front door and a short horizontal just above the door.

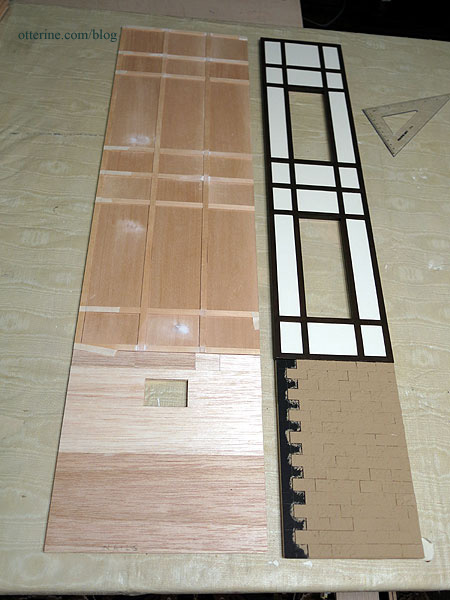
The upper canopy (shown here with foam core board and wood scraps) will disguise the fact that these verticals don’t match with the upper existing design. Since the horizontal along the top doesn’t match either, I opted to leave off the horizontal detailing. This makes the door panel its own design element.
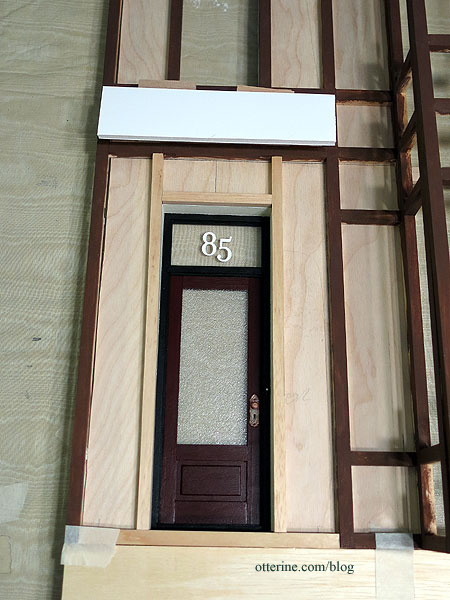
The overall grid still works as a cohesive design with the front door now a focal point.
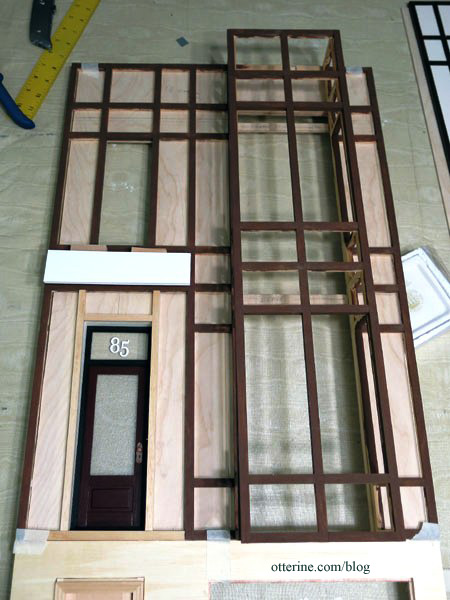
I cut filler pieces to complete this section.
Categories: The Brownstone
March 16, 2014 | 0 comments


NOTE: All content on otterine.com is copyrighted and may not be reproduced in part or in whole. It takes a lot of time and effort to write and photograph for my blog. Please ask permission before reproducing any of my content. Please click for copyright notice and Pinterest use.


