

The Brownstone – bay window section, part 3
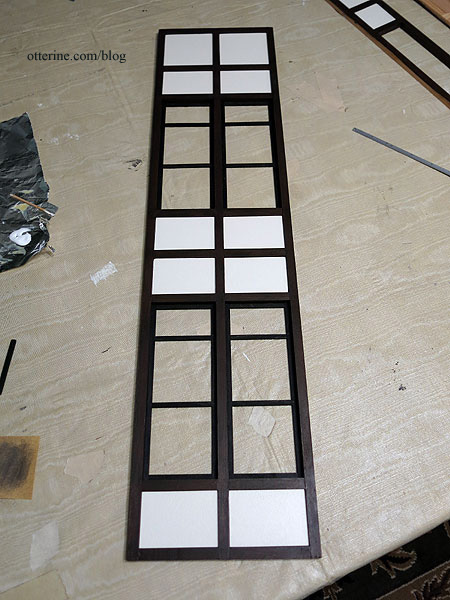
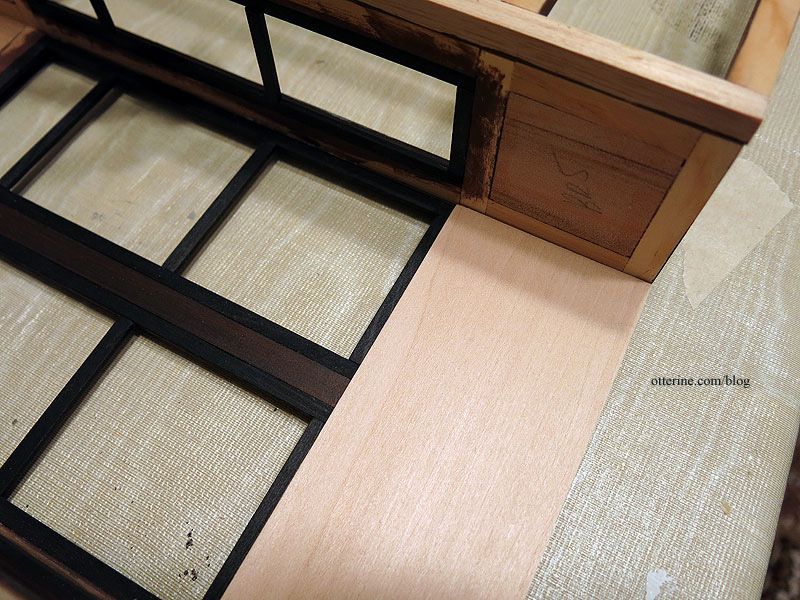
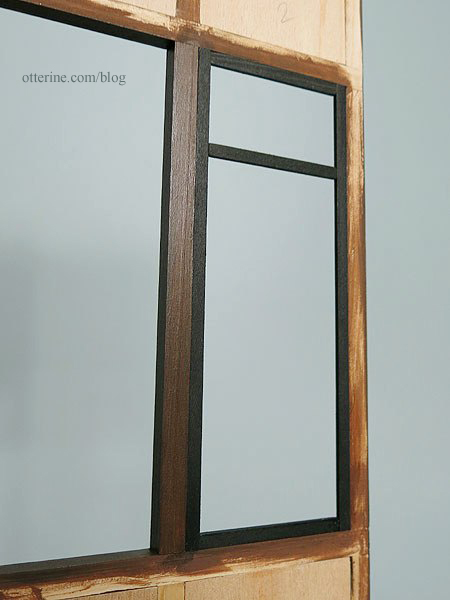
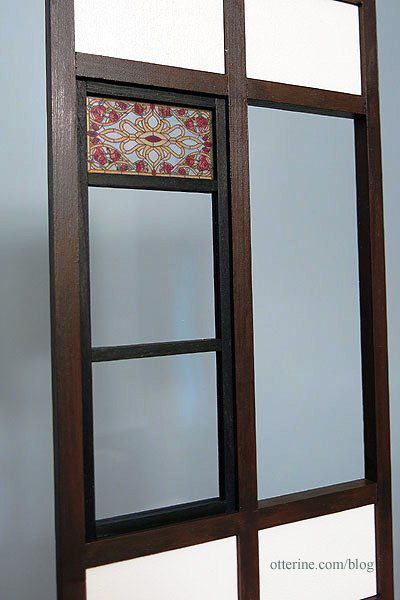
Continuing work on the bay window section. I glued the previously stained interior window frames into place for the three bay window sections. As noted before, the stained glass and acrylic inserts will be added much later in the construction process.
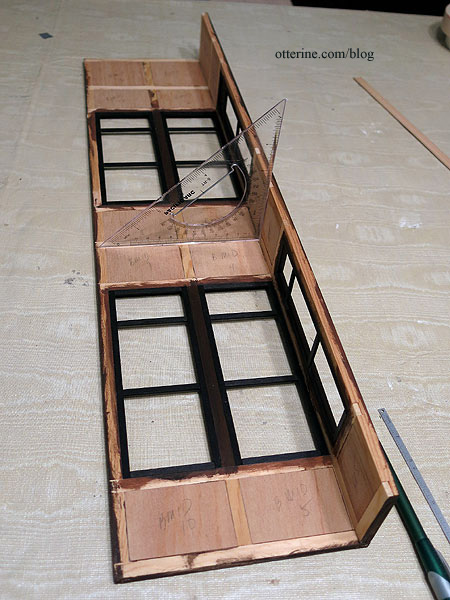
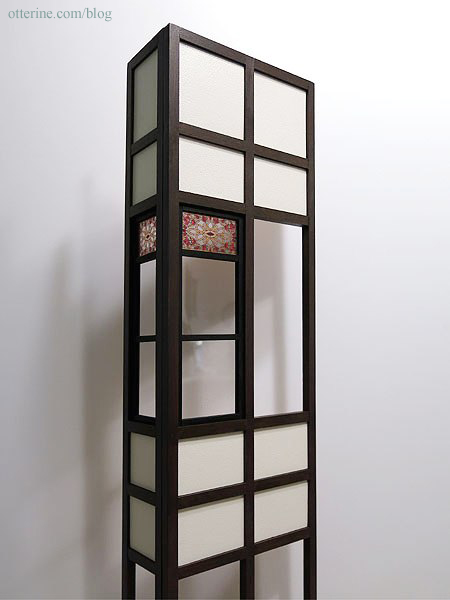
With those in place, I glued the sides onto the front, using a triangle to make sure the pieces were square. So exciting to finally have a portion of the build glued together! :D
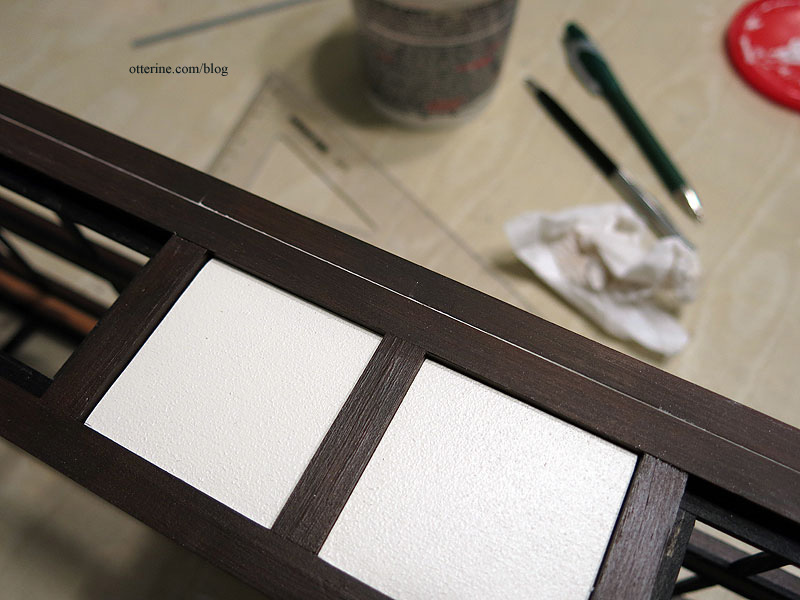
Since there were slight gaps between the pieces, I pushed a small amount of spackling into the crevices. I wiped the excess from the timbers so I wouldn’t have to make a mess sanding. I will touch up the paint and sealer later.
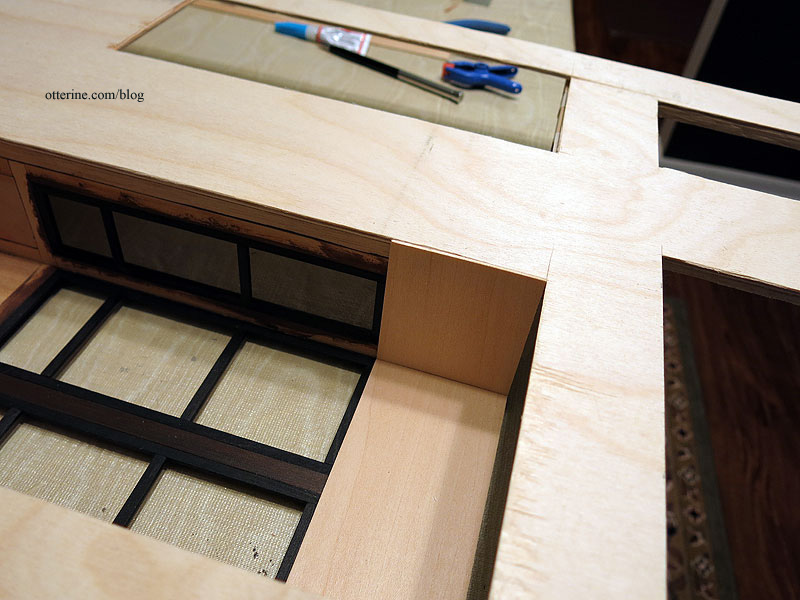
Since the bay window sections have no added backer board, the interior surface is uneven due to the way the walls are created — with a grid and inserts. I cut pieces of 1/16″ thick basswood to cover the surfaces.
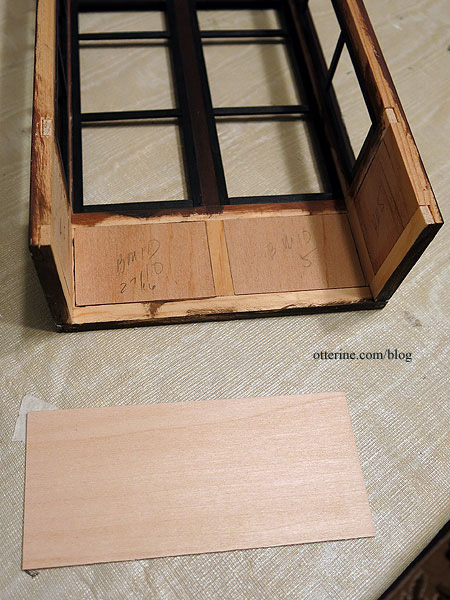
The pieces overlap the edges where the interior window frames meet the timber grid since I plan to use these basswood pieces as both surface smoothers and window trim. This will make more sense later. This also lends support to the interior window frames. There is not a lot of gluing surface for those thin pieces, so they do like to shift and pop out at random. This should help alleviate that problem by adding another gluing surface.
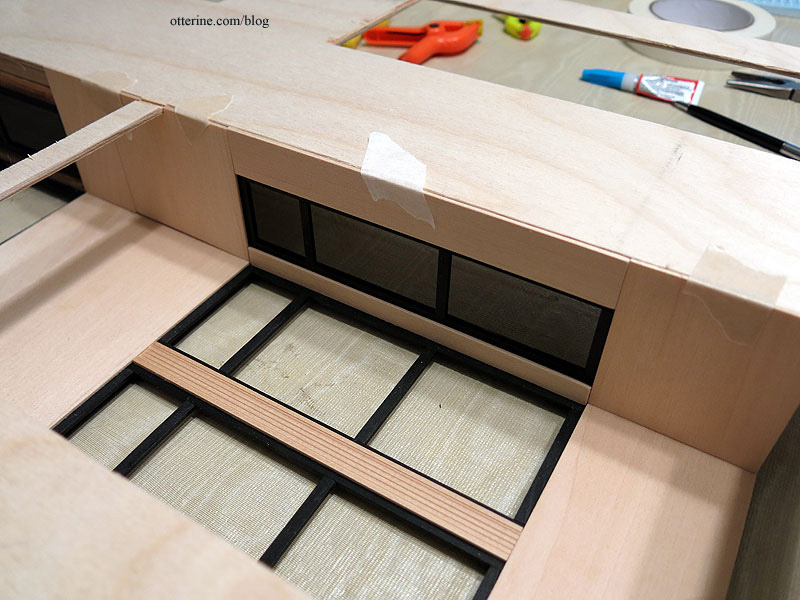
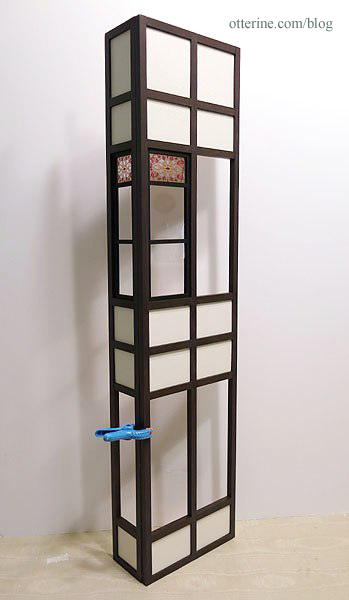
In order to measure and cut the side pieces, I had to put the facade grid and its backer board on in dry fit so the depth would be accurate. The side bay pieces end flush with the interior surface of the backer board.
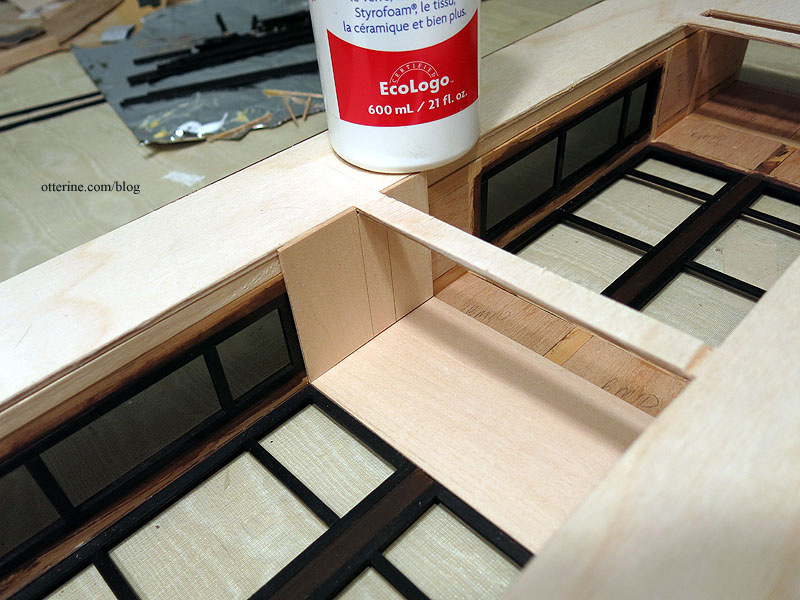
I continued cutting the basswood parts, fitting around the backer board cross sections. I left these beams across the bay window section to support the floor boards. Since my basswood sheets were only 3″ wide, I had to piece the middle portion.
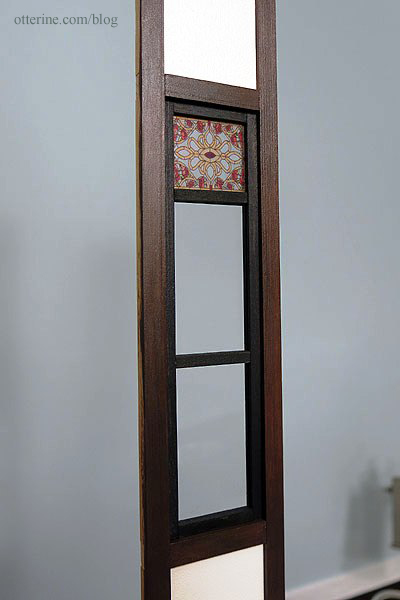
To finish the middle of the window frame, I used 1/2″ wide fancy trim from Manchester Woodworks. It is centered, though the angle of the photo makes it seem otherwise.
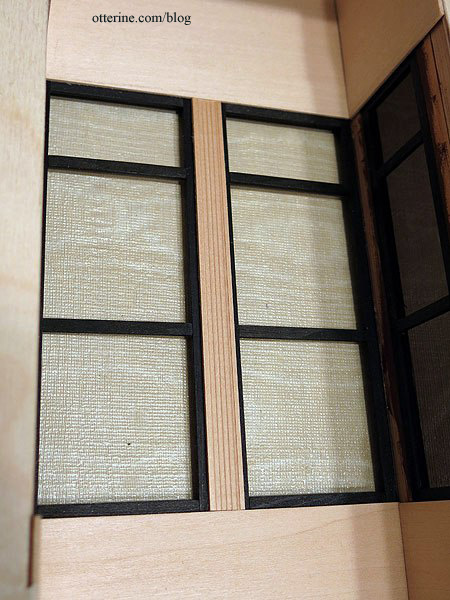
I added long strips in the corners and along the outer edges of the windows.
All of this padding will allow for a smooth surface for wall treatments and a finished look for the interior portion of the windows.

Next up, more staining…. :D
Categories: The Brownstone
April 6, 2014 | 0 commentsBishop and 3 Blind Mice shows – 2014
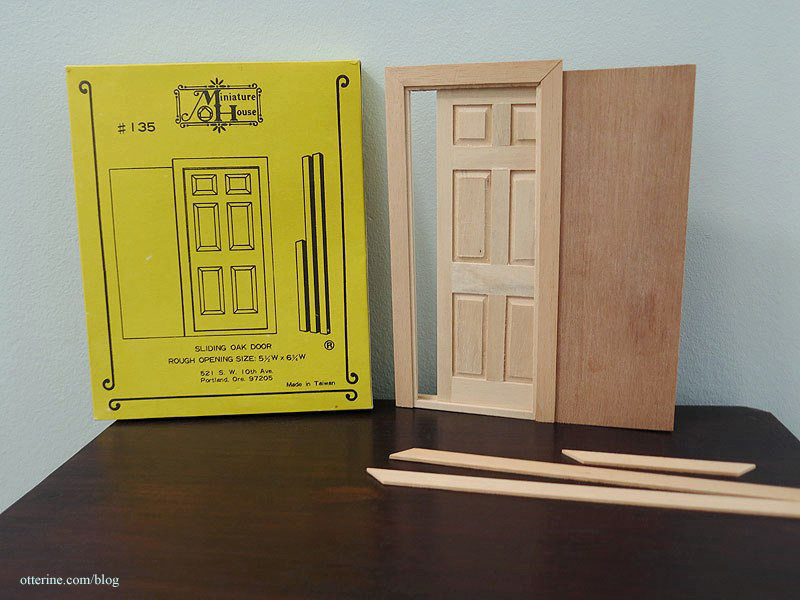
Returned to the 3 Blind Mice show on Saturday. I found this great pocket door from J & J Dollhouse Minis.
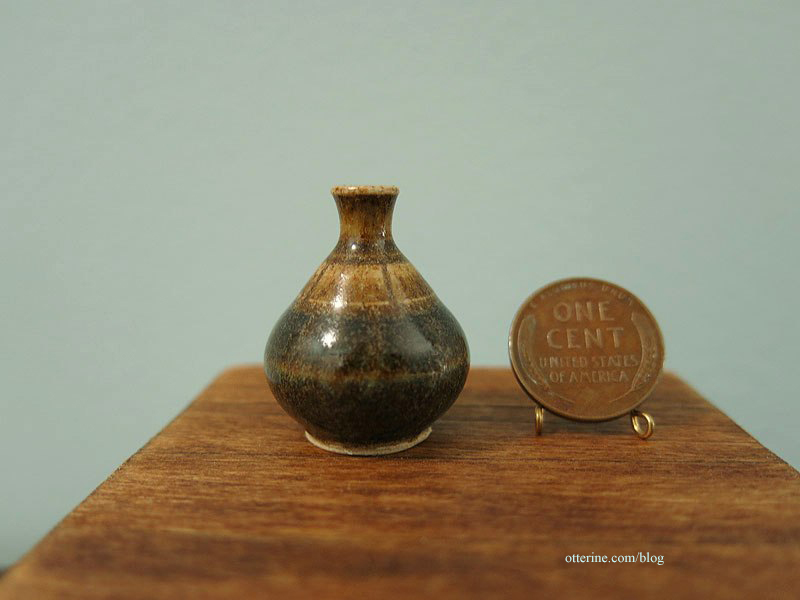
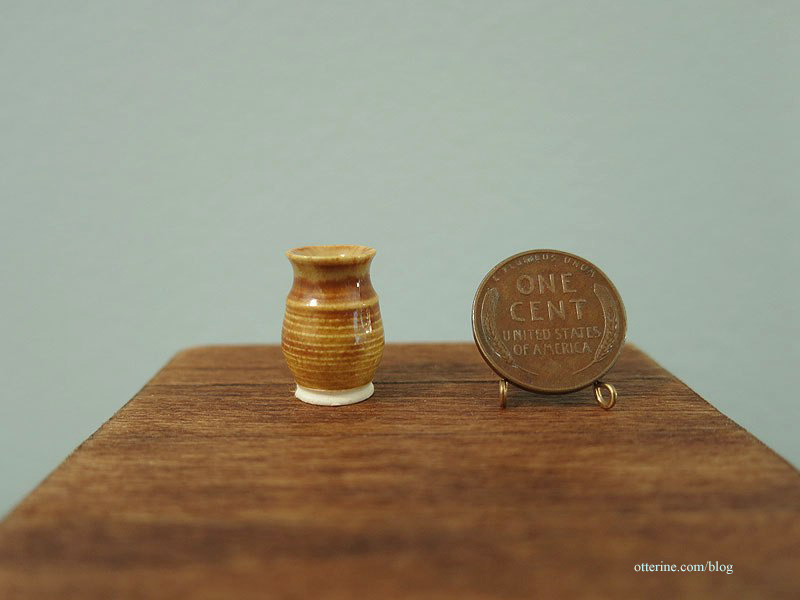
Jason Feltrope. Always a great selection of pottery.
Back to the Bishop Show.
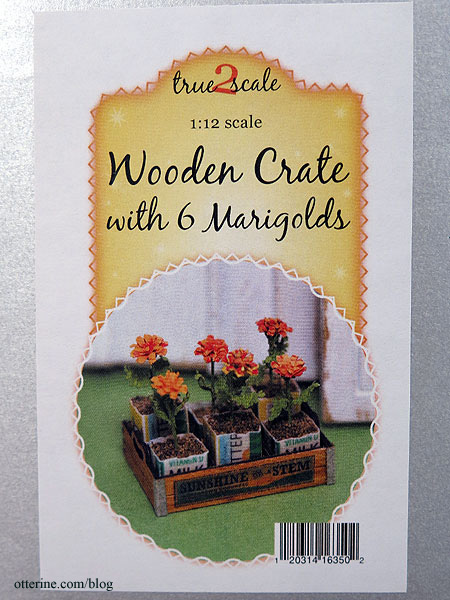
true2scale. A kit for a crate of adorable marigolds in butter box and milk carton planters.
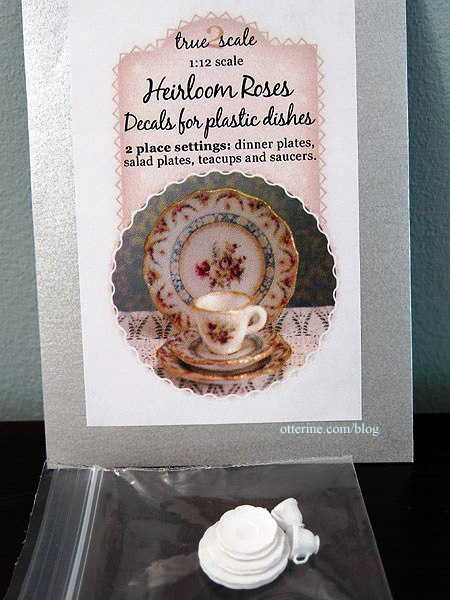
A kit for heirloom roses china, and the blanks to complete the kit.
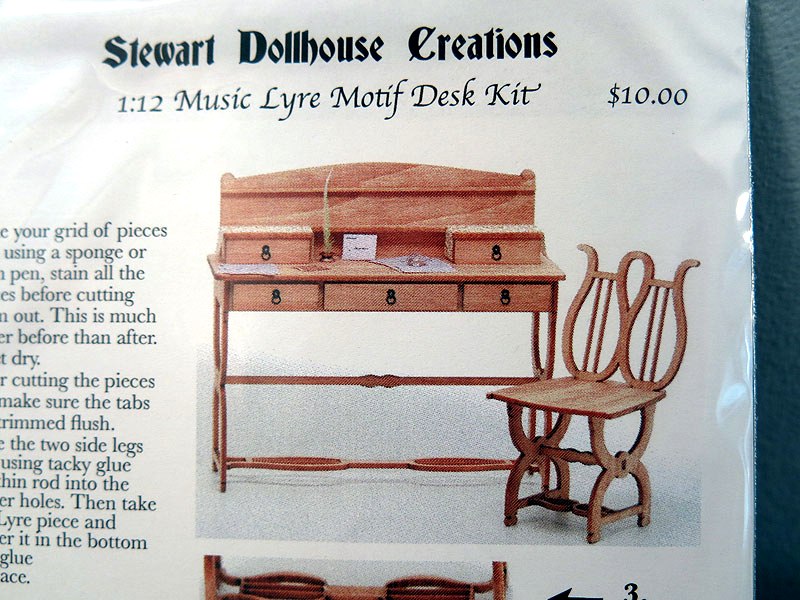
Stewart Dollhouse Creations. A kit for a desk (without the chair shown).
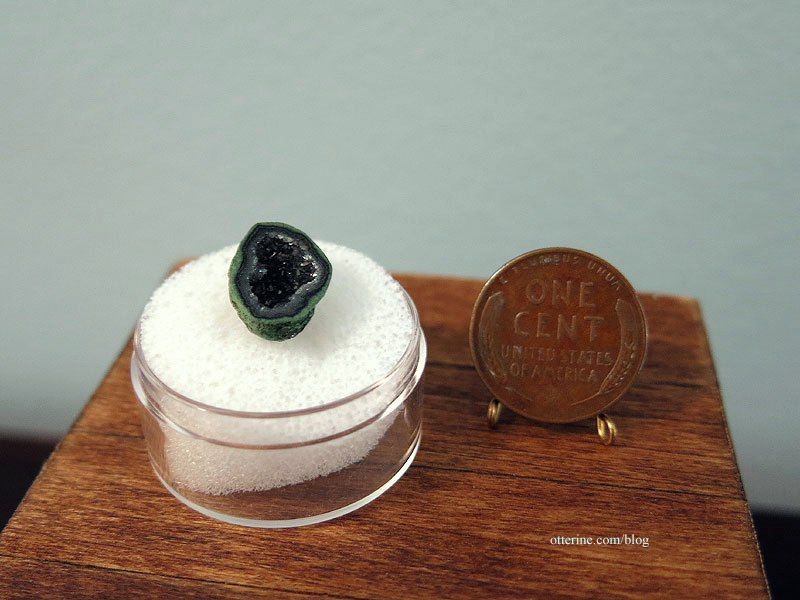
A sparkling geode.
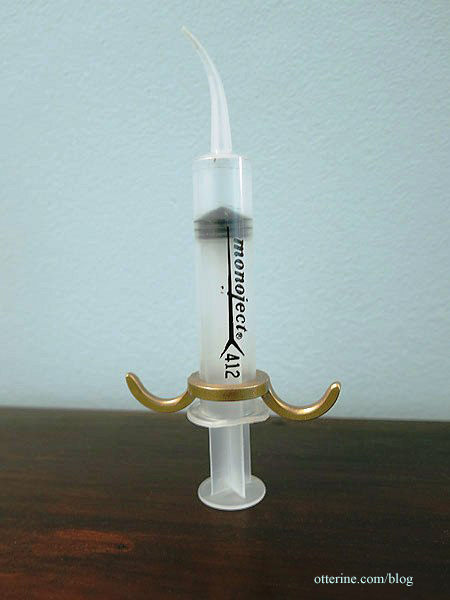
Ursula Dyrbye-Skovsted. She had the most amazing birdcages and marquetry flooring. But, what caught my eye was this wonderful heavy brass gadget for a glue syringe. It makes the glue stream so much easier to control.
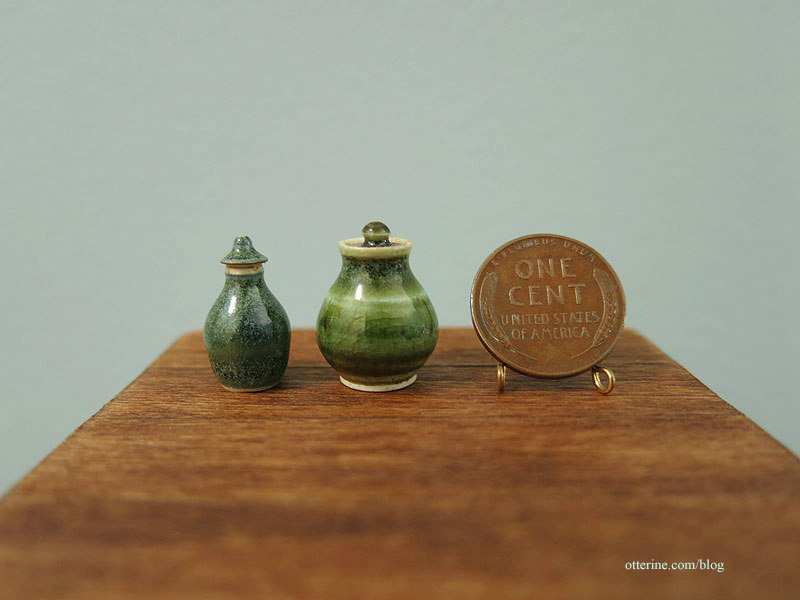
On Sunday, we returned to the Bishop Show, and I bought a few more items including some pottery from Milestone Miniatures.

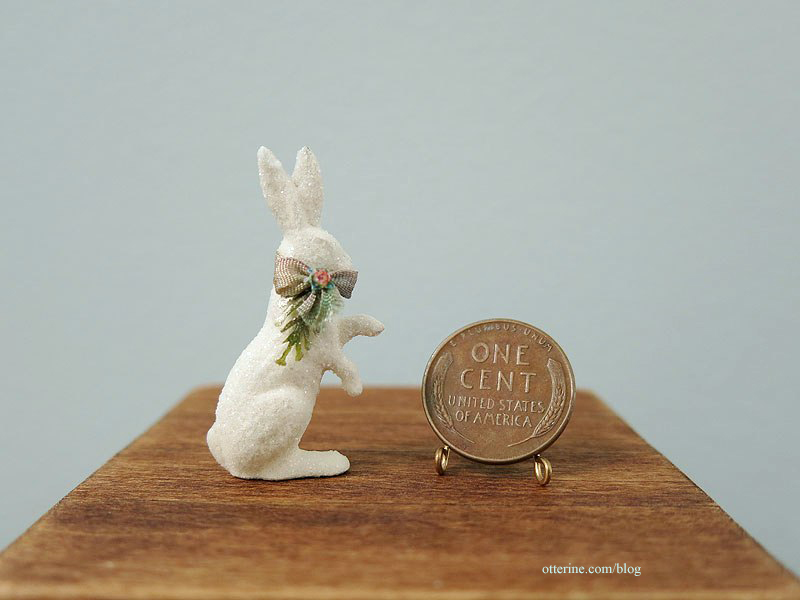
And a lovely Easter bunny.
Categories: Miniature Shows and Shops
April 4, 2014 | 0 commentsDouble trouble…or the rest of the story
Yesterday’s post.
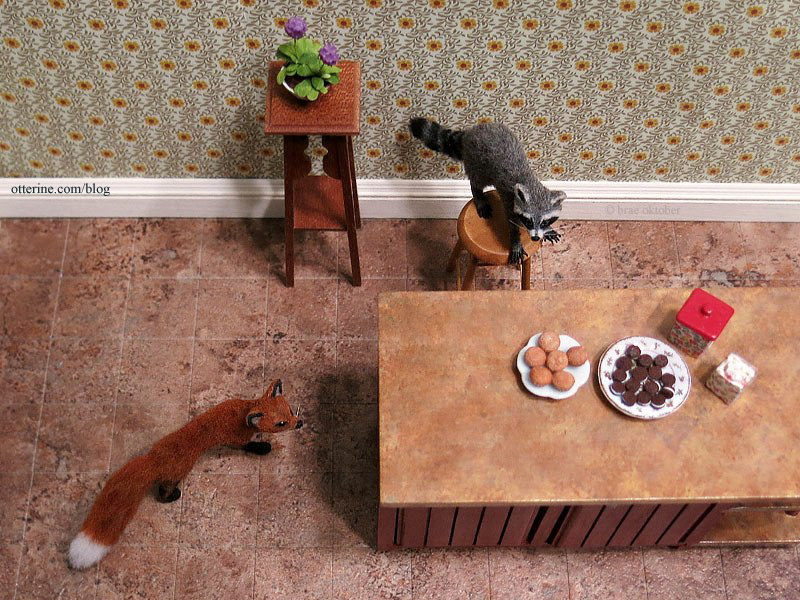
Roland ponders, “Hmm…what’s this?”
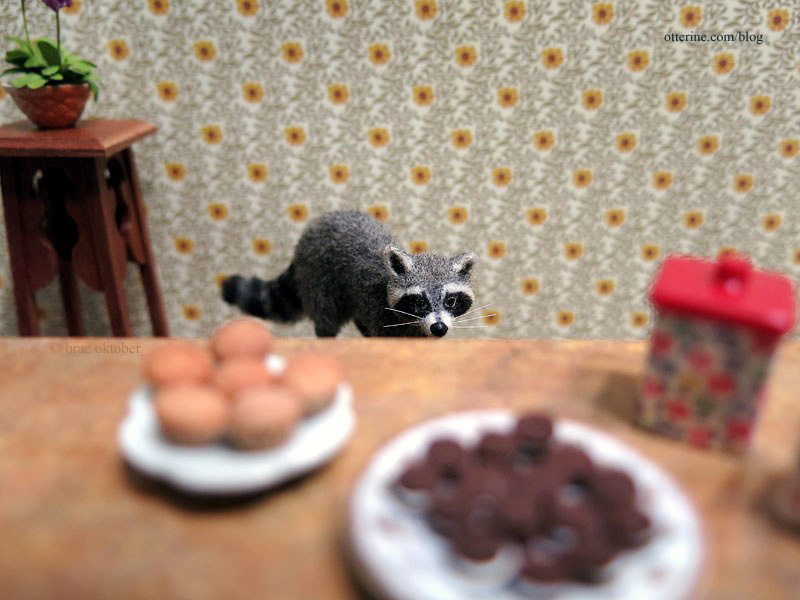
Sanford asks, “What’s up there?” Roland replies, “Muffins and cookies.”
Sanford warns, “Be careful. Don’t fall.”
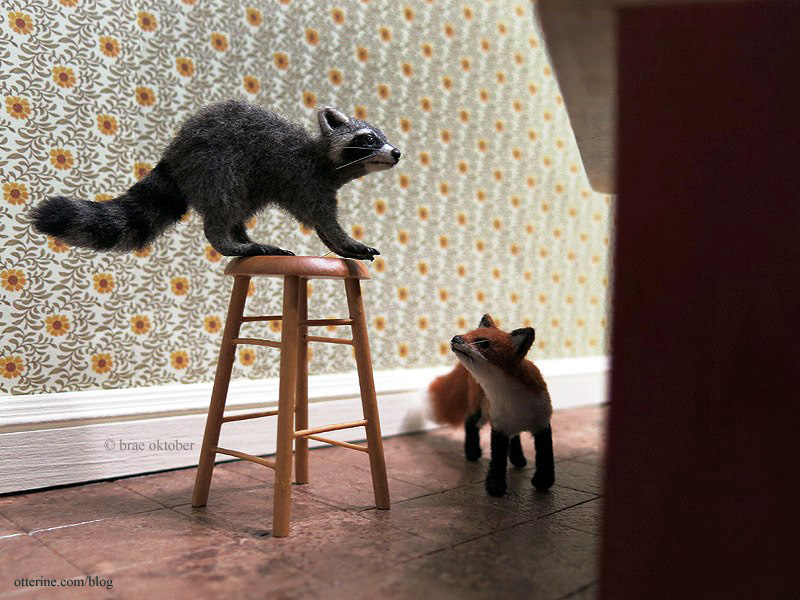
Roland says, “Pffft. I got this!”
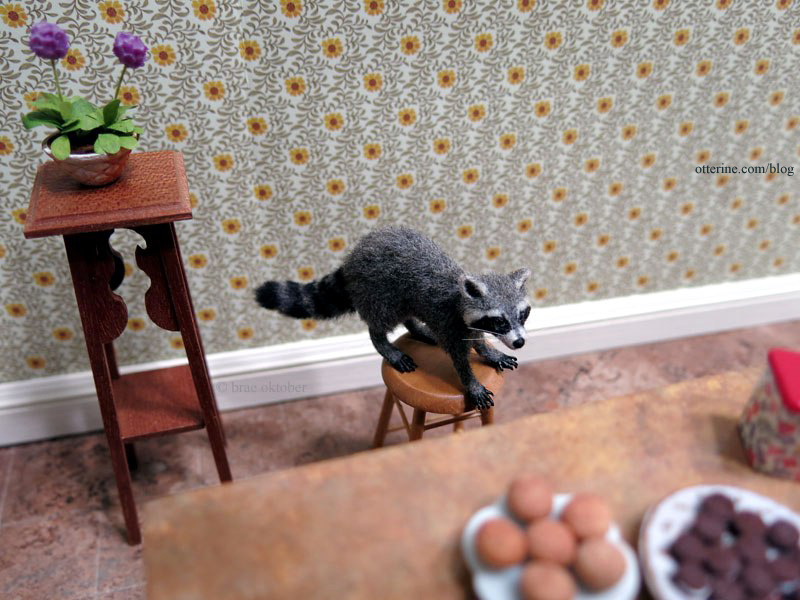
Sanford whispers, “Someone’s coming…hurry up!”
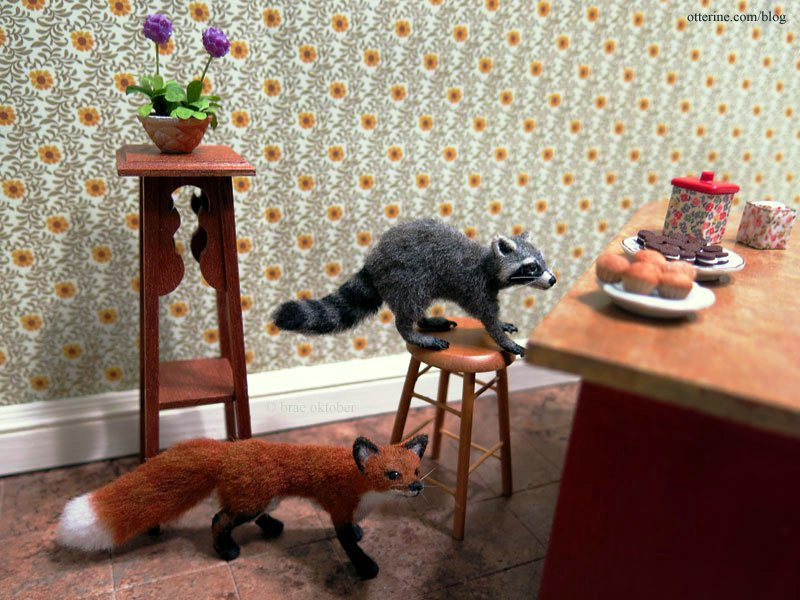
I swear there were more muffins and cookies. Huh.
Categories: Animals and birds, Roomboxes and Mini Scenes
March 27, 2014 | 0 commentsNew kitchen minis
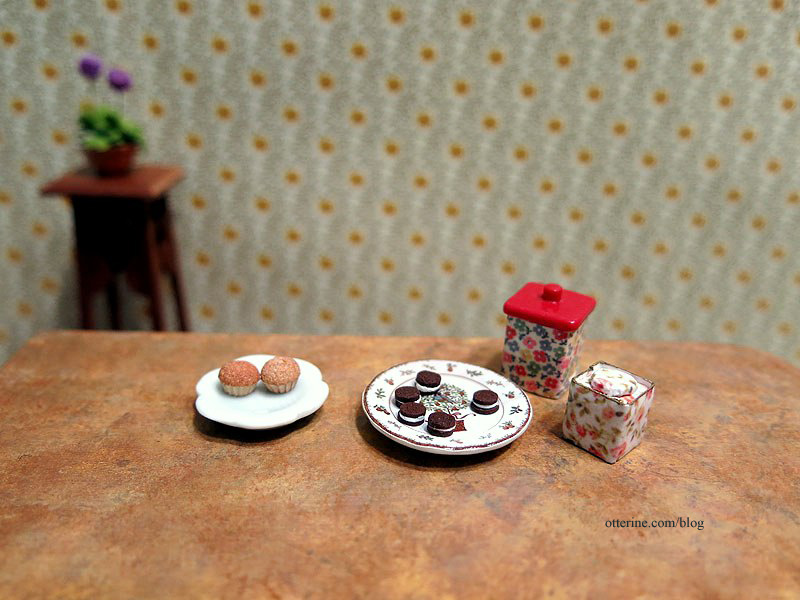
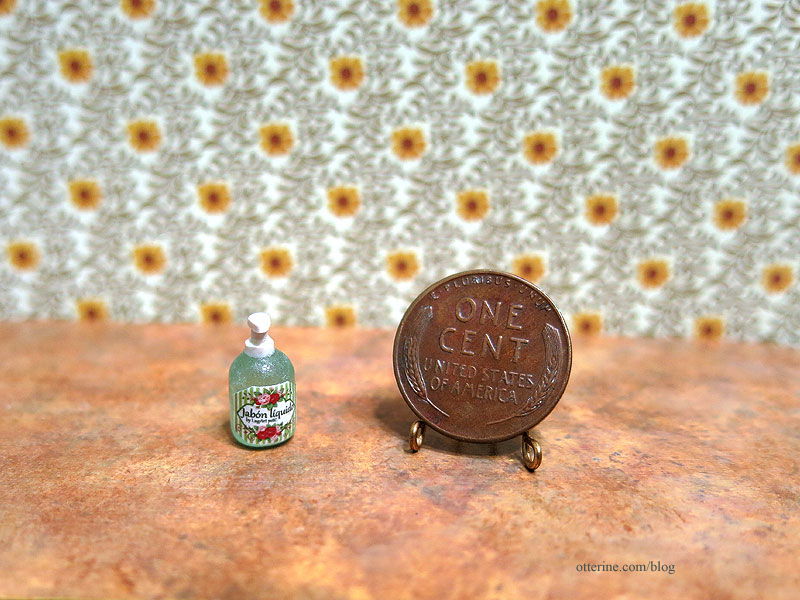
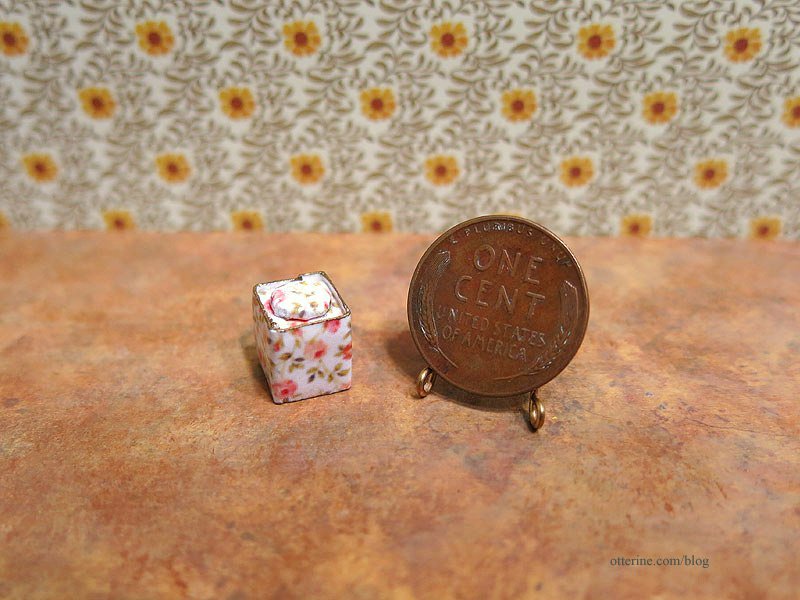
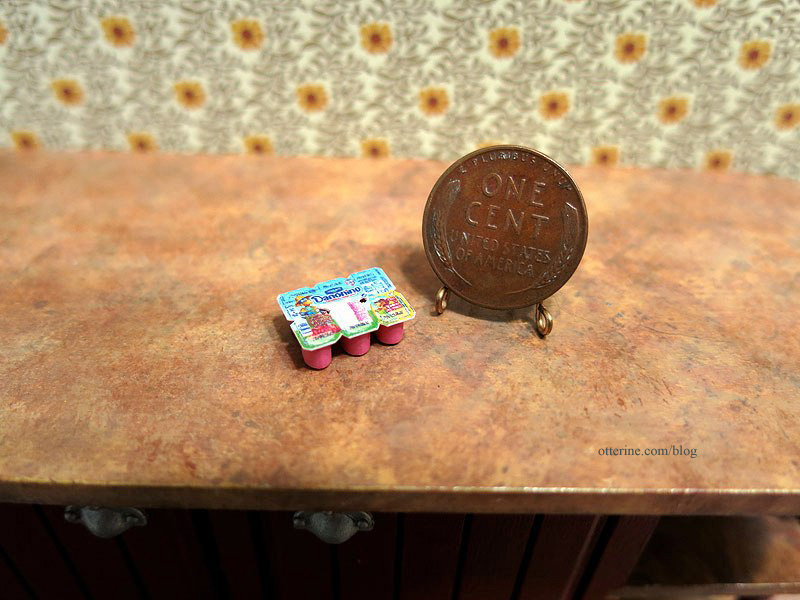
I recently purchased some lovely kitchen minis from LugArt Petit on etsy. They are unique and beautifully made.
A mini soap dispenser.
A lovely tea canister.
Tiny dessert cups…so awesome. :D
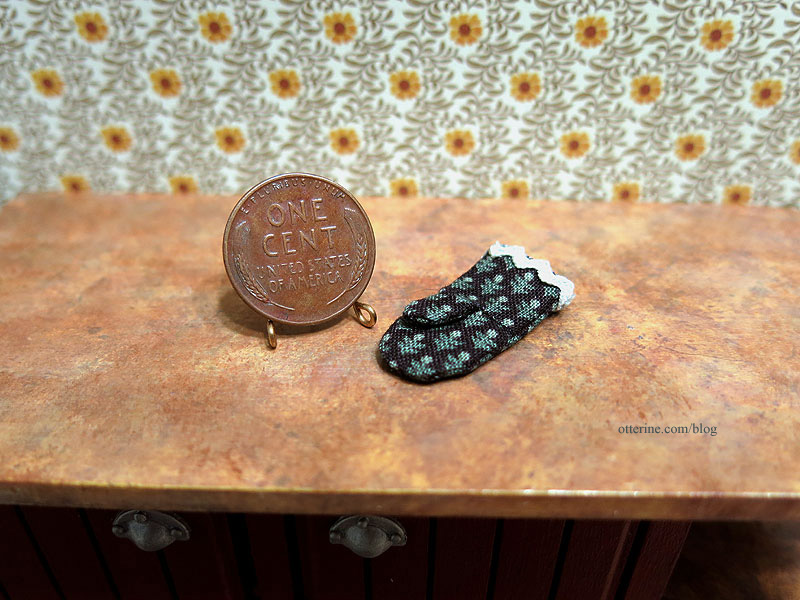
A cute oven mitt with pine trees.
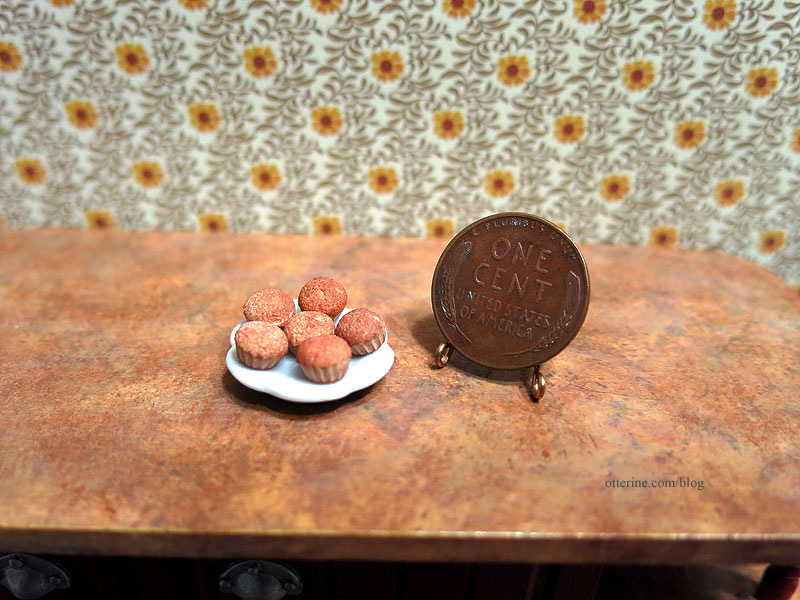
Tiny muffins on a flower plate.
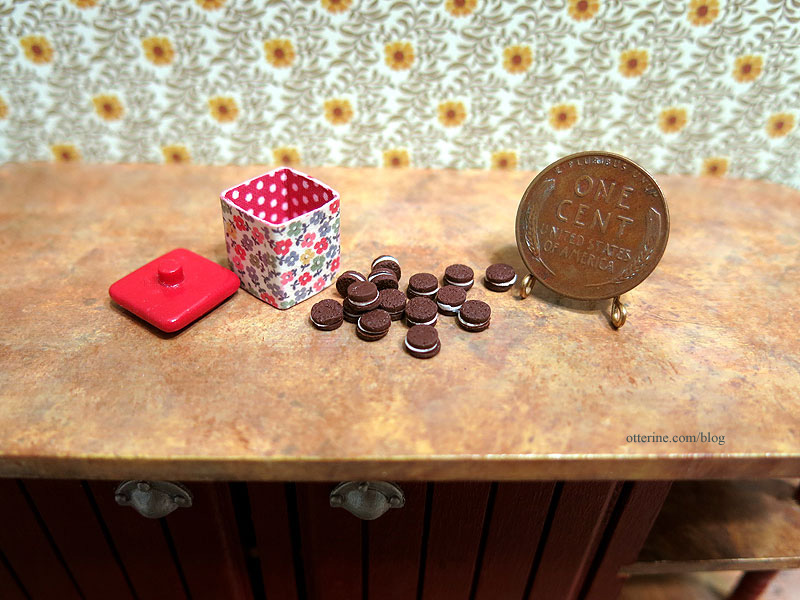
A canister with a removable lid that holds tiny chocolate cream filled cookies. :D
I think this calls for a full miniature set-up…time to dig through the boxes of minis. Be right back…

For the rest of the story…click here.
Categories: Animals and birds, Miniatures
March 26, 2014 | 0 commentsThe Brownstone – bay window section, part 2
Continuing work on the bay window section. The glass is to be placed on top of the wood pieces and an identical set is glued in place over the glass to keep it secure, but I need to create the stained glass inserts first.
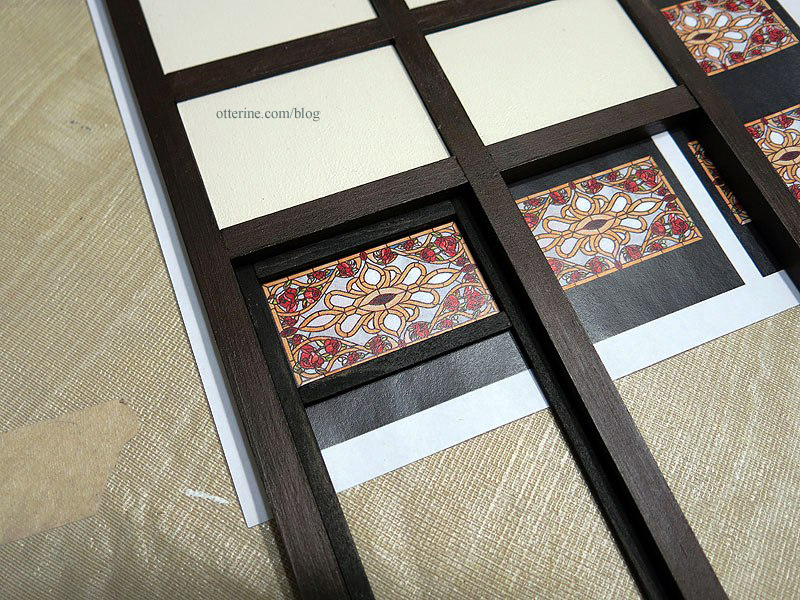
As a reminder, this beautiful Meyda Tiffany Bed of Roses stained glass panel at Wayfair is the image I’m going to use for the stained glass. Since the side bay windows are smaller, I had to alter the image in PhotoShop so the smaller panels would coordinate. In the original kit, stained glass decals were applied to the front windows only. Here’s my test print.
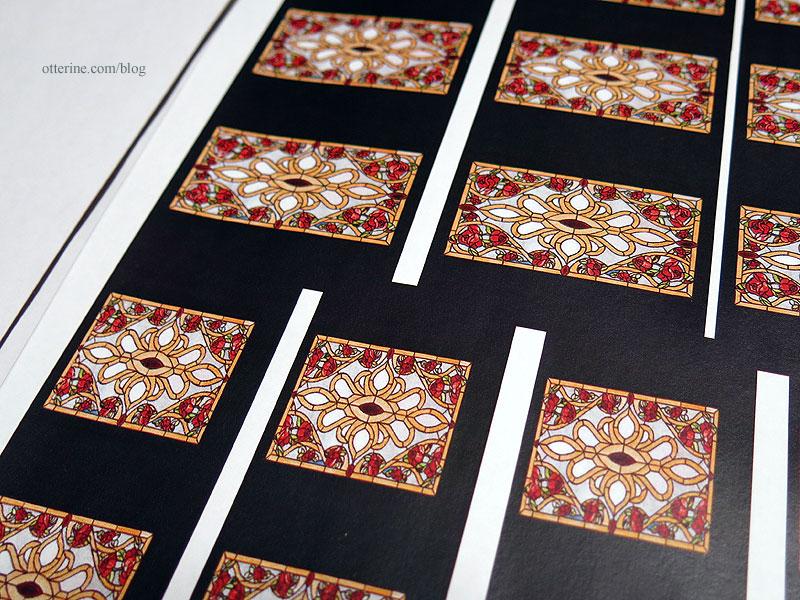
And, these are the finals printed on transparency film.

Since the stained pieces aren’t 100% dry, I dry fit one window frame into place. The instructions indicate the placement of the interior frames while you can keep the front grid on a flat surface since the frames need to be flush on the interior. I stained both sides of the framing pieces. This eliminates any bare wood showing from either viewing direction. I’m keeping the imperfect side facing the yet to be installed acrylic insert.
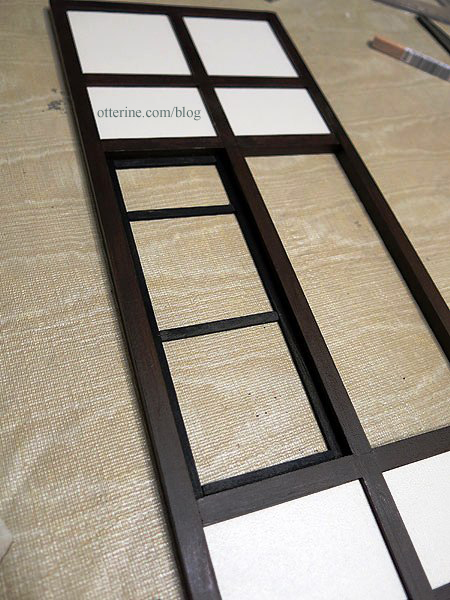
I used my test print to determine the placement of the lower horizontal for the stained glass portion.
I measured to find the center in the remaining space and fit the middle horizontal in place.
I cut one transparency and tested the fit, placing one of the kit acrylic inserts into the opening underneath it. The top surface of the transparency is shiny, but the back is not. Having the acrylic behind the transparency will disguise the dull back.
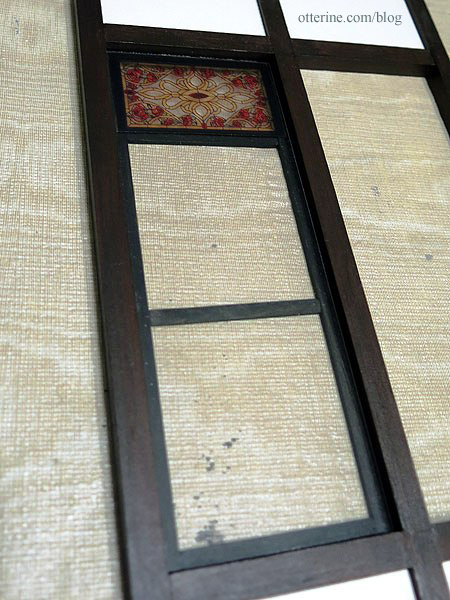
The transparency floats so I can adjust or replace. :]

I then dry fit the exterior frame and cross pieces. The instructions indicate adding the acrylic inserts and final framing later in the build, and I like that idea for keeping the windows clean and unharmed during decorating. I like it! :D
I did the same for the side bay window opening to make sure my measurements worked for both configurations.
I put the bay back into dry fit.
All good! :D
Next up – gluing the interior framing for all window openings, cutting new pieces as needed.
Categories: The Brownstone
March 25, 2014 | 0 comments


NOTE: All content on otterine.com is copyrighted and may not be reproduced in part or in whole. It takes a lot of time and effort to write and photograph for my blog. Please ask permission before reproducing any of my content. Please click for copyright notice and Pinterest use.


