
The Brownstone – front wall progress
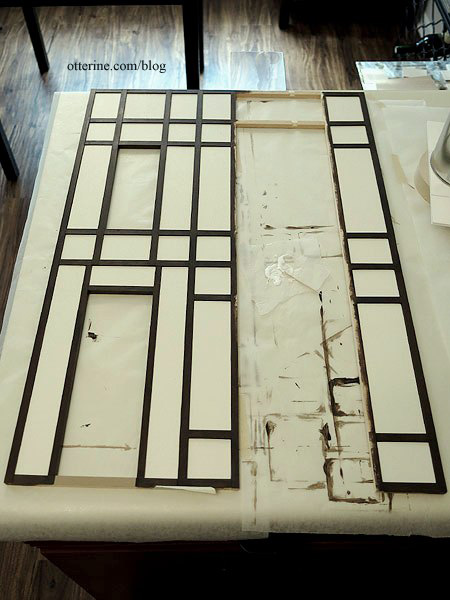
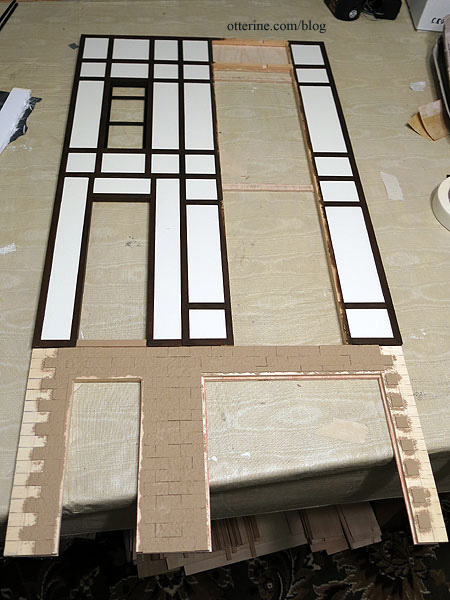
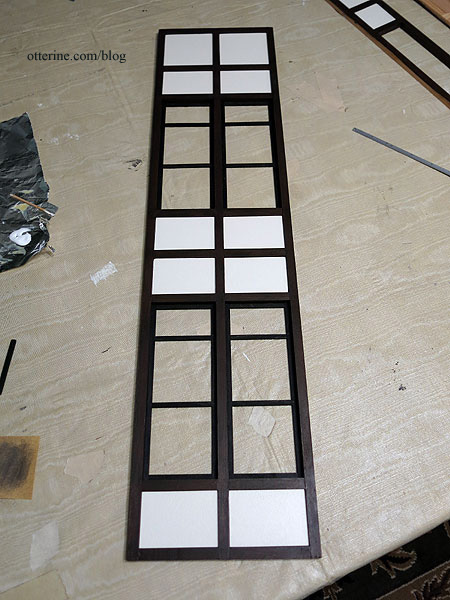
I finished painting and sealing the timber grid and then added the completed filler pieces.
I drew guidelines for the lower stonework.
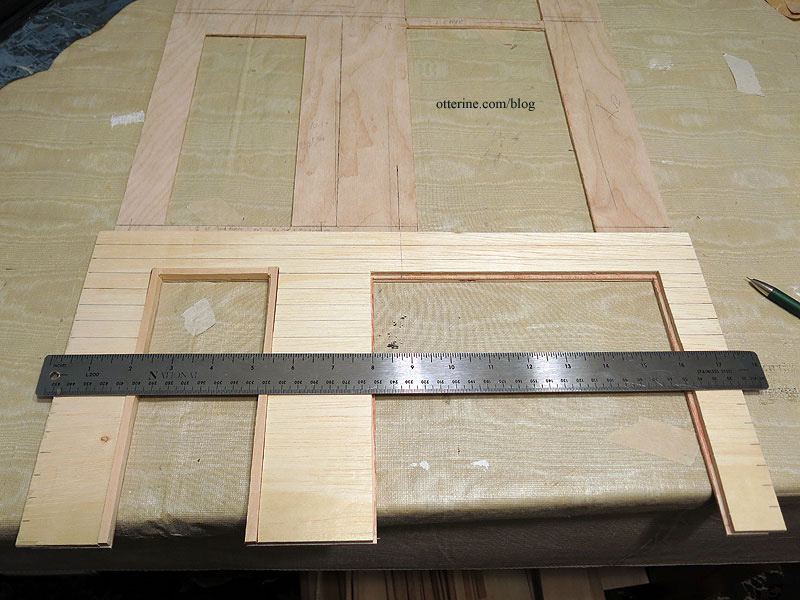
I cut trim for the garage door opening since the wood included in the Timberbrook kit is rather wide. I like this thin trim look better.
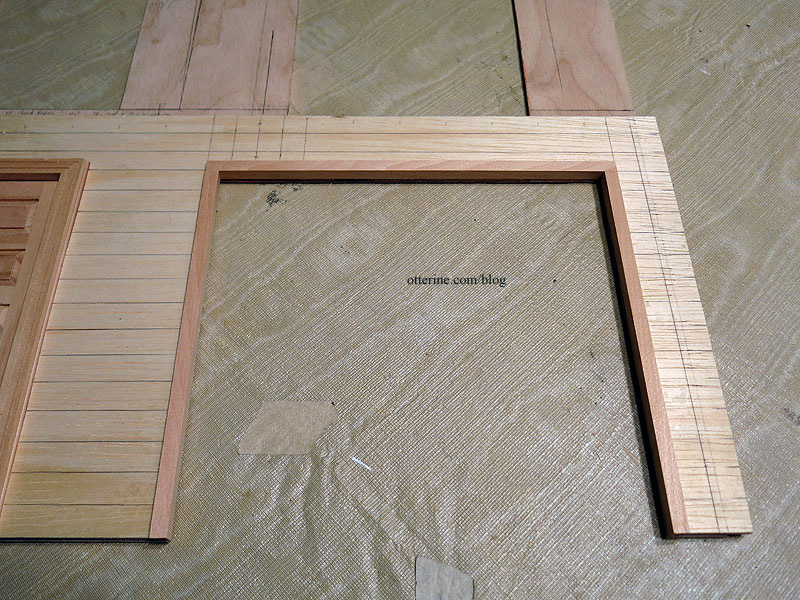
I applied the egg carton stones, leaving the edges open. These pieces will be added after the structure is glued together.
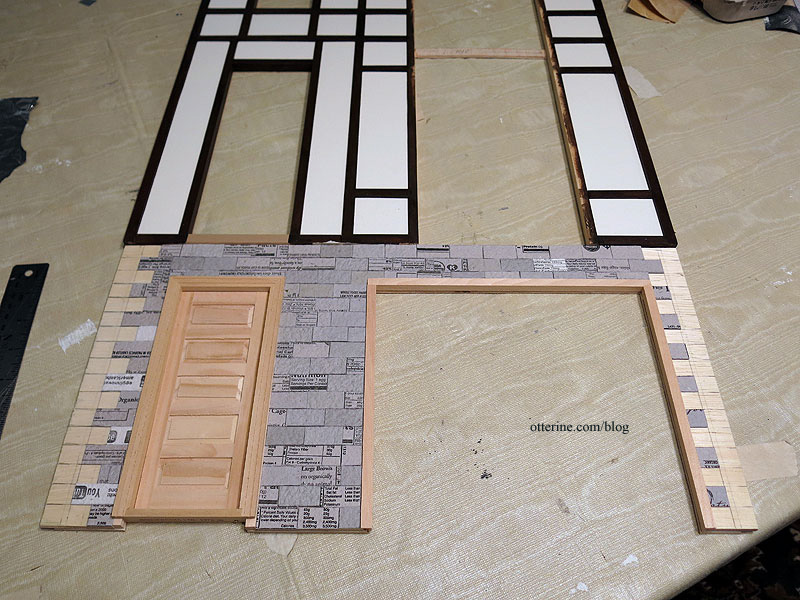
The backer board is 1/8″ thick and won’t allow the same finishing process I used on the bay windows, using 1/16″ basswood to act as inner trim work. (Here’s the post outlining this process.)
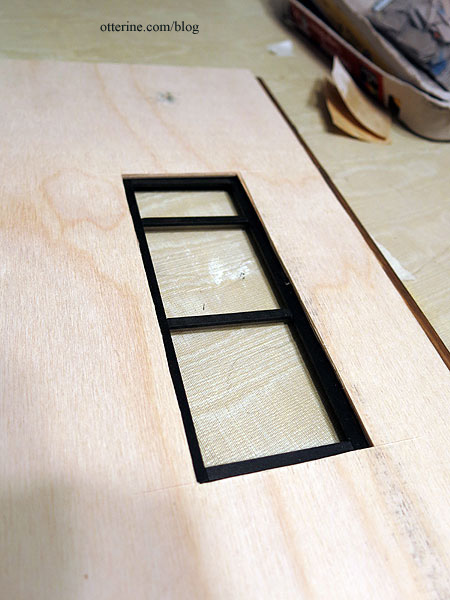
I determined the bedroom size (on the left) as well as the place where the floor board will hit. I cut the marked corner from the backer board.
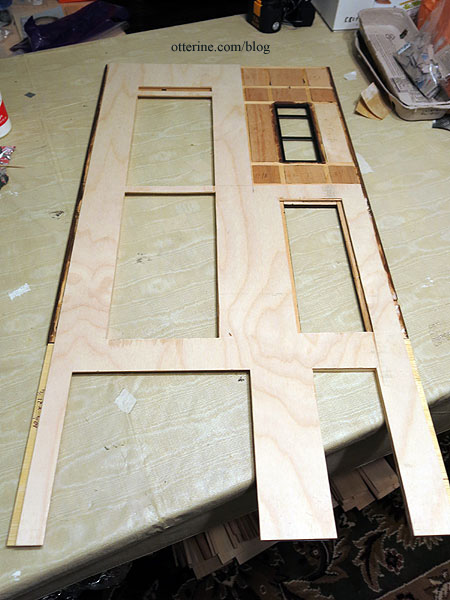
I will finish the window and pad the wall for a smooth surface using the basswood trim method. (Here’s the finishing post for this window.)
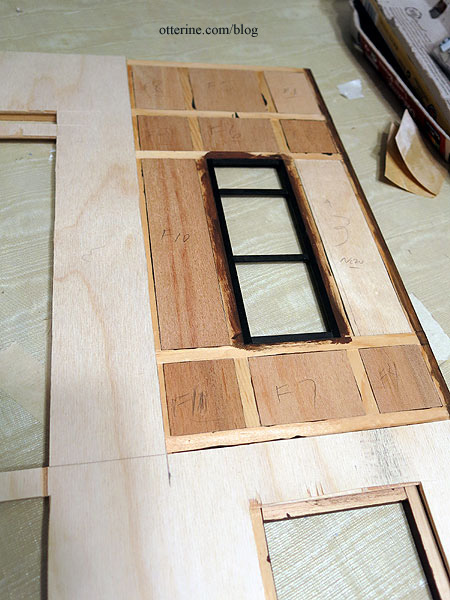
I painted the stonework with the base coat of Fawn by Americana. I then glued the backer board in place.
Categories: The Brownstone
April 16, 2014 | 0 commentsBishop, day 1; 3 Blind Mice, day 2 – 2014
Went to the Bishop Show on Friday for the preview sale.
First, the item up is the one I couldn’t show you the other night. Two fox doorknockers in brass from Ron Stetkewicz Miniatures.

Jane Graber pottery. There’s one more piece I’ll be ordering from her directly since she didn’t have more there.

Twilla’s Tiny Treasures. I bought two more birdhouse kits like the one I made for The Aero Squadron Lounge.
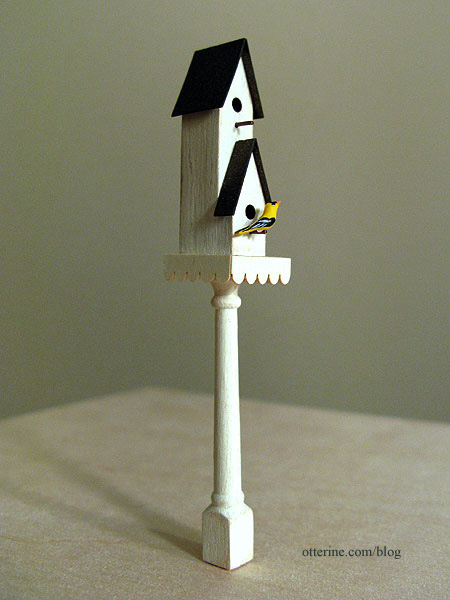
She also had the tiniest pine cones which she said she harvested after a wind storm before anyone could trample them. :D

Lisa’s Little Things. These kits looked beautiful in the display, though it is hard to tell the amazing detail from the package photos.
Griffin box.

Small and long treasure boxes. There are two boxes in each kit.

Tea chest.

Wendy’s Miniatures. She had such an amazing collection of geodes, fossils, gemstones and other curiosities.

Vilia Miniature. I have one of these sinks already, but I have an idea for another.

These stacking trays came in blue, red and green.


Vitreus Ignis. Tiny glass paperweight. She had a lot of wonderful designs. It was so hard to choose.

Ray Storey lighting. I always find great stuff here. :D

Miniature Atelier 2CV. Wonderful modern hardware. They had intricate metalwork inserts for doors and windows as well as beautifully made furniture and lamps.


Ulus Miniaturas. The smallest tape measure ever!!!

L. Delaney. These quilts are printed on paper towel.

The detail and texture are amazing.

She had a bed made up with one as well as some folded in a cabinet…very realistic.

I also picked up this tile with a bird. She said these were images from Pompeii.

Sir Thomas Thumb. Carpenter’s square.

He also had loose Chrysnbon sinks, tubs and toilets. The tubs didn’t have the feet, and the toilets didn’t have the tanks, but they would be great for bashing into custom pieces. I picked up a bunch of the sinks since I love them and don’t want to buy the whole kit every time I want the sink. I also picked up some fencing which you will see on the Brownstone.
Then back to 3 Blind Mice.
All About Miniatures. Greg kept putting more things out for us to peruse. :D First is a window with arched shutters…awesome.

A working gate.

Old World Tile kits.

I love these!

Hartland Miniatures. Chrysnbon pitcher paired with two glasses.

Chrysnbon candy dishes.

Brushed metal salt and pepper shakers.

Categories: Miniature Shows and Shops
April 13, 2014 | 0 comments3 Blind Mice – April 2014
I went to the 3 Blind Mice show tonight, its opening night. There were several rooms of vendors, and I was able to find a lot of great stuff.
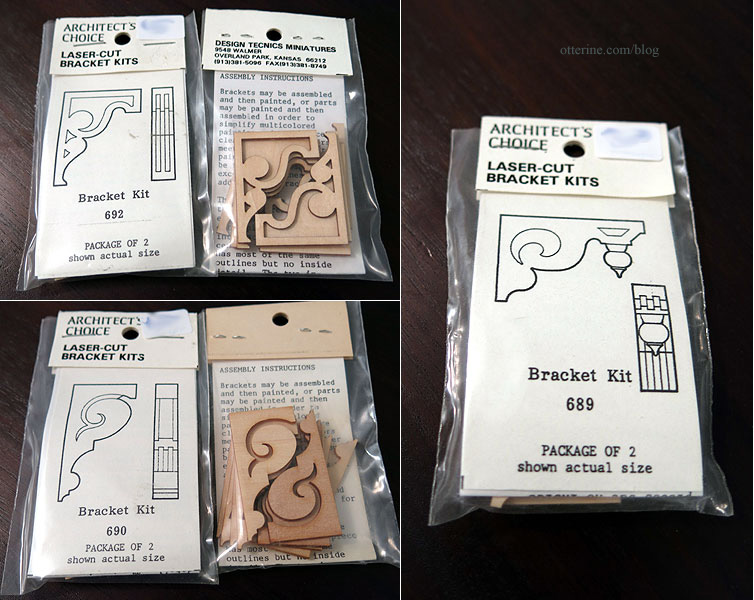
The first stop was Greg’s table, All About Miniatures. He has some great old new stock. I picked up some Architect’s Choice brackets in three styles.
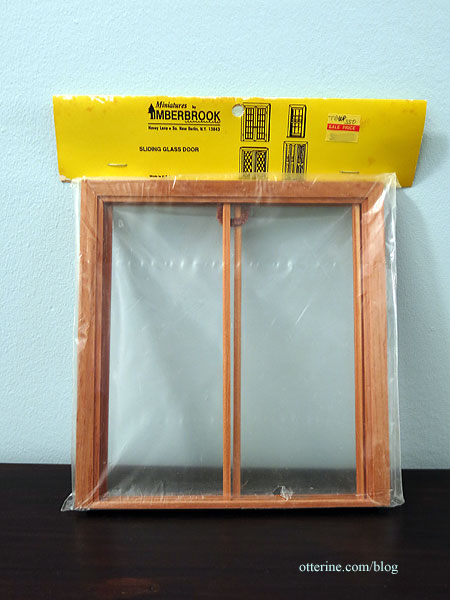
I picked up a Timberbrook sliding door at J&J Dollhouse Minis.
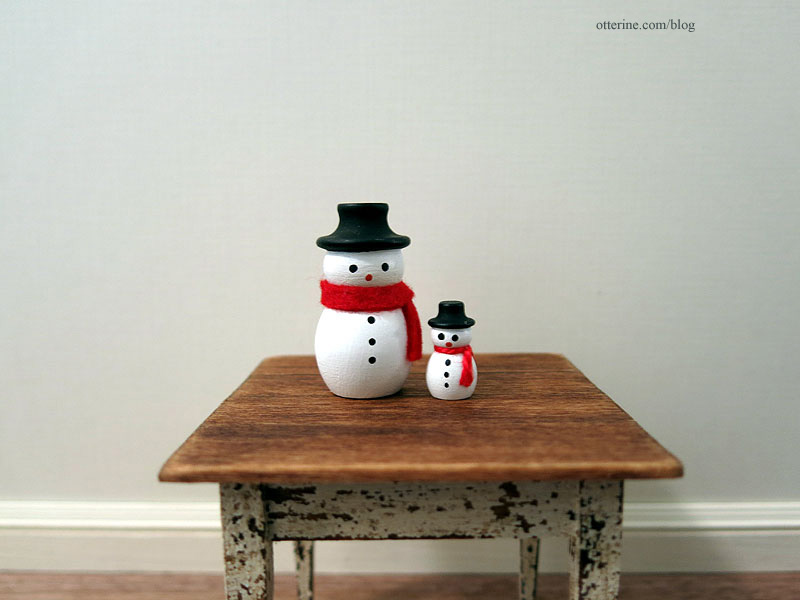
Two snowmen from Patricia M. Wehmeier Miniatures.
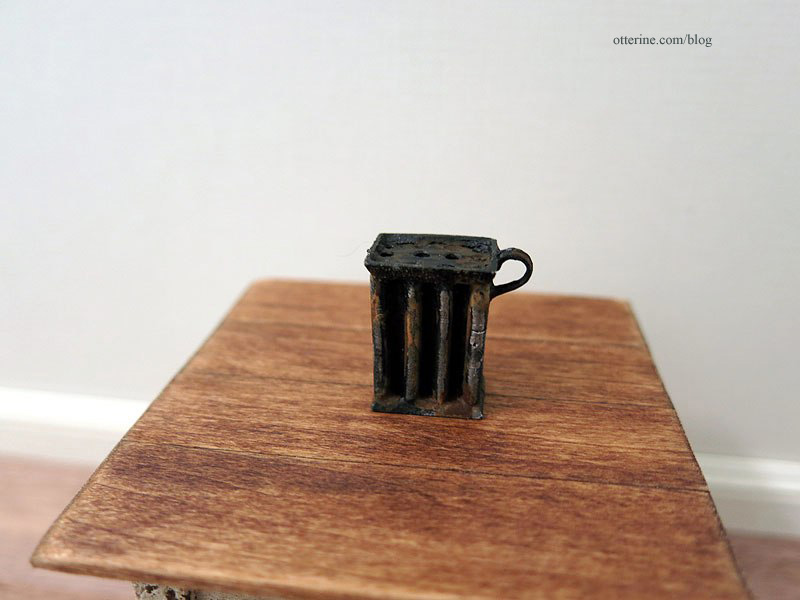
I also picked up a great candle mold from Patricia. She always has great found items, but these were all her own. :]
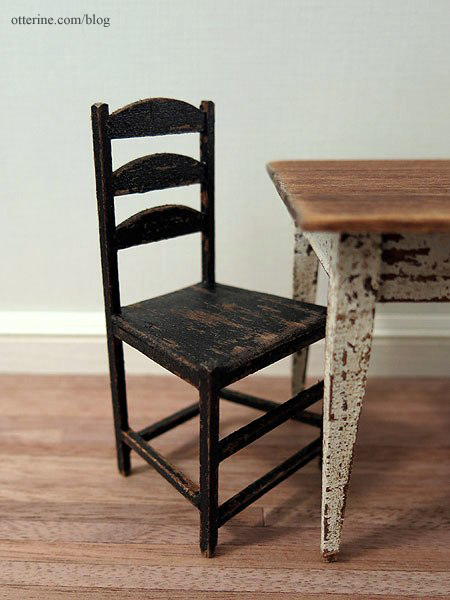
The beautiful table and chairs set was actually all sold individually, which I think is fabulous. There were chairs in black, white and green, as well as long tables instead of square. These are from Wildwood Dollhouse & Miniatures.
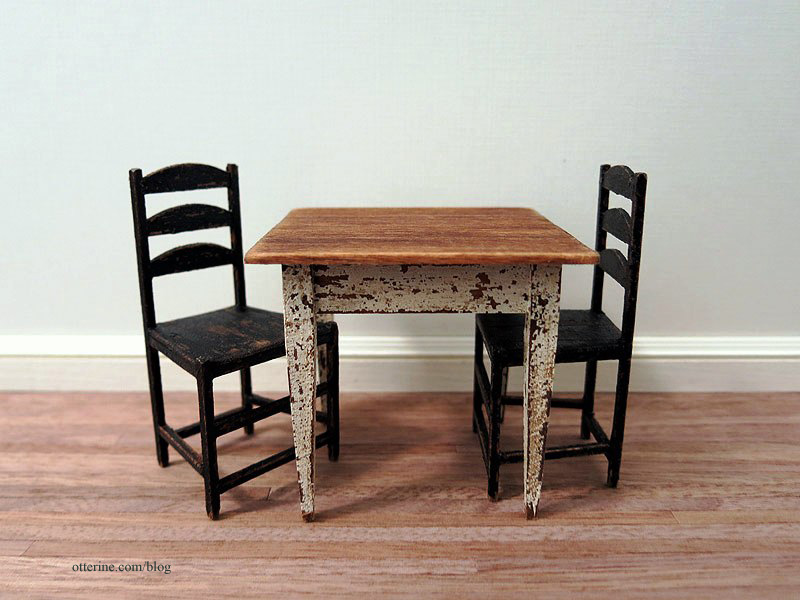
The aging is superb.
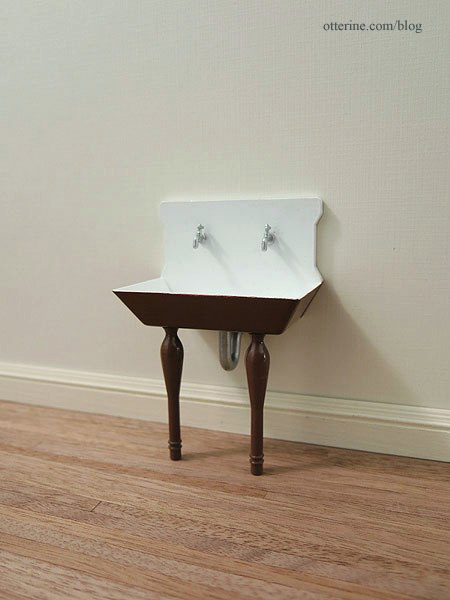
I’ve been in love with this sink for awhile now, and a few have gone for big bucks on eBay lately. I was able to find one for a very good price from Hartland Miniatures.
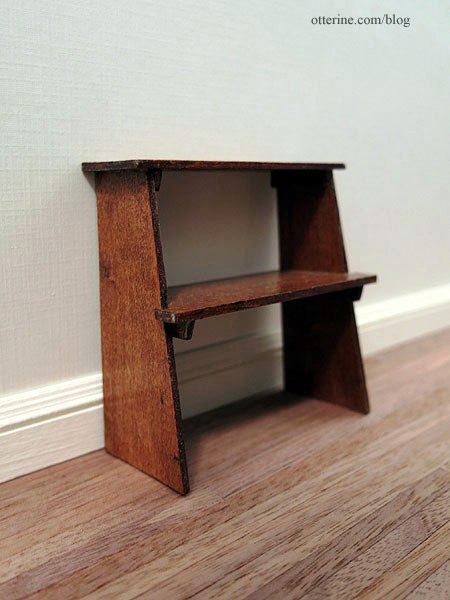
This fun book shelf is from Debbie Ohm.
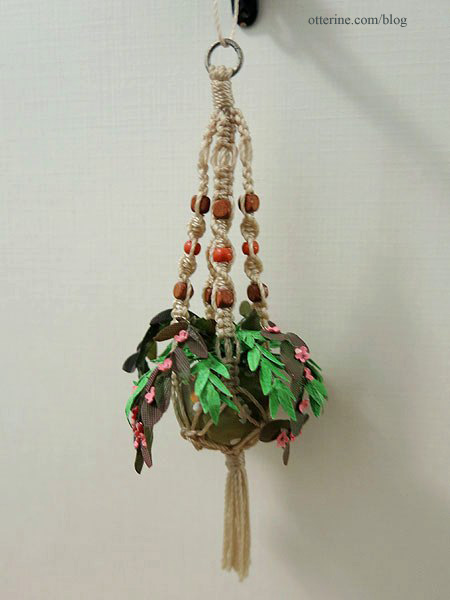
This great macramé hanging planter is from Linda’s Creations.
Categories: Miniature Shows and Shops
April 10, 2014 | 0 commentsThe Brownstone – bay window section, part 4
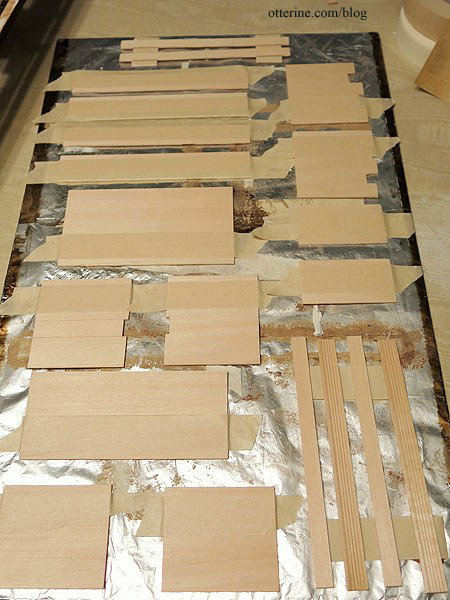
Continuing work on the bay window section. I masked off the top portion of each basswood padding piece and affixed the pieces to my work board.
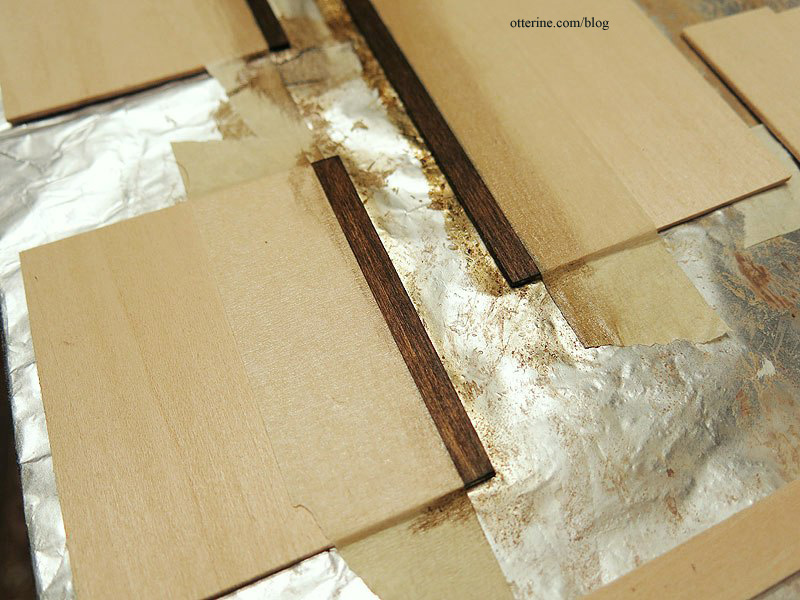
The edges will serve as part of the window trim, so I stained them with Minwax Dark Walnut.
When working with a lot of pieces of similar shape and size, I mark the backs for reference. This one shows the upward direction, first section, right side, outer trim.
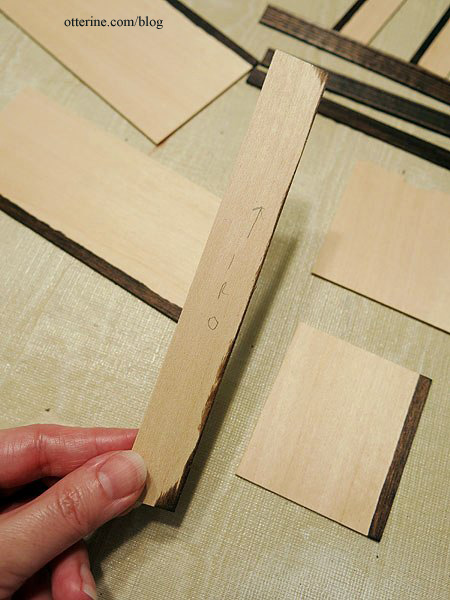
I will prime the remaining portions before applying wallpaper, but I am choosing not to prime before installation since I don’t want to risk warping the boards. Instead, I glued in the forward boards, the middle trim and interior corner boards.
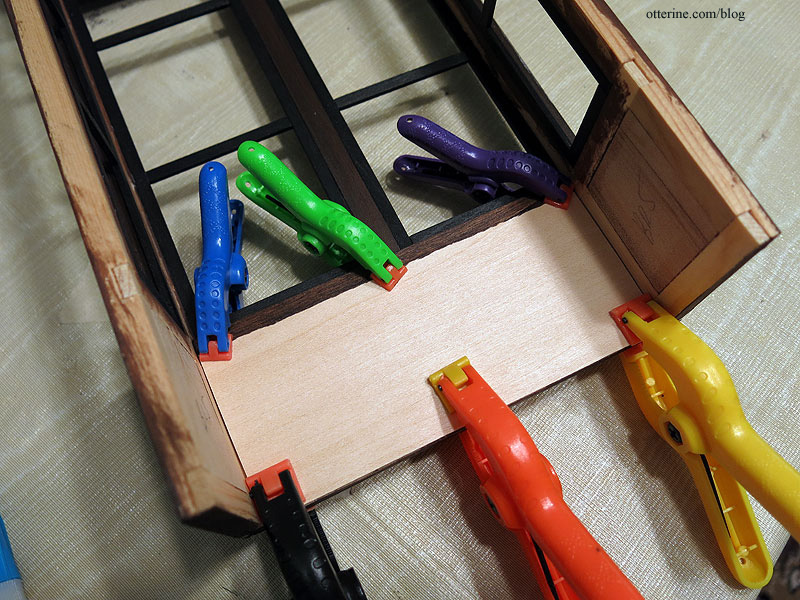
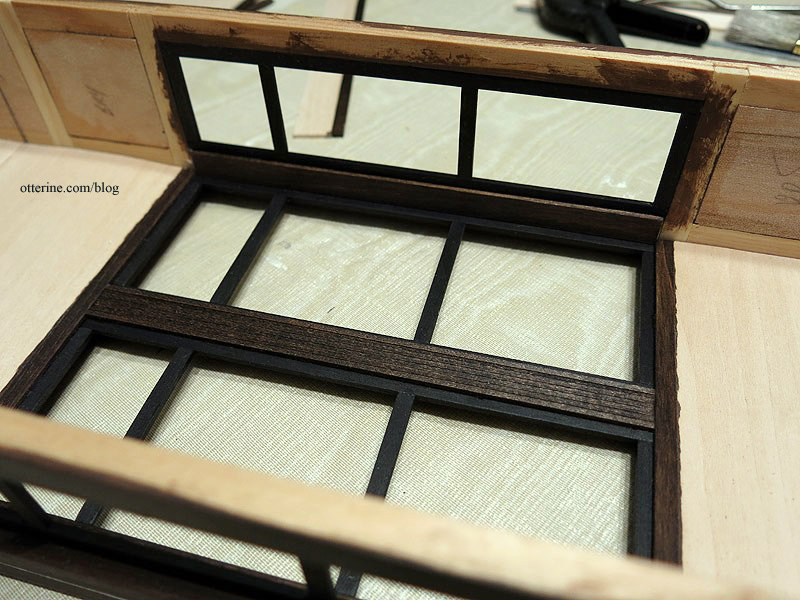
The remaining boards will be installed after I glue the bay window section to the front wall, so this part is as completed as it can be to this point. Here they are in dry fit, so you can see what I’m after. :D
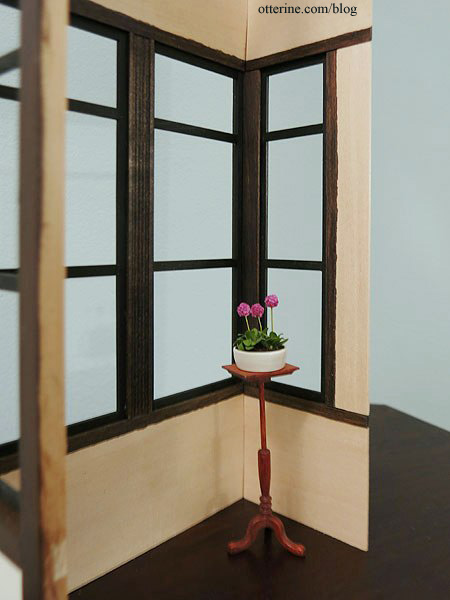
Categories: The Brownstone
April 8, 2014 | 0 commentsThe Brownstone – bay window section, part 3
Continuing work on the bay window section. I glued the previously stained interior window frames into place for the three bay window sections. As noted before, the stained glass and acrylic inserts will be added much later in the construction process.
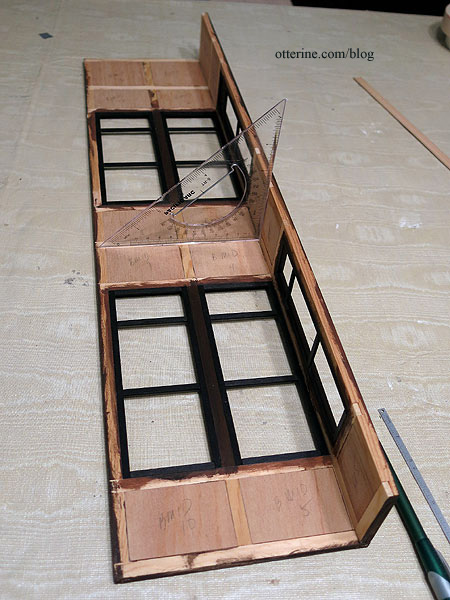
With those in place, I glued the sides onto the front, using a triangle to make sure the pieces were square. So exciting to finally have a portion of the build glued together! :D
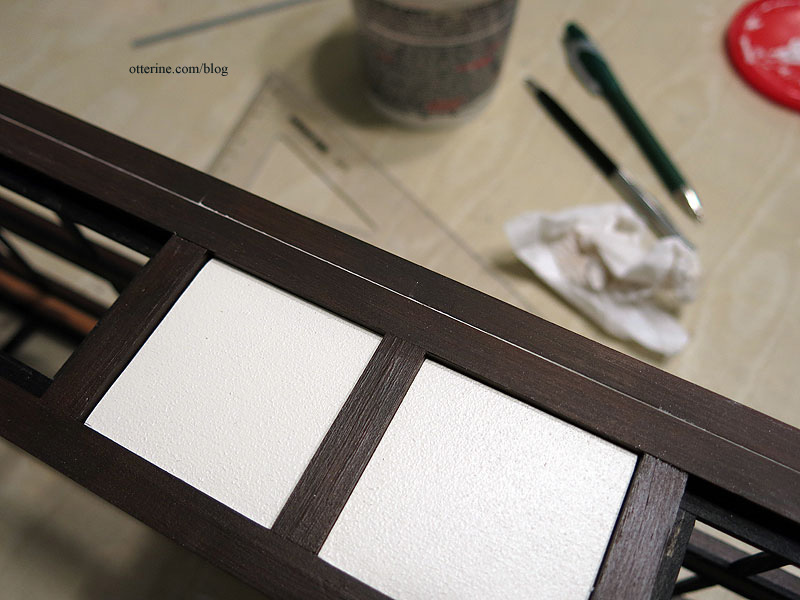
Since there were slight gaps between the pieces, I pushed a small amount of spackling into the crevices. I wiped the excess from the timbers so I wouldn’t have to make a mess sanding. I will touch up the paint and sealer later.
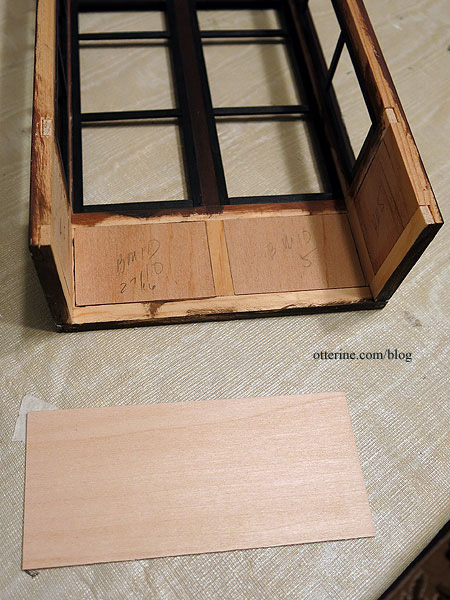
Since the bay window sections have no added backer board, the interior surface is uneven due to the way the walls are created — with a grid and inserts. I cut pieces of 1/16″ thick basswood to cover the surfaces.
The pieces overlap the edges where the interior window frames meet the timber grid since I plan to use these basswood pieces as both surface smoothers and window trim. This will make more sense later. This also lends support to the interior window frames. There is not a lot of gluing surface for those thin pieces, so they do like to shift and pop out at random. This should help alleviate that problem by adding another gluing surface.
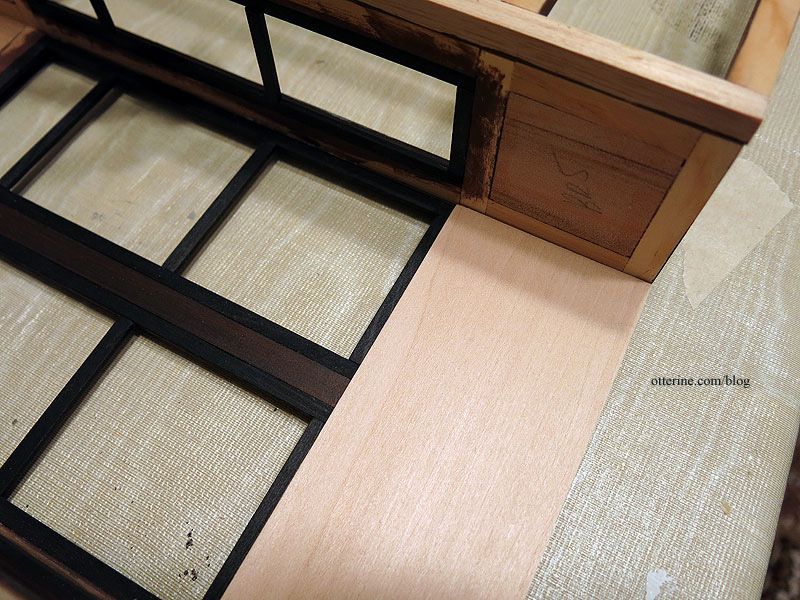
In order to measure and cut the side pieces, I had to put the facade grid and its backer board on in dry fit so the depth would be accurate. The side bay pieces end flush with the interior surface of the backer board.
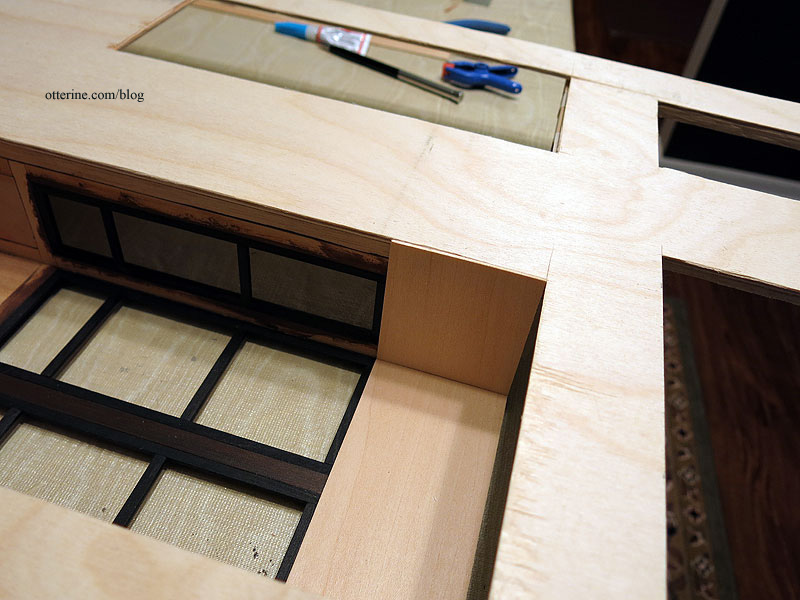
I continued cutting the basswood parts, fitting around the backer board cross sections. I left these beams across the bay window section to support the floor boards. Since my basswood sheets were only 3″ wide, I had to piece the middle portion.
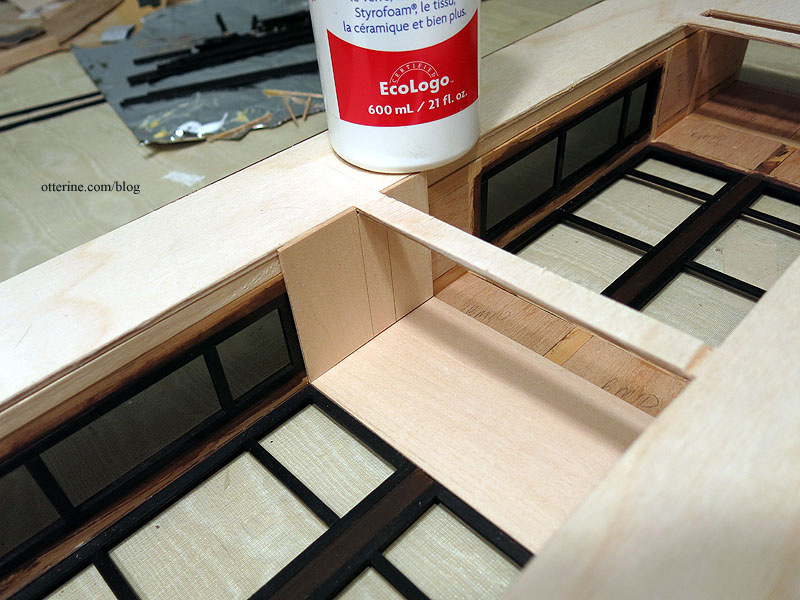
To finish the middle of the window frame, I used 1/2″ wide fancy trim from Manchester Woodworks. It is centered, though the angle of the photo makes it seem otherwise.
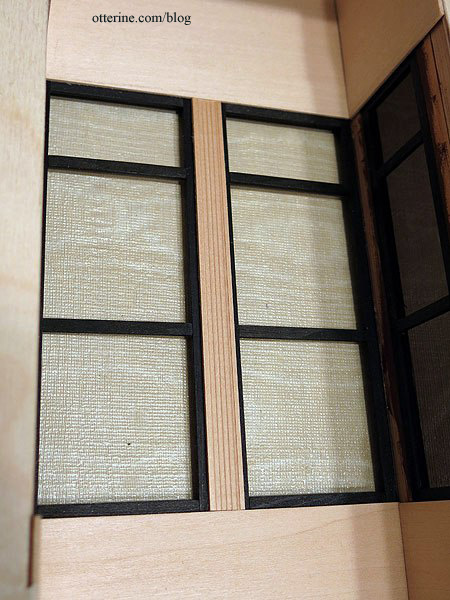
I added long strips in the corners and along the outer edges of the windows.
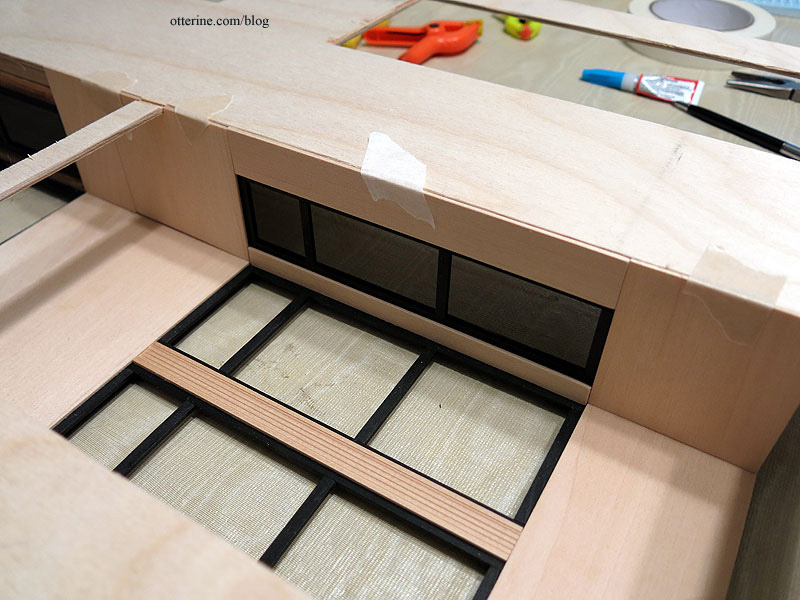
All of this padding will allow for a smooth surface for wall treatments and a finished look for the interior portion of the windows.
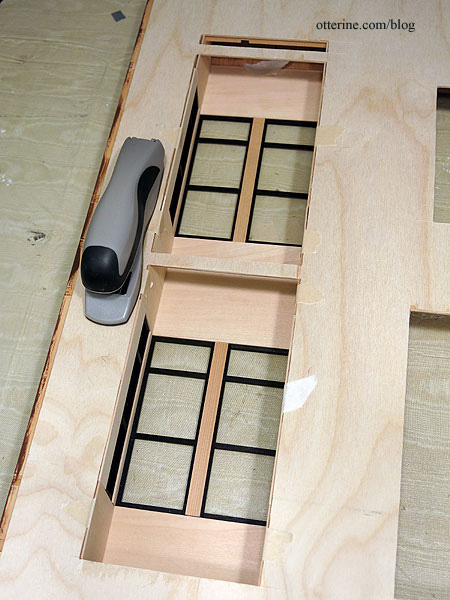
Next up, more staining…. :D
Categories: The Brownstone
April 6, 2014 | 0 comments
NOTE: All content on otterine.com is copyrighted and may not be reproduced in part or in whole. It takes a lot of time and effort to write and photograph for my blog. Please ask permission before reproducing any of my content. Please click for copyright notice and Pinterest use.


