

Puppy want to go for a walk?!!
This delightful Australian Shepherd is by by Michal Gvir, and I’ve named him Sherwood.
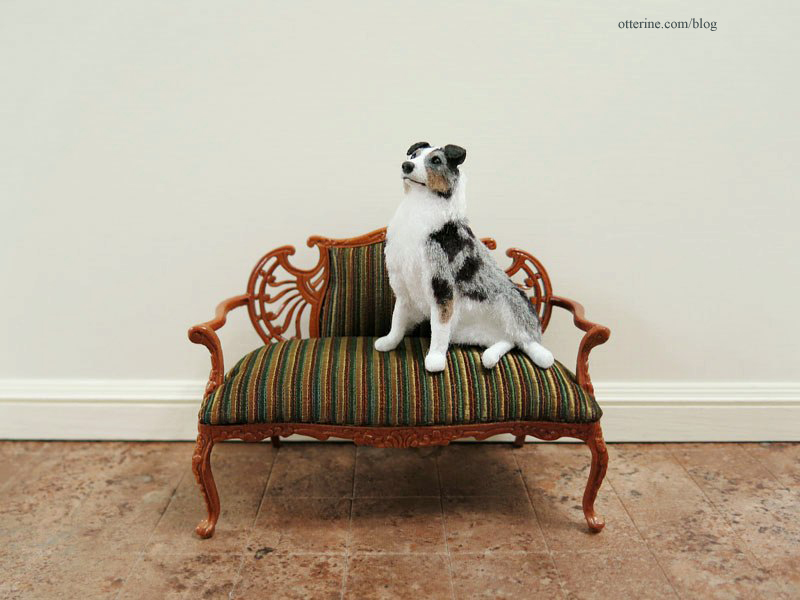
He’s a good boy!

Ready to go on a road trip!
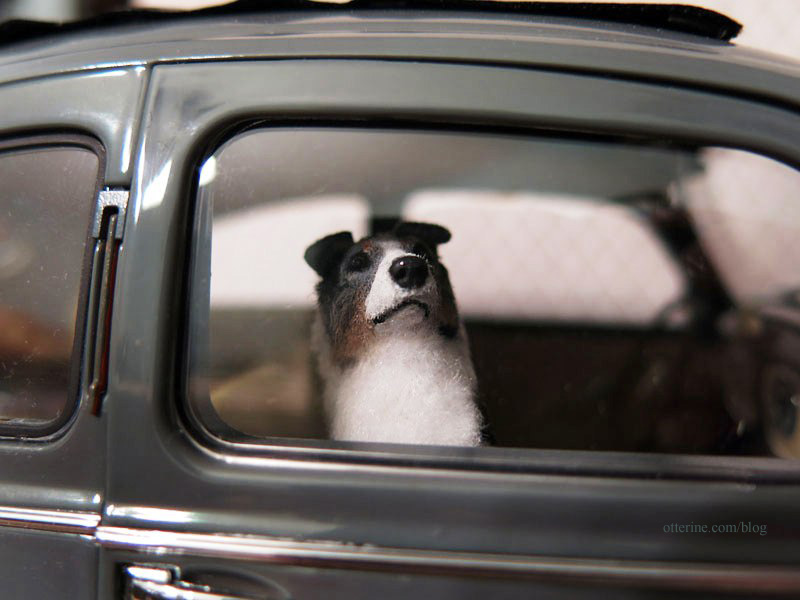
I picked up a great Heidi Ott lead from S P Miniatures. :D
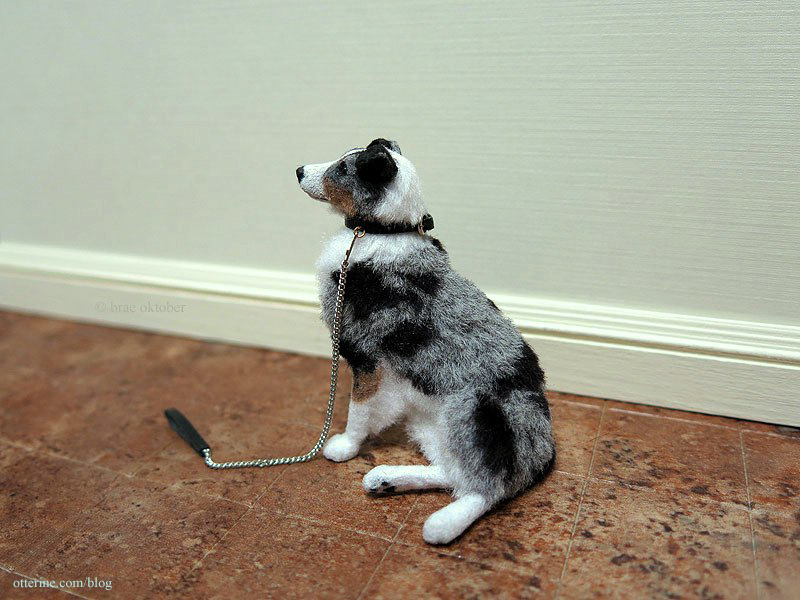
I don’t know if it was meant to be in use, but I poked two additional holes in the strap, loosened the leather keeper loop and fastened it in place. Now Sherwood is all ready to go!

Categories: Animals and birds
April 27, 2014 | 0 commentsMail call!
I ran across an old Rondel Wood Products Mail Wagon kit on eBay, and now it’s in my house. Why? Peer pressure, plain and simple. You all know who you are!
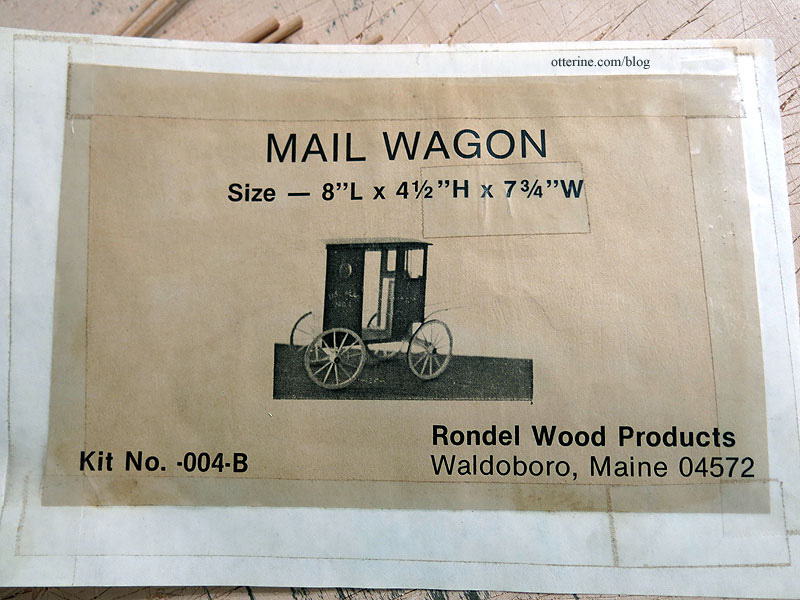
All kidding aside, it’s a simple little kit that makes one of these: a rural mail wagon.
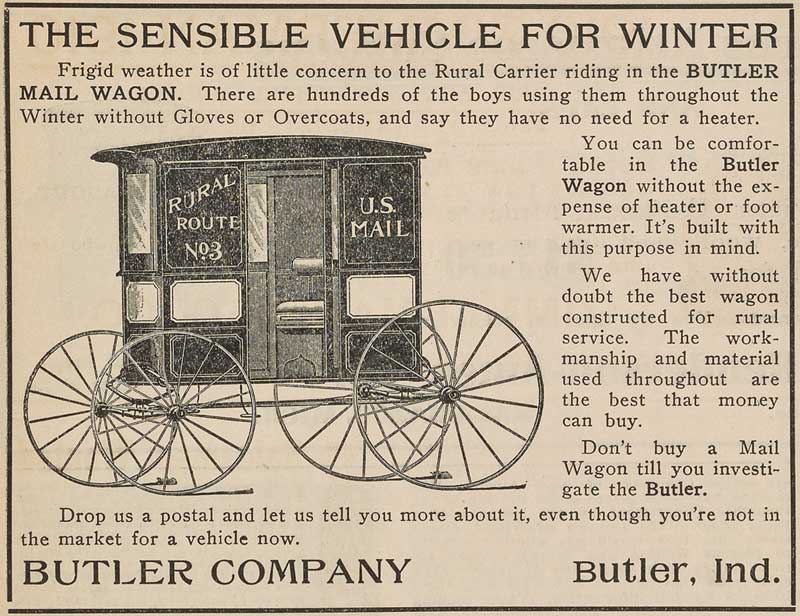
image from The Smithsonian Included in the kit is a large blueprint. Some pieces are pre-cut and some you do yourself. This kit was missing a piece, but that’s a relatively easy fix.
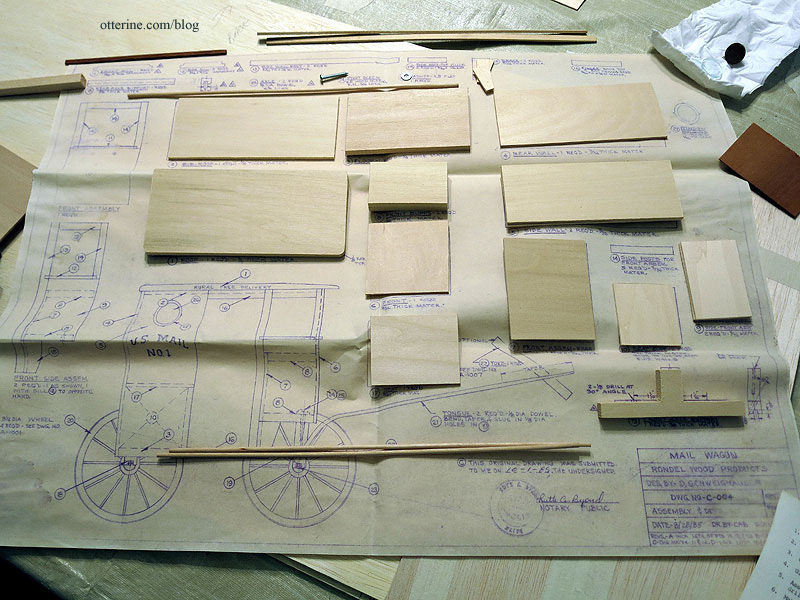
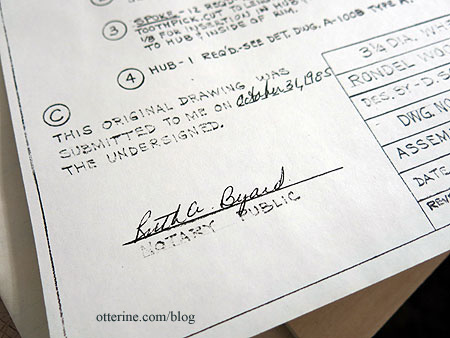
The plans and wheel drawing are even notarized. :D Not with original signatures, but still….
It comes with a jig for making the wagon wheels. Though these are made differently, I’ve made two wagons in the past and have some experience with the fiddly things.
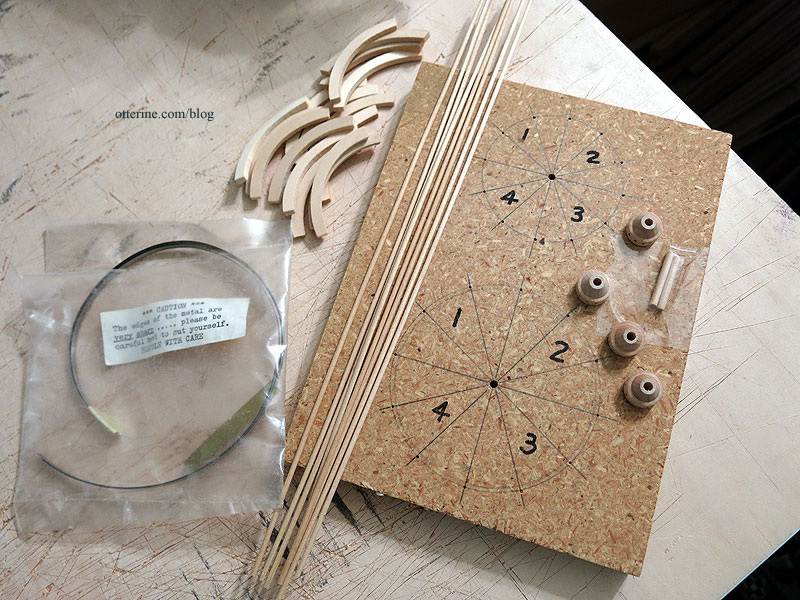
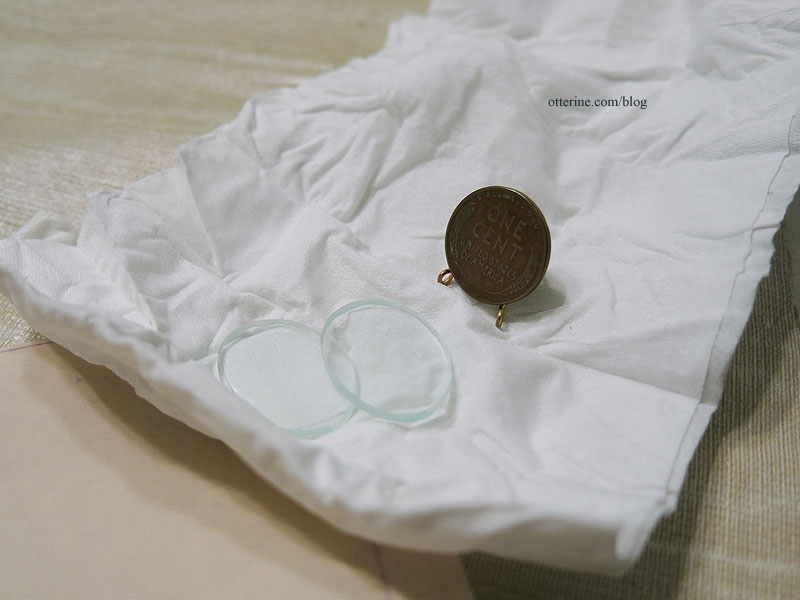
It also includes two tiny oval glass windows. :D
There are no materials for interior detailing included, but I will certainly add that.
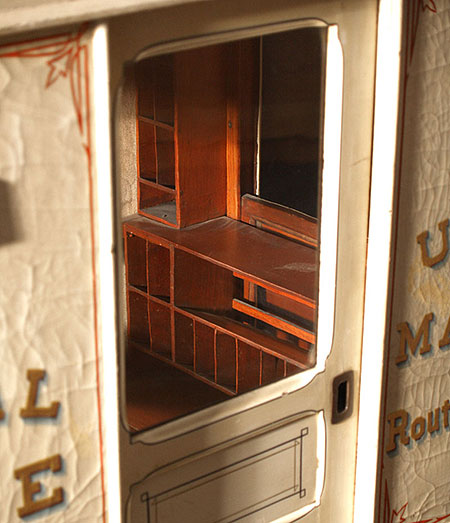
image from The Smithsonian These can be quite beautiful. :D In the kit, you’re to paint the lettering by hand. Riiiiiiiiight. I see Woodland Scenics rub-on letters in my future. :D
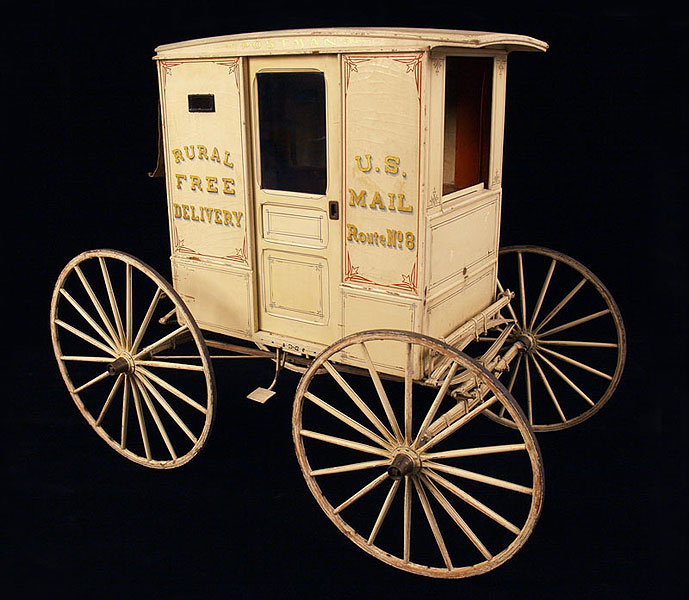
image from The Smithsonian Categories: Model Cars, Vehicles
April 21, 2014 | 0 commentsThe Brownstone – timber grid stonework, part 1
Somewhere in all this work, I realized I had forgotten all about the stonework in the color plan.
Luckily, I am only halfway through…and it’s an easy fix. Before going through the trouble, though, I got out my trusty PhotoShop. Here’s the addition with the stone…
And the front…yep, it’s worth adding.
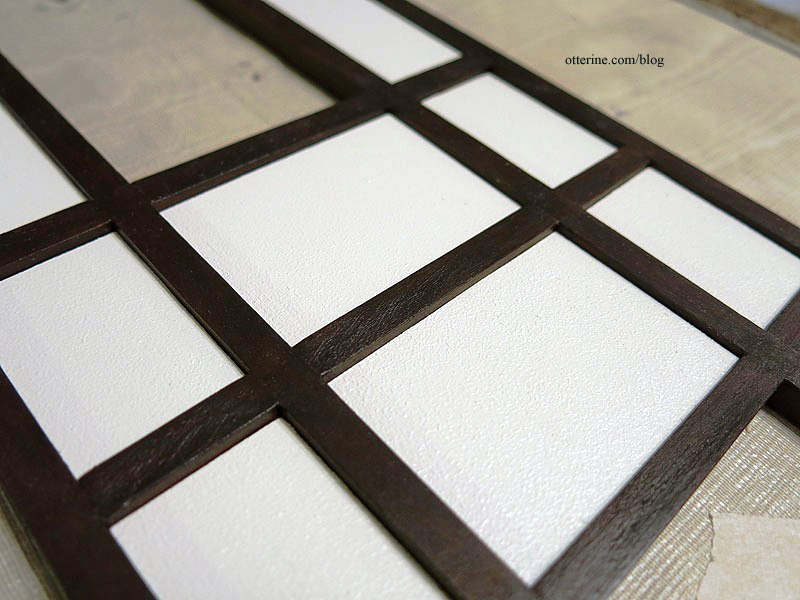
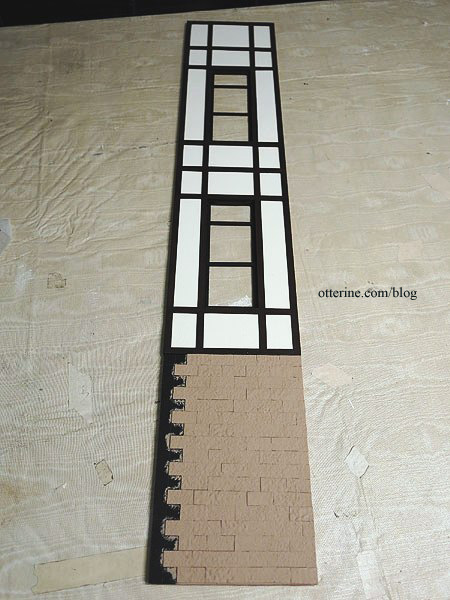
I started with thin cardstock templates, each numbered so I could match them up again later.

Instead of using the 3/4″ x 1″ stones I had been cutting for the base, I determined the layout using the individual templates. I thought it would look off to have partial stones, so I cut three even strips slightly wider than the base stones. I then cut the length to make a pleasing pattern, gluing the stones to the cardboard template.
I’ll paint the inserts with the base coat of Fawn by Americana. Once I create the final two grids for the side walls, I’ll make the stone inserts for those as well. I’ll then paint the final washes and glazes when I do the base stone so it will all coordinate in color.

Categories: The Brownstone
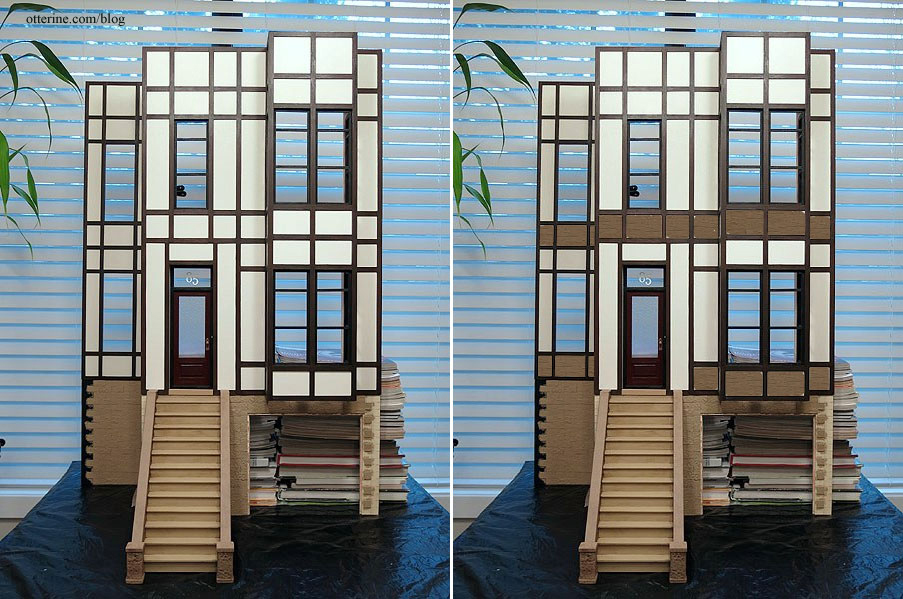
April 21, 2014 | 0 commentsThe Brownstone – a pictorial review
This post will change as the build progresses.
The back story for The Brownstone is that it is the home of a world traveler. I toyed with the idea that this occupant is the grandson of The Haunted Heritage’s grandma, and it stuck. Our world traveler likely won’t have a name, but I’ll have to figure out something to call him. He is a collector of interesting items and lives in an upscale neighborhood.
The Brownstone is a modified version of The Golden Gate view kit from American Craft Products. These kits are no longer in production, but they show up on the market from time to time.
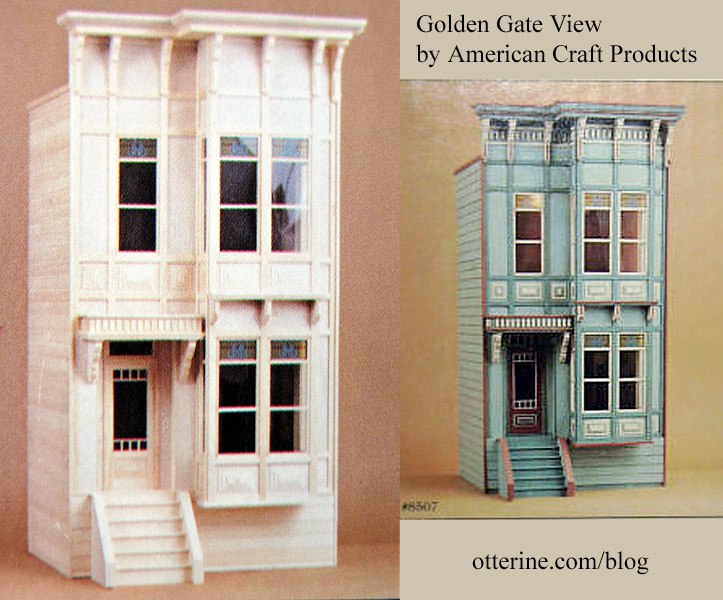
kit photos from the box The first dry fit shows the kit’s original configuration of two rooms with a dead space underneath the first floor.
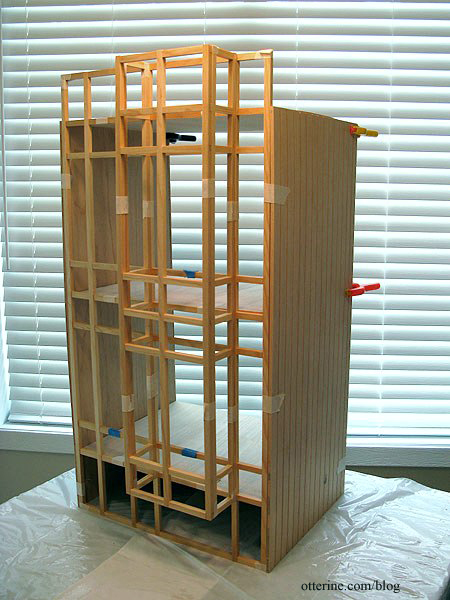
Below is my modified version in the latest dry fit. I added height to the bottom to add a garage.
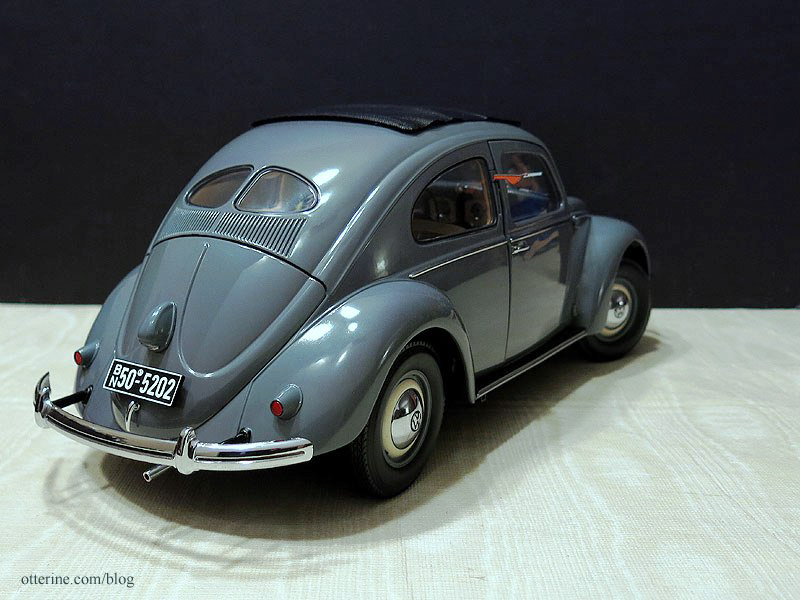
The vintage 1950 Beetle will be housed here.
I also built a side addition to add three more small rooms.
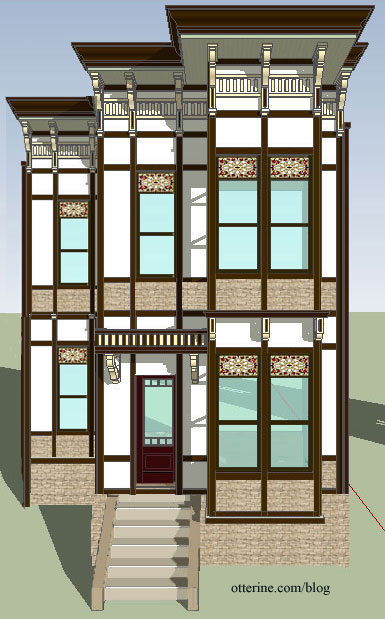
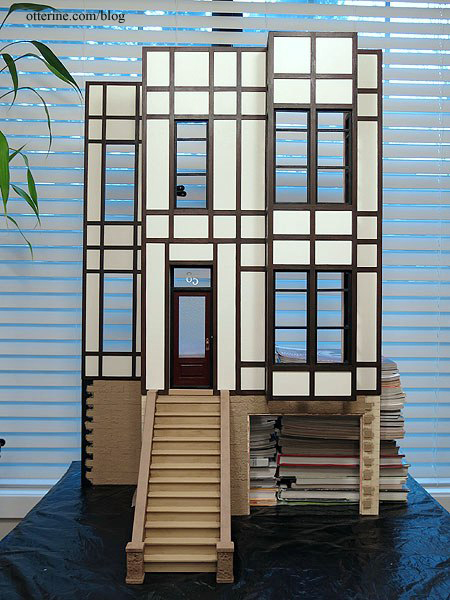
Mike was gracious to lend me his Sketchup drawing so I could try out some colors. I decided on a Tudor inspired exterior (shown here without the height addition and garage).
I love the colors and textures. :D
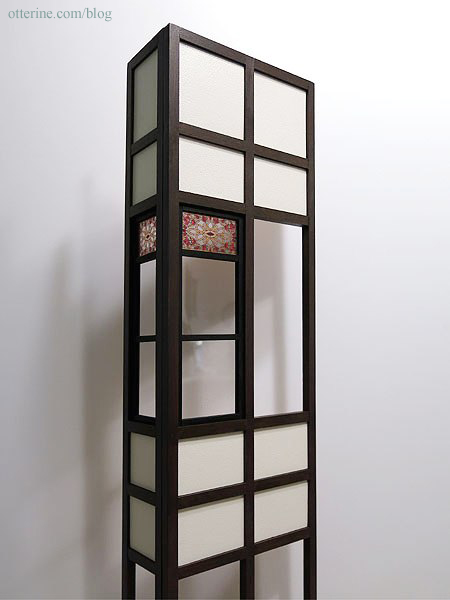
Testing the bay window stained glass inserts.
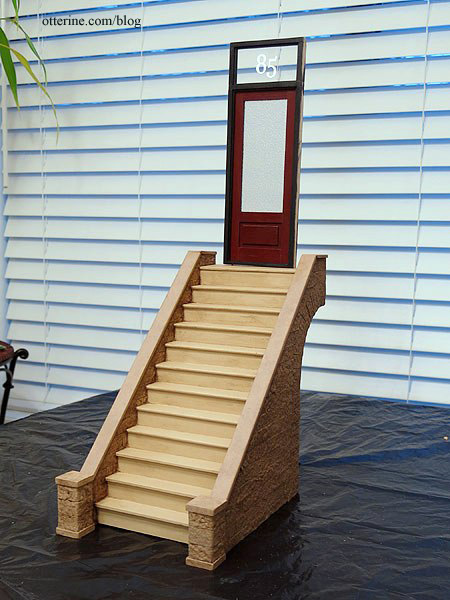
The front steps are scratch built.
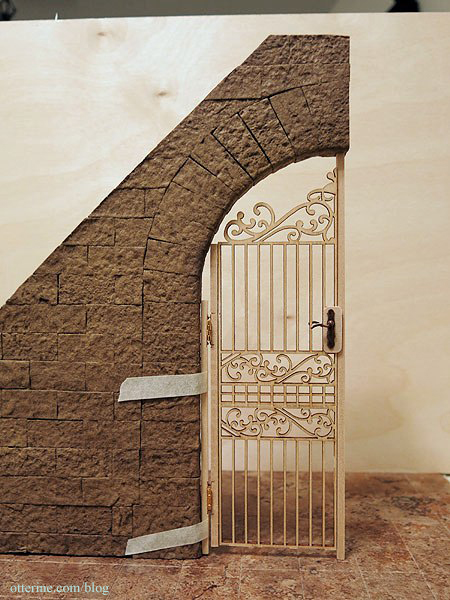
The security gate under the stairs is a work in progress — just needs paint.
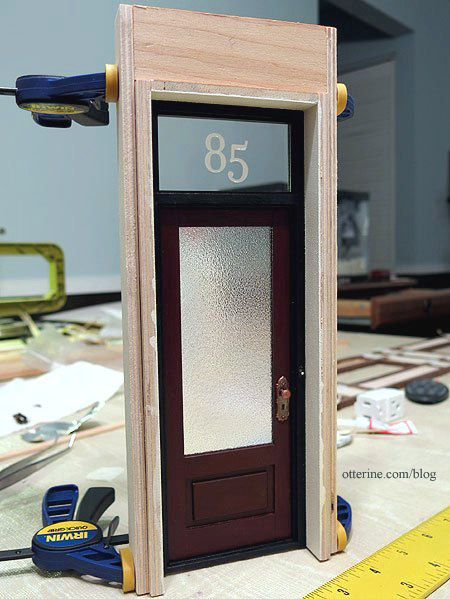
I used the kit door but built the custom frame to get the door to function, adding a transom window in the process. Why 85 as the house number? I was trying to think of some historical figure to serve an inspiration, and Edgar Allen Poe popped into my head. I found this article on one of his residences at 85 West Third Street in Greenwich Village, so 85 it was! :D
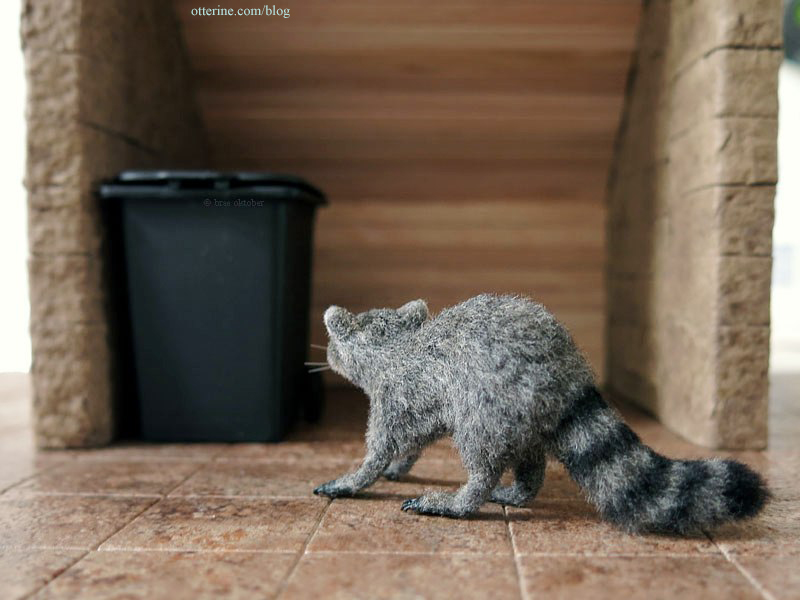
Roland Sneakypants, made by Steve Panner, will skulk about the city block in search of food. :D
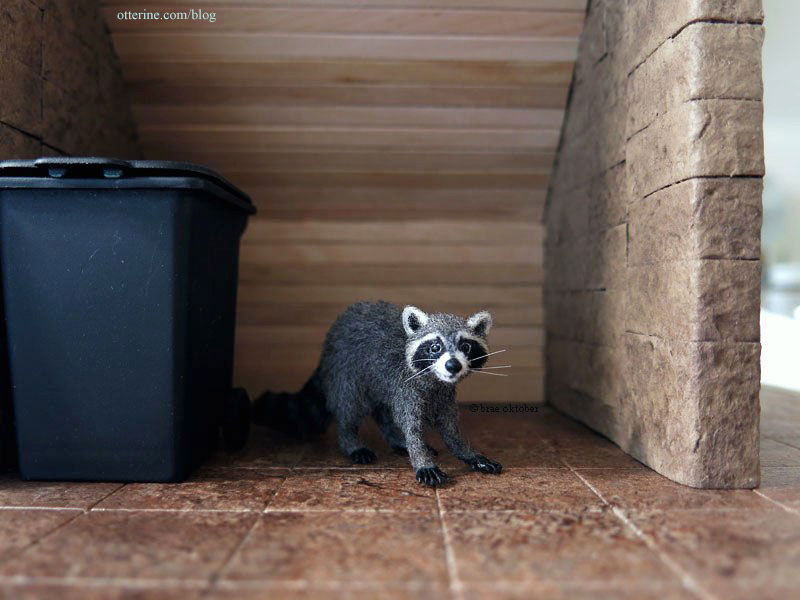
Too cute!
Stay tuned…
Categories: The Brownstone
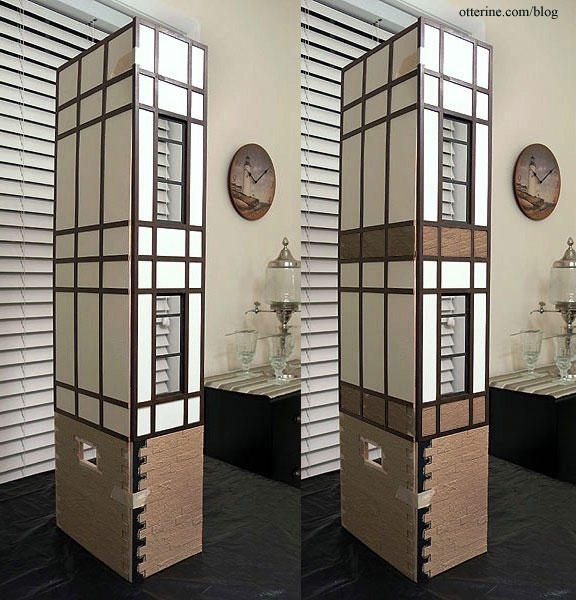
April 19, 2014 | 0 commentsThe Brownstone – side addition progress
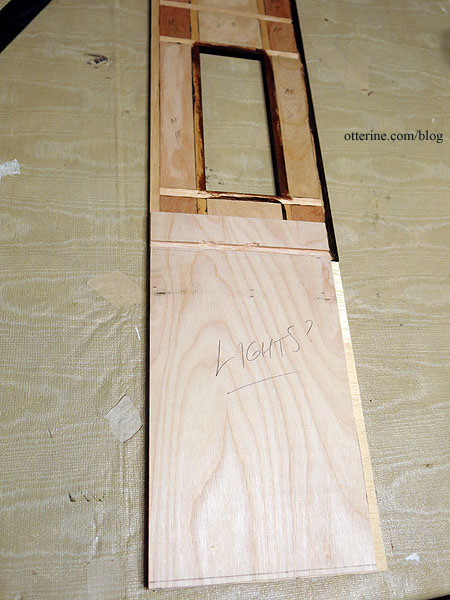
The side addition has a front wall with two large windows made in the same manner as the original kit. As with the front main wall, I had to modify the backer board for the addition to trim the windows. I had originally planned to rout channels for the floor boards, but I don’t have the right setup for making straight channels with my Dremel tools. You can see my initial Dremel attempt here on the left. On the side wall, which is solid without window openings, I cut the floor channel by hand. The note about the lights reminds me not to glue the unit together without first addressing the wire channels. :]

I didn’t think the wall would be stable enough glued end to end, so I needed some of the backer board to remain intact. I will cover this thicker portion with a built-in window seat.
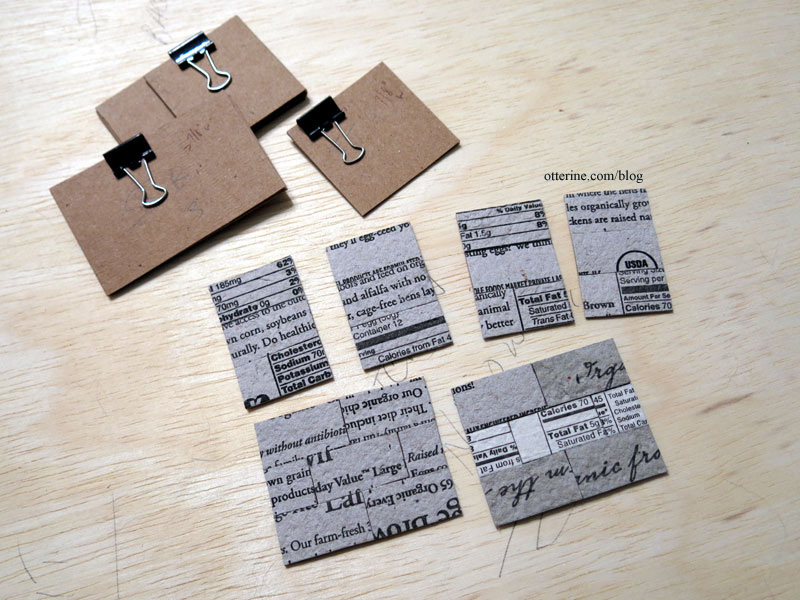
When I textured and painted the filler pieces for the side wall, they curled since they are only 1/16″ thick.
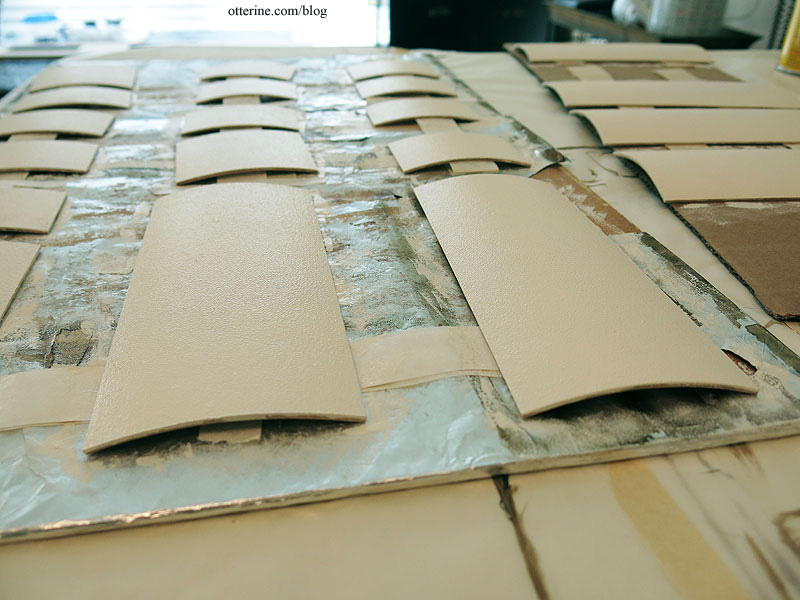
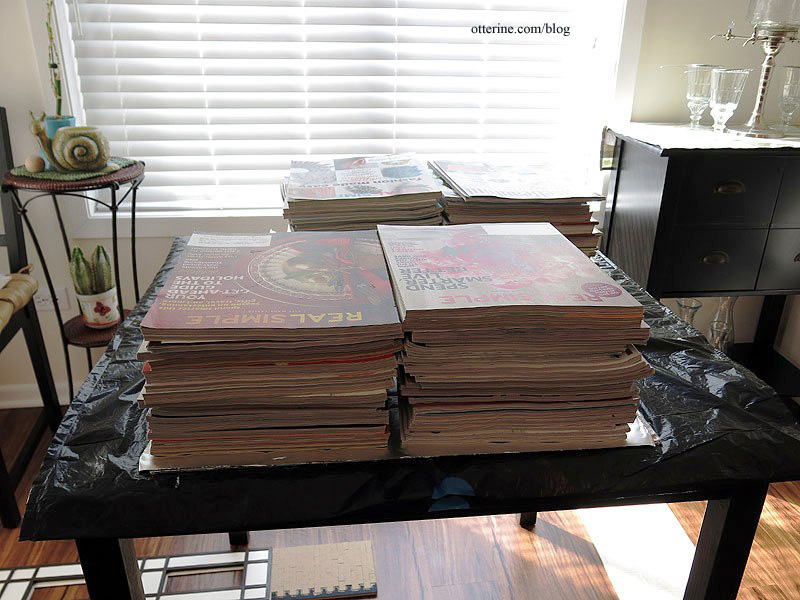
Once the surface was dry, but before the pieces had dried completely, I covered them with a layer of aluminum foil and pressed them flat with magazines. Problem solved. :]
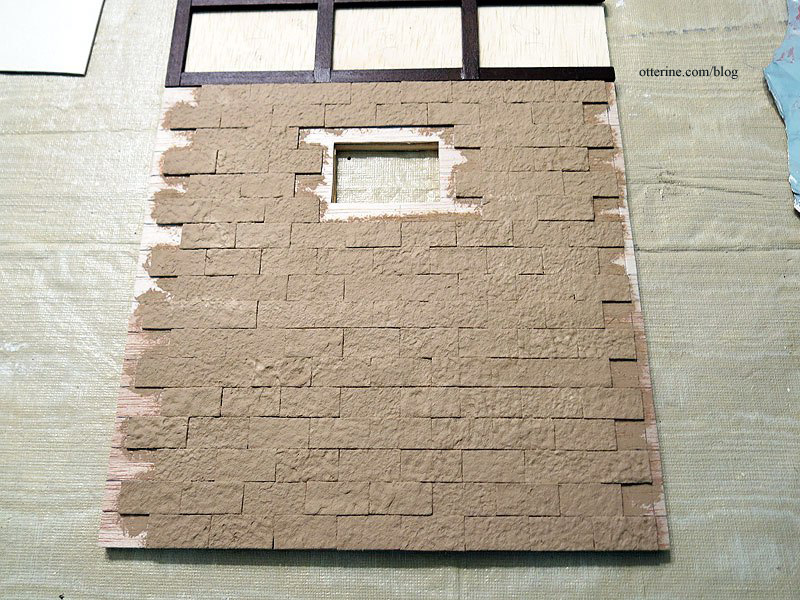
I added the stone to the side wall. I will install the basement window “backward” meaning the front of the window will be inside. I did this for a couple of reasons. First, the depth of the wall is thicker than needed for the window, so I would have to add trim to get it to fit properly. Second, the stain wouldn’t match the exterior paint colors. And, third, a window such as this would be set into the stonework. I didn’t treat the lower front door and garage door in the same manner since it would have been more work than it was worth in the end.
For the thicker grids and fillers, I glued the pieces together and then added the backer board. For the thinner pieces here, it was easier to glue the grid to the backer board and then adjust the fit of the filler pieces afterward. I glued the filler pieces in place with wood glue supplemented with drops of super glue gel to keep them flat.
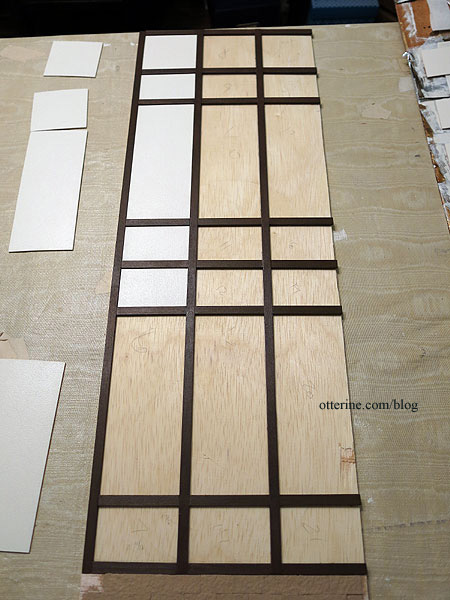
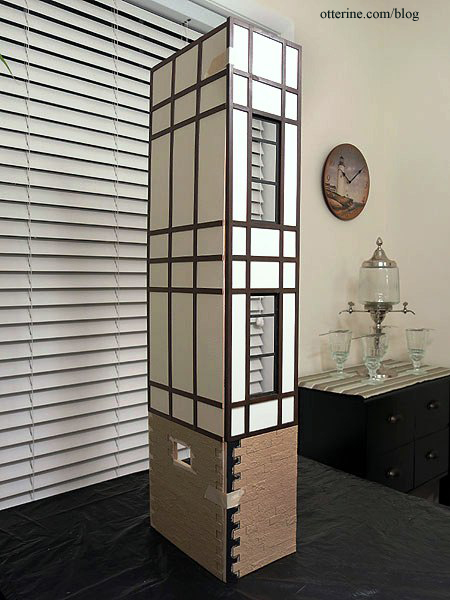
I added the black window frames to the addition front wall. These had to be cut from lengths of wood I purchased since there was only so much wood trim included in the original kit. I glued the bottom stone portion to the top grid assembly.
Next up, window trim and interior padding for the addition front wall, but here’s the addition in dry fit. :D
Categories: The Brownstone
April 18, 2014 | 0 comments


NOTE: All content on otterine.com is copyrighted and may not be reproduced in part or in whole. It takes a lot of time and effort to write and photograph for my blog. Please ask permission before reproducing any of my content. Please click for copyright notice and Pinterest use.


