
Milo Valley Farm – cars and scale
Whenever a contest build comes up, I often end up with two good ideas that are completely different and I have to choose one direction or another. Such is the case with the HBS Creatin’ Contest this year. I bought the kit for Denise’s City Cottage and have been working behind the scenes on my contest entry following one of my two ideas.
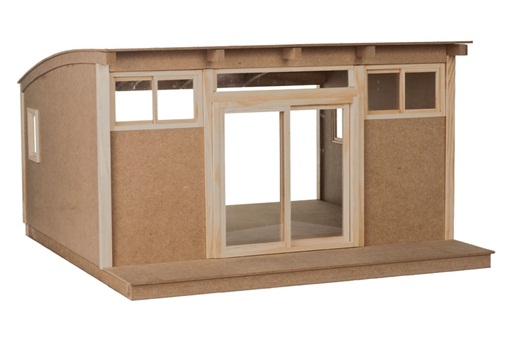
But, the other idea will now see the light of day thanks to HBS! They’ve kindly offered to send me a kit so I can blog publicly about my build. Now, this public build using the free kit won’t be entered into the contest to keep it fair to those who have purchased the kit to enter. But, my secret build will still be entered since it has already been started from the kit I purchased at the beginning of the year.
So, what’s the idea? A barn find! Here are two great examples of the look I’m going for: a 1961 Jaguar E-type and a 1952 Barn Find Cunningham C-3 Coupe #5209. Barn finds can be quite sad looking at first sight but turn into cash cows and museum gems.
I’ve named this build Milo Valley Farm after my current hamster friend.

I found a great deal on a 1:16 scale Karmann Ghia, but it was in the UK. Pepper was kind enough to help me out, and the kit arrived in quick fashion.
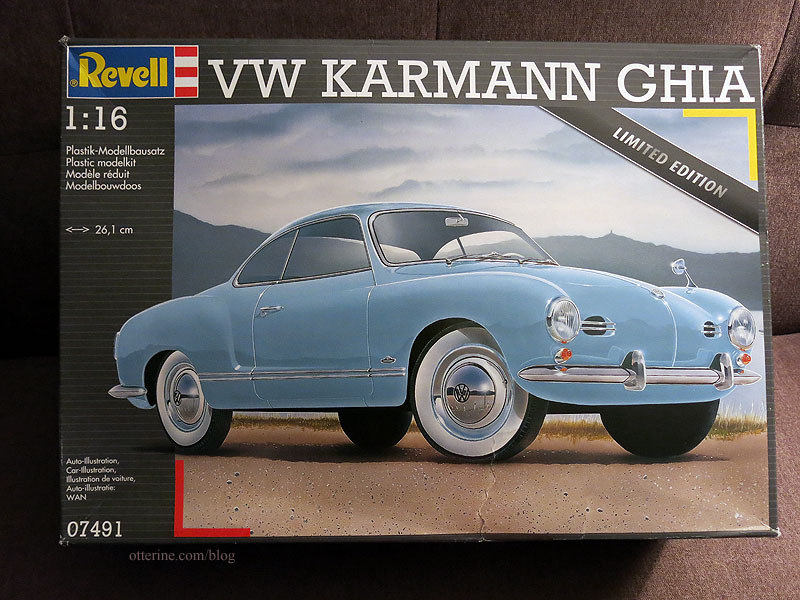
As big as the box is, the car itself is just a bit too small for the building. It leaves too much space to fill. I don’t want the barn to look like a flea market…the car should take center stage for the interior.

In truth, a 1:12 scale car works best inside a 1:12 scale garage. Makes sense, no? To that end, I chose a Datsun 240ZG. This is a 1:12 scale kit by Tamiya, and they can be pricey. I wouldn’t say the kit was cheap, but VRC Hobbies had a non-scalping price for it.

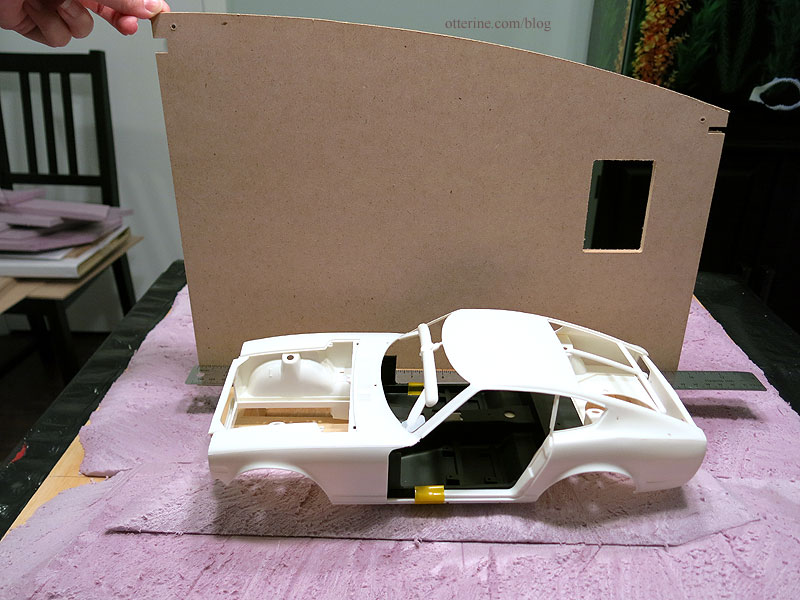
The 1:12 Datsun will be roughly 14.25″ long according to the info I’ve been able to find online. The interior depth of the kit is roughly 15.25″, which is not a lot of wiggle room. It looks fine here because the front end isn’t attached to the model yet.
The 1:16 Karmann Ghia is better for depth with the side wall, though not necessarily for height.
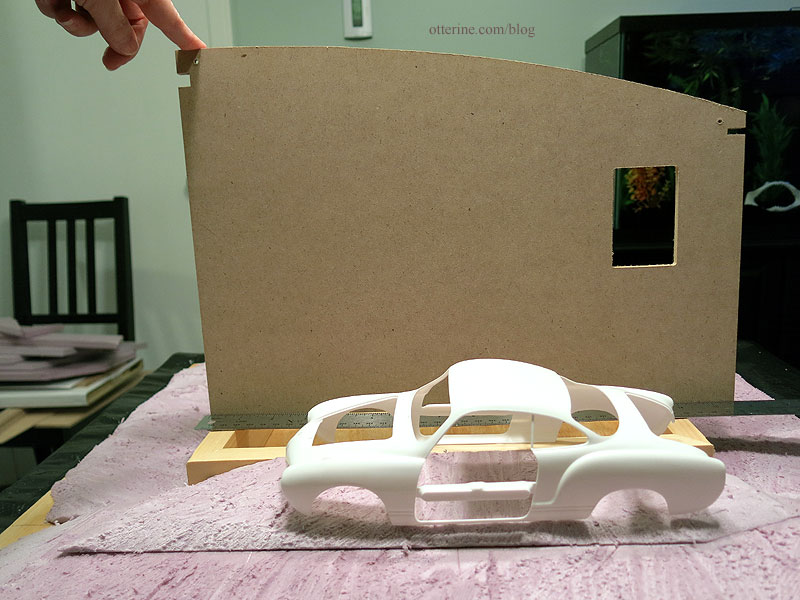
Once you add 1:12 scale items next to it, it fails the test completely. I don’t want to make everything else in 1:16 scale when I can just add a little depth to the kit.
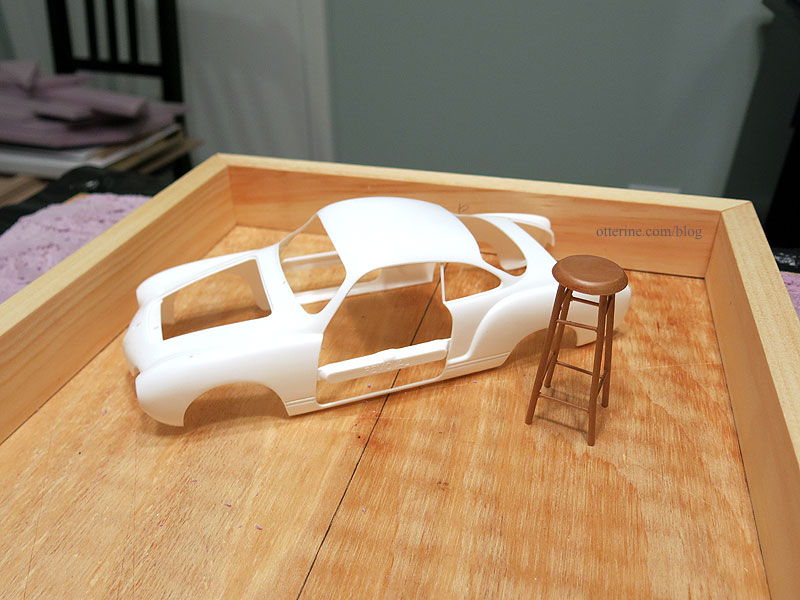
Better.
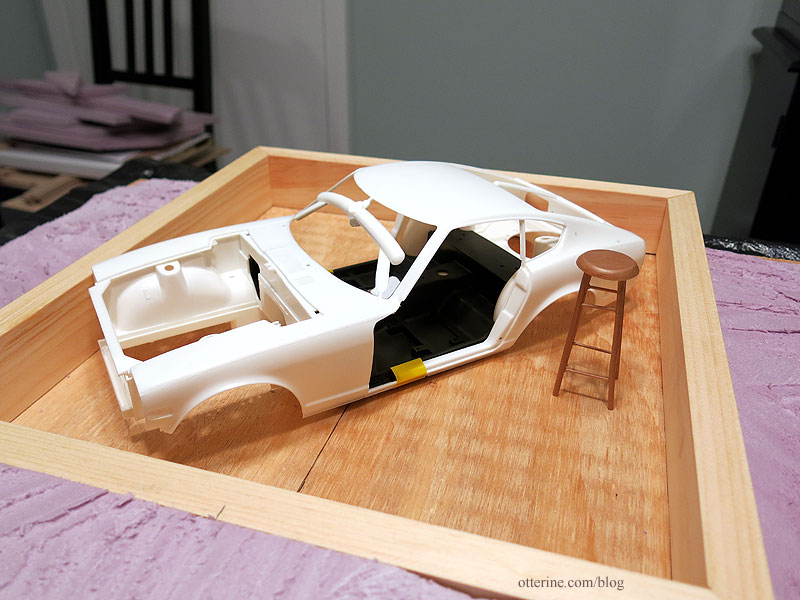
Looks like the 1:14 scale Audi TT would be a great happy medium, but it’s not a kit, too new to be a barn find and not something I want to wreck besides. As far as I know, there are no 1:14 scale model kits.
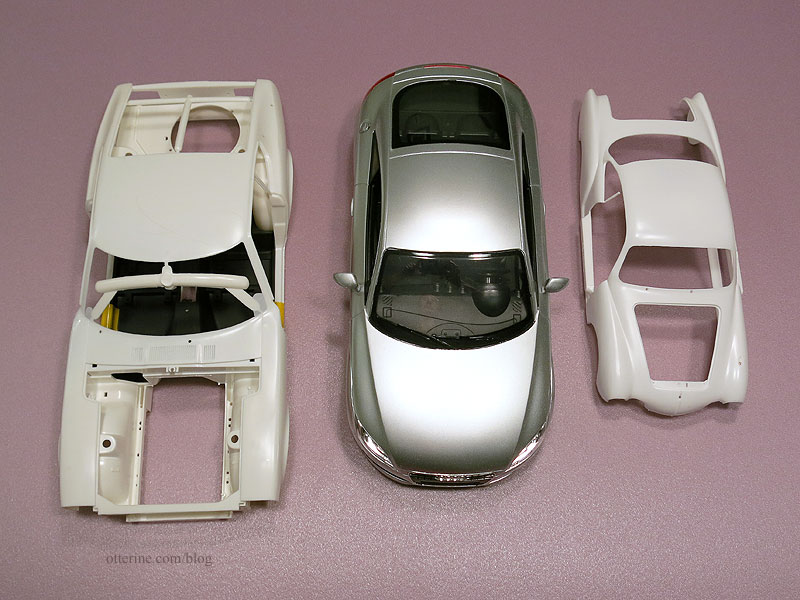
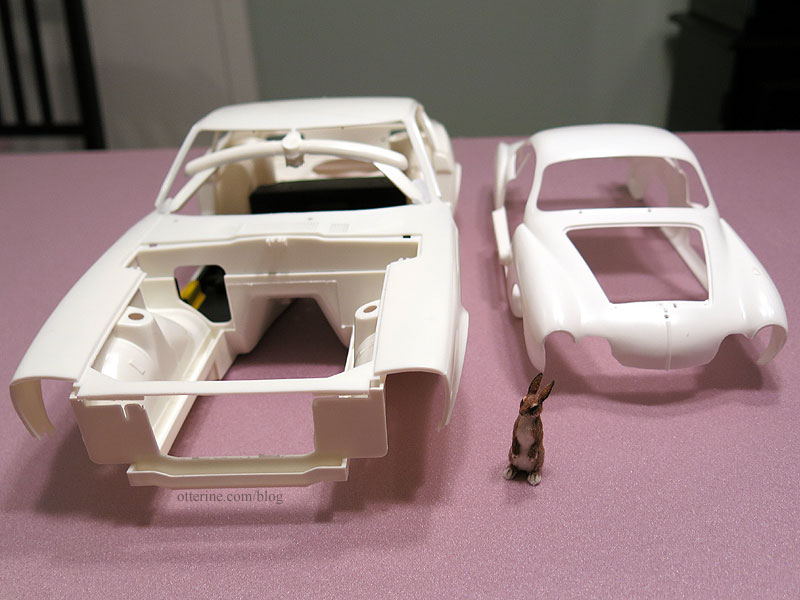
So, the Datsun wins! :D Friedrich approves.
I also picked up a 1:12 scale Tamiya kit with various tools on eBay.
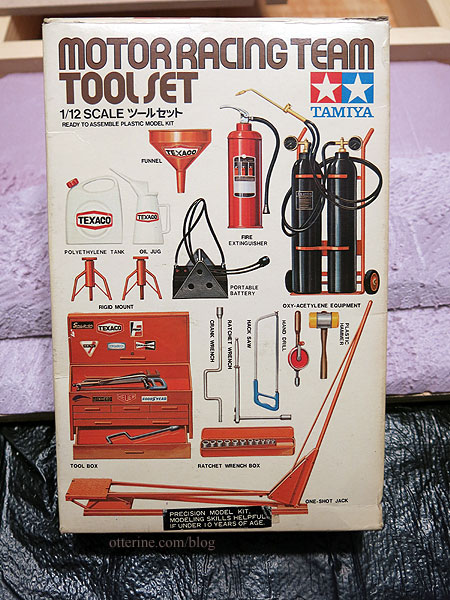
Is it wrong that I got all giggly about having an oxy-acetylene torch in miniature? :D

Categories: Milo Valley Farm, Model Cars, Vehicles
March 11, 2015 | 0 commentsMaking a custom door, part 2
Continuing work on the custom door. I glued the middle layer to the back layer. I changed my mind about the larger opening, concerned that the front or back might bow between the window openings. To help, I glued some scrap pieces of the veneer between the circles. There will then be three small squares of acrylic, still easier than cutting circular glass inserts to fit. :]
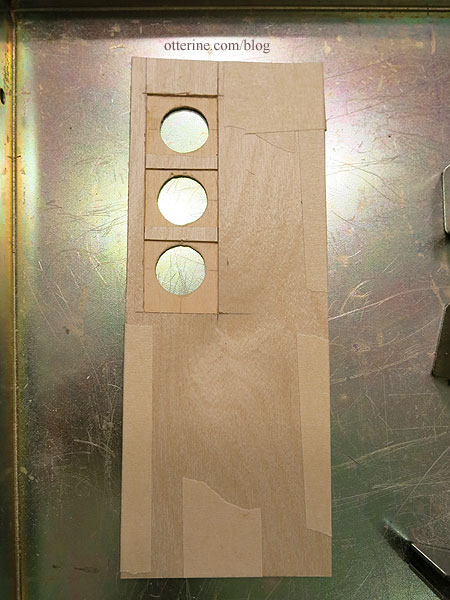
Since the front and back pieces are different types of wood, they have different textures. I spread spackling over the front to even out the grain. I also lined the interior of the circles and filled in any nicks in the wood on both sides from the cutting process.
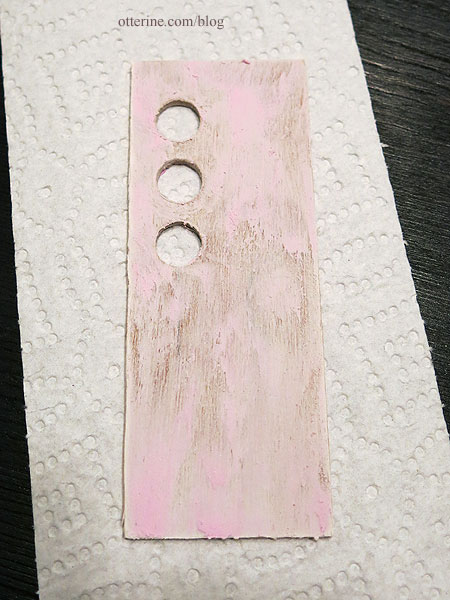
Once dry, I sanded the pieces smooth.
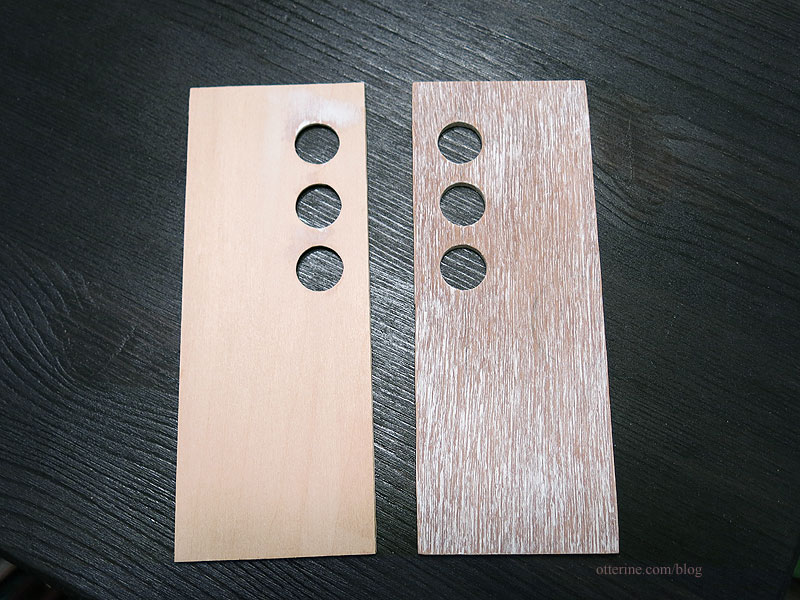
I’ll need to paint it before further assembly, so I’m going to leave this here for now. I need to choose my colors. :]
Categories: Otter Cove
March 3, 2015 | 0 commentsMaking a custom door, part 1
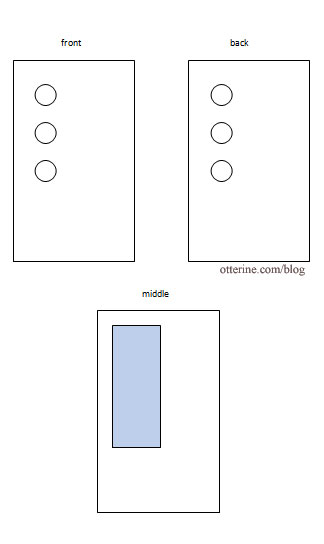
I want a custom door for the Creatin’ Contest build, so today I tackled cutting the basic pieces. The door will have three circular windows, so I opted for a layer cake building method — a front piece with the three holes, a thinner middle piece with a section cut out for the acrylic insert, and a back piece with the three holes.
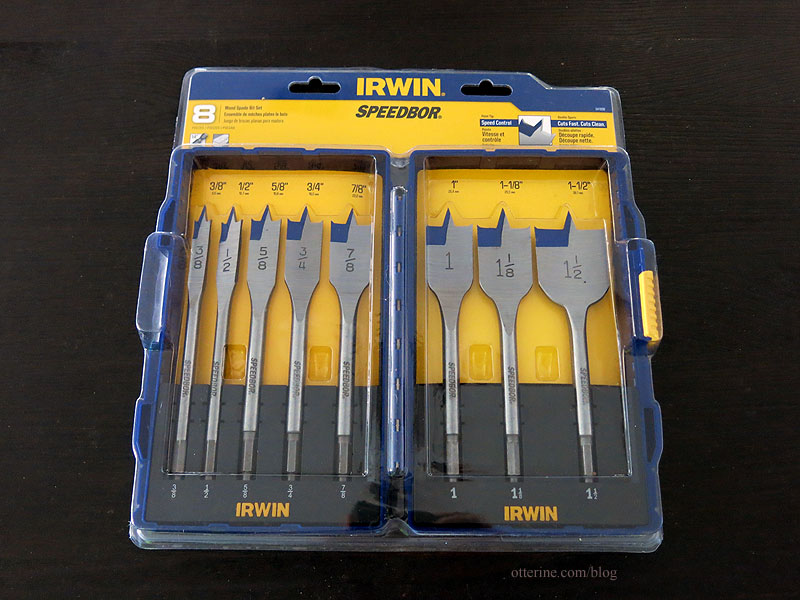
Since the windows will measure 5/8″ in diameter, I needed a tool other than the circle cutting guides for the Dremels. I bought a set of spade bits at the local Ace Hardware.
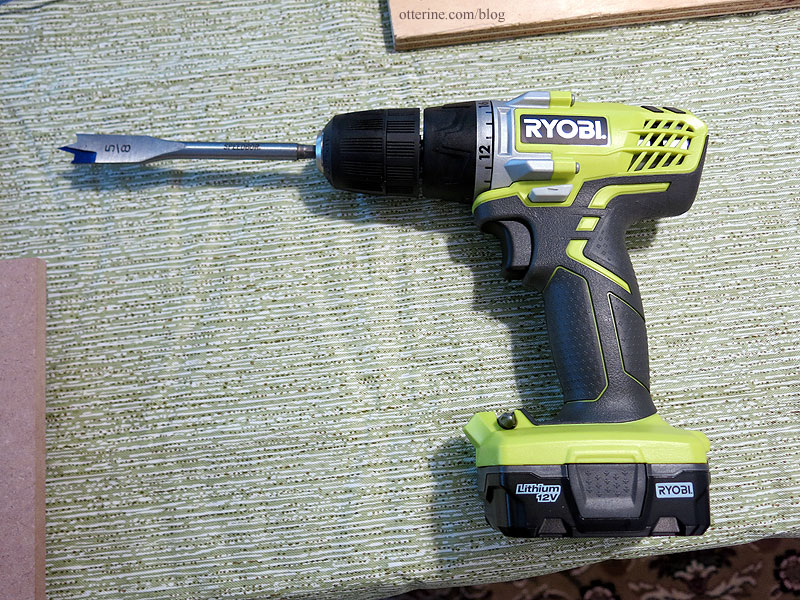
These fit into a standard drill.
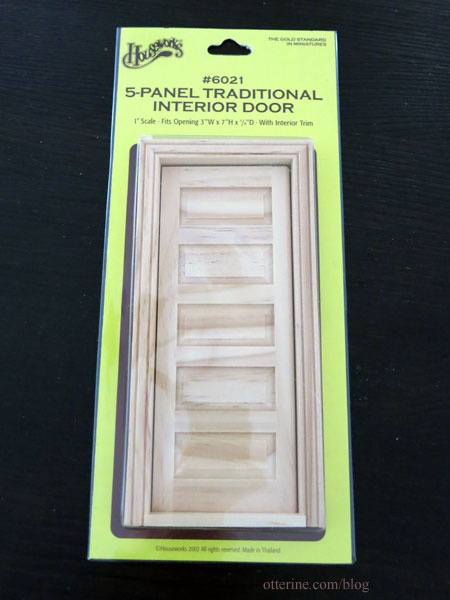
I didn’t feel like building a door frame, so I started with a Houseworks door. The insert here won’t go to waste since I’d like to make another working pocket door at some point.
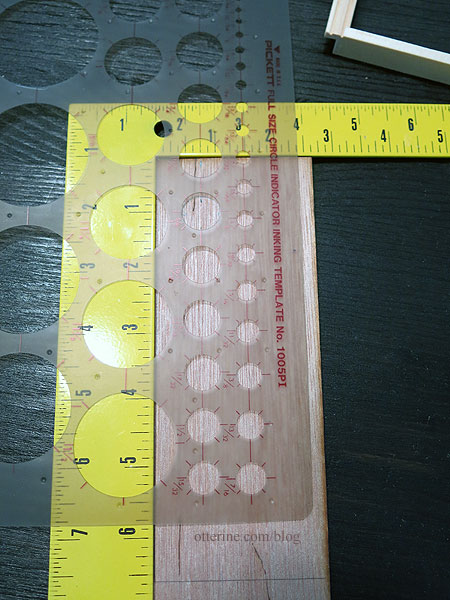
Using a circle template, I drew my layout on the top board. This was made from a spare piece of 1/8″ Greenleaf kit plywood.
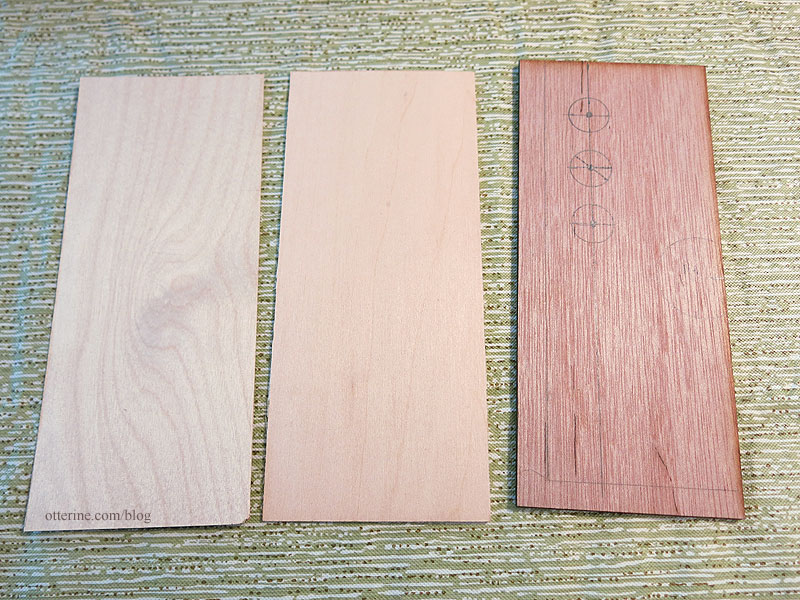
The back piece was made from 1/16″ basswood and the middle piece from 1/32″ birch veneer. Shown below from left to right: middle, back and front.
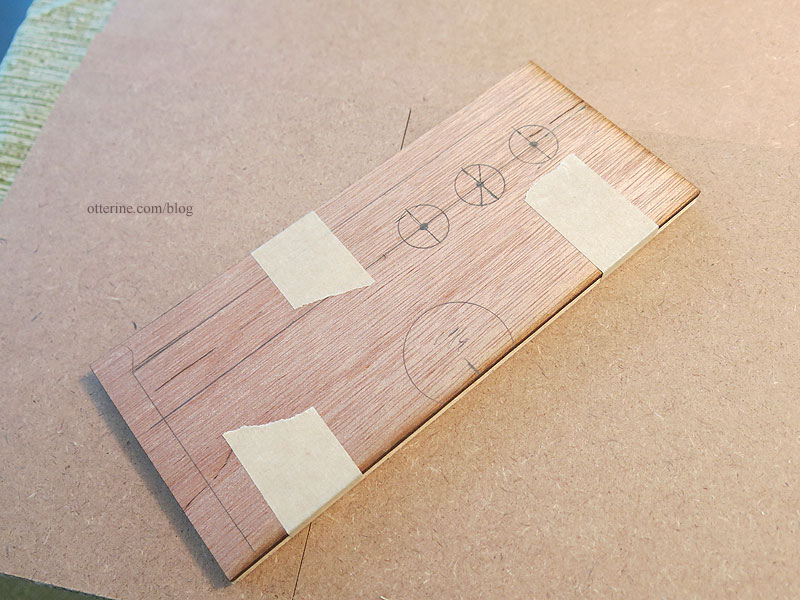
I taped the pieces together to cut all three at once.
The spade bits are great because they have a sharp center tip that makes it easy to line up more than one circle cut.
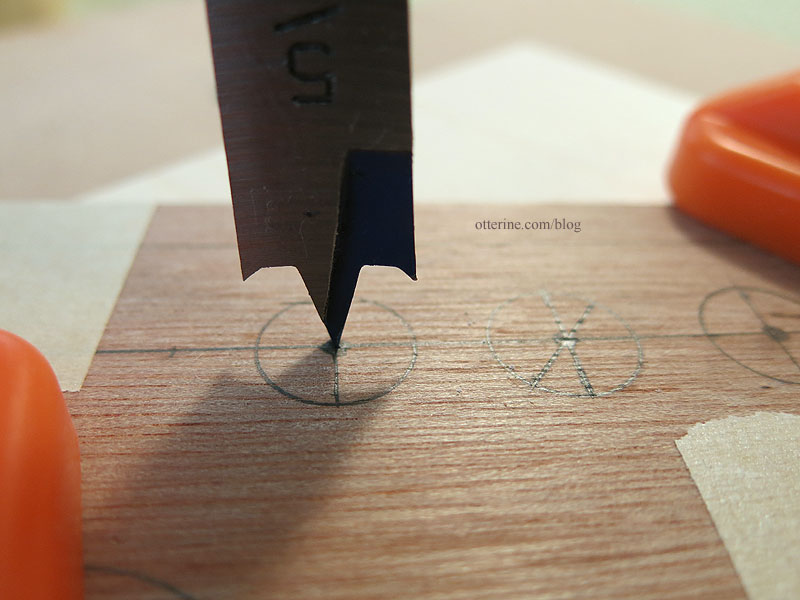
The pointed spurs on the edges cut the circular edge as the middle point drills down.
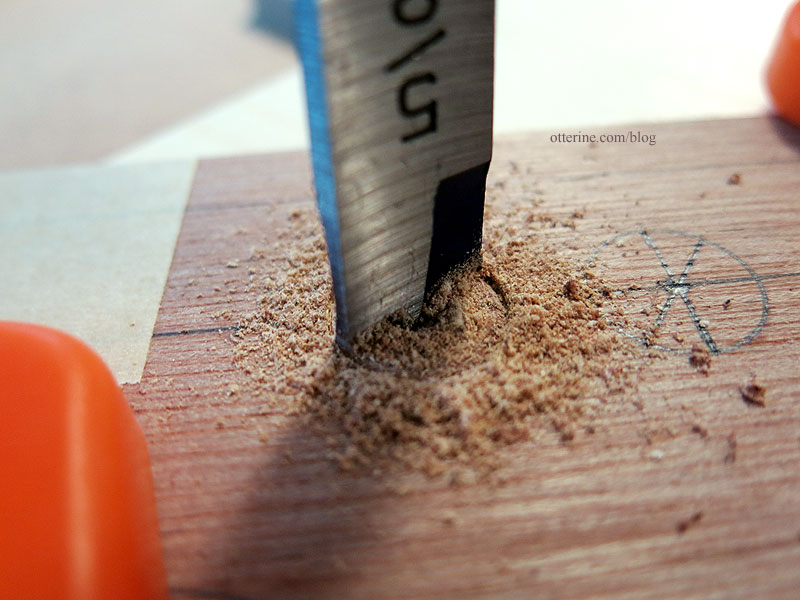
I vacuumed the dust and bits and it looked good from the top.
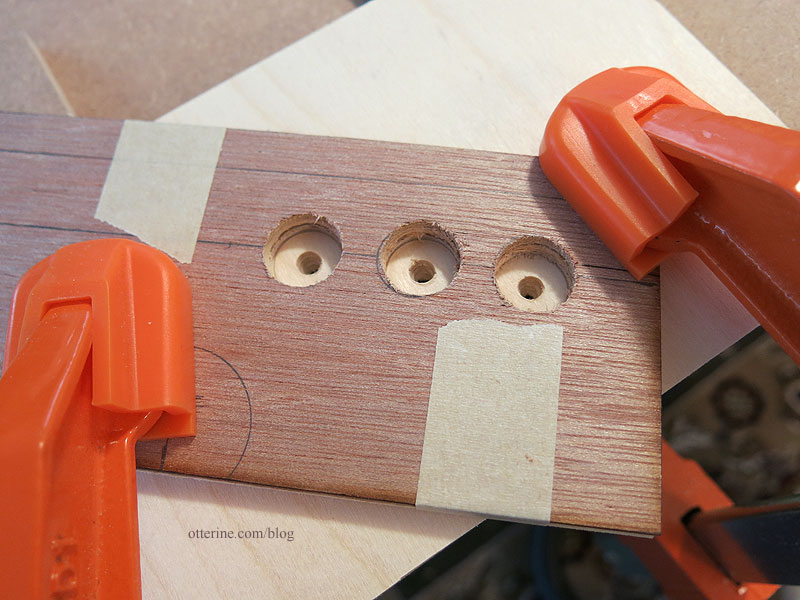
While I did use a spare board under the bottom piece to save the wood from splintering, it was the middle basswood piece that didn’t end up working. :\ It was the softest wood of the three.
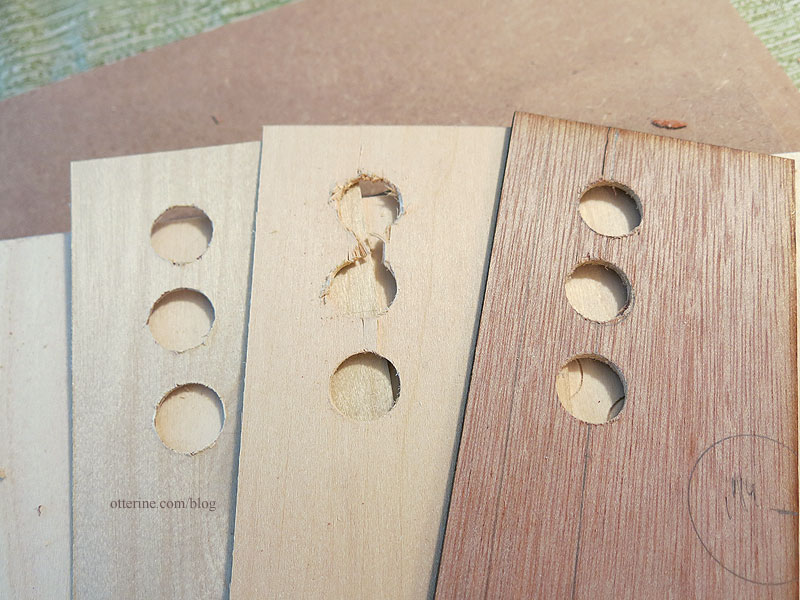
I also messed up the plywood piece and had to redo it, but that wasn’t related to using the spade bits. I cut another front piece from a spare part from Walnut Bay Light. :D
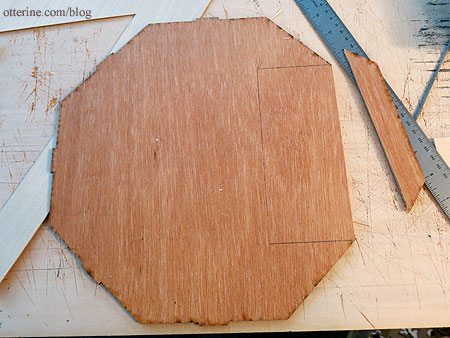
I cut another piece of basswood and cut it on its own, which worked a little better. I then used the Houseworks door to mark the outer edges of the door. I waited to do this until after the holes were cut just in case the circles didn’t work, just to save time, and I’m glad I did.
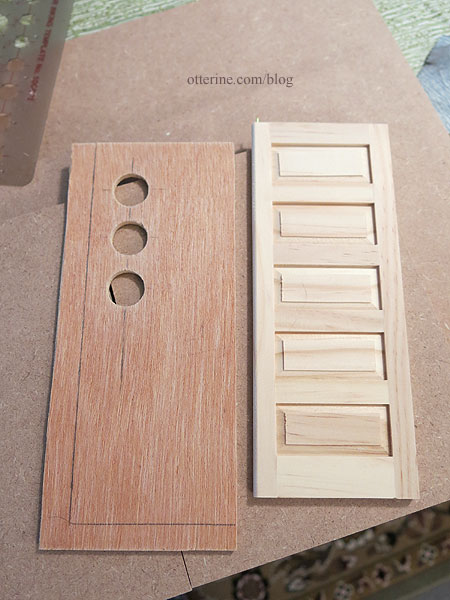
I then cut around the circles in the middle layer so I have to use only one piece of acrylic for the window inserts.
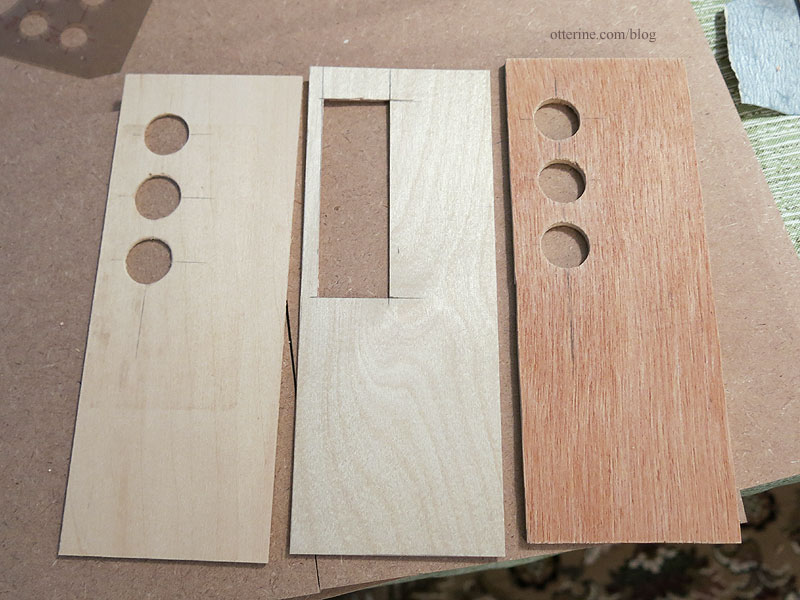
As expected, all three pieces will need some cleaning up during construction, but I’m on the right track now. :D
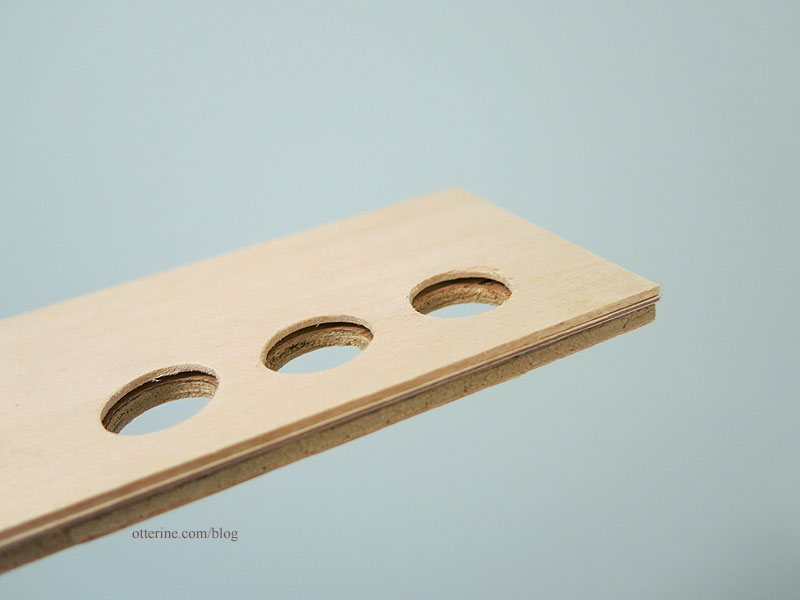
So far, so good. :]
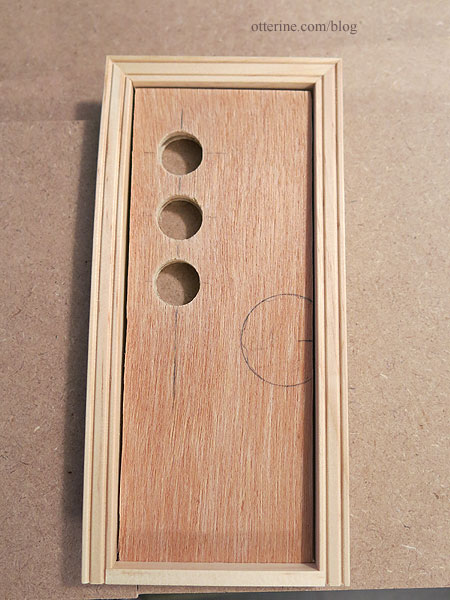
Categories: Otter Cove
March 1, 2015 | 0 commentsGriffin box
I’ve been busy with other things, but tonight I had a little time and the itch to make a mini. I went into my box of small kits and took out the griffin box from Lisa’s Little Things bought at one of the local shows.

The pieces are already separated and ready for assembly.

I assembled the lower box and then brushed on Liquitex silver paint. The instructions recommend a sponge brush and lightly sweeping across the raised areas. I was so-so at it. I got a little silver on the inner portions.

I added a red paint wash to the recessed areas to bump up the richness of color. After the painting, I glued the top in place.

It’s a great kit and super easy to put together. The results look very rich.

Categories: Miniatures
February 24, 2015 | 0 commentsDremel circle cutter and edge guides
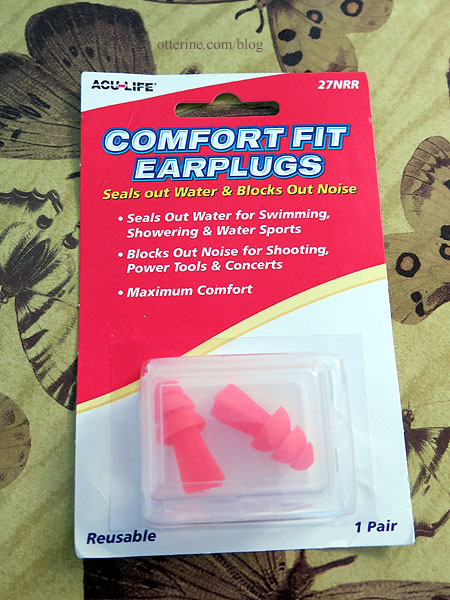
Today was power tool day. I mentioned how loud the cutting part was when I cut some plywood circles, so I bought a pair of quality ear plugs.
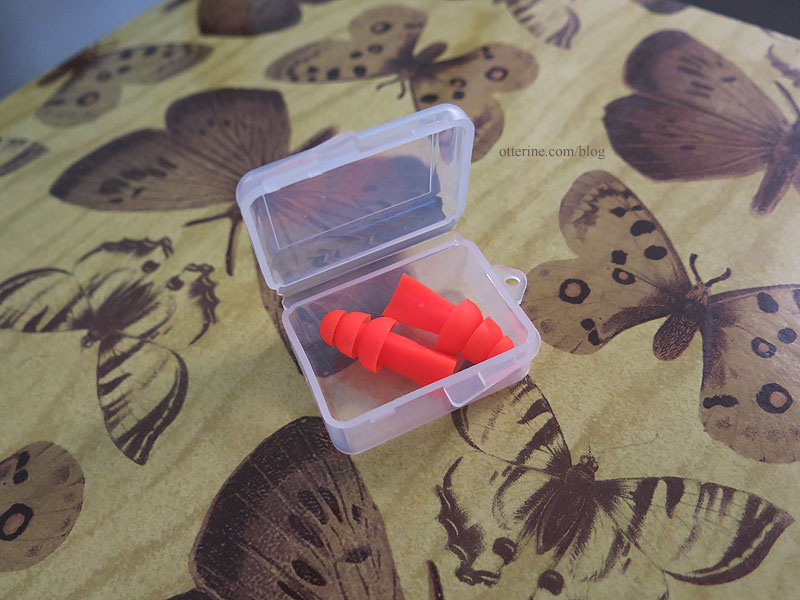
They come in a little plastic case for safe keeping. I can highly recommend these — there was zero discomfort in cutting today. Mushroom trees!
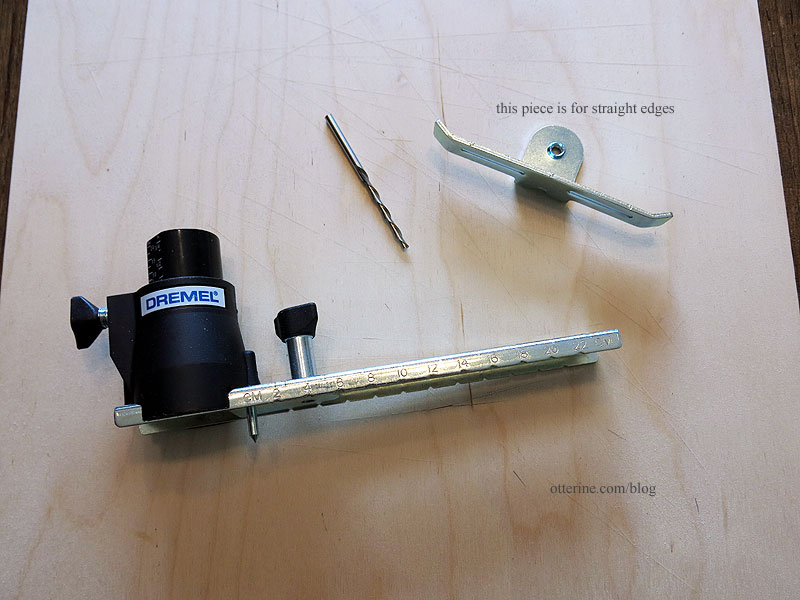
Here is the Dremel 678-01 Circle Cutter and Straight Edge Guide, which makes circles from 3/4″ to 12″ in diameter (as an Amazon Associate, I earn from qualifying purchases).
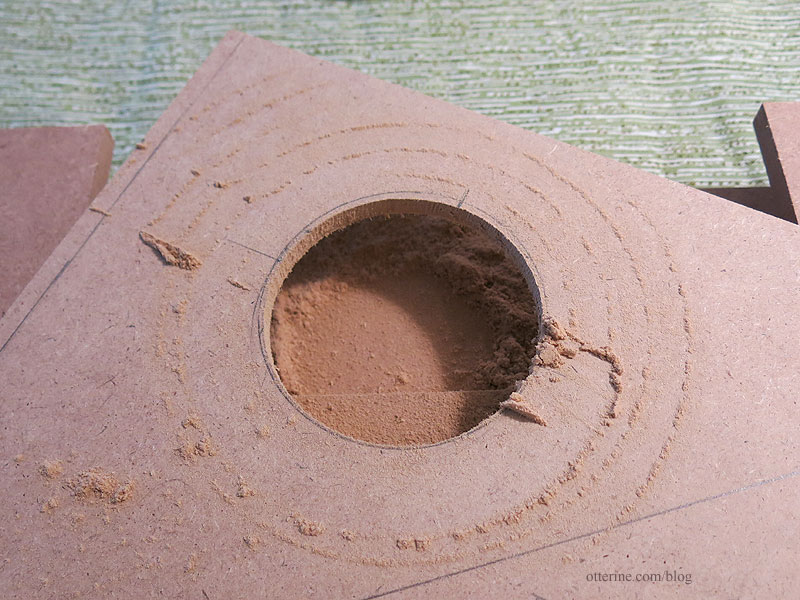
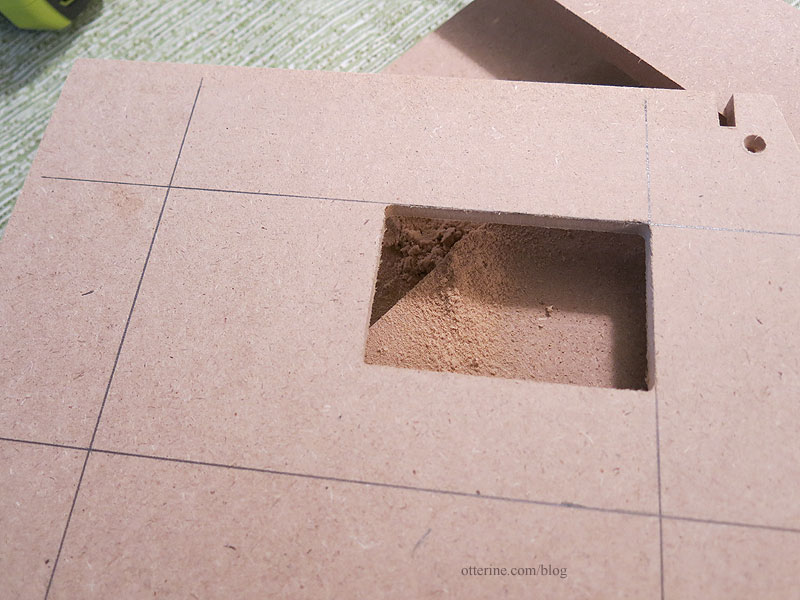
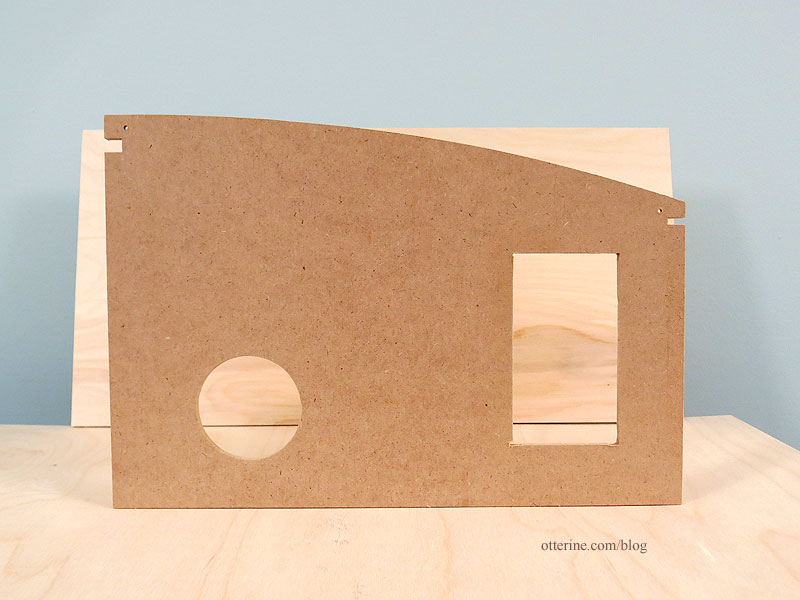
I used this to make a circular hole in one of the side walls of the Creatin’ Contest kit (Otter Cove).
I wanted to make the existing window opening larger, so I thought that would give me the opportunity to try out the edge guide.
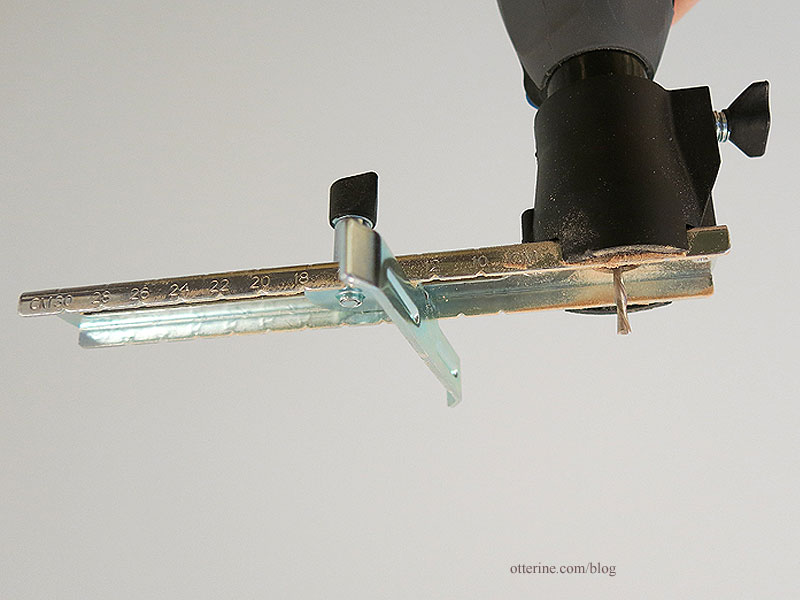
Here is the edge guide attached to the Dremel.
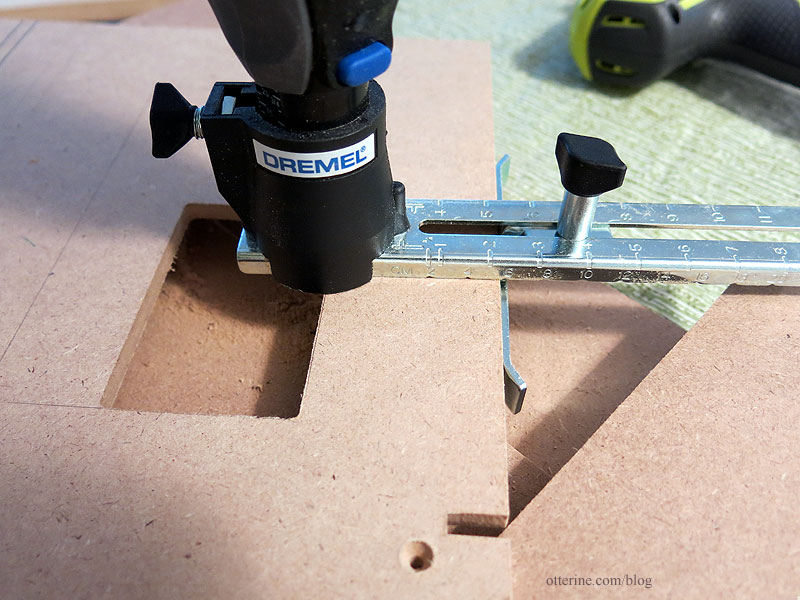
I set up the guide to follow the straight edge, using the existing window opening as a guide.
I cut to the end and then turned the tool to follow the next edge.
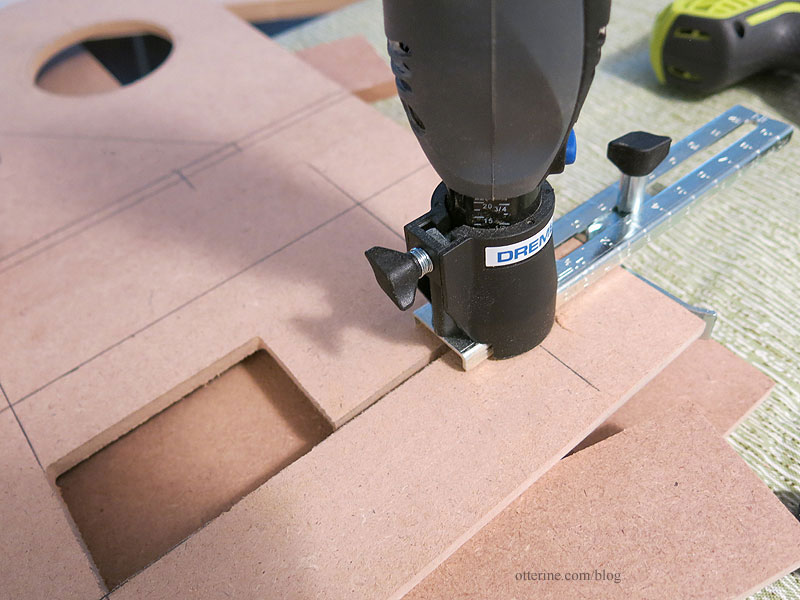
The remaining two cuts were too far in for this particular edge guide to work, so I moved over to the Dremel TR800 Circle Cutter and Edge Guide which allows for cuts farther away from the edge. The clamps I used to hold my boards in place are Jorgensen 6″ bar clamps, and they are heavy beasts. :D (As an Amazon Associate, I earn from qualifying purchases.)
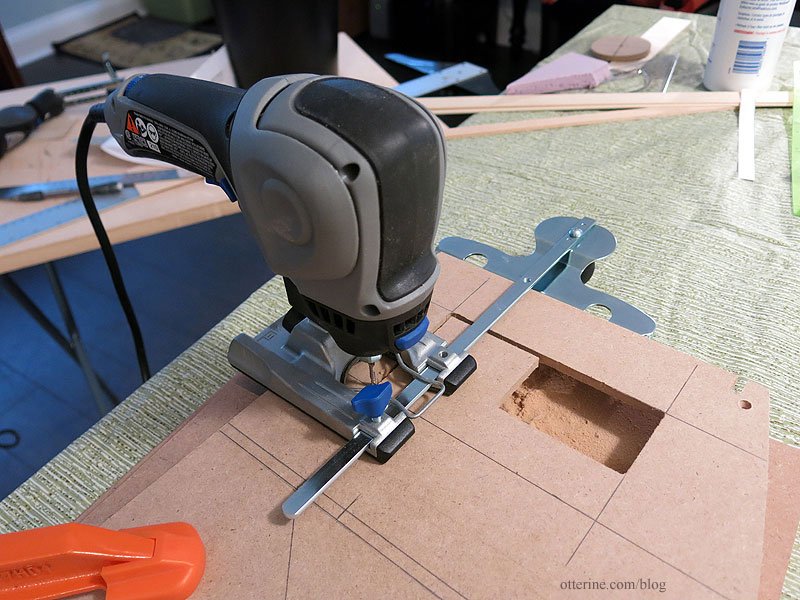
I personally think the Trio edge cutter is easier to work with since the cutting area is open and you can easily see where you’re going, but both did what they were meant to do.
It’s not a perfect end cut, but considering it was my first time using the attachments I think it worked well. There will be final finishes anyway, so the rough openings are all I needed. With practice, it will go more smoothly as it did with the circle cutting.
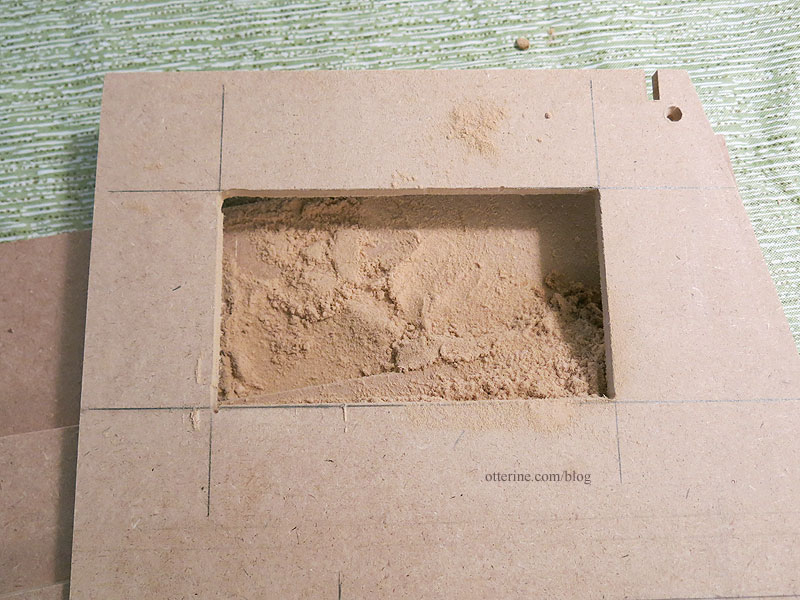
That’s looking good! :D
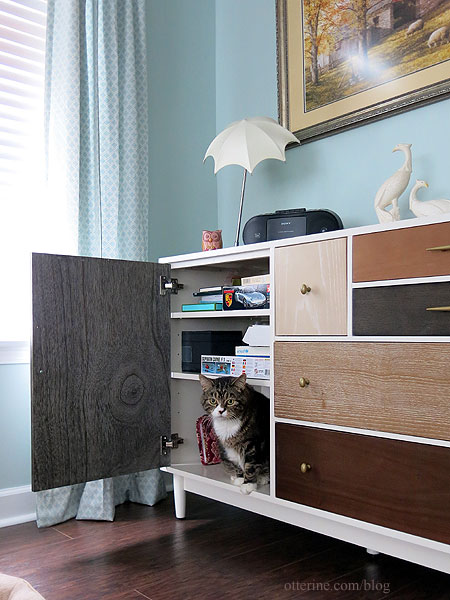
I’ve mentioned previously that Jasper stays out of places that are occupied. This is what happens when you empty a cabinet space and forget to close the door.
Categories: Tools
February 21, 2015 | 0 comments
NOTE: All content on otterine.com is copyrighted and may not be reproduced in part or in whole. It takes a lot of time and effort to write and photograph for my blog. Please ask permission before reproducing any of my content. Please click for copyright notice and Pinterest use.


