

Making siding from basswood sheets
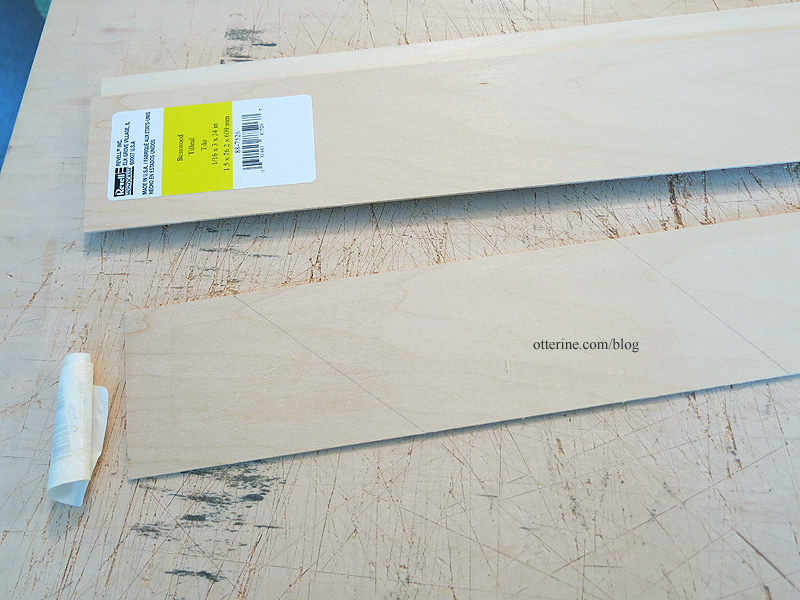
For this build, I decided to make my own siding from basswood sheets. You can buy pre-cut basswood strips, but it is cheaper to buy the sheets and cut your own. No, it won’t be as uniform as buying the factory cut strips, but the kind of siding I am after makes that okay. :D
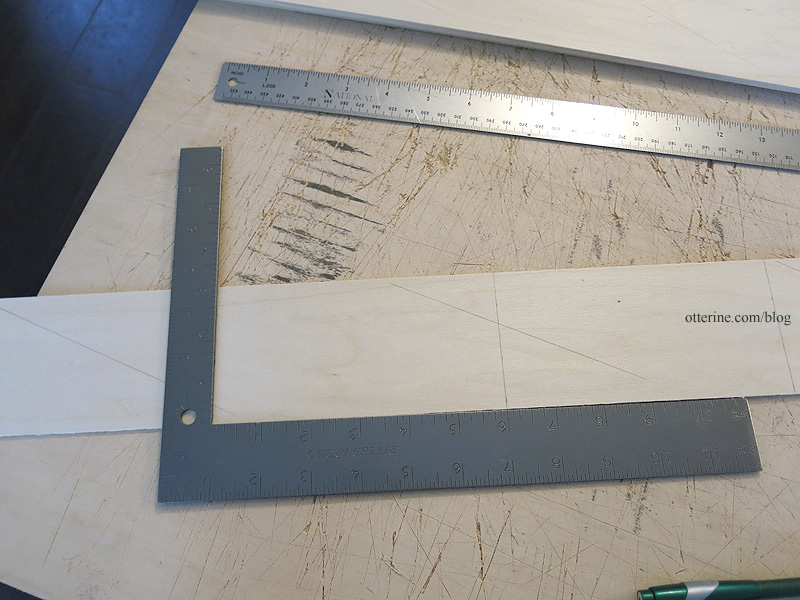
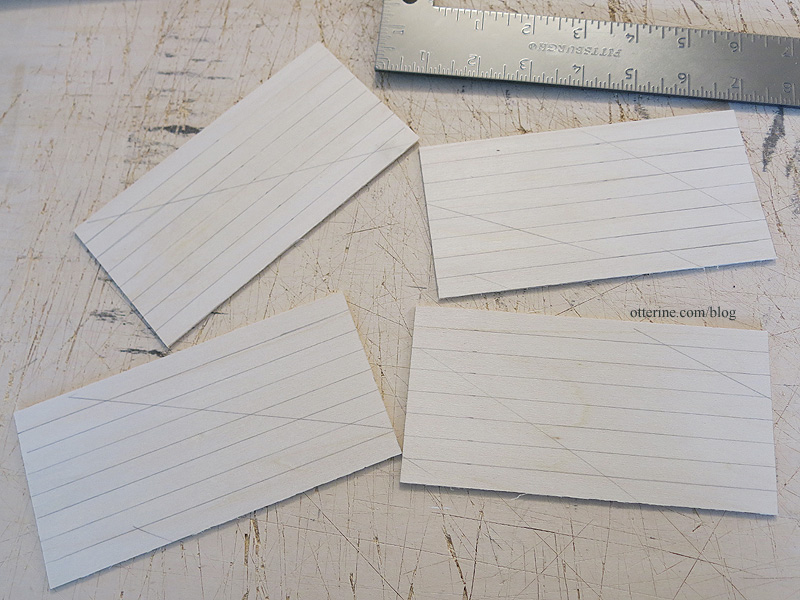
Since the sheets (and the strips for that matter) had stickers on one side, I marked that side with diagonal pencil lines. The glue residue will prevent even staining, so I need to make sure I can always tell which side was the back.
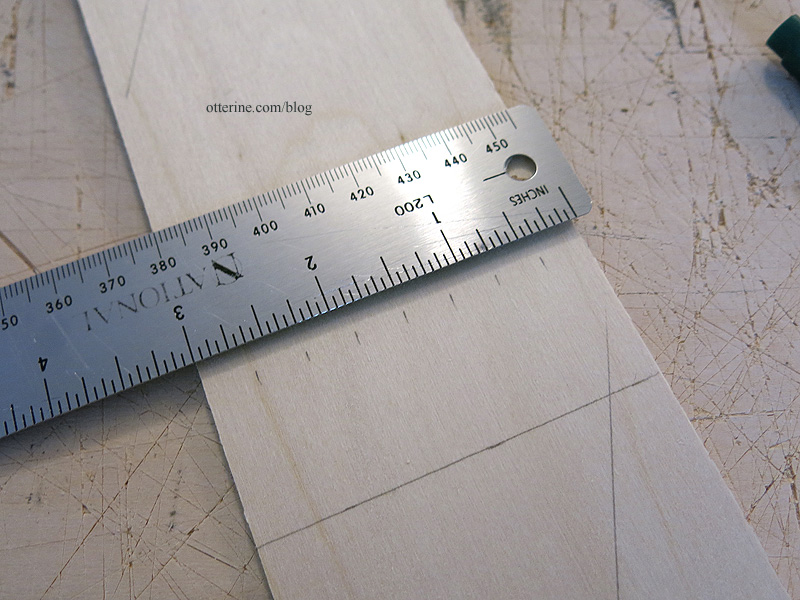
I then marked 6″ increments. I also made some of the sections in 8″ increments.
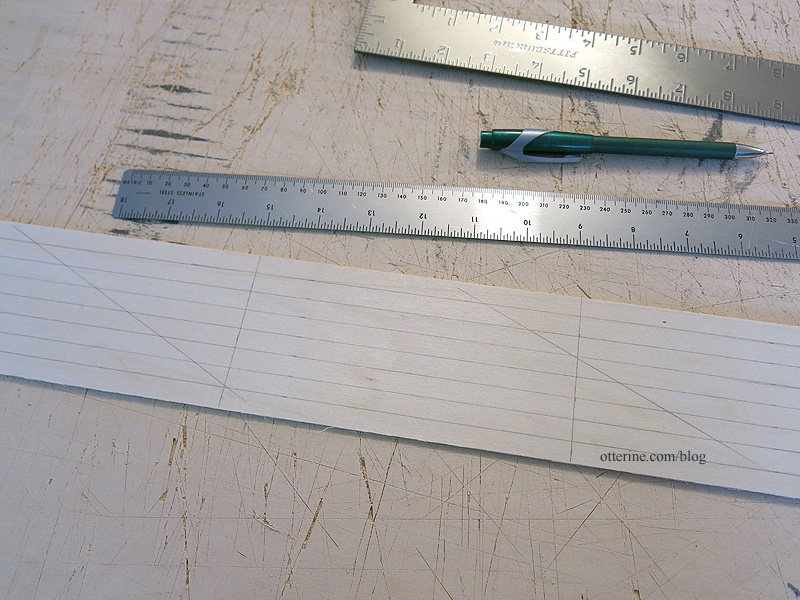
I marked 3/8″ wide planks.
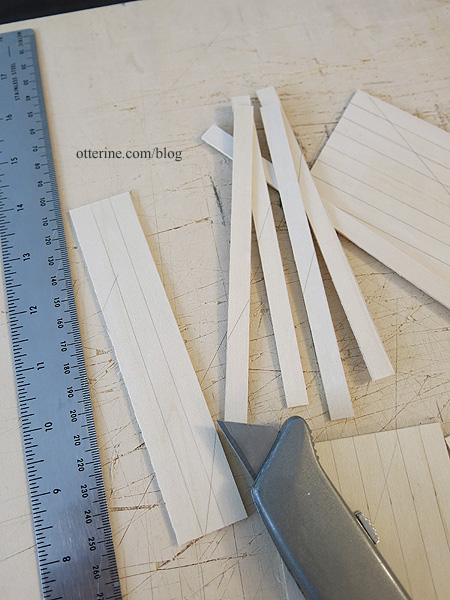
I cut the sections apart. In some places, I had to make additional marks to indicate the back.
I then cut the planks.
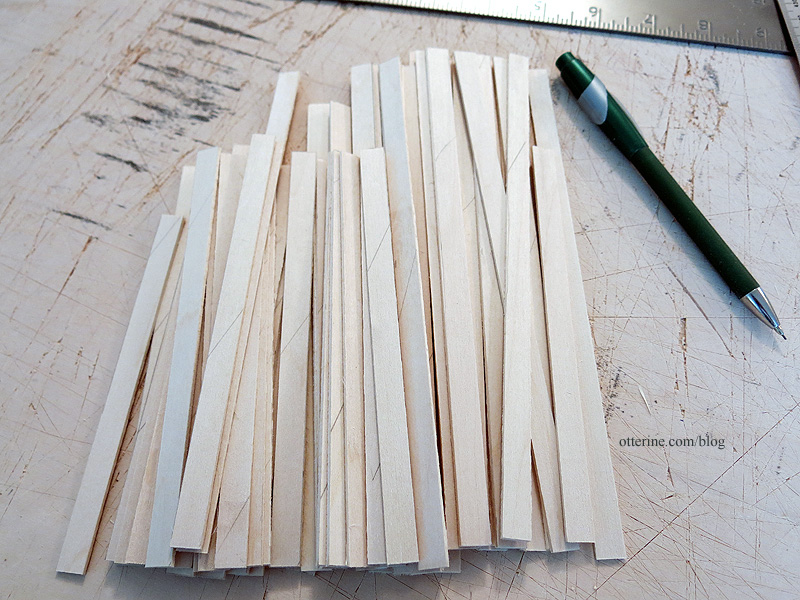
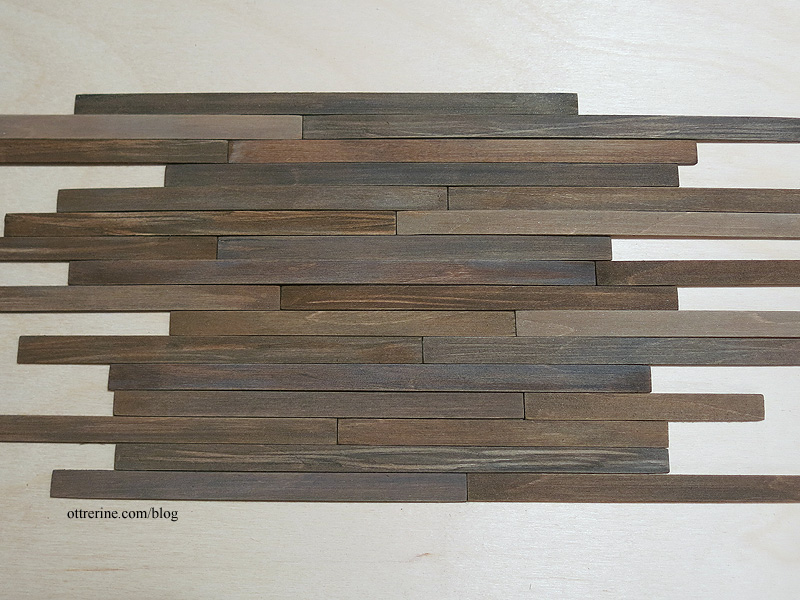
Here’s my pile of planks. You can see the back markings here and there.
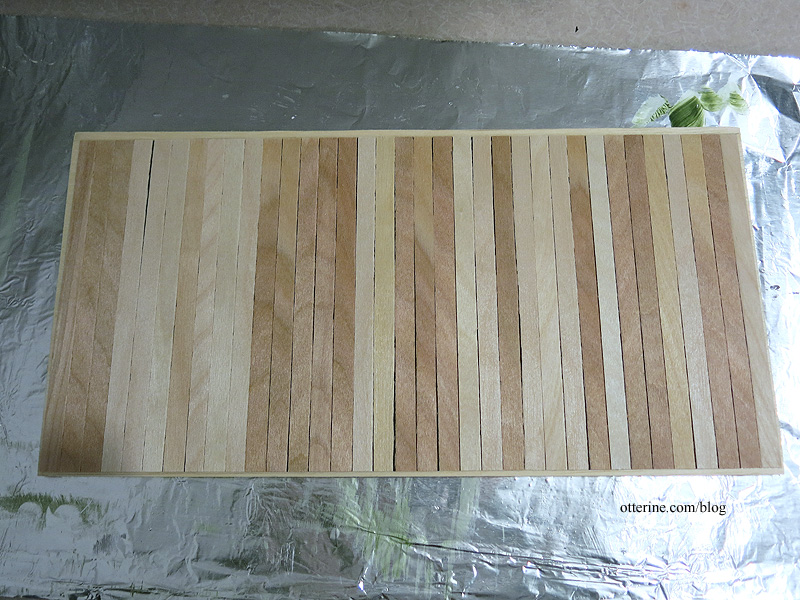
I sanded the fronts and front edges then taped the planks to painting boards for staining.
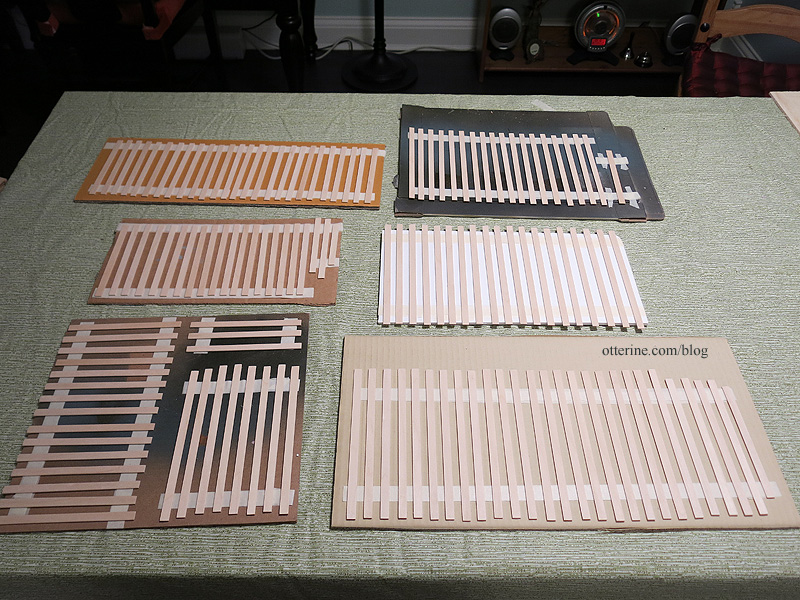
I stained the various boards using slightly different stains to end up with variegated, reclaimed siding.
Categories: Otter Cove
July 14, 2015 | 0 commentsMilo Valley Farm – removable back wall, part 3
Continuing work on the removable back wall. I cut a new plywood wall for the back using the foam core board as a template.
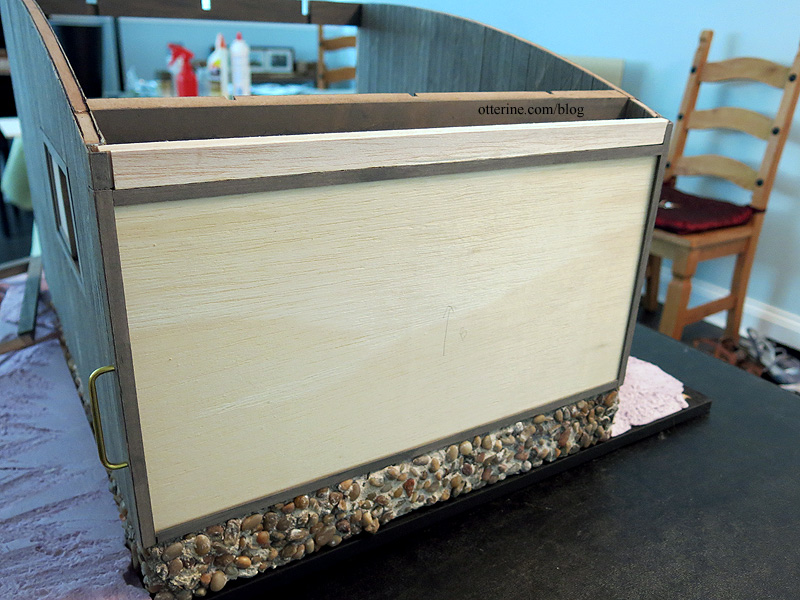
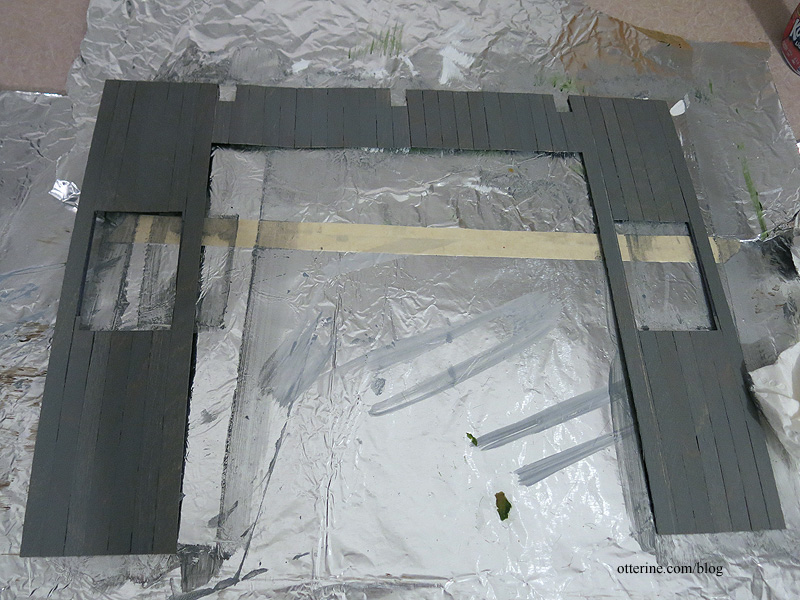
I made siding templates for the sliding back wall, interior and exterior.
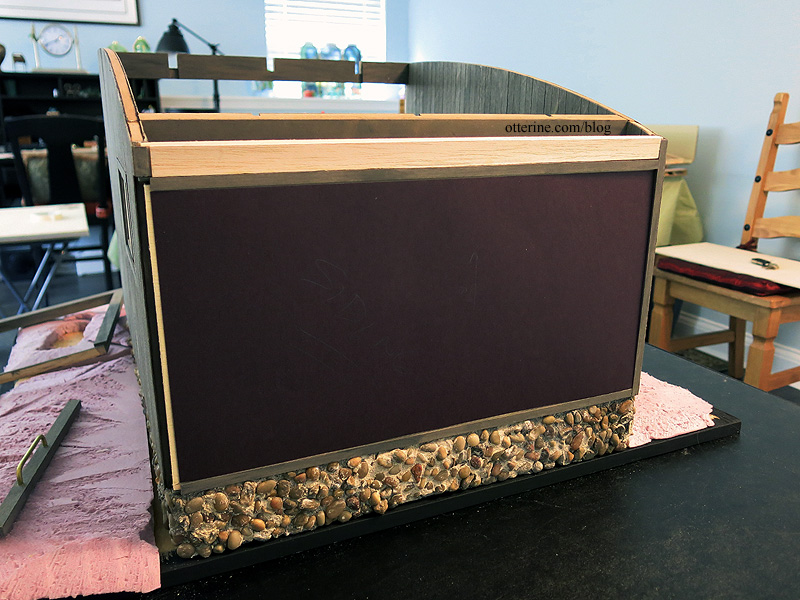
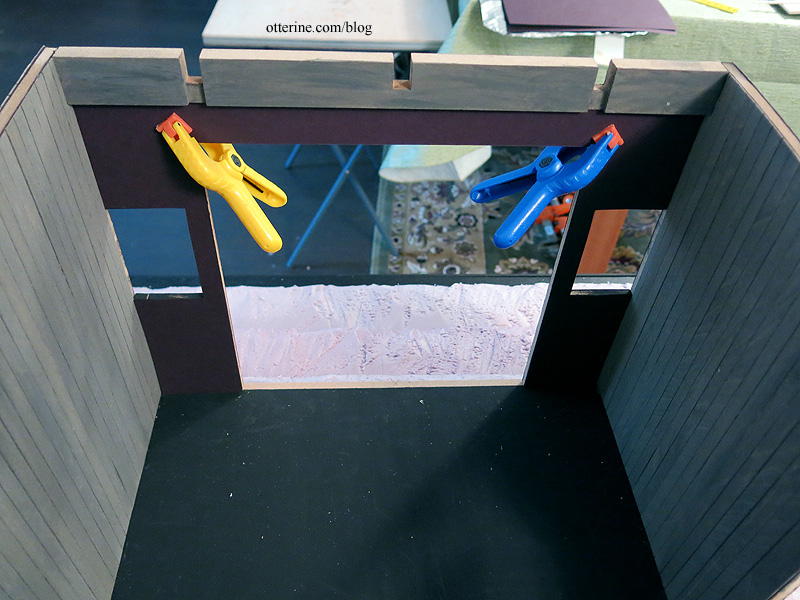
I applied the siding to the templates and used the same paint glaze process as I had for for the side walls. Here it is in process.
I glued the sliding wall panel to the free-moving side channel using Weldbond and super glue gel. This is the only place on the side wall that has a two-piece board, but it’s not an eyesore.
The final trim should disguise it even more. Plus, there will be other things going on that you might not notice at all.

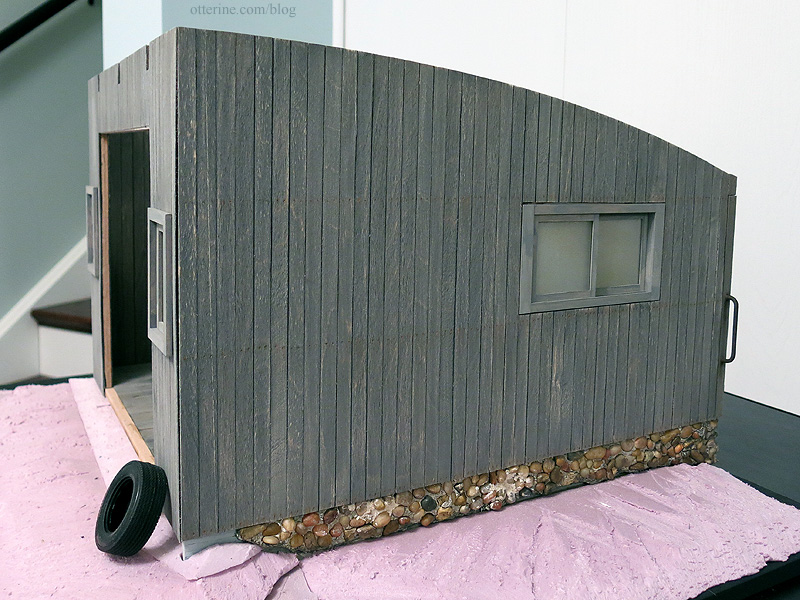
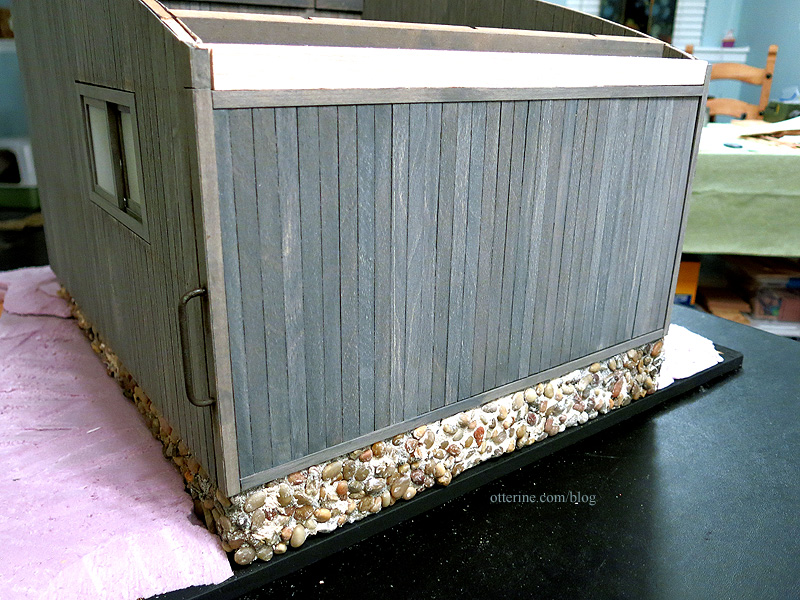
There will be finishing trim along the top back to hide the bare wood that’s there at the moment. The wall blends well on the outside. I spray painted the brass bar to look like old metal.
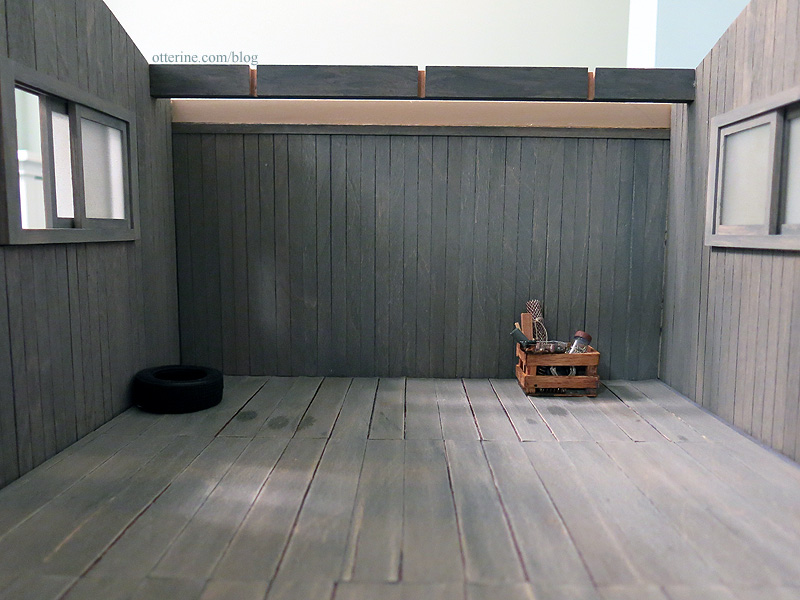
On the inside, the side breaks are mostly hidden. The studs and cross beams will disguise any remaining breaks. I will be finishing the bare wood here, too.
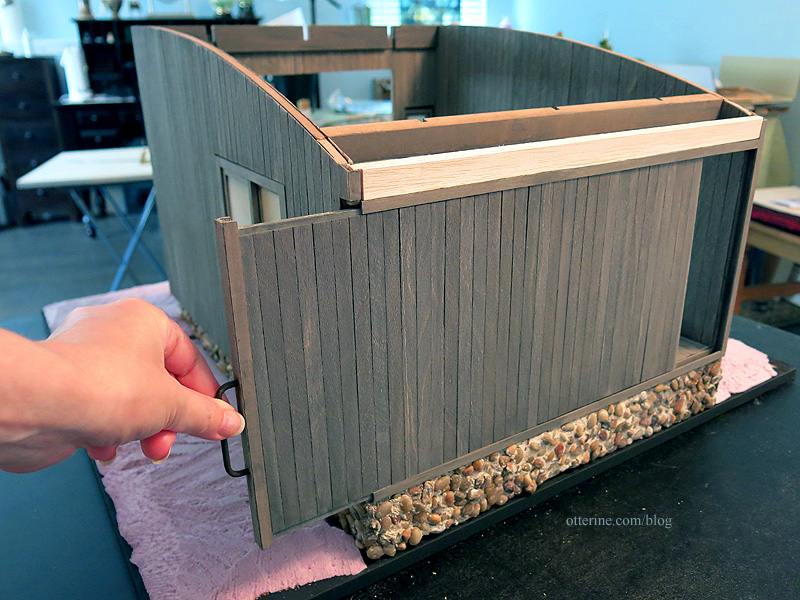
When open partially, it could serve as a back door opening for some interesting photos.

The mechanism runs relatively smoothly. :D
Categories: Milo Valley Farm
July 5, 2015 | 0 commentsMore leaves!
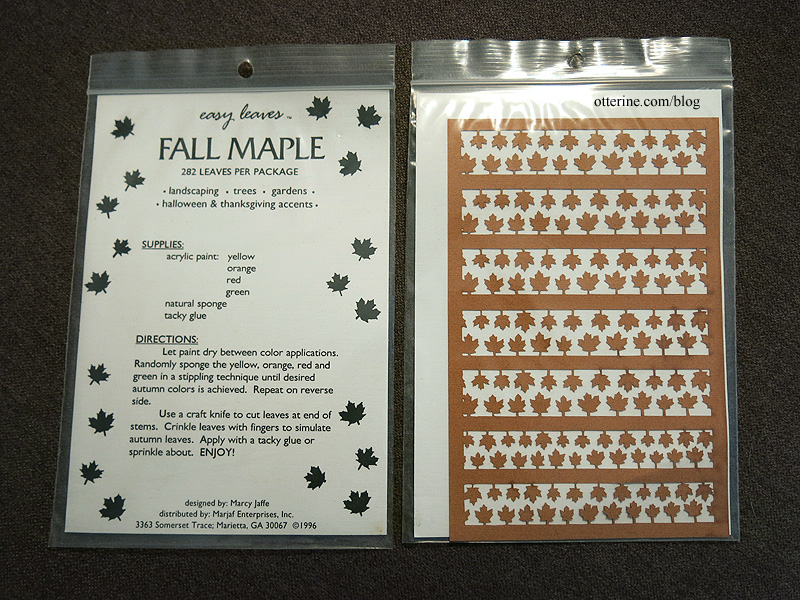
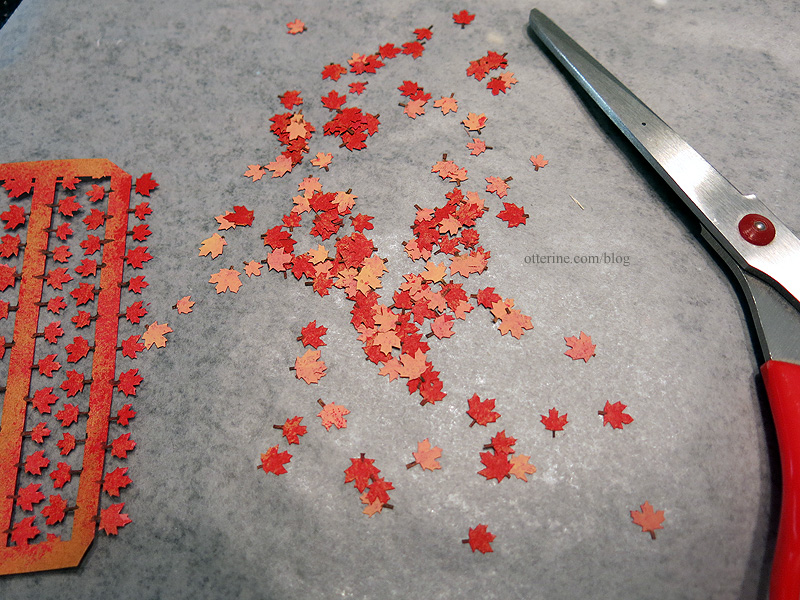
I’ve made leaves from scratch in the past, but this time I am using a different approach. I bought two packets of pre-cut maple leaves in brown paper. These are by Marcy Jaffe, but I bought them from a secondary seller on eBay. I decided to make up one packet, which includes two sheets, to start.
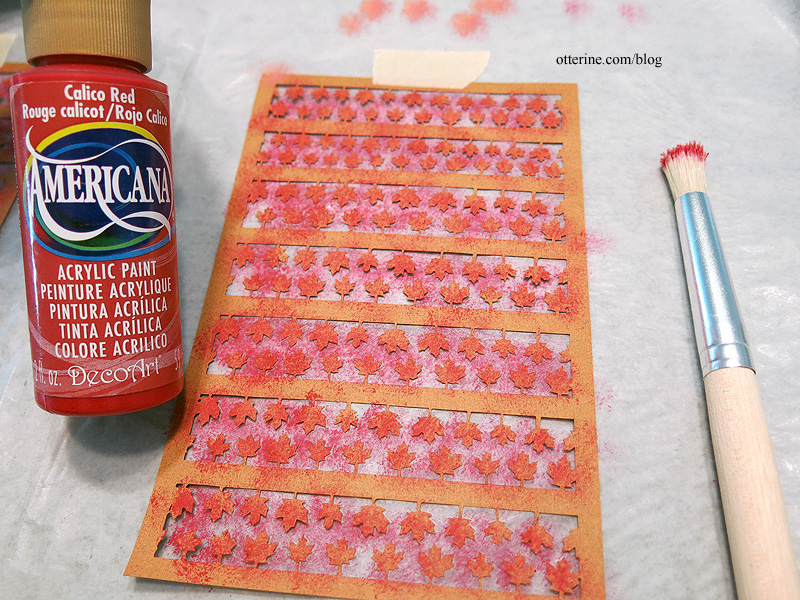
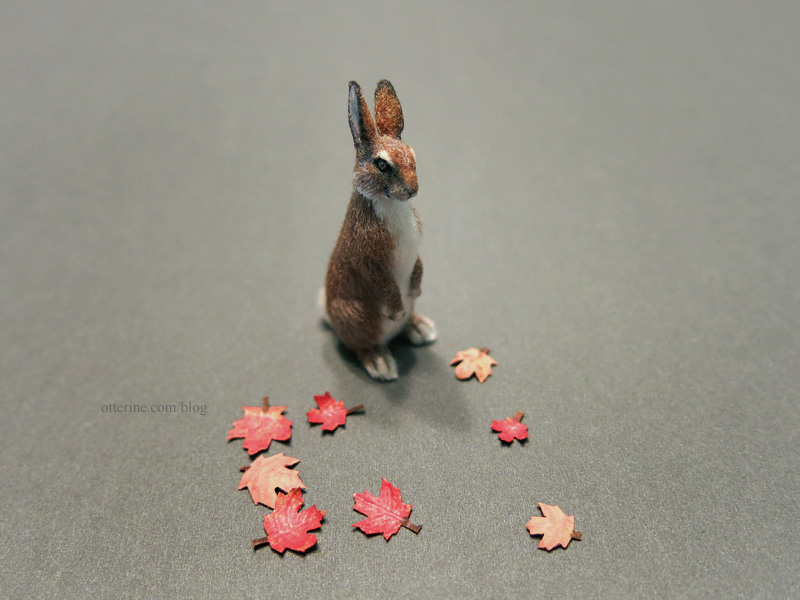
The instructions tell you to stipple on paint to add depth, so I used Calico Red by Americana, making several passes with lightly added paint.
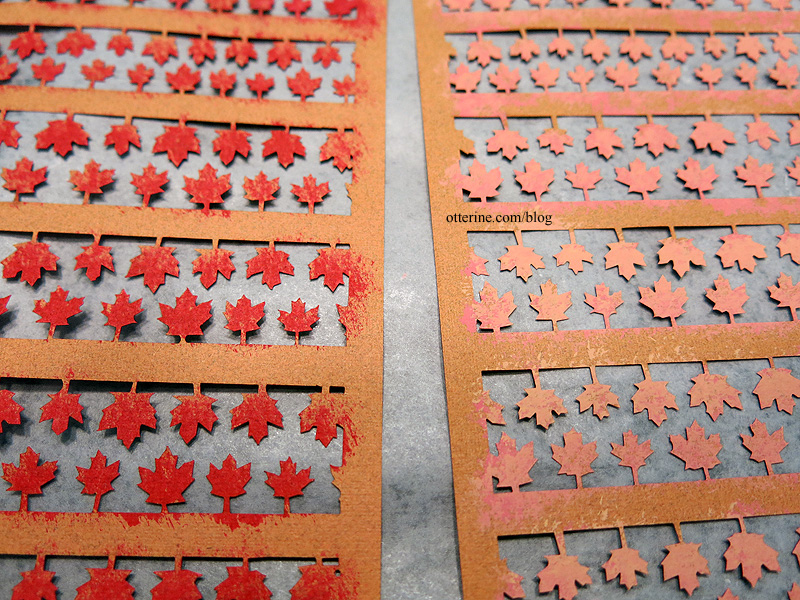
I added Camel to the red for the reverse side to make the backs of the leaves pale pink.
I colored each stem while the leaves were still on the frame using thinned brown paint.
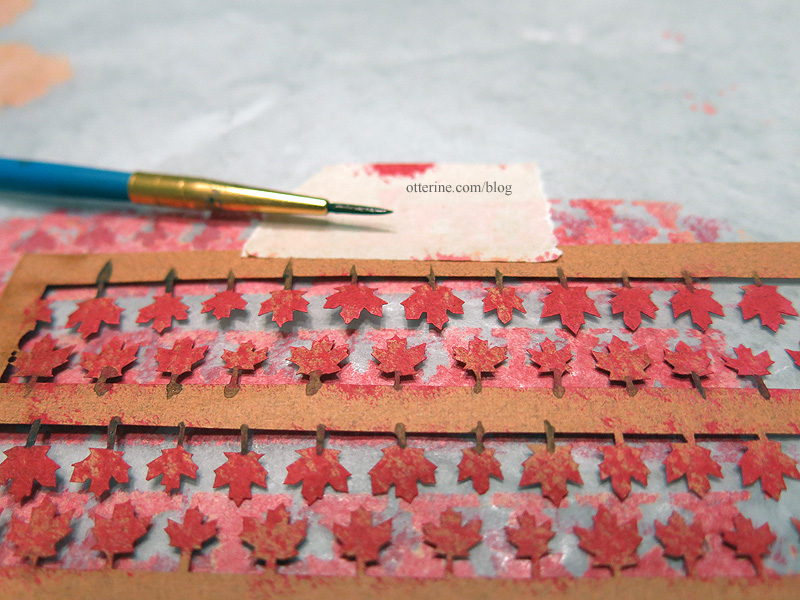
I then cut the leaves from the frame. I think this is the right amount for the small lawn around the barn, so I will keep the second packet in my stash.
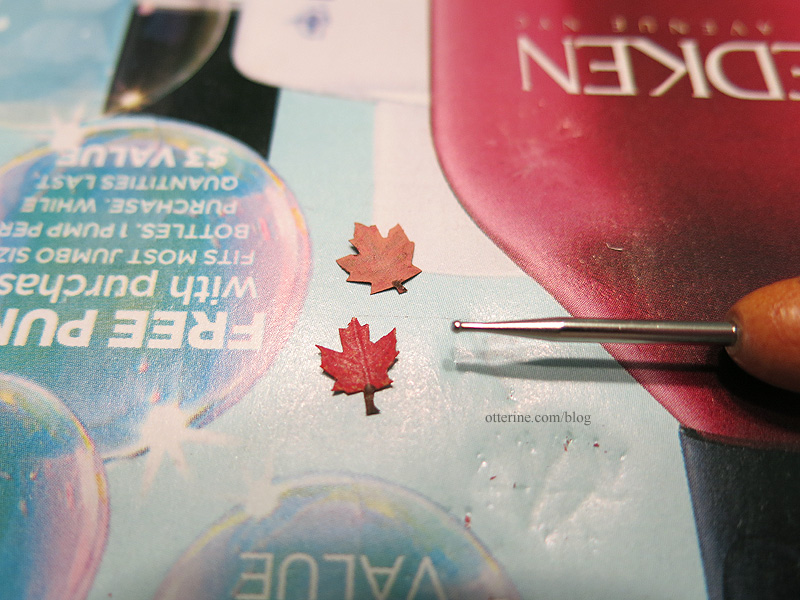
I began shaping them with a stylus, adding veins as well. I like to use magazines or catalogs since they are just soft enough to allow for good veining and they can transfer some ink onto the backs of the leaves. That little pop of color helps define the leaves more. And, then I can just recycle the magazine once I’m done.
I haven’t officially decided that this will be an autumn landscape, but in mini-land you can have autumn leaves and blooming flowers all at the same time. I just think it will be nice to have some color on the scene.
And, no, I don’t have plans to build another maple tree at this moment.
Categories: Flowers, plants, and trees
July 4, 2015 | 0 commentsMilo Valley Farm – siding, part 4
Continuing work on the siding. I glued the front insert walls to the middle upper insert while in dry fit, making sure not to glue any of the pieces to the main front cross beam. I used Tyvek pieces to reinforce the joins. The siding will cover the front cross beam on the exterior as well, so I made a single template to cover the entire front.
I made a similar template for the interior, leaving the main cross beam out.
I applied the siding to the templates and used the same paint glaze process as I had for for the side walls, while the walls were still able to be pressed flat for each step. The front piece, however, was left unattached until later. I will detail the back wall in a separate post.
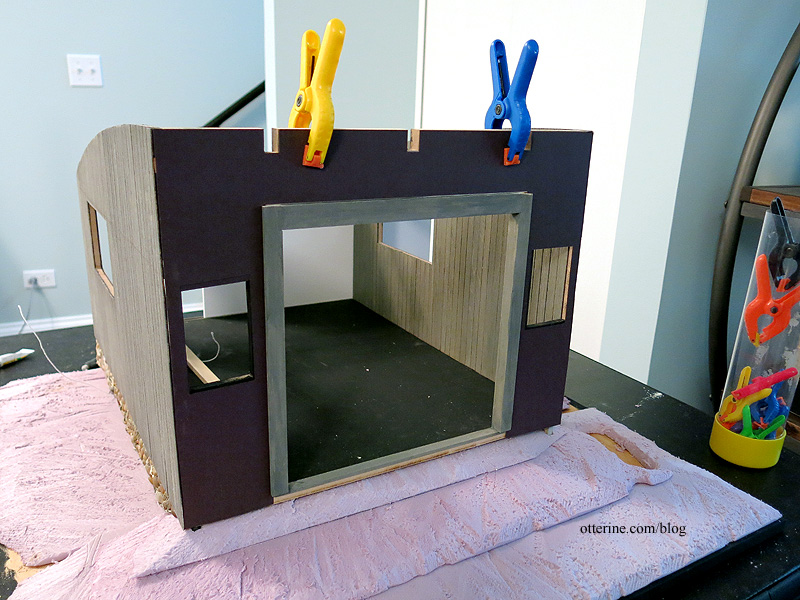
After gluing the interior siding template to the front wall, which stabilized the structure, I glued the wall in place. Here you can see the Tyvek reinforcements. There are also two of these on the other side under the siding.

I used 3M Super 77 spray adhesive to attach the front piece since it’s not water based and therefore would not warp or expand the paper backing or the wood. I haven’t added the nail detail to the front since I’m not sure how much of it will show once the trims and windows are in place. I plan to add it later.
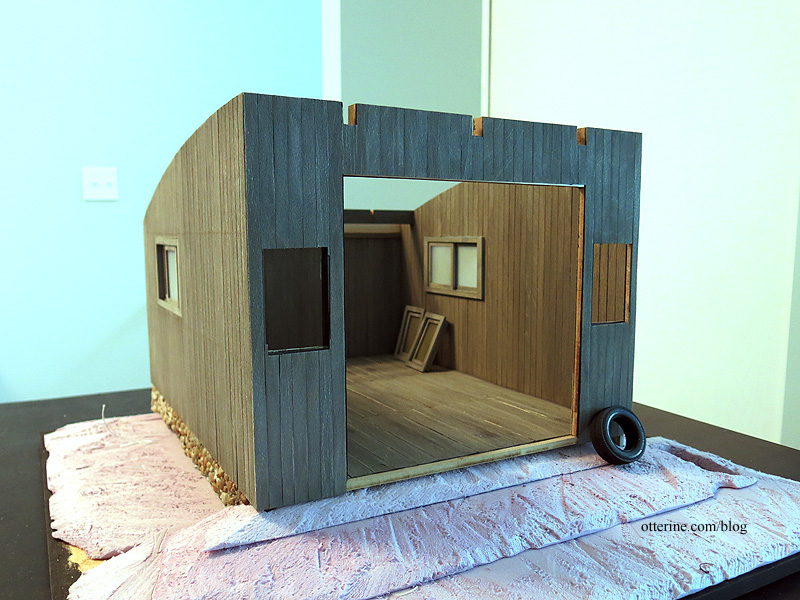
It’s starting to look like an old shed. :D
Categories: Milo Valley Farm
July 3, 2015 | 0 commentsMilo Valley Farm – window prep
The windows for Denise’s City Cottage come already assembled. This is good and bad. Good in that you don’t start with an overwhelming amount of small pieces and have to ferret out a window (or four) from said pieces. Bad in that you have no way to remove the acrylic inserts for painting or staining.
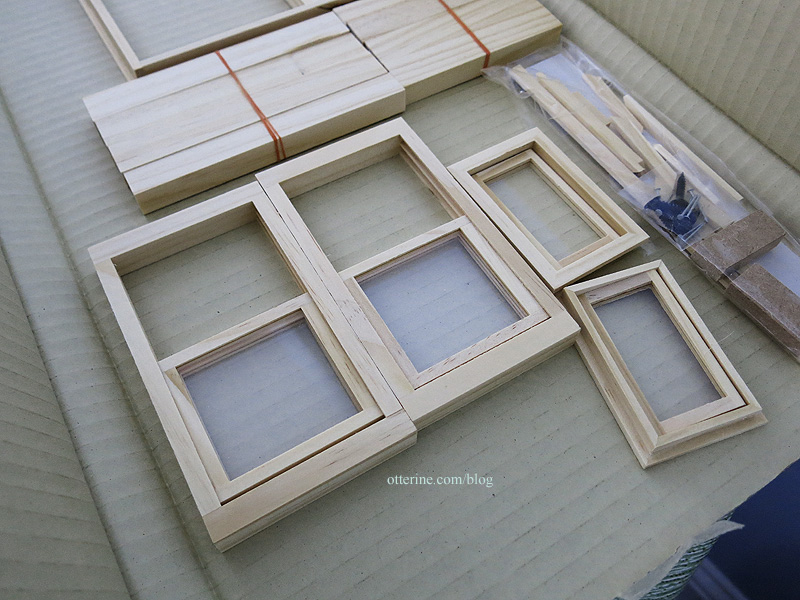
Some readymade windows on the market have solutions to this problem. They leave a hole to slip an insert in and out of a channel. Some I have seen have a thin piece of wood to remove to access the channel.
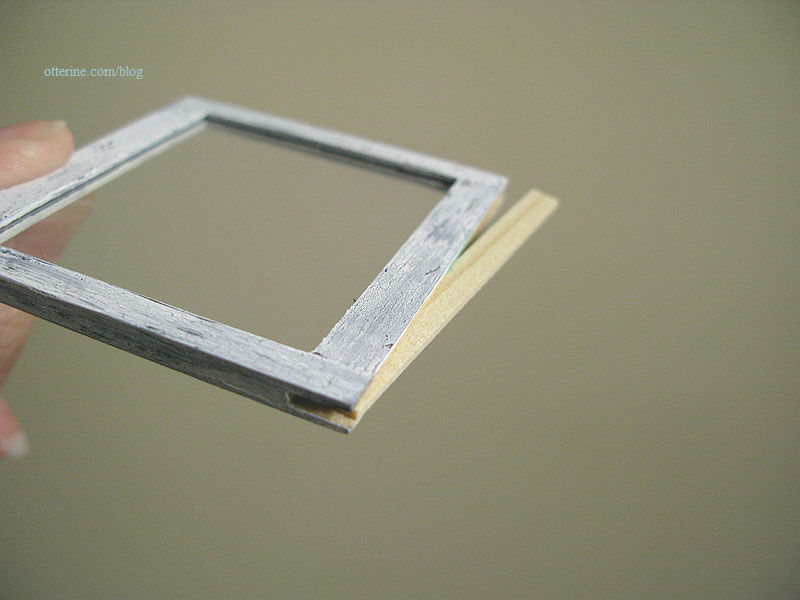
Twisting ever so lightly, I popped the sliding window frames apart.

For the swinging windows, I removed the hinge pins.

I added scant trim to the inside frame of the swinging windows to prevent the windows from swinging inward. This also added thickness. My front walls are thinner than the original kit walls, but I can use the extra depth. More on that later.

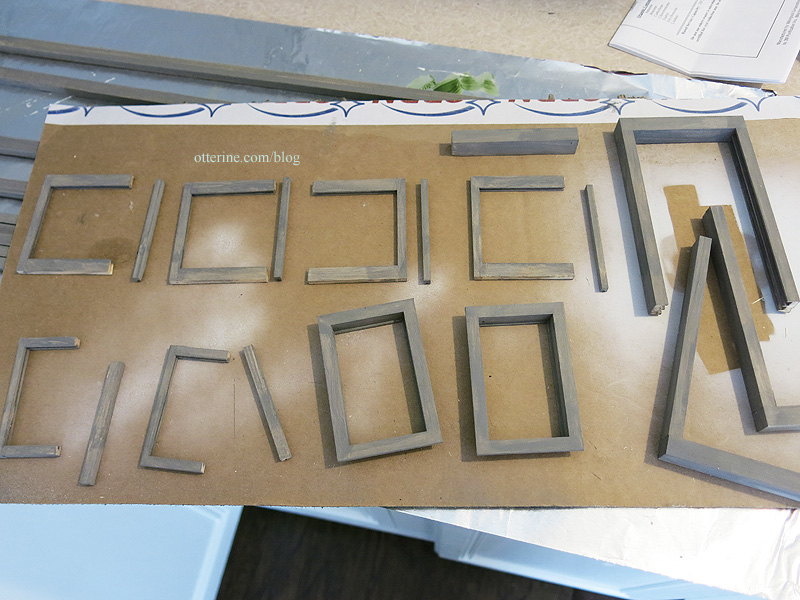
Masking does only so much since bare wood can show in the tracks around the window not to mention it takes so long to do a good masking job, so I took the individual panes apart as well. You can pop the windows into the microwave for a quick 10 second burst to loosen the glue. I keep each window with its completing piece in the proper direction throughout finishing to make sure they go back together easily.

I used the same painting technique as I had for the siding.
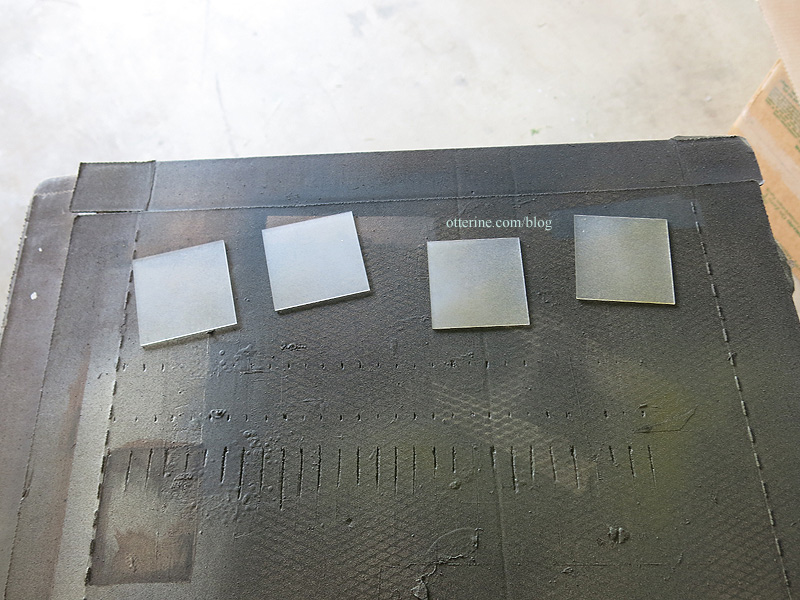
Now to mess up those clean inserts. I used Testors frosted glass, flat olive drab and Krylon grey primer. I didn’t wash the window inserts prior to finishing since any dirt or oil on them would just add to the imperfect finish in the end.

I first sprayed each side of the windows with the frosted glass finish. If you do this lightly, you will still have a moderate window reflection shine but a more obscured view through the glass.
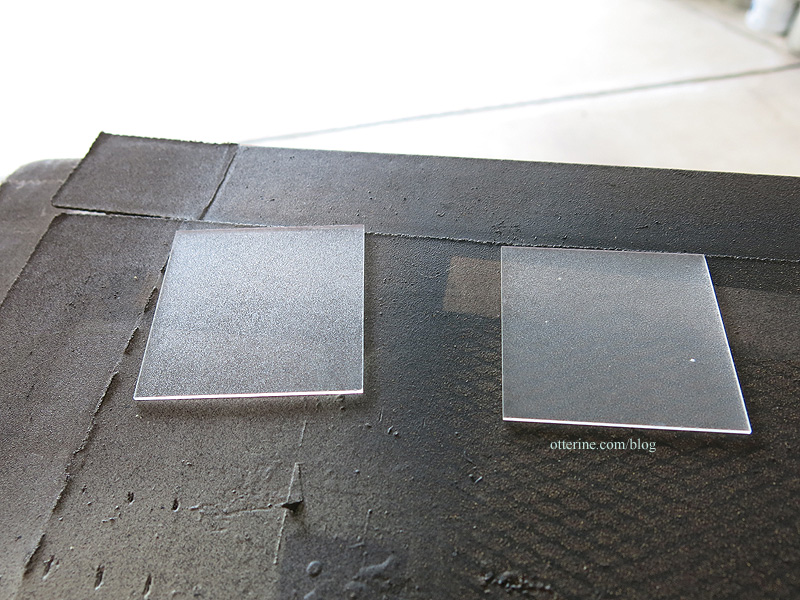
For the two color spray paints, I sprayed under the windows on the board. This allowed for overspray to hit the glass. A few sweeps here and there are enough to cloud the glass, reduce the shine and add some color depth to the dust. You can always add more, but too much paint will look like…well…painted glass. These windows will be seen from the inside and outside, so I went with a lighter color to simulate dust.
I used this technique on the cellar windows for the Heritage, but in that instance I used black paint and did only the interior portion.
I put the windows back together once the inserts were dry. I left the shinier side on the outside and the dustier side on the inside. The exterior portions will be washed by rain from time to time.
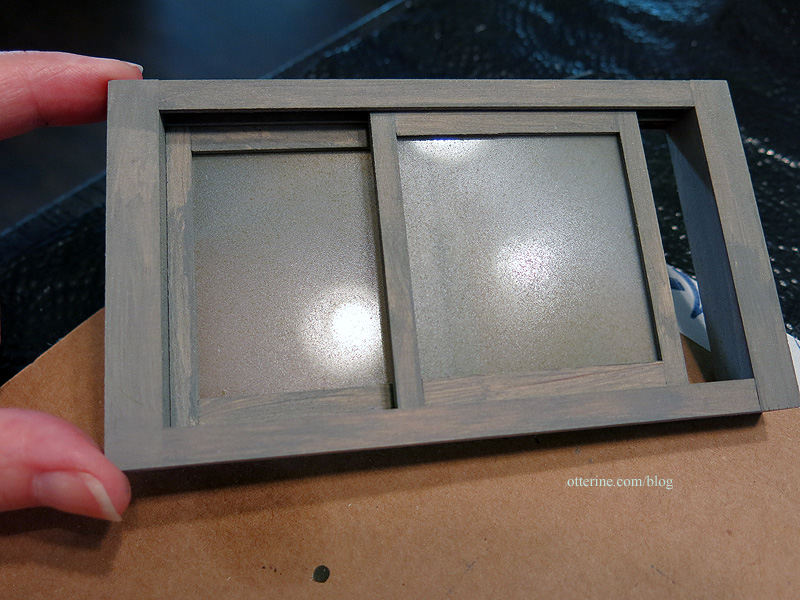
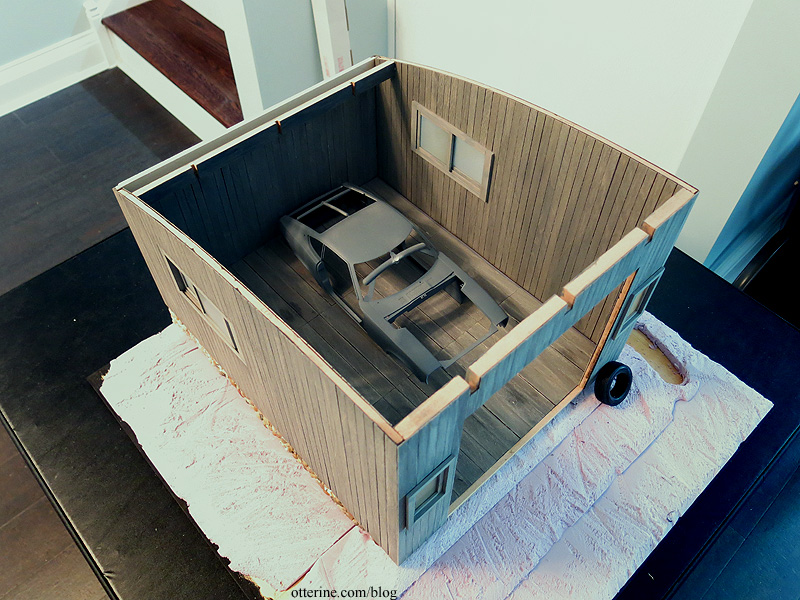
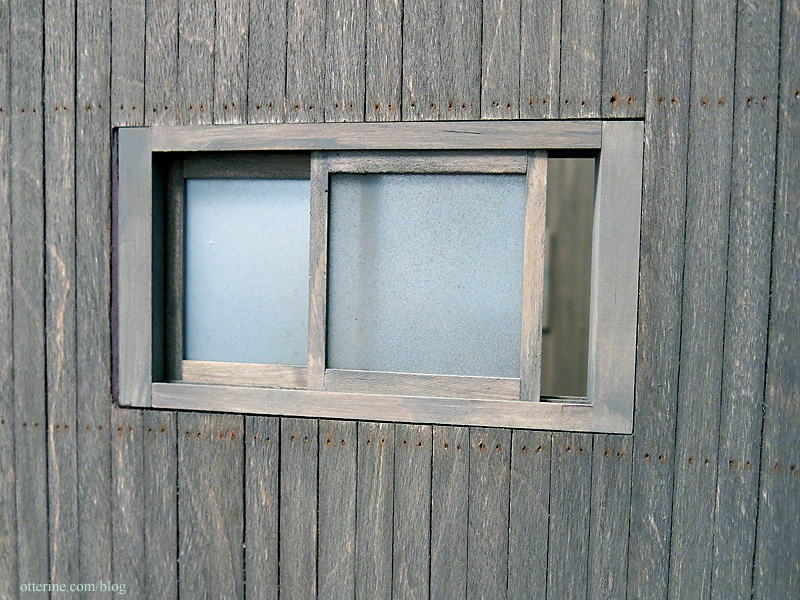
I’m not ready to install them just yet, but I tested them out on the building. Since the sliding windows were meant to be used with the thicker mdf of the front, they stick out inside. This won’t be an issue since I will be building a faux structure of studs.

The whole structure will get more aging later, including the windows. Looking good so far! :D
Categories: Milo Valley Farm
June 28, 2015 | 0 comments


NOTE: All content on otterine.com is copyrighted and may not be reproduced in part or in whole. It takes a lot of time and effort to write and photograph for my blog. Please ask permission before reproducing any of my content. Please click for copyright notice and Pinterest use.


