
Milo Valley Farm – landscaping – flowers, part 1
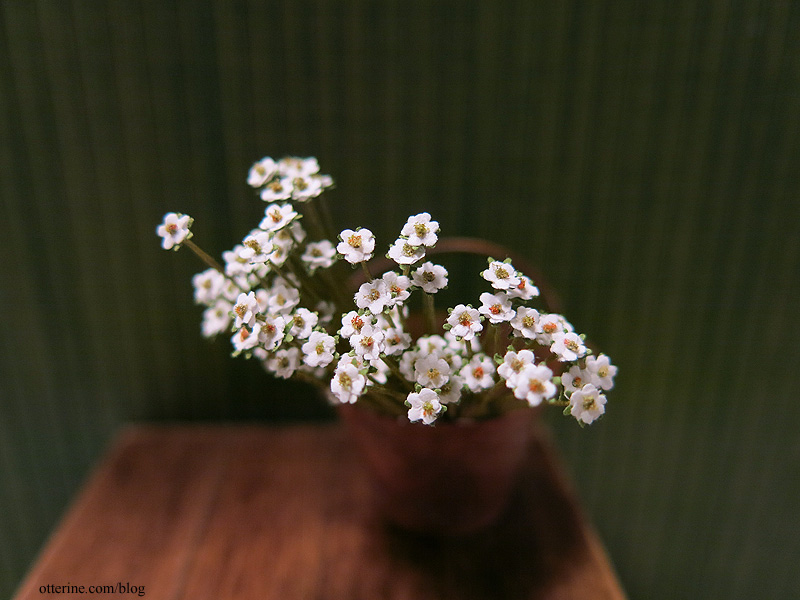
I’ve got something up my sleeve which will require a lot of tiny white flowers. *a lot* I’m starting with tiny pre-cut impatiens from Small Talk (no website, purchased at the local shows). They have some imperfections in punching, but they will work well overall. I’ll clean them up a bit as needed.

I also punched out tiny green stars using a Martha Stewart multi star punch.

Keli recommended some green origami paper for the calyxes. It’s a great paper, slightly textured and just the right weight. You get four pages each of 12 shades of green. (As an Amazon Associate, I earn from qualifying purchases.)

My punch makes multiple sizes of stars, but I saved the larger ones for projects down the line. I got 86 calyxes from one 6″ x 6″ sheet, which was a pretty good yield considering I used only the smallest stars.

I shaped each flower with a stylus.

I poked a hole in each tiny flower with a sewing pin. I found it easiest to put the flower on a paper towel and poke the pin through.

I cut wire stems 2 inches in length. This will give me room to trim when I put them in place. The wire is very thin, purchased at a local miniature show.

I topped the stem with a tiny drop of glue then dipped into fine landscaping foam.

The foam is from A Little More in Miniatures, purchased at the local miniature show.

I put two flowers on each stem, followed by one green star to form the calyx. I’ll worry about leaves later.

This will be one of those side projects to do until I’m ready for these. These are tiny, tiny, tiny, and I can stand to make only so many at a time. :D

I now have 81. It doesn’t look like a lot, though, so I will need to keep going. :]
Categories: Flowers, plants, and trees, Milo Valley Farm
July 20, 2015 | 0 commentsMilo Valley Farm – knob and tube wiring, part 1
Yeah, that’s some scary stuff, right there. :O bzzzzzzzzzzzzzzt
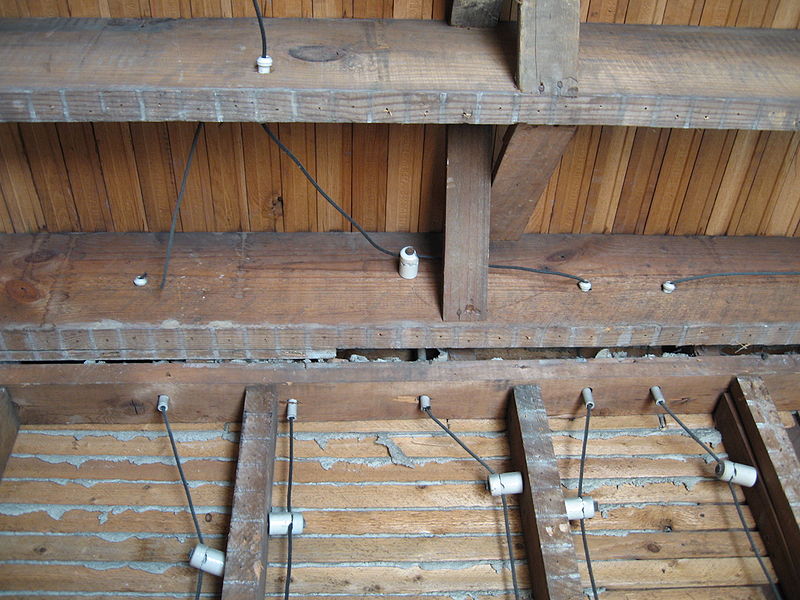
image from Wikipedia Knob and tube wiring is an old and outdated method of electrification, and if your home inspector finds it in your house, be prepared to spend a lot of money to remove and replace the electrical system. Here’s an excellent video on knob and tube from Edison Tech Center.
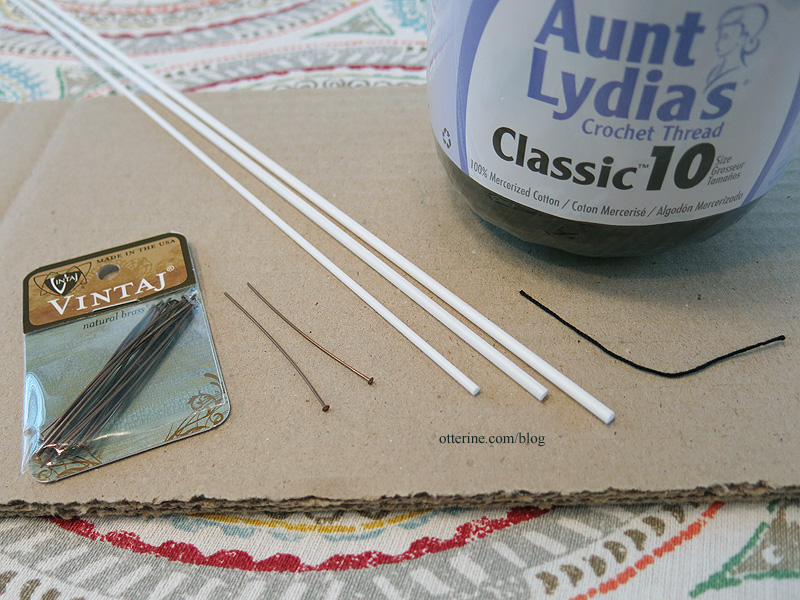
I have no idea when the barn on Milo Valley Farm was built. We’ll just say it’s way old since I don’t know when I will again have the chance to make this insanity in 1:12 scale. I have gathered crochet thread size 10, white plastic tubing in two diameters (I used only the smaller of the two), white plastic rod and copper colored head pins.
After some research, I was able to determine the dimensions for the knobs — just over 1″ wide and varying from 1.5″ to 2″ long with most being the longer measurement. Now, there’s true scale conversion and there’s just “getting the look” of something with proportional measurements. I’m going with the latter. To make the tubes, I cut 1″ lengths of 1/16″ plastic tubing. (The 1/16″ measurement would be 3/4″ in real life.)
I applied Testors contour putty to the end with a toothpick and then shaped with my fingernail. The thread is fed through the tube. I applied glue to the thread end to make it stiff enough to go through the tube, but I might do this for the entire length when I install it since it makes it easier to handle and put in proper position. I will cut down the tubes to lengths needed to work in the various areas where I will install them.
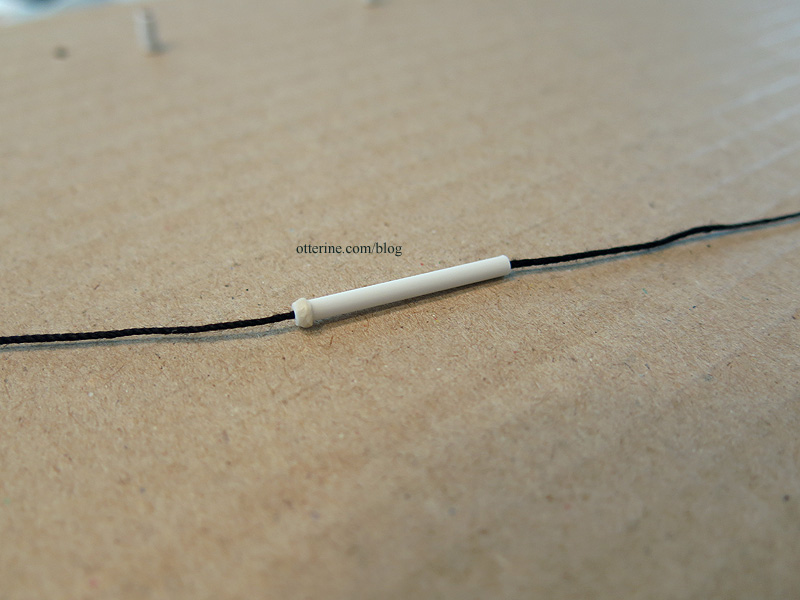
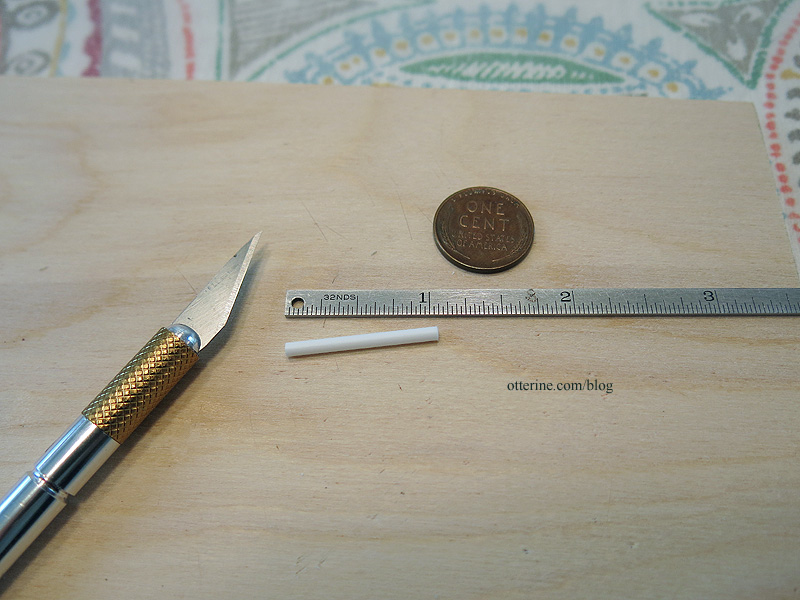
To make the knobs, I cut two pieces of 1/8″ plastic rod — one 3/32″ long for the top and one 1/8″ long for the base. Here is the top.
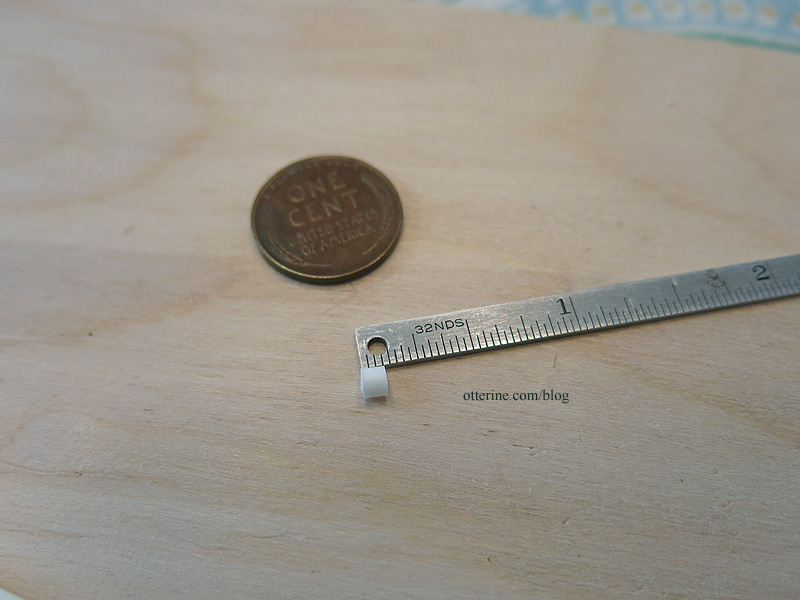
I made a small channel on the top of the remaining length of rod to make room for the thread. It was easier to do this detailing while I was able to hold the length of rod in my hand. The real life examples have two channels to keep the wire from touching the nail holding the knob in place, but I am going to use the nail to secure the thread in place. In other words, I’d be causing fires and electrocuting people if I were a mini electrician. :O
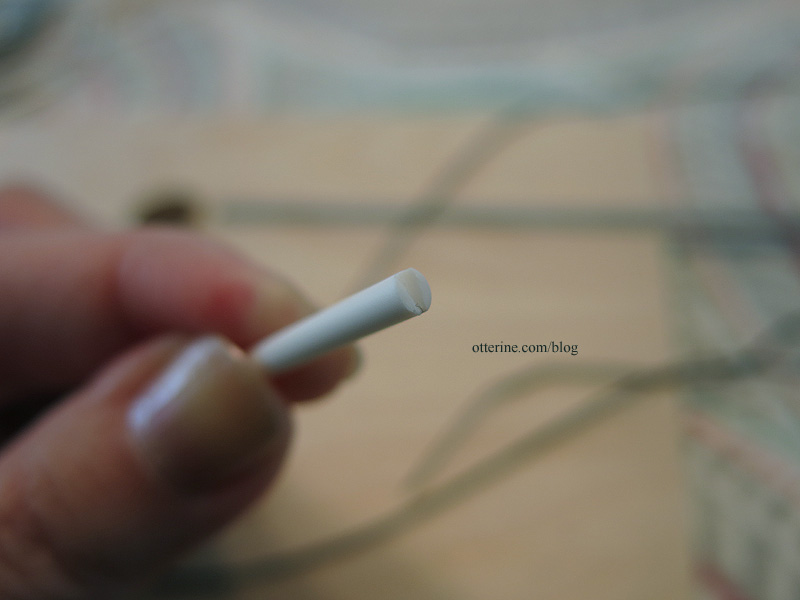
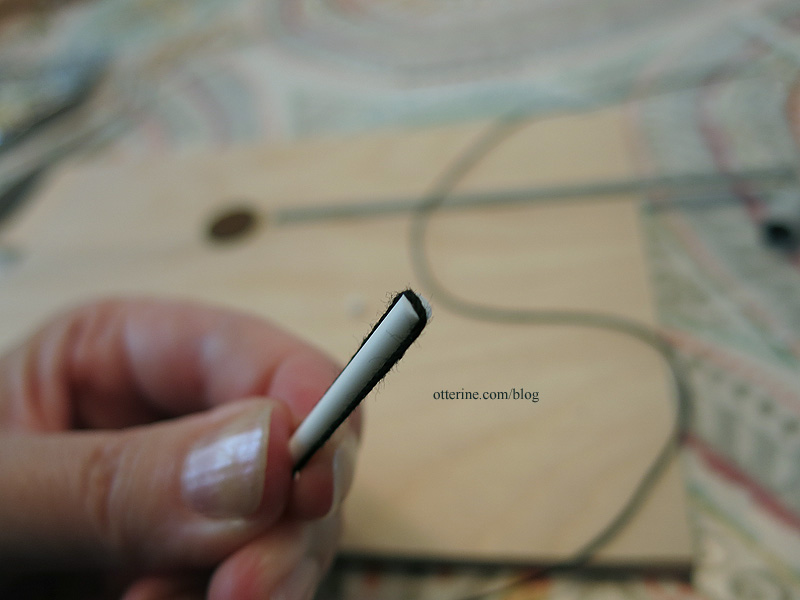
I then cut the longer of the two pieces. I drilled holes in each knob set to make way for the headpins.
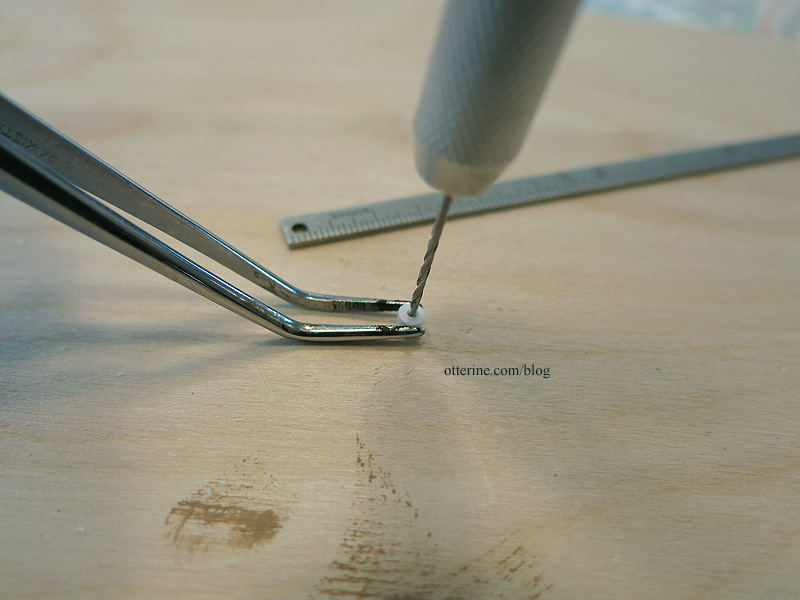
The reason I didn’t use open tubing for this is because I wanted a tight fit for the pins and the existing 1/8″ tubing had too large an opening. It was either fill in the open tubing or drill holes in the rods.
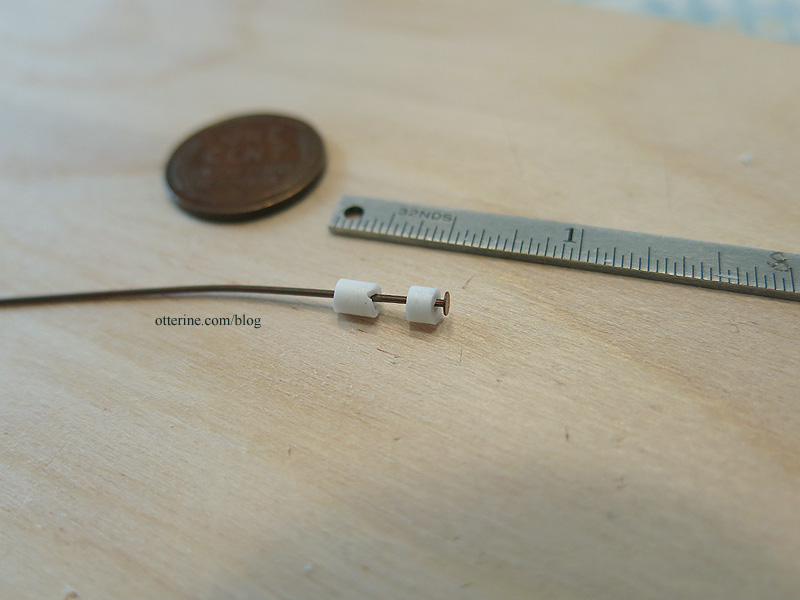
With a little give on the measurements, I ended up with a knob that would be 3″ long in real life.
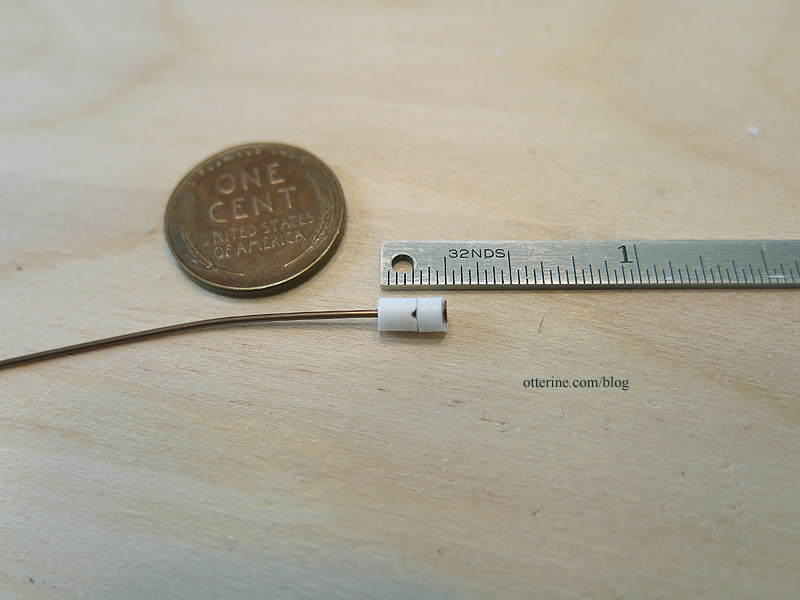
The tube goes through the wall to bring in the wire. I fed the headpin through the thread to hold it in place.

I then pulled it tight on the other side of the cardboard test board. When I install these, I will glue and drill holes into the beam structure of the barn. The prototype worked out well. :D
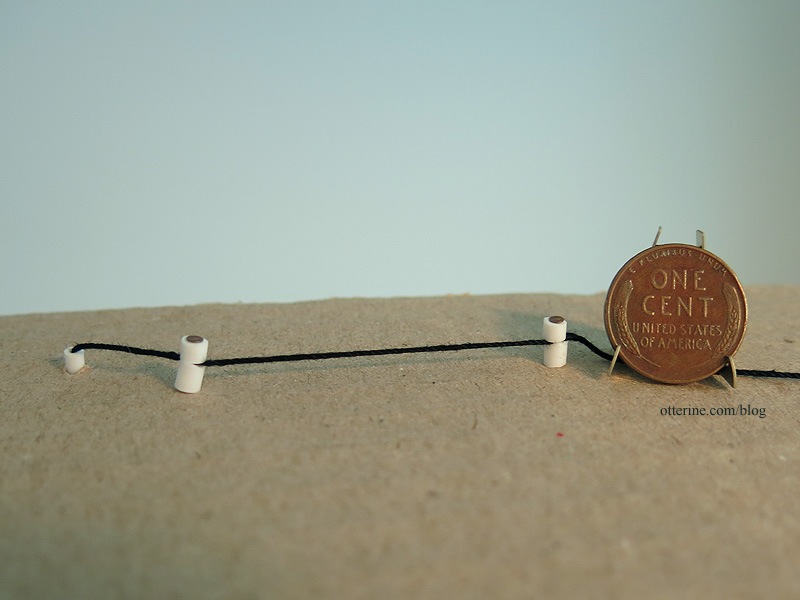
I don’t think I’ll bother painting these, even with the contour putty being a slightly different color. There won’t be more than a few tubes, besides. It seems a lot of hassle for very little return when they look good on their own.
Categories: Milo Valley Farm
July 19, 2015 | 0 commentsGustav, the learned otter
I just received this clever little otter from Rustles from the Meadow, and he is inspiring all sorts of ideas for a future fantasy build like Roland’s Retreat. :D I’ve chosen the name Gustav.
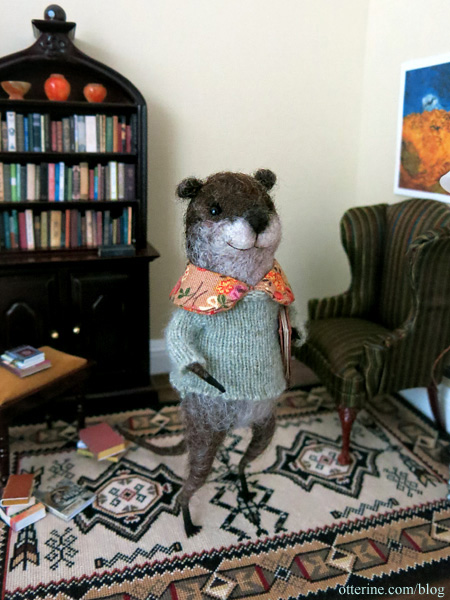
Johana makes the most adorable animals. (Mom gave me a set of her sleeping mice awhile back.) She included a tiny journal so he can jot down his ideas.
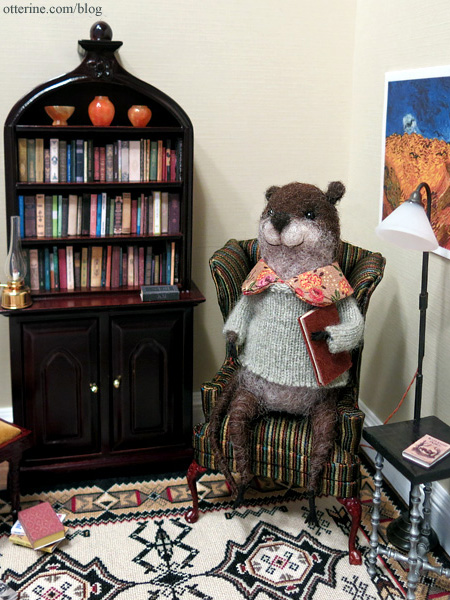
Oh, the ideas!

Categories: Animals and birds
July 17, 2015 | 0 commentsMilo Valley Farm – sea chest with a secret
The sea chest is from a Realife Miniatures Country Living Room kit. I made the daybed from this kit for The Artist’s Studio. These kits have die cut wood compared to other kits such as The House of Miniatures and modern kits with their individual pieces, but they work well for rustic scenes right out of the box. For a finer finish, you’d have to spend a bit more time and effort.
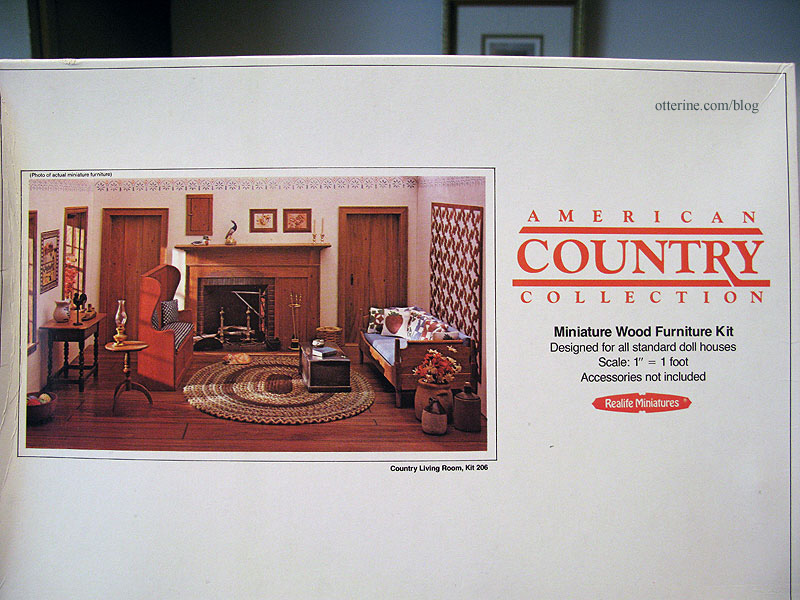
This is a pretty straightforward box. :D
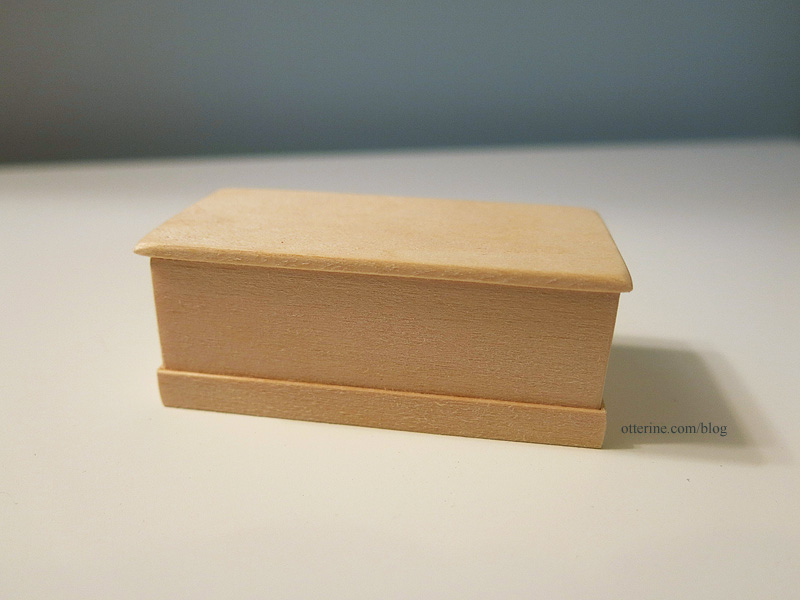
There is hardware included to hinge the top, but considering the use I have planned for it I opted to make a removable top. I added a piece of basswood cut to the size of the box opening and glued it to the underside of the lid. This will lock it in place but make for easy removal.
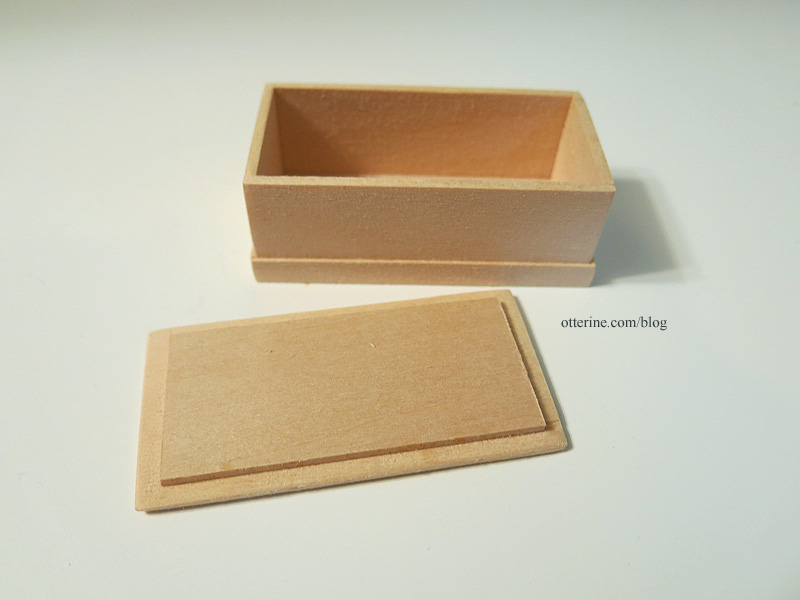
I spackled the rough joins to prep for painting.

I went with Plantation Pine by Americana with some aging. More aging will be added later, along with some hardware and maybe some logo and sticker detailing.
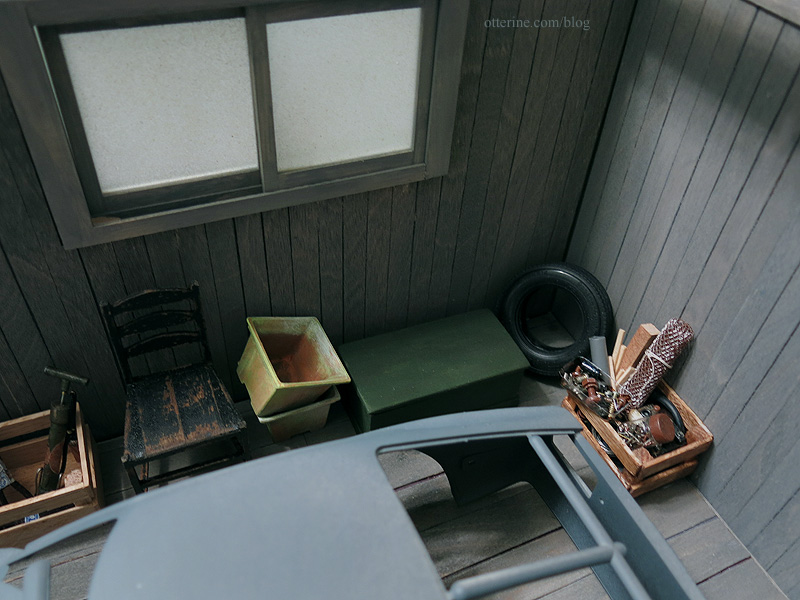
My trunk won’t hold old munitions (yikes) or mouse-riddled old clothing (bleh). Instead, it will disguise the Triple Receptacle Extension Cord with Plug from HBS. This way, I can lead all the wires from the lights to the sea chest, and one wire will exit the building to the power strip. You can see my floral wire lead behind the chest. I’ll drill holes in the chest as needed when I wire the lights.
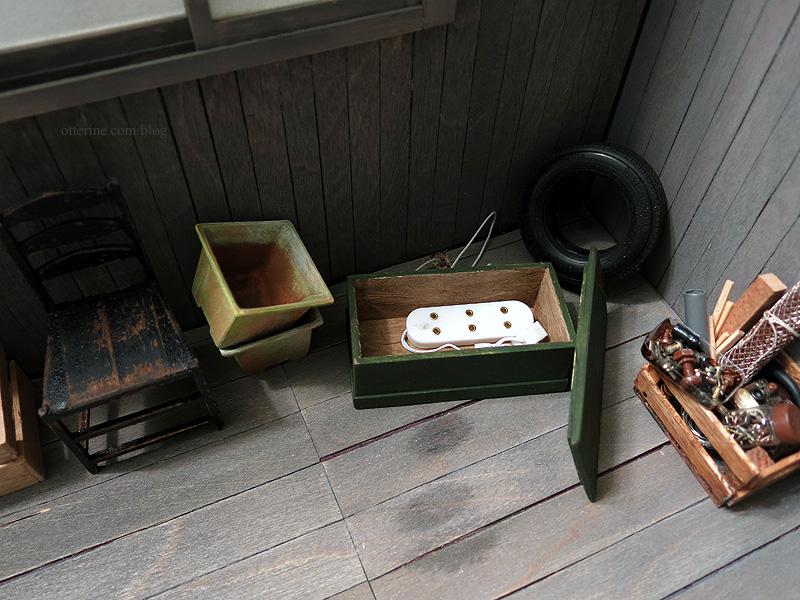
Having the receptacle inside the trunk will make it easier to deal with mishaps since I am using vintage lighting for some of the electrical work. When the lid is in place, it looks like any another random garage item. :]
Categories: Milo Valley Farm
July 15, 2015 | 0 commentsMaking siding from basswood sheets
For this build, I decided to make my own siding from basswood sheets. You can buy pre-cut basswood strips, but it is cheaper to buy the sheets and cut your own. No, it won’t be as uniform as buying the factory cut strips, but the kind of siding I am after makes that okay. :D
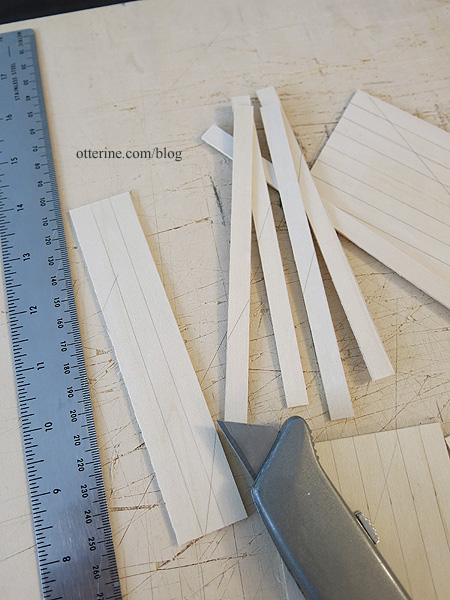
Since the sheets (and the strips for that matter) had stickers on one side, I marked that side with diagonal pencil lines. The glue residue will prevent even staining, so I need to make sure I can always tell which side was the back.
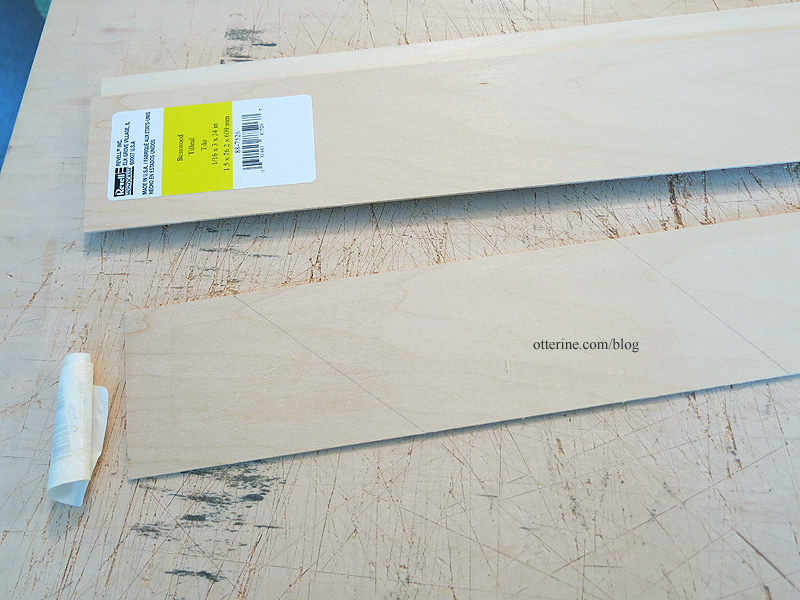
I then marked 6″ increments. I also made some of the sections in 8″ increments.
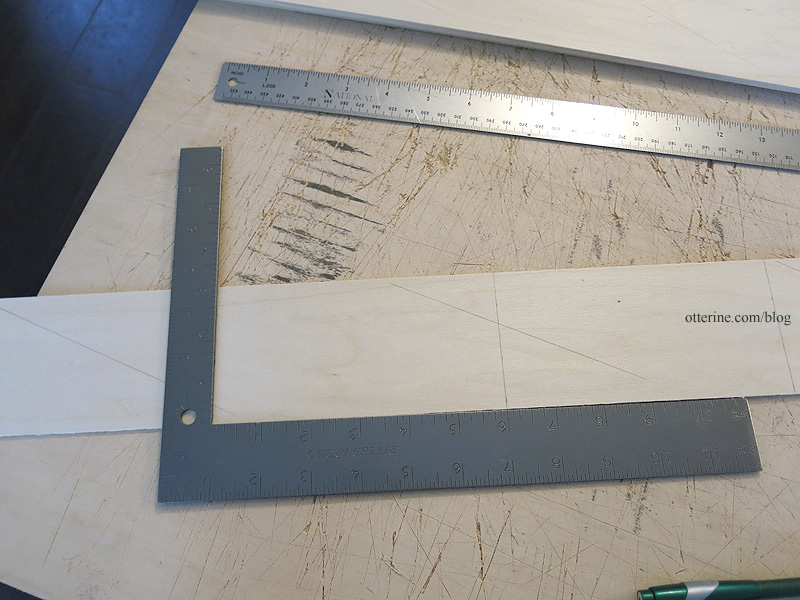
I marked 3/8″ wide planks.
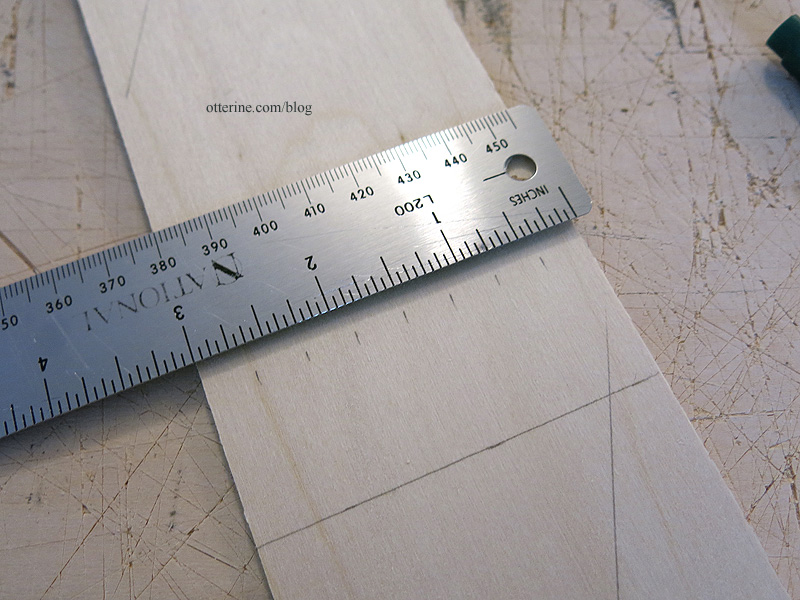
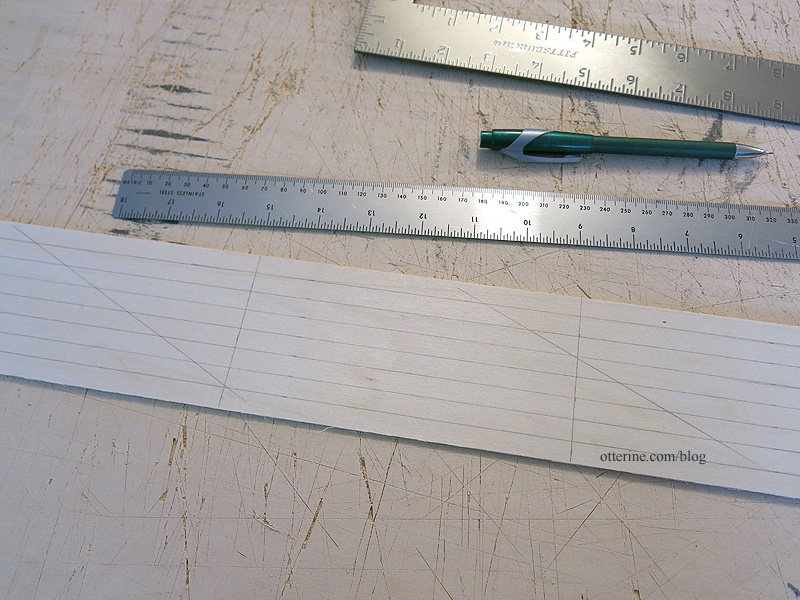
I cut the sections apart. In some places, I had to make additional marks to indicate the back.
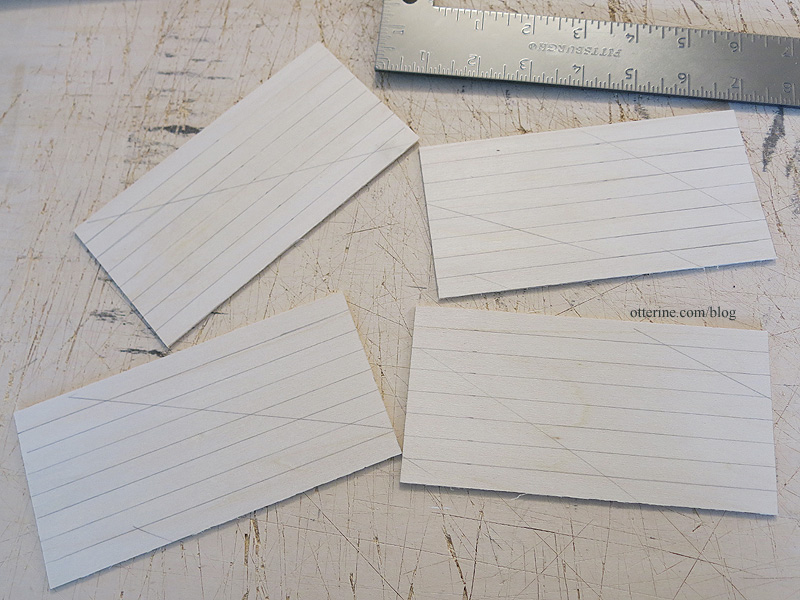
I then cut the planks.
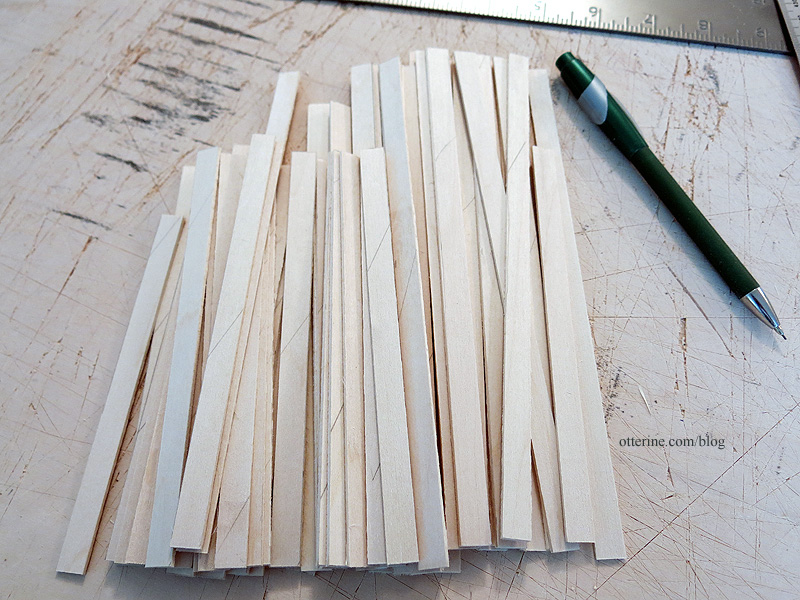
Here’s my pile of planks. You can see the back markings here and there.
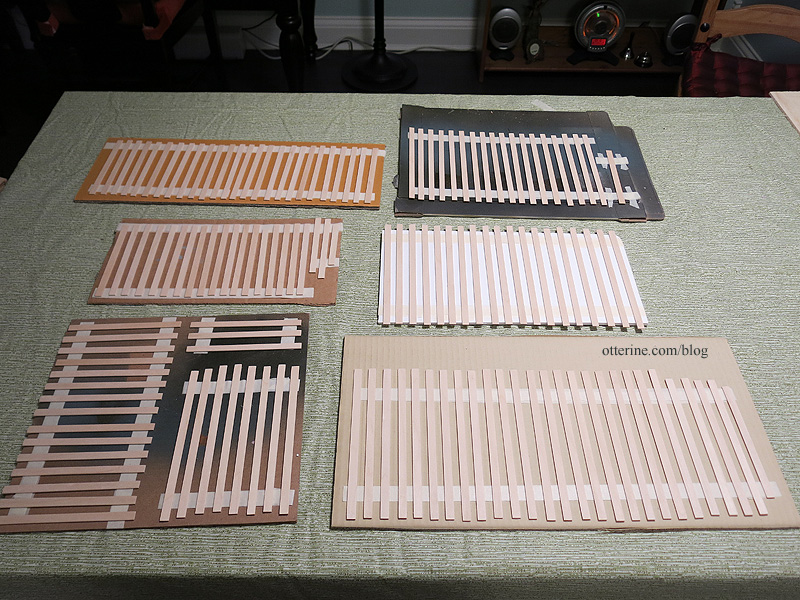
I sanded the fronts and front edges then taped the planks to painting boards for staining.
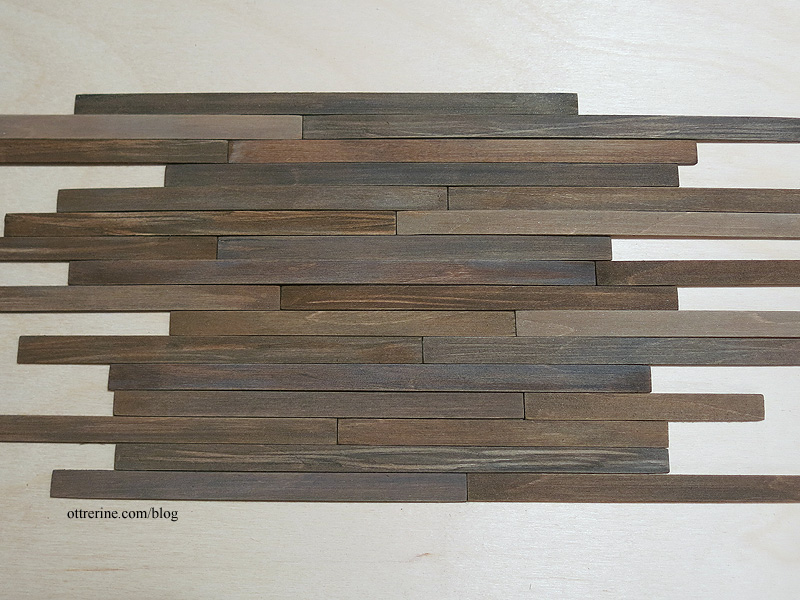
I stained the various boards using slightly different stains to end up with variegated, reclaimed siding.
Categories: Otter Cove
July 14, 2015 | 0 comments
NOTE: All content on otterine.com is copyrighted and may not be reproduced in part or in whole. It takes a lot of time and effort to write and photograph for my blog. Please ask permission before reproducing any of my content. Please click for copyright notice and Pinterest use.


