

Milo Valley Farm – lighting, part 1
Now that I have the ceiling board started, I can test out the lighting. As a reminder, I bought some new old stock E-Z-Lectric light fixtures from Itsy Bitsy Old Stuff. They had four packages of two lights and one package of two spare bulbs. They all worked. :D
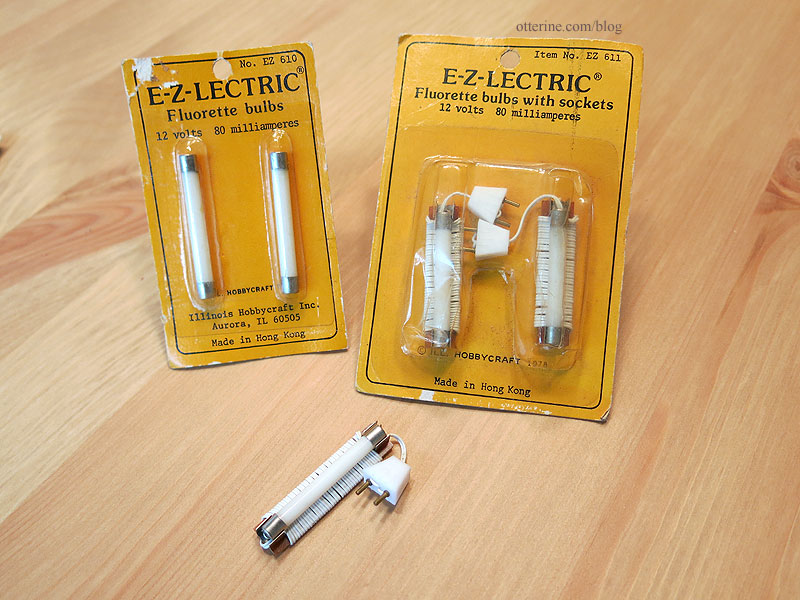
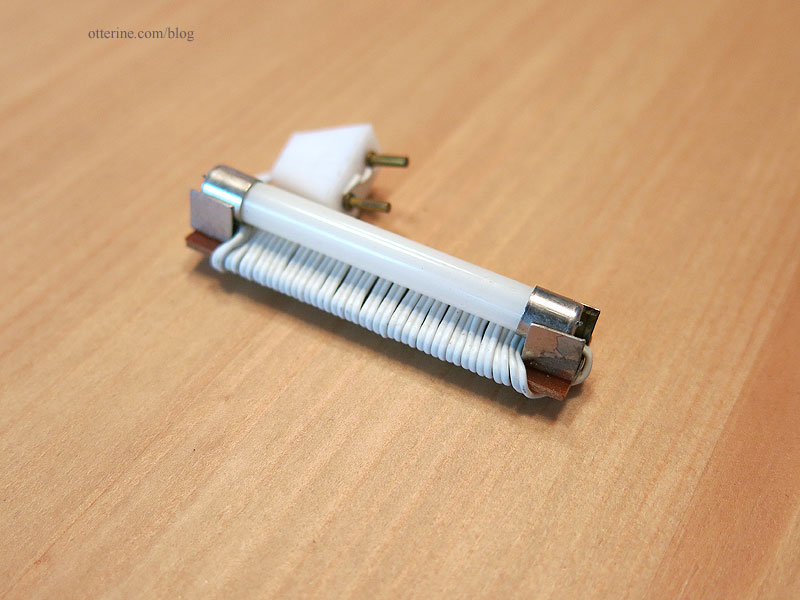
These are great since they already look a bit aged; a few of the bulbs show crackling in the frosted glass finish. There are similar fixtures on the market today, but they have black backings. I liked the older look of these brown backings. You could paint the more modern ones as well.
My original plan was to have four on the cross beams.
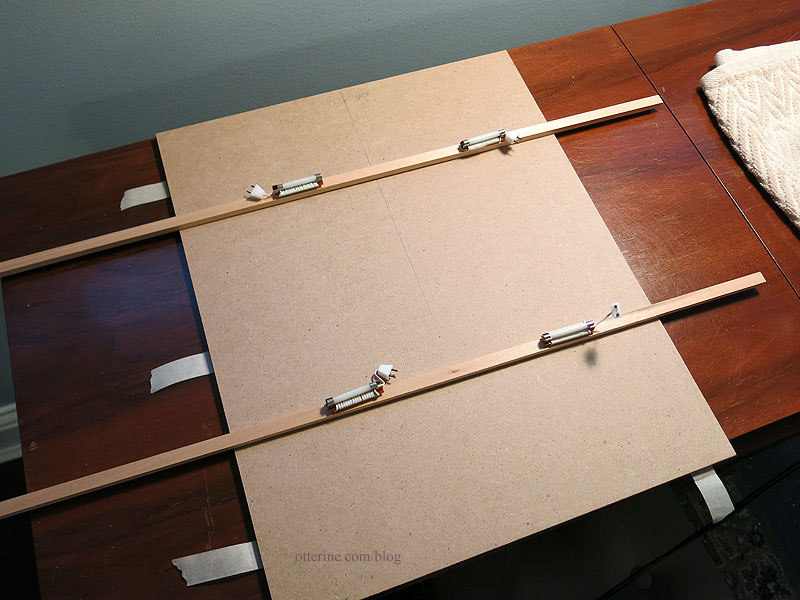
So, I unwrapped the wiring, taped them in place and plugged them in to test the brightness. The cross beams and left side beams are all still removable so I can hide the 12V system.
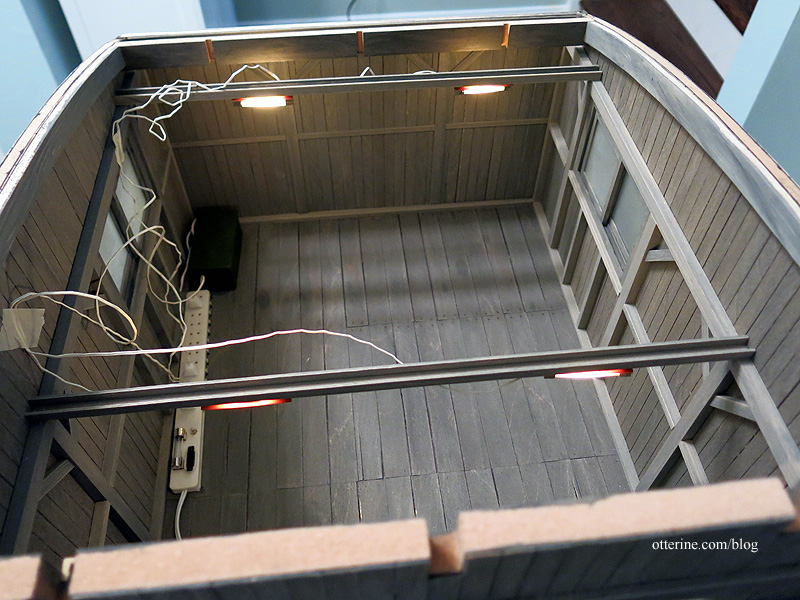
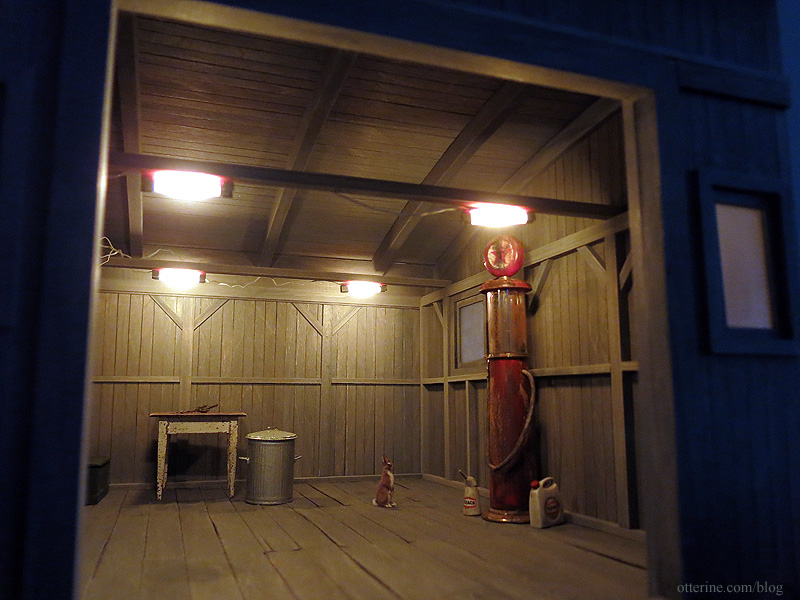
I think it’s the right amount of light with the four overhead lamps.
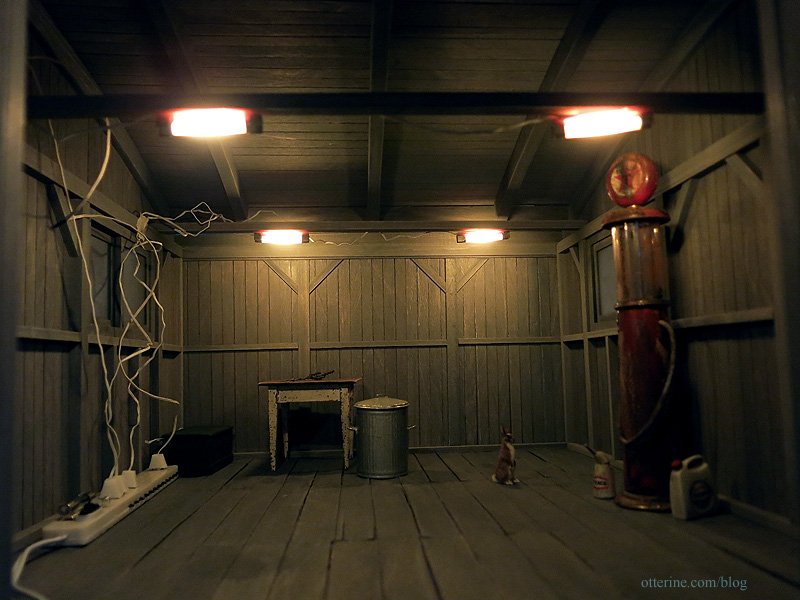
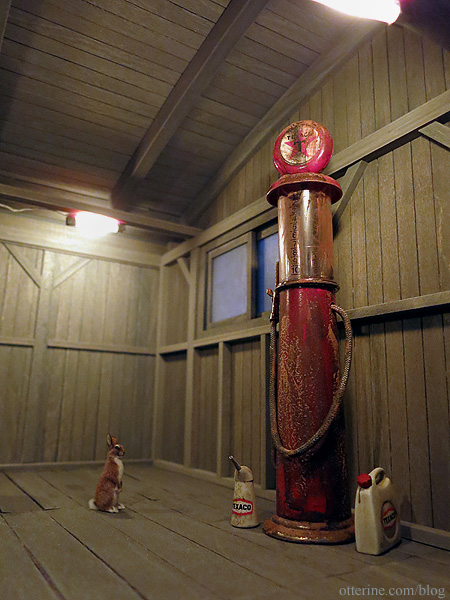
And, why not take some fun test shots while I’m at it? :D
Now I just need to finish up the knob and tube prep work.
Categories: Milo Valley Farm
August 19, 2015 | 0 commentsMaking a custom door, part 3
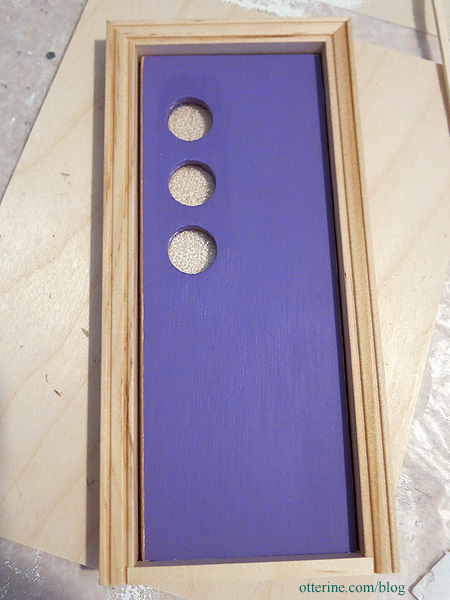
Continuing work on the custom door. I opted for Lilac Love by Folk Art for the final color. It’s a beautiful color that will stand out nicely from the final finishes without being overbearing. I painted the front and back sections while the door was unassembled because I didn’t want to risk getting paint on the window inserts.
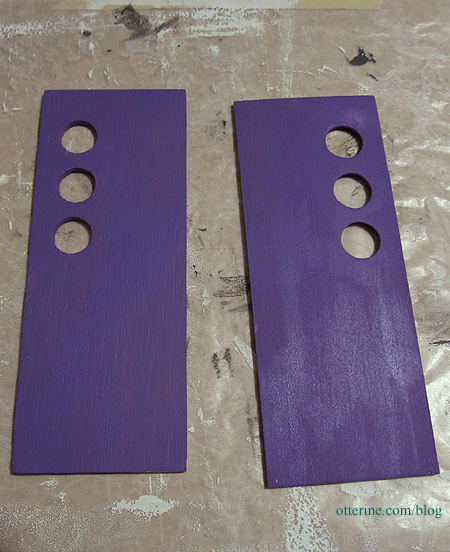
I then applied Delta Ceramcoat Satin Varnish around the window openings to finish those edges. I cut three pieces of rippled plastic sheet from HBS to serve as the window inserts.
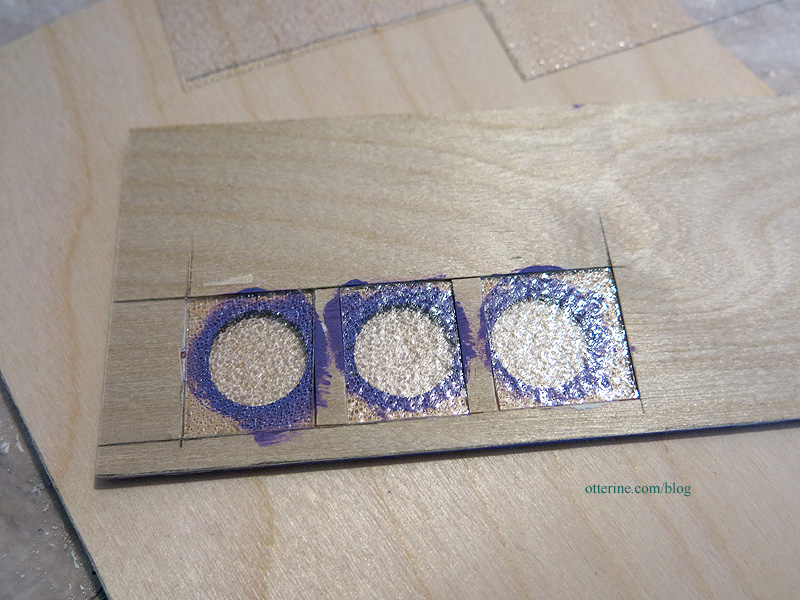
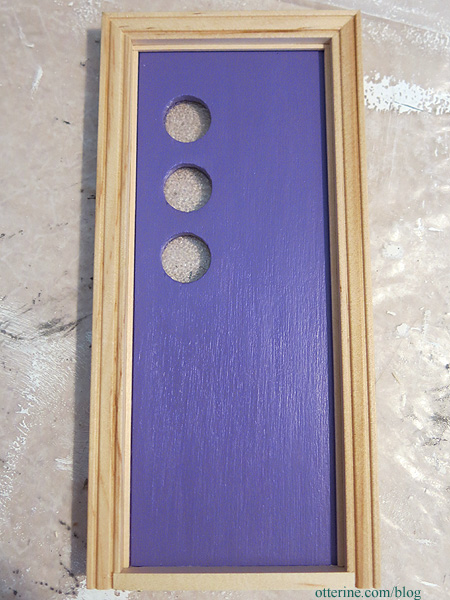
I glued the front to the back and pressed flat for a few days to make sure it was a solid bond. Here you can see all three layers that make up the door.
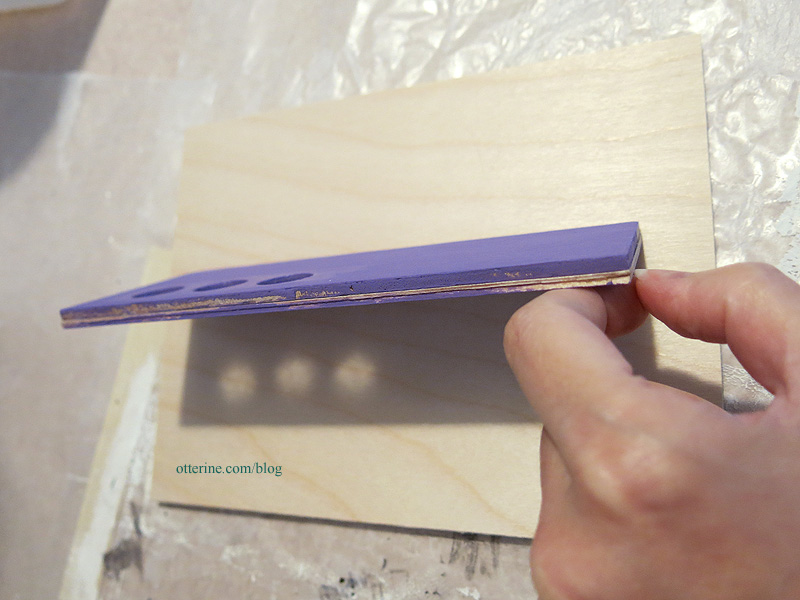
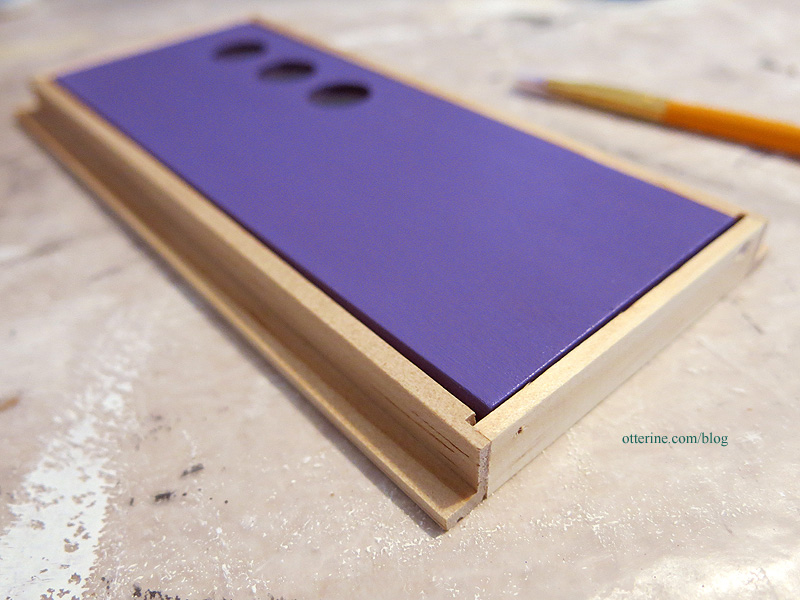
I filled in the edges with spackling to even out the surfaces. I sanded these smooth by laying sandpaper on my table surface and gliding the door over the flat paper. This keeps from rounding the edges inadvertently.
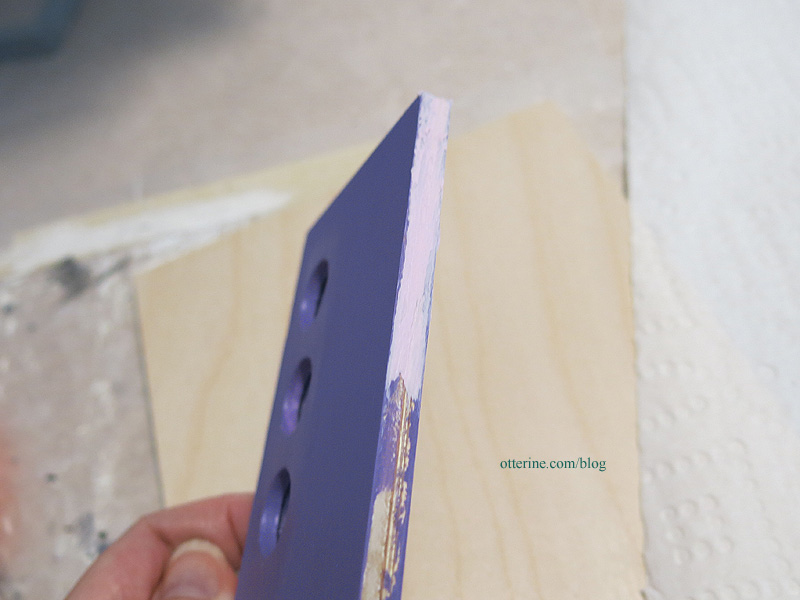
On the hinge side, however, I did round the edges. With a pin hinged door, you need that edge to be rounded otherwise it will bind.

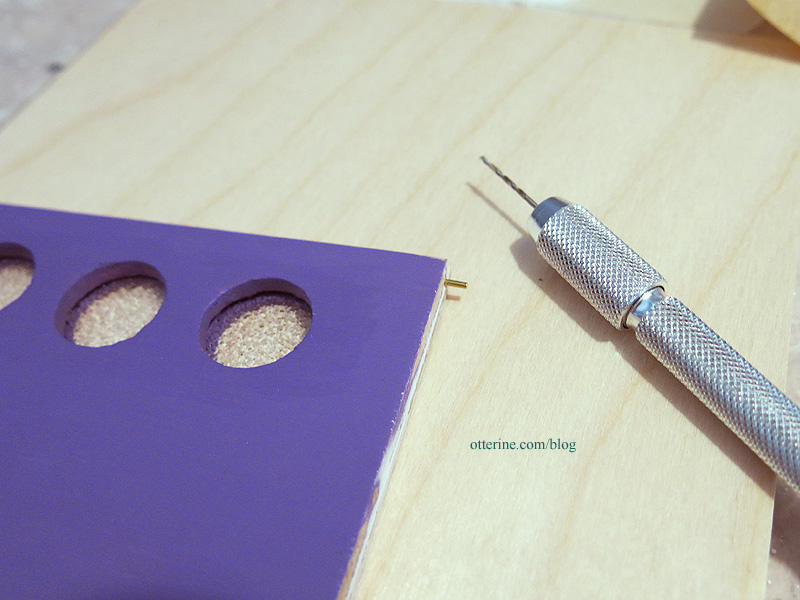
I flipped the opening direction of the door by transferring the holes to the opposite side. I have a full post on that process here. I then added the pin hinge to the new door.
Checking the fit.
To remove the drafty edges, I applied thin strip wood. I have a full post on that process here. I finished painting the edges and sealed the door.
The door is thicker than the usual Houseworks door that sits in this frame, but the overhang is so slight that I opted not to pad the frame. It won’t be noticeable with the final interior trim in place.
Next up…painting the frame and adding hardware.
Categories: Otter Cove
August 18, 2015 | 0 commentsThe Wee Sisters Three
A group of friends went in together and sent me the most adorable trio of mice for my birthday (from CozyMilArt). These three wee sisters are Daisy, Poppy and Fleur. While they each have their own personality and vary in looks, I still might have to make bracelets for them so I can keep them straight.
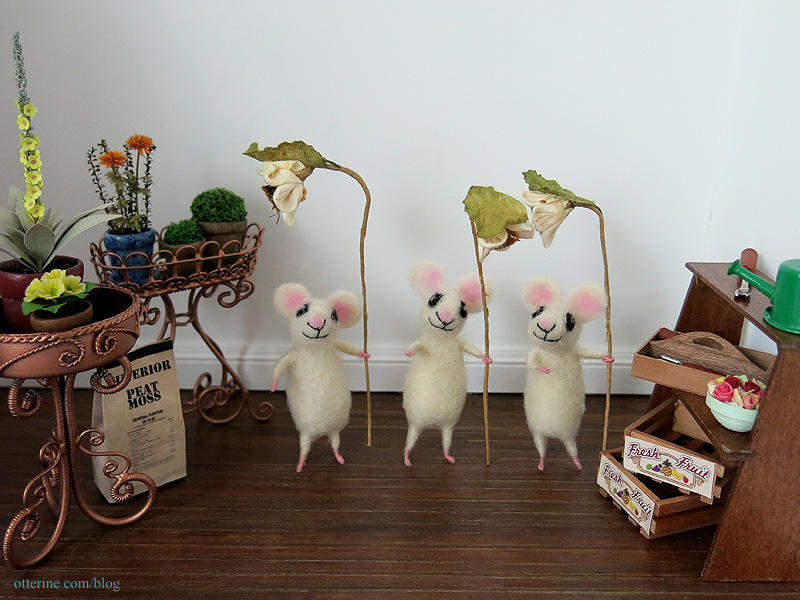
The included flowers are removable, but they can stand on their own without them. They can even hold other things.
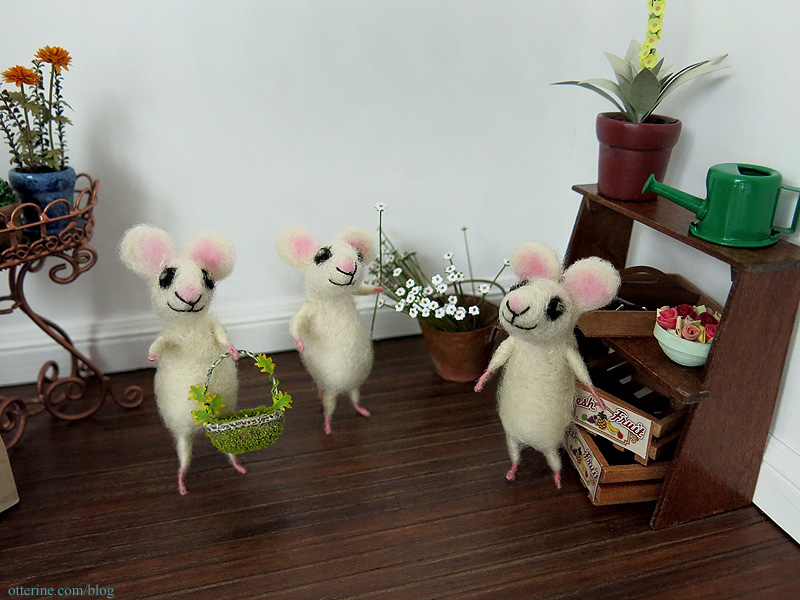
They found the toy chest! Wheeeeeeeeeee!

As you can see, they are good for child size in 1:12 scale, though they could work as adult sized mice in half scale. Thank you so much, ladies!! I love them! :D
Categories: Animals and birds
August 10, 2015 | 0 commentsMilo Valley Farm – landscaping, part 3
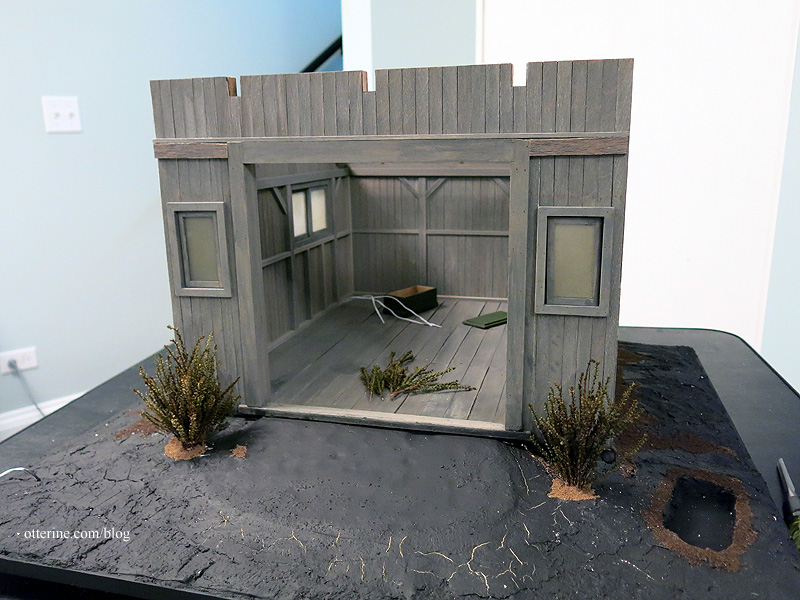
Continuing work on the landscaping. I added additional dark brown fine ballast around the bushes and touched up the rabbit hole.
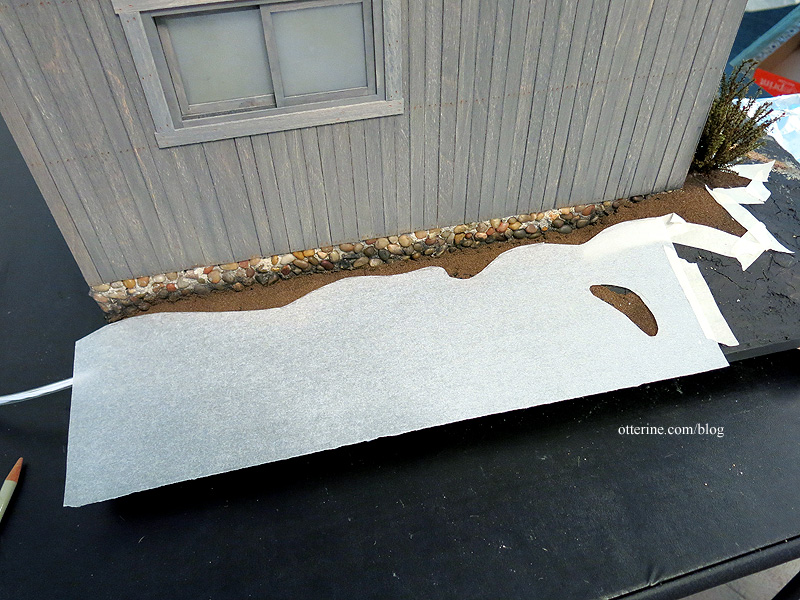
I am still deciding on the grass mat I will use, but I will need a template no matter which I choose. I made the template using tracing paper. Since I couldn’t see the dark dirt line through the paper, I lightly pressed masking tape along the edge.
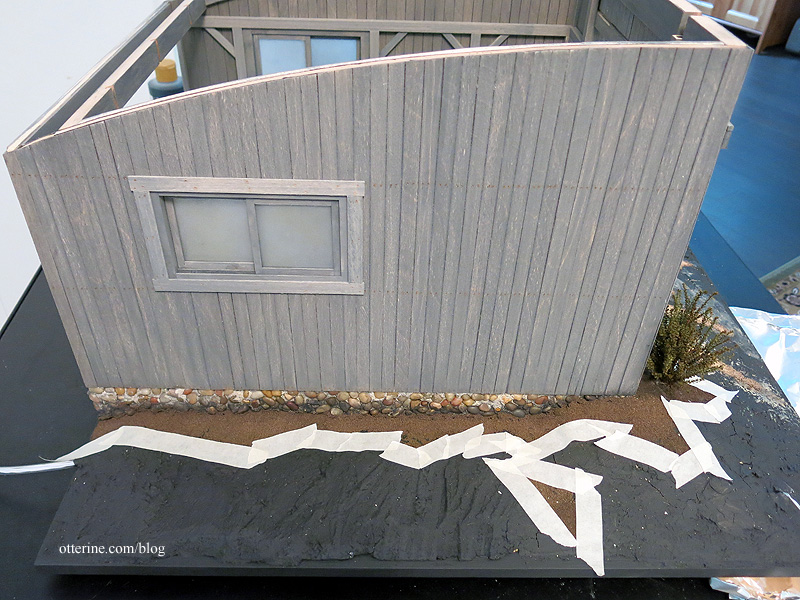
I traced the line with a pencil, adding more toward the dirt since I can always trim any excess.
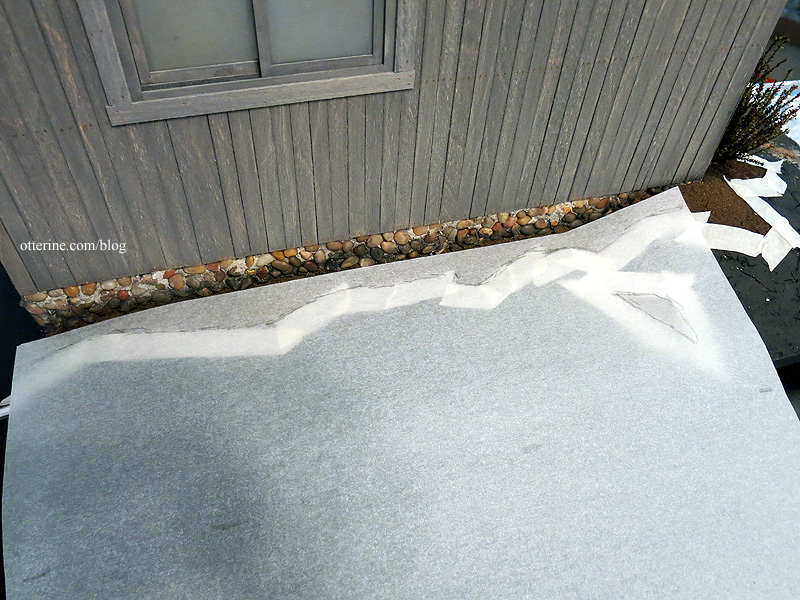
I cut the template and checked the fit.
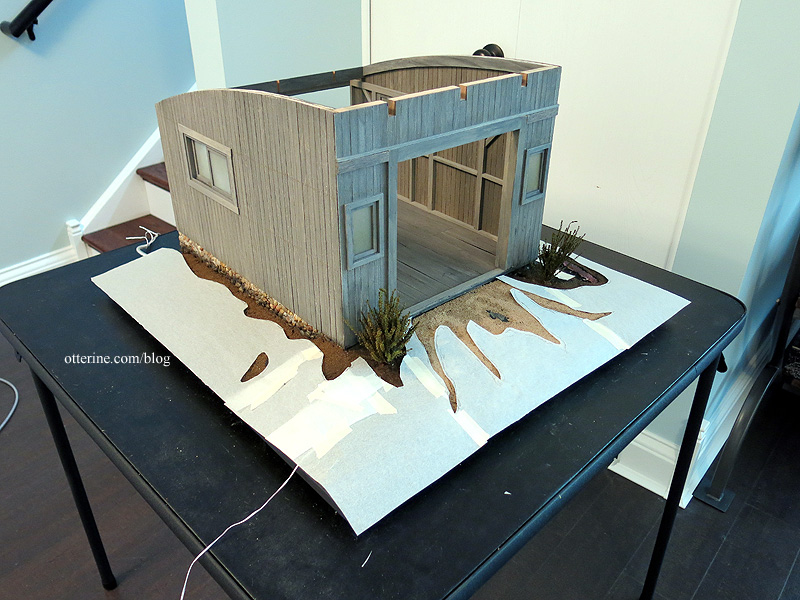
I continued around the front and opposite side, taping pieces together as needed.
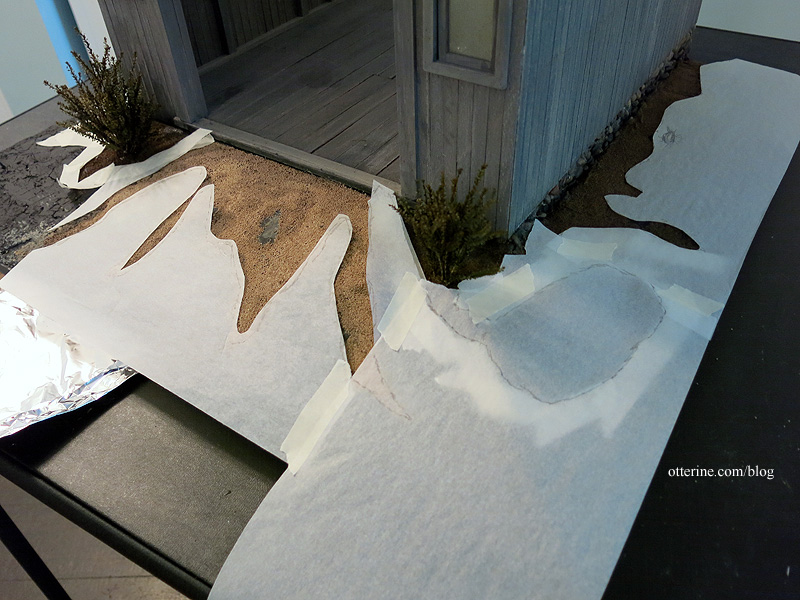
I’ll use this template to cut the grass mat.
Categories: Milo Valley Farm
August 9, 2015 | 0 commentsMilo Valley Farm – landscaping, part 2
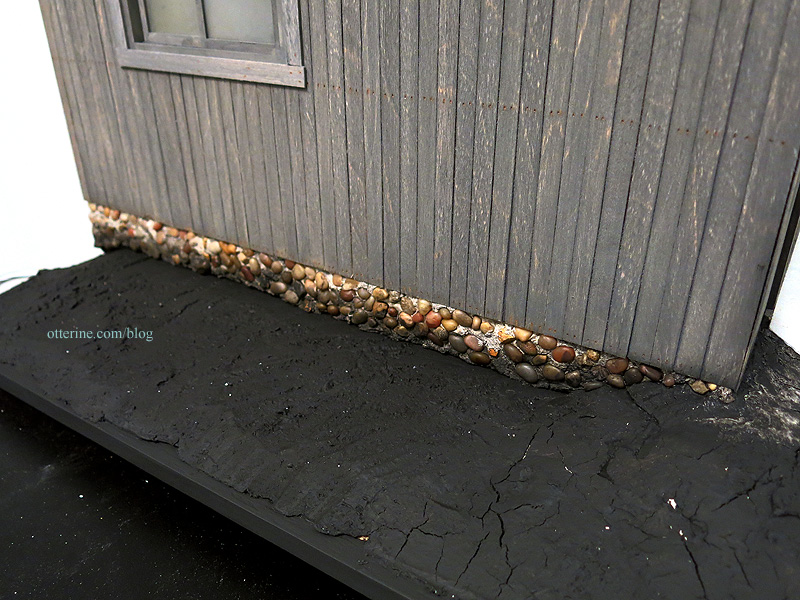
Continuing work on the landscaping. I touched up the paint over the stucco application and dirtied up the lower portion of the stone foundation with a brown and black paint wash.
After looking at it some more, I decided I needed to build up the land to the barn door. I glued and pinned a piece of thin foam to the existing ground. I cut it to fit.
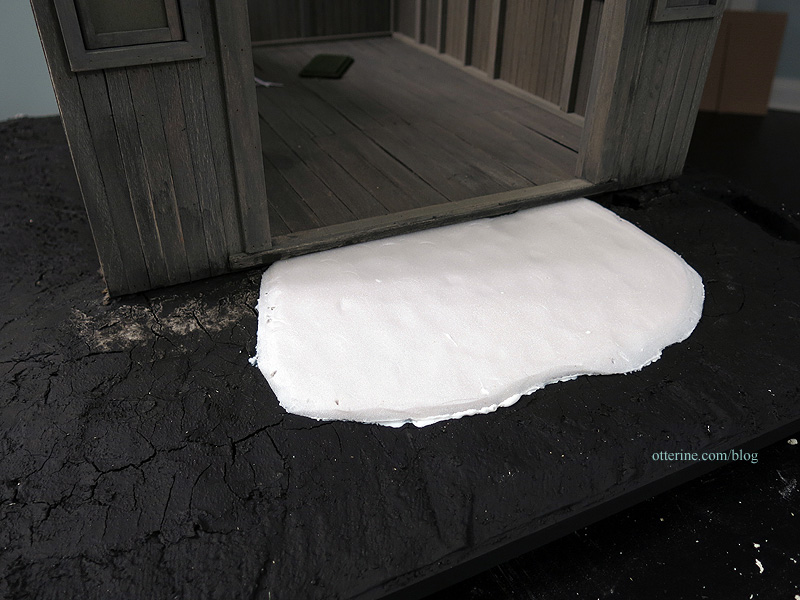
I then built up more stucco to even out the edges.
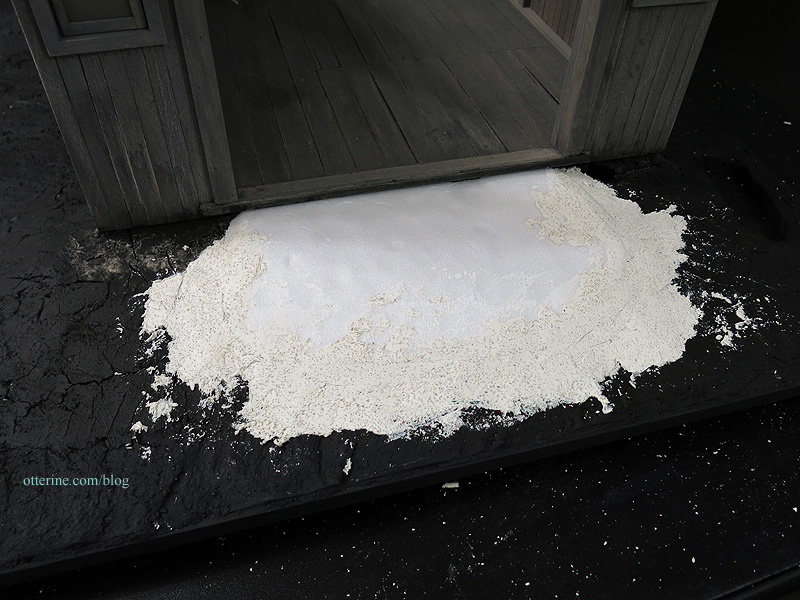
I painted it to blend with the rest of the land.
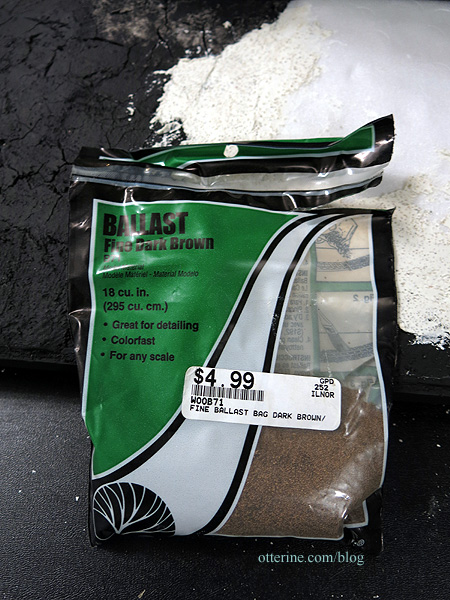
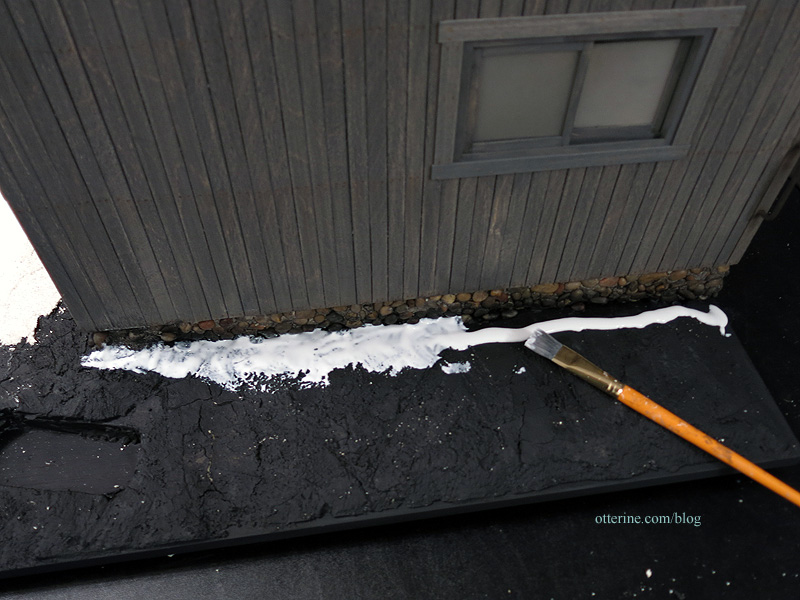
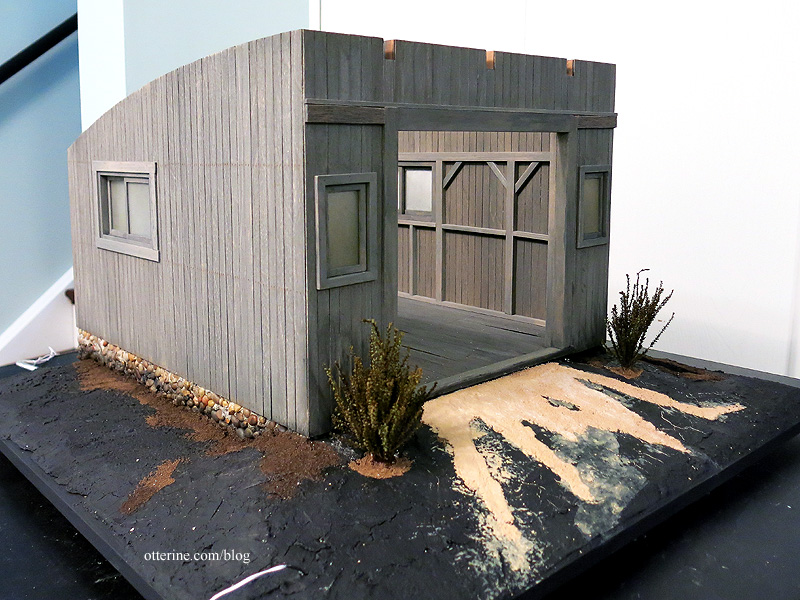
Instead of having the grass go all the way to the barn, I will have dirt showing along the foundation. I started with Fine Ballast Dark Brown by Woodland Scenics.
I spread a layer of glue with a brush.
I applied the ballast liberally and gently pressed it into place.
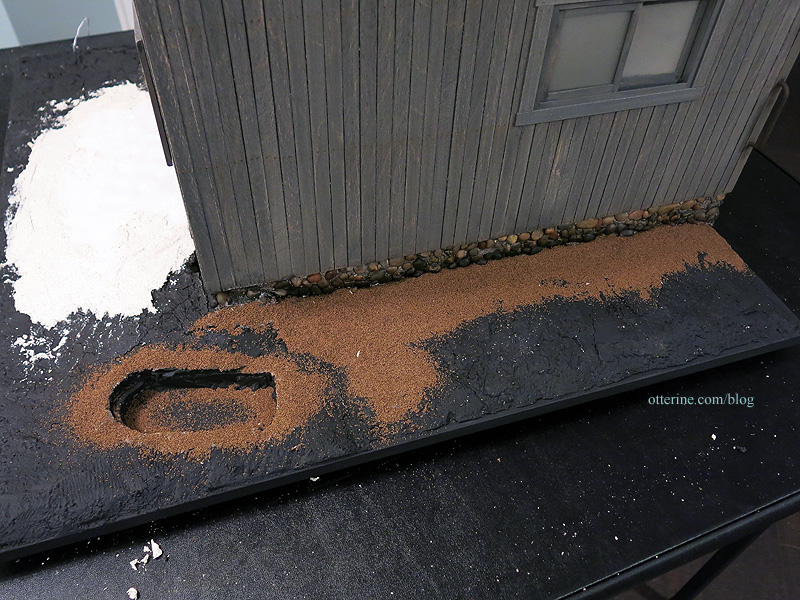
The rabbit hole has a layer of ballast as well. :]
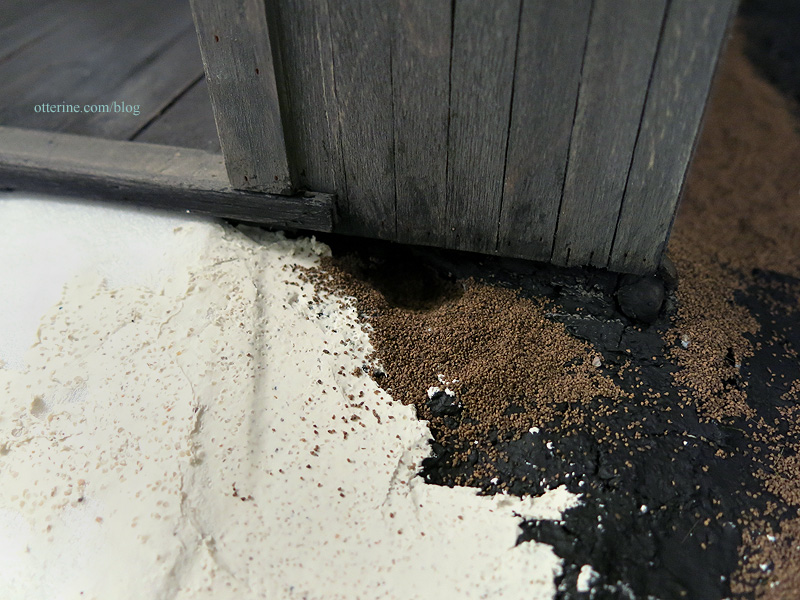
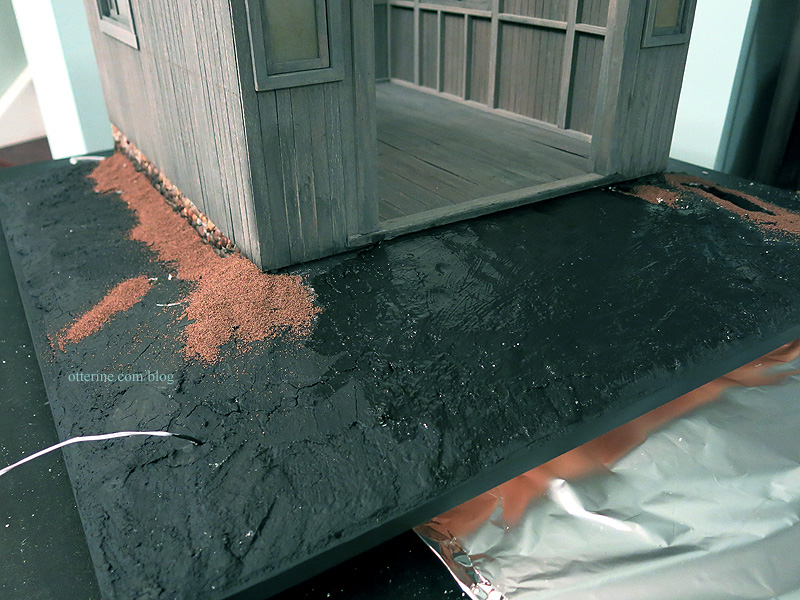
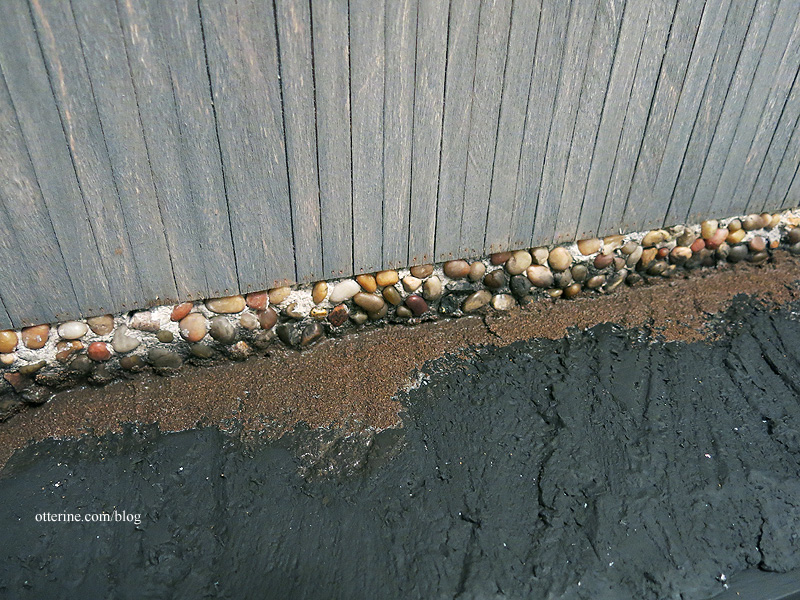
I let it set overnight before brushing the excess back into the container, then vacuuming the remainder. I added a dark black brown paint wash to the ballast after I cleared the excess. This will dry a little lighter than it looks now.
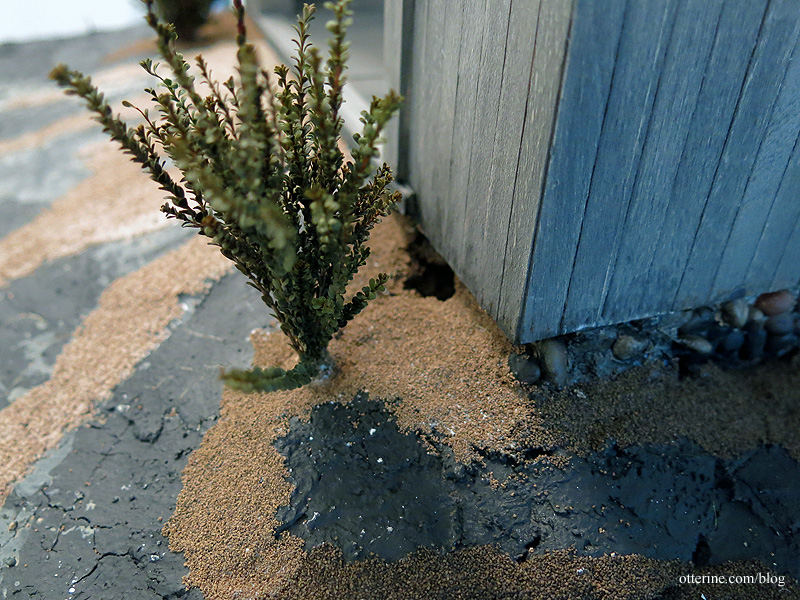
While that dried, I planted two greenery bushes purchased from A Little More in Miniatures at the mini shows earlier this year. They smell awesome. I dug out holes for the bases and glued each bush into the foam, spreading some brown ballast over the bases. Why not plant these later after the barn doors are in? No reason really. :]
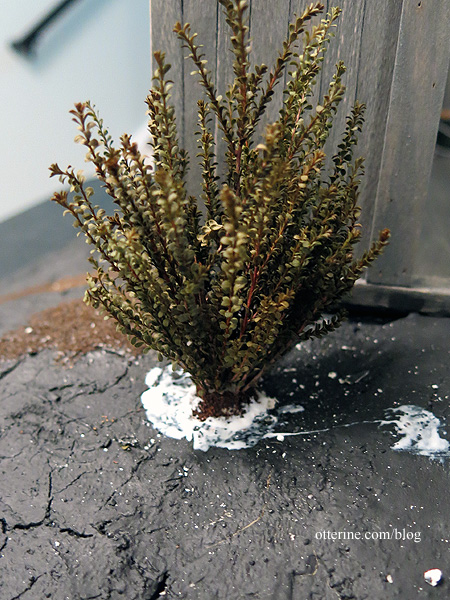
Operator error led to the bush by the rabbit hole losing a few branches. I will use these as final touches, so all is not lost! These are natural elements and as such might not last the test of time. Nice thing about an old barn is it won’t matter if they end up bare and sad looking.
On the ramp, I applied random streaks of glue and then spread the glue with a brush. The gravel is Woodland Scenics Ballast left over from Baslow Ranch. I poured it on generously and pressed it gently. I didn’t bother to let it dry overnight before brushing the excess back into the container, then vacuuming the remainder. I added some paint washes to make the gravel look more natural.

We’re getting somewhere. :]
Categories: Milo Valley Farm
August 7, 2015 | 0 comments


NOTE: All content on otterine.com is copyrighted and may not be reproduced in part or in whole. It takes a lot of time and effort to write and photograph for my blog. Please ask permission before reproducing any of my content. Please click for copyright notice and Pinterest use.


