
Nine Horses wall tapestry
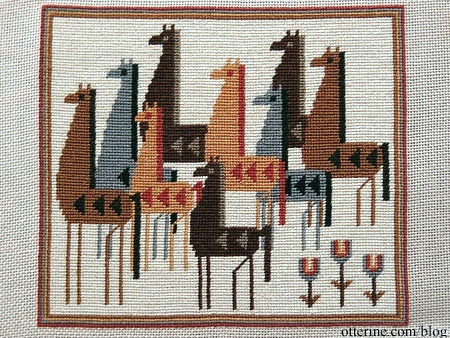
I’ve mentioned before that I save things in an inspiration folder. Quite a few years ago, I ran across a mousepad with an image of vintage needlepoint on it. I couldn’t tell if they were supposed to be llamas or horses, but they were definitely 1960s-1970s colors and style. Into the file the image went.
I later thought about that old image, so I looked for the mousepad website again but couldn’t find it. I did find another website showing the same image, with the same name as old seller with the mousepads. I wrote to the person for info about the origin of the design, but never received a reply. The image was clear enough and the design simple enough that I was able to draft a pattern to make a miniature reproduction for my personal collection. That was as far as I got.
Moving has its upside in that you find stuff you forgot about. As I was sorting needlework patterns, I ran across my pattern. I went back to the website with the photo of the needlework and found a different website for the same seller. I wrote to her again and heard back this time. She wasn’t sure of the origin and thought the needlework had been done 35 years ago.
In the meantime, I also did a new google search and a different image of the same design showed up at an auction house. No idea if this was related to the mousepad seller or not. I don’t even know if it is a one of a kind work or if there was a pattern for it way back when.
I stitched my adaptation of the design on 32ct Jobelan fabric in parchment using two strands of DMC floss in half cross stitch. Needlepoint (half cross stitch) goes twice as fast as full cross stitch. I finished the stitching portion of the Nine Horses tapestry in 38.5 hours.
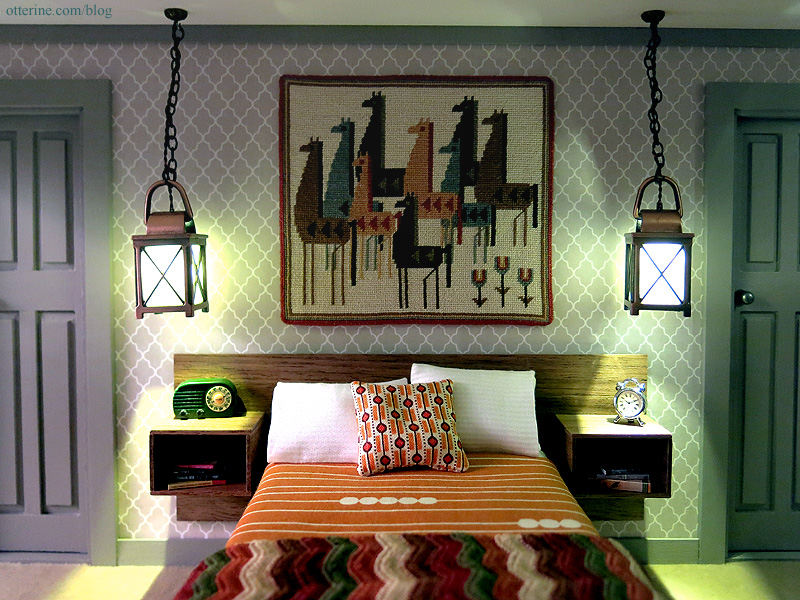
I turned under the edges and hung it in the bedroom of Otter Cove. The final measurements are roughly 4 x 3.5 inches.
Categories: Needlework - French knot rugs, Otter Cove
September 17, 2015 | 0 commentsCrying over you
Tears of joy over tear-producing mini onions! I first saw a rope of these fabulous onions by Fatima on Janine’s blog Minworks. I was so smitten with those onions!!! When I saw they were offered by Fatima during the recent online mini show, I snapped them up!
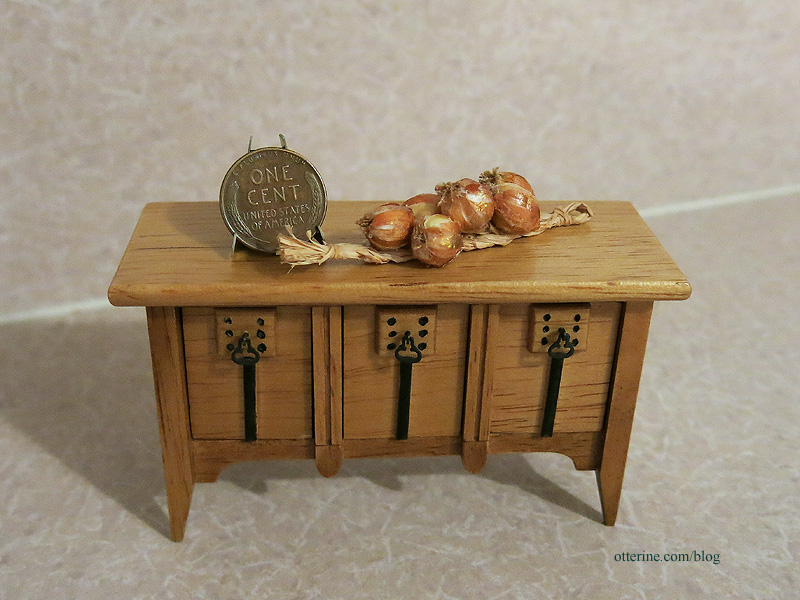
I swear these are real onions that were put through a shrink-ray. :D They are so perfectly flaky and translucent.
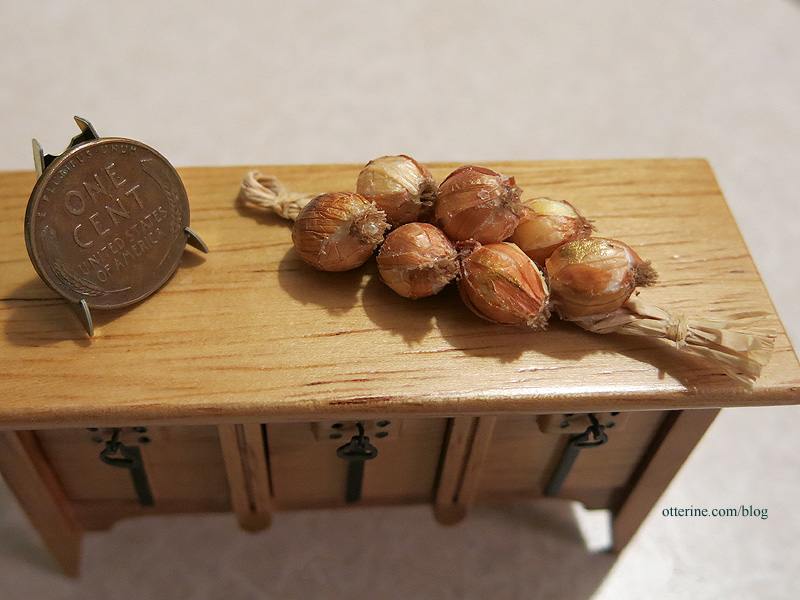
Fatima has an etsy shop Beauxminis and a website by the same name. :]
Categories: Miniatures
August 31, 2015 | 0 commentsBishop Autumn Show 2015
Tonight was the Bishop Autumn Show, and it’s still running tomorrow. :]
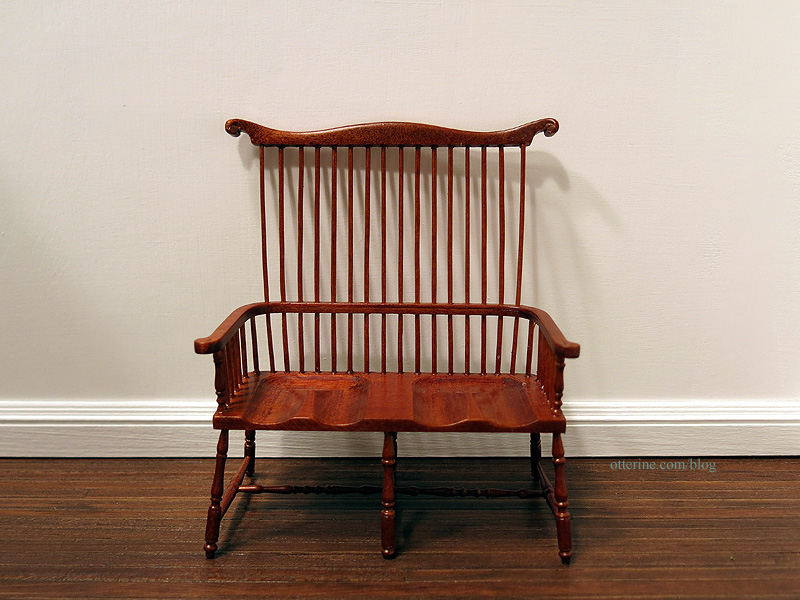
The first stop I made was to Greg’s table All About Miniatures, featuring a vast display of JBM Miniatures. I have a weakness for Windsor chairs, so this settee spoke (haaaaaaaaaa) to me. I am considering painting it black and distressing it. Hmm…
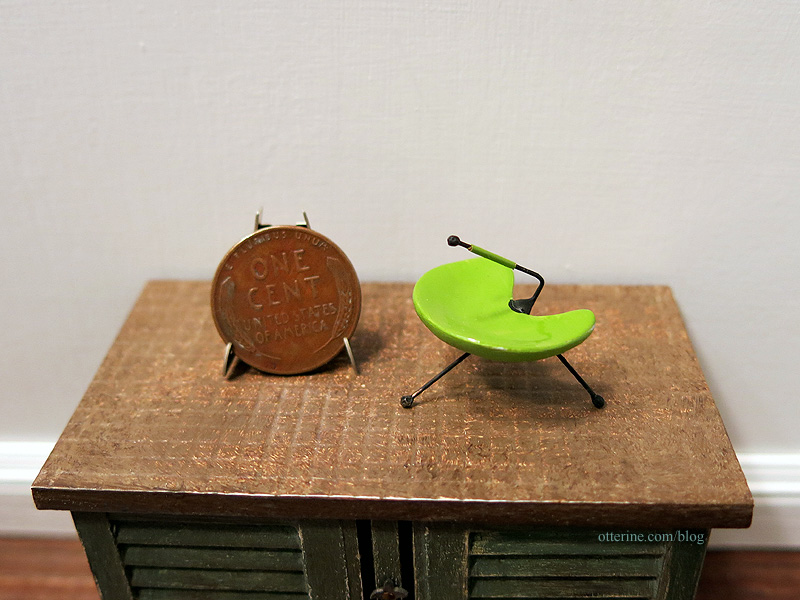
I’ve spoken with Michael of Atomic Miniature in the past, but this was the first time we had a chance to really chat. He makes groovy modern miniatures, and this vintage ashtray jumped into my bag. :D
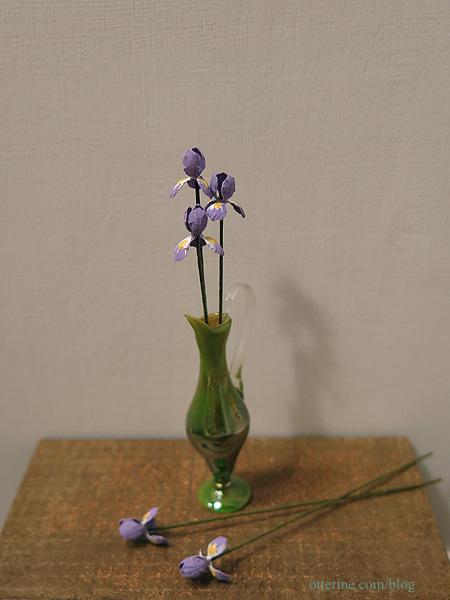
These lovely irises are from Patricia Hopkins Studio (the vase was bought at the spring Bishop Show from Vitreus Ignis).
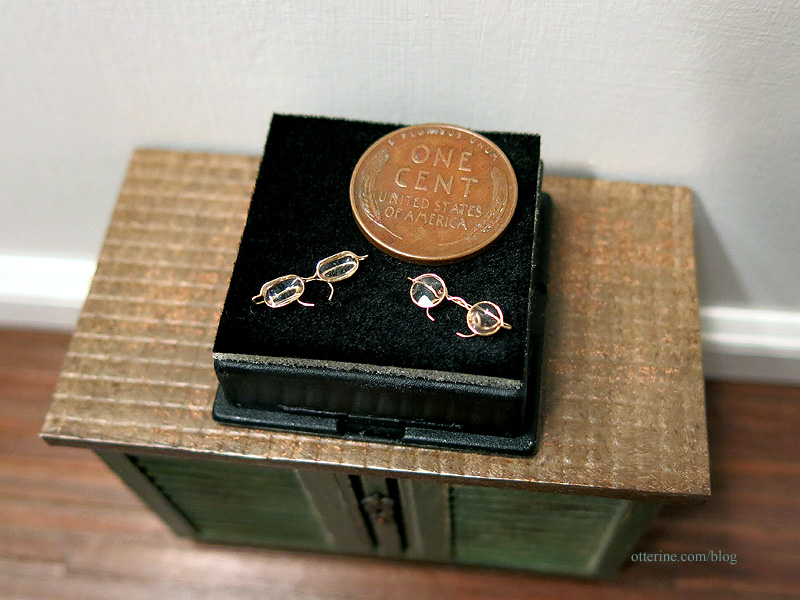
These eyeglasses are from Lynn O’Shaughnessy (no website). Marvelous. :D
As always, Wright Guide Miniatures has something that’s just perfect.
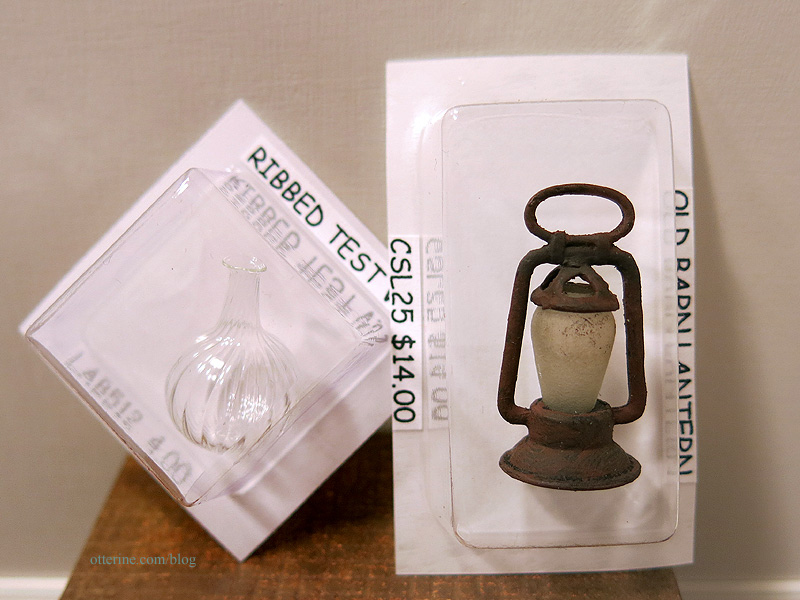
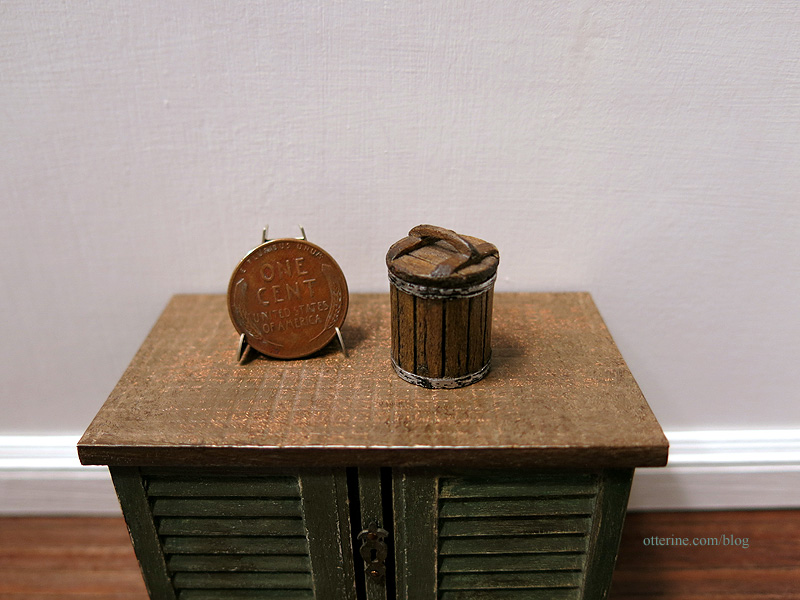
The Little Dollhouse Company always has great things, too. This little barrel has a removable lid.
A somewhat light shopping night (for me) and certainly all over the board as far as style goes. :D
Categories: Miniature Shows and Shops
August 28, 2015 | 0 commentsMilo Valley Farm – knob and tube wiring, part 2
With the lighting plan in place, it’s time to start wiring — both the actual 12V dollhouse system and the fake knob and tube system. I started by drawing a rough sketch of where the knob and tube wiring would be placed. This also gave me a rough idea of how many of each piece I would need.
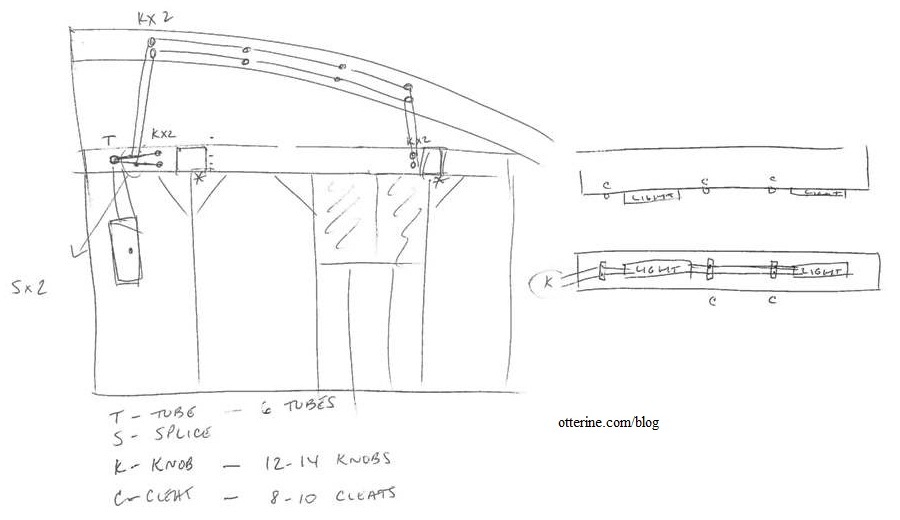
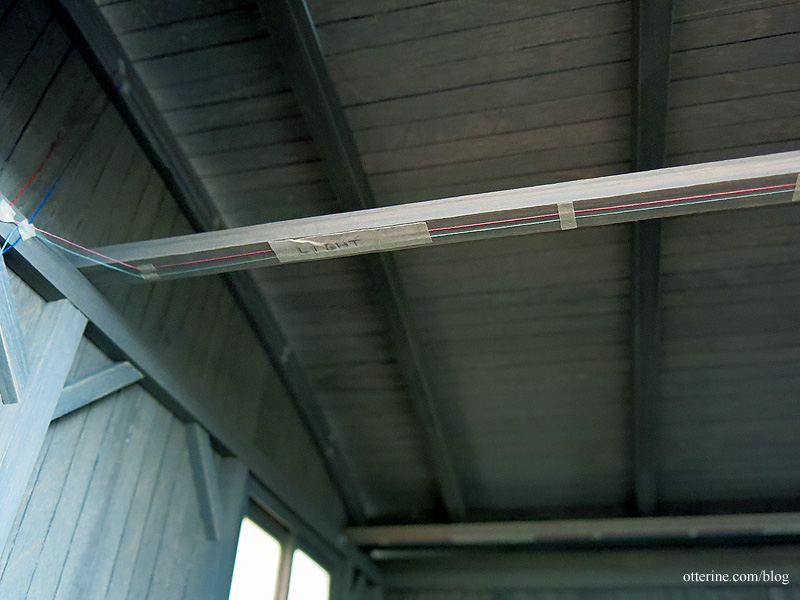
While I didn’t study antiquated electrical work in depth, the gist is I need two wires — one hot and one neutral — and you don’t want them to touch the building surfaces or each other. The final crochet thread wiring will come later since I’ll need to pull enough through to reach all of the areas where it is needed. Better to plot its course first. So, for right now, I am just taping some colored sewing thread in place as a trial run. I can then label by color for the length of thread I will need in each run.
From the fuse block, the wires will be spliced with one set to go directly up and the other set to hit the first cross beam. There’s a reason why the wires don’t start at the top, but that has to do with the exterior lead-in setup. I’ll get to that later.
I will drill holes in the cross beams and feed the 12V wires through the channels, splicing the lights on each beam to work as a single unit. In between those lights, I will need to add a wire path. One thing I showed you in the previous post but didn’t make were the cleats. These allow two wires to travel a parallel path. I’ll need to construct these as well.
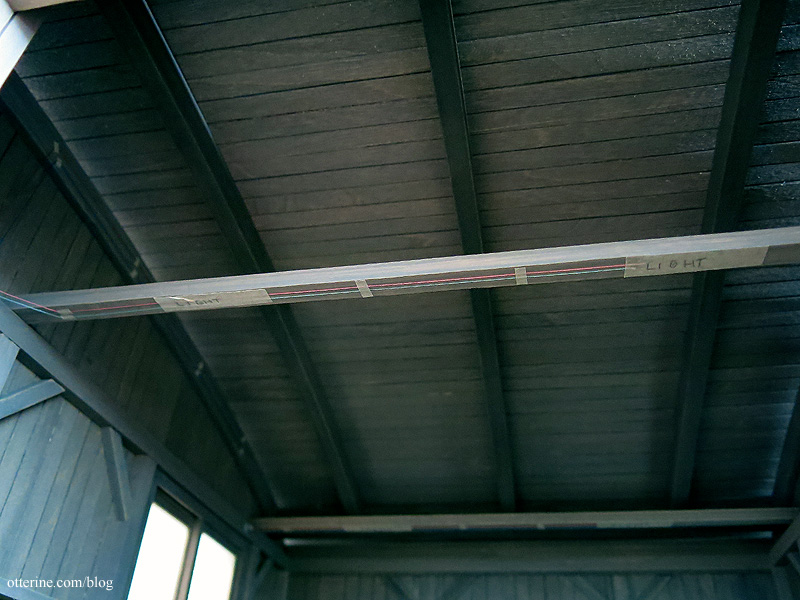
I will space the knobs evenly along the top curved beam toward the second cross beam. Again, I’ve used small bits of tape to go through the whole path before making any permanent marks or holes. The wires then drop to the second beam.
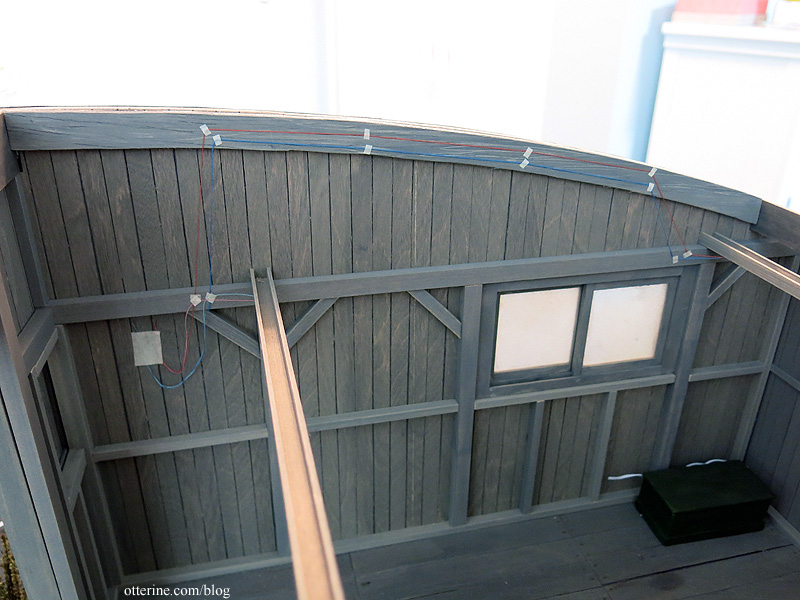
I’m going to mull this over a bit now. I realized in looking at these pictures that I haven’t installed the support brackets for the cross beams, and that will interfere with this setup. I might also move the fuse box above the top horizontal beam instead of having it sit right below it. I have a few ideas, just need to sort them out. :]
Categories: Milo Valley Farm
August 22, 2015 | 0 commentsMilo Valley Farm – lighting, part 1
Now that I have the ceiling board started, I can test out the lighting. As a reminder, I bought some new old stock E-Z-Lectric light fixtures from Itsy Bitsy Old Stuff. They had four packages of two lights and one package of two spare bulbs. They all worked. :D
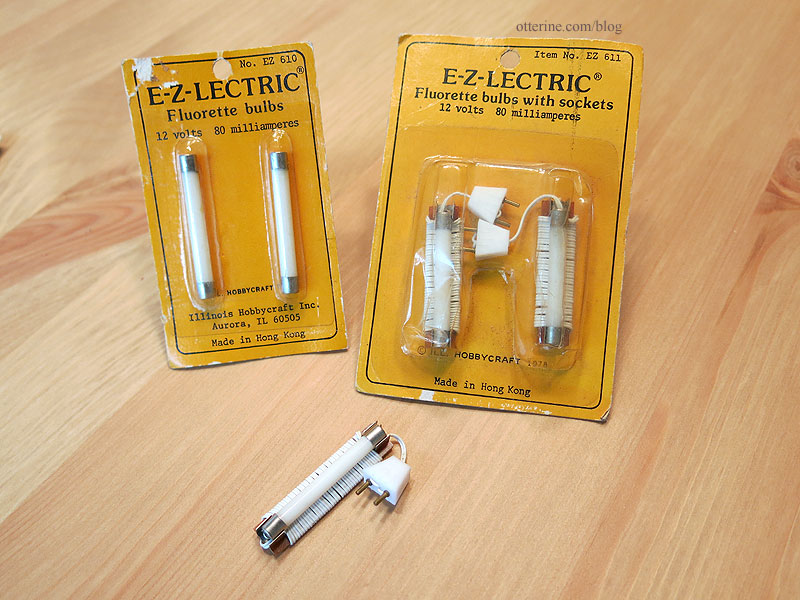
These are great since they already look a bit aged; a few of the bulbs show crackling in the frosted glass finish. There are similar fixtures on the market today, but they have black backings. I liked the older look of these brown backings. You could paint the more modern ones as well.
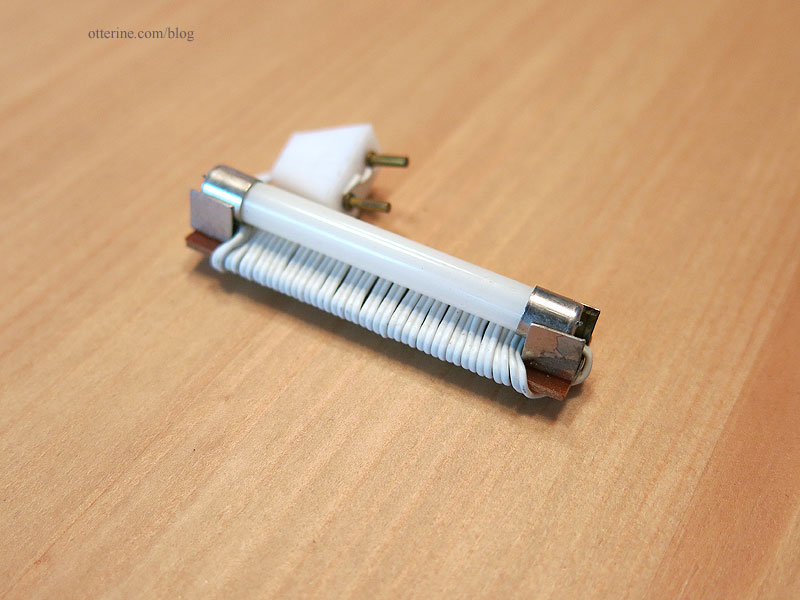
My original plan was to have four on the cross beams.
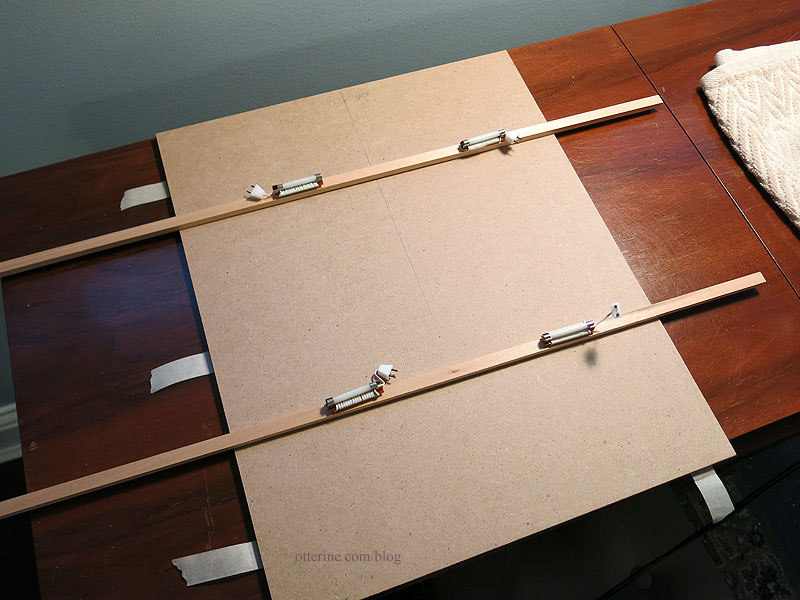
So, I unwrapped the wiring, taped them in place and plugged them in to test the brightness. The cross beams and left side beams are all still removable so I can hide the 12V system.
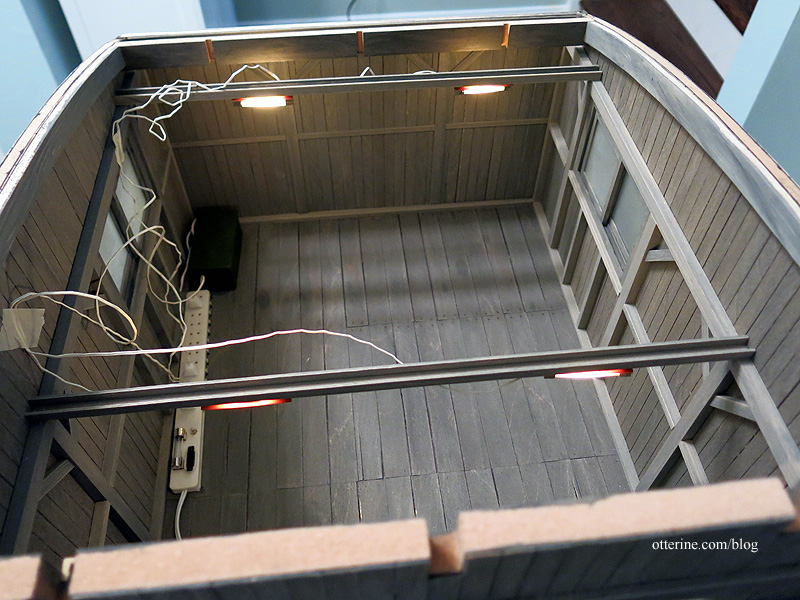
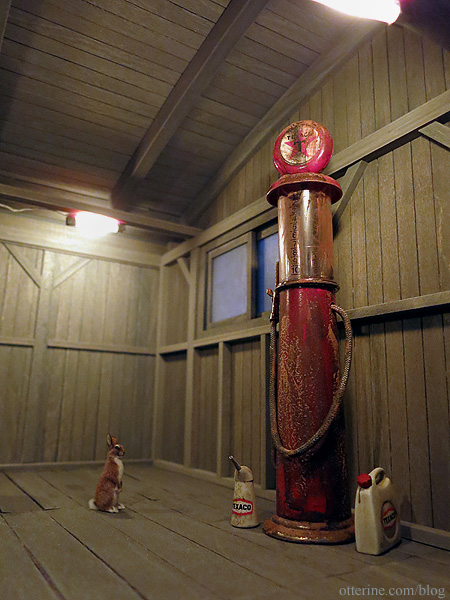
I think it’s the right amount of light with the four overhead lamps.
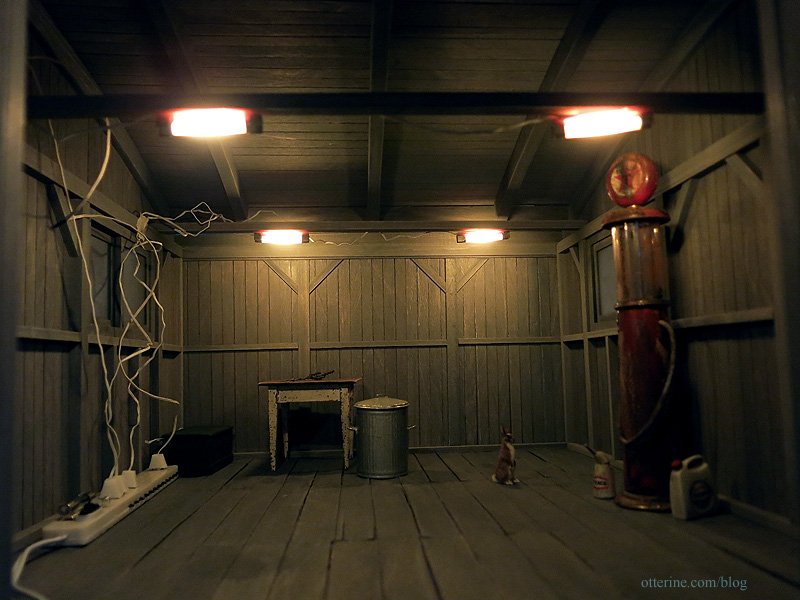
And, why not take some fun test shots while I’m at it? :D
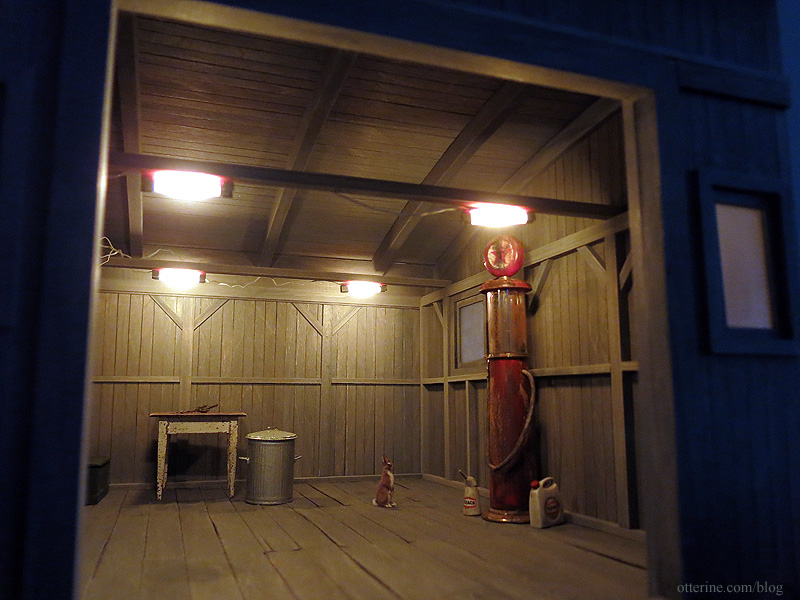
Now I just need to finish up the knob and tube prep work.
Categories: Milo Valley Farm
August 19, 2015 | 0 comments
NOTE: All content on otterine.com is copyrighted and may not be reproduced in part or in whole. It takes a lot of time and effort to write and photograph for my blog. Please ask permission before reproducing any of my content. Please click for copyright notice and Pinterest use.


