
Tinysaurus Rex
Ages ago, I saw a Tinysaur T-Rex that April had assembled. I put off getting one of my own, which is always a mistake. If you like something for a future project, it’s better to get it and store it. When I finally got around to looking for them, they had vanished like the actual dinosaurs during a mass extinction! :O
I persevered, and they finally arrived…the T-Rex and the Stegosaurus. I ordered mine from The Evolution Store back in 2013, but you can now find them at Everything Tiny.
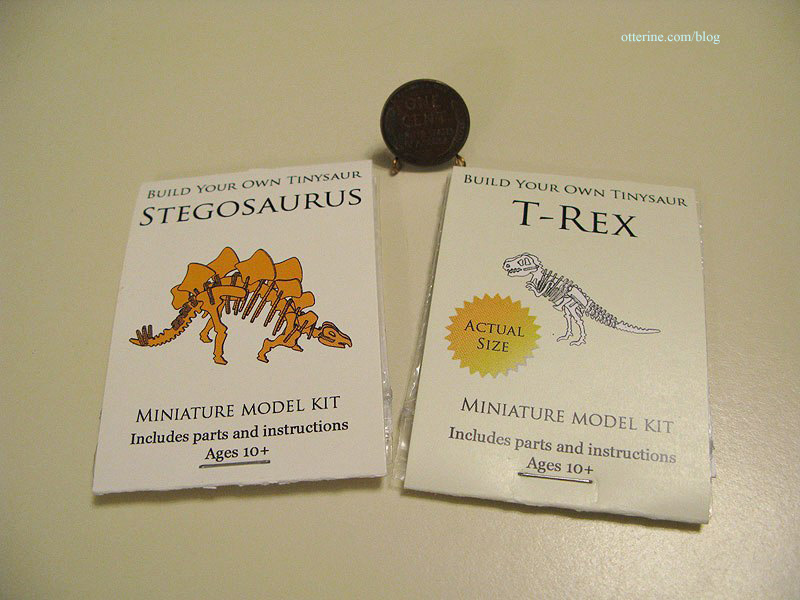
Look how small the T-Rex head is, and then notice there are a lot of parts even smaller!!! :O
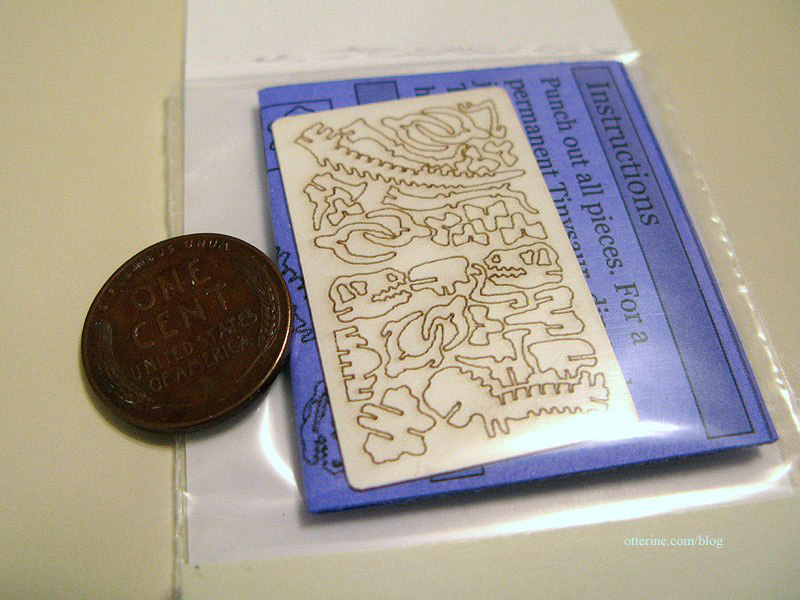
I had started this model in 2013 for my Christmas scene that year but never got back to it until now.
My X-Acto blade was huge in comparison. Nothing but super sharp, out of the box blades for this work. Separating the pieces took a lot of patience. I recommend working in an area with no breeze, no small spaces for flying parts to fall into (I’m looking at you, keyboard) and no loud noises. No deep breaths or sneezing, either!
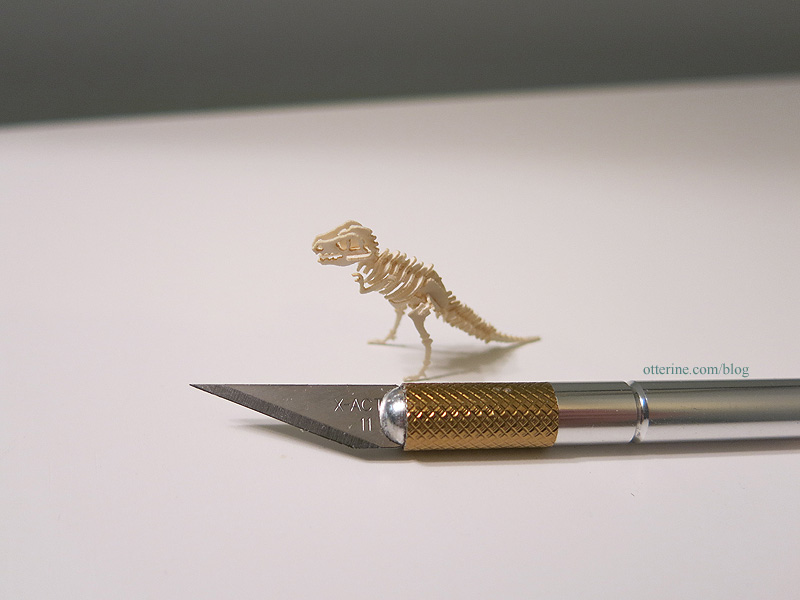
Maybe if the tiny X-Acto by Ulus Miniatures truly worked, it would have been easier. :D
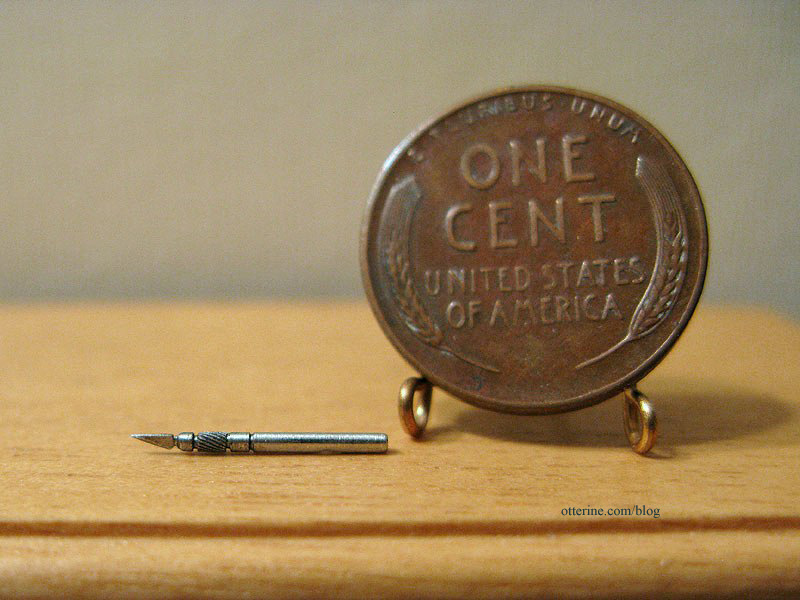
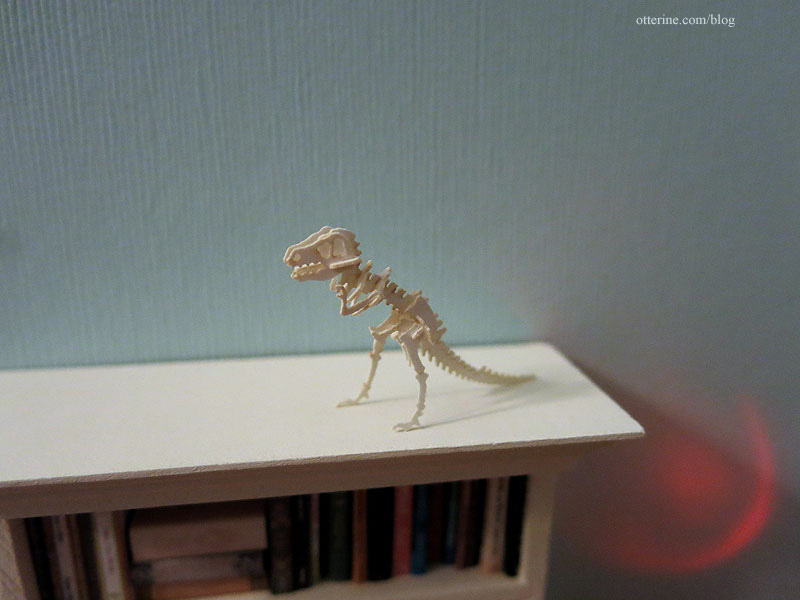
I glued my model together, though I did a dry run on all the parts each step of the way. There would be no way to take it apart if a gluing error occurred. I used tiny tip tweezers for the parts and bent tip tweezers to hold the model.
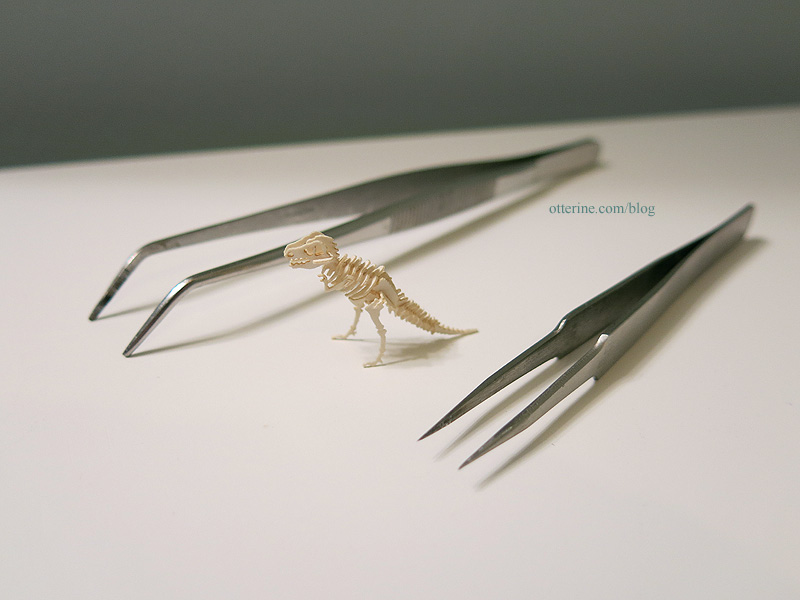
So wee!!! :D I tell you, the pieces look substantial in this photo…they are not.
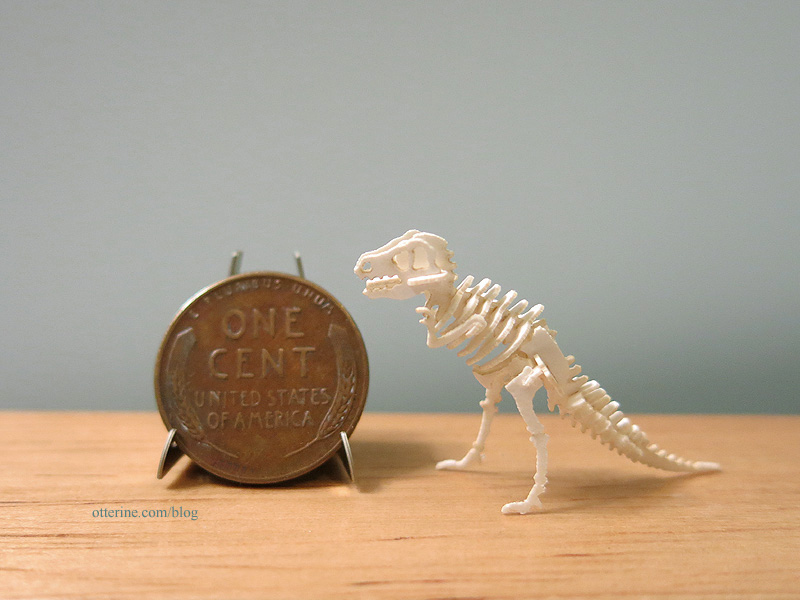
I put together one of the regular size wood models back when I was young, so it’s nice to have a mini one for my mini houses. Plus one of my inspiration photos for Otter Cove had a wood dinosaur model in it (and a round window on a white brick wall). Meant to be!
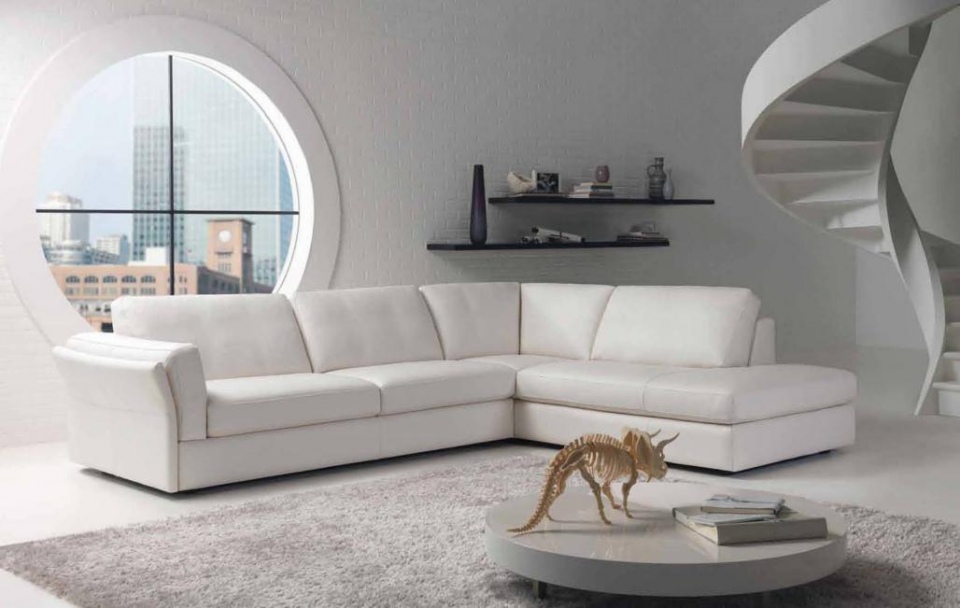
no discernible source found for this image since there were over 1,500 instances of it in a google search Categories: Animals and birds
December 10, 2015 | 0 commentsOtter Cove – Wall of Windows
This photo is only possible with the window inserts removed, otherwise you would see me and my kitchen. :D Even if I dressed in all black, you’d see a Ninja in my kitchen. That’s a lot of reflective surface!
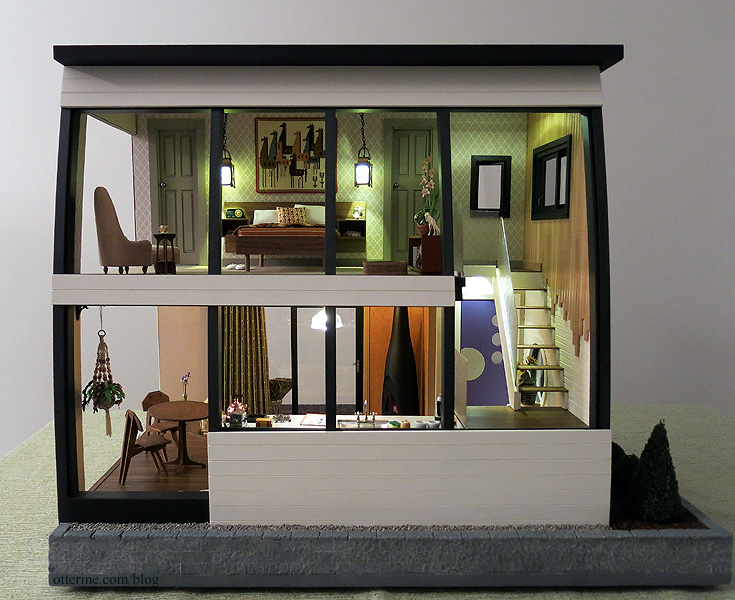
After tipping the kit over onto its side, I had to figure out my wall of windows. Unlike The Artist’s Studio, which had an entire wall of open windows, this build would require some portions to be solid to hide the back of the kitchen cabinets, base of the stairs, floor board and upper beam structure. Here’s the earliest mock-up using paper. I ended up making the wall a bit more open in the end.
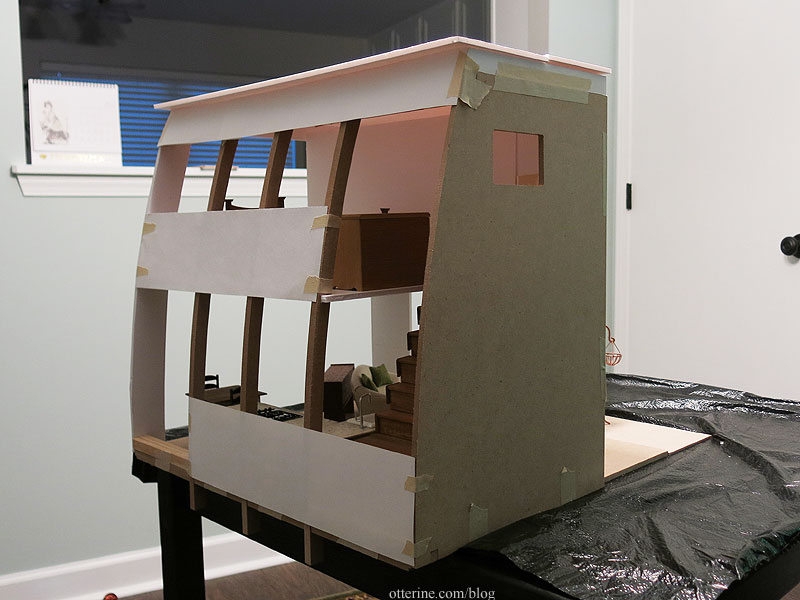
To make things easiest, I decided to make the window inserts go from top to bottom and built the solid portions to encase them where needed. Plexiglass will bend in long strips but wants to stay straight in short runs. Having long pieces would allow for a gentle curve.
I started by gluing the beam structure together along with the added support pieces. Along the center of each beam, I glued a piece of 1/16″ x 1/8″ strip wood.
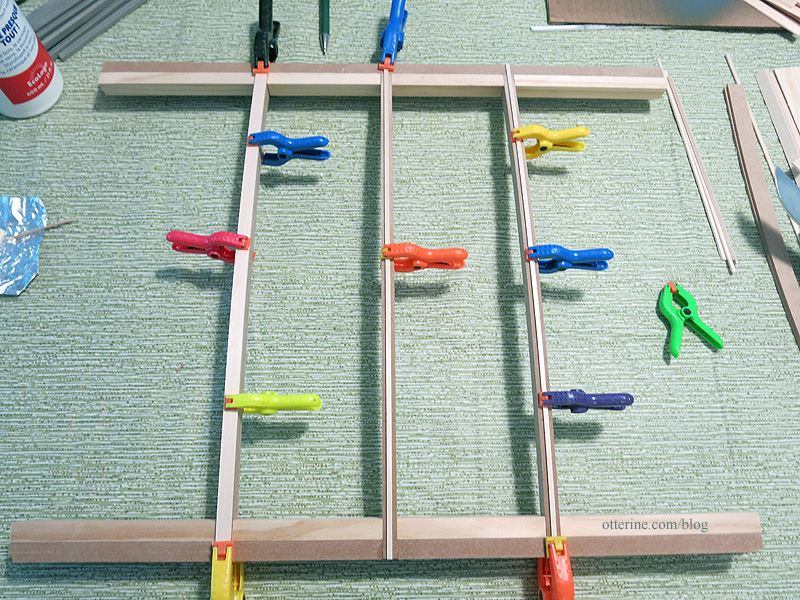
Over these, I centered 1/16″ x 3/8″ strip wood.
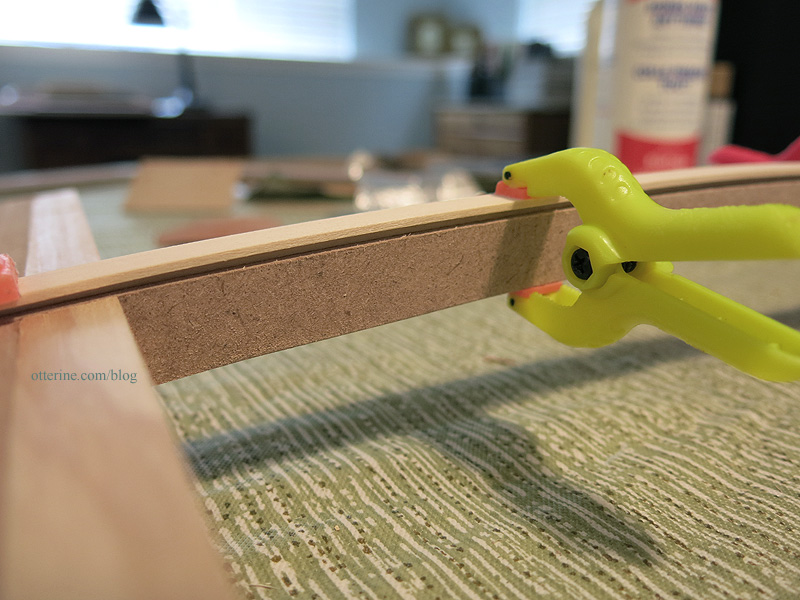
This created a channel on either side to add plexiglass strips. Hey, there’s my building buddy. :D
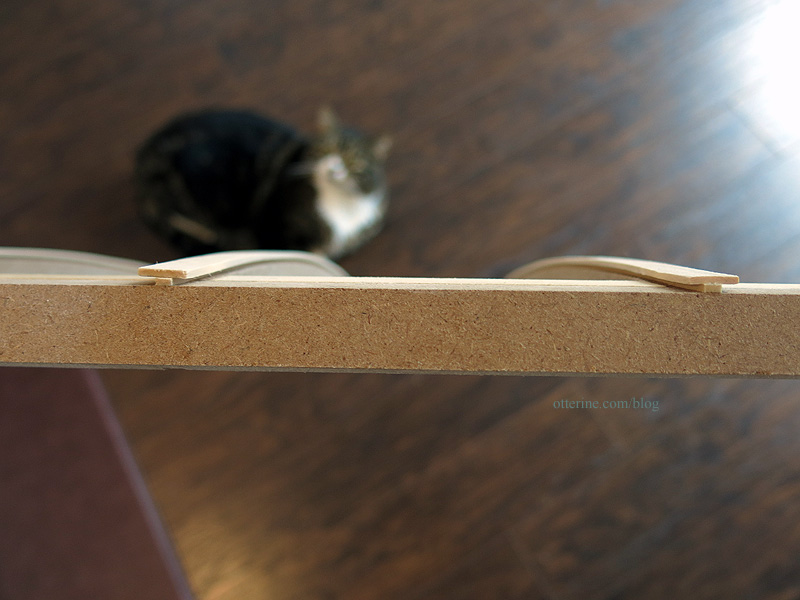
I painted the pieces using a mix of 2/3 Liquitex Payne’s Grey and 1/3 Silver by Apple Barrel. It’s a dark navy metallic – a beautiful color that is hard to see in photographs and ends up looking like coated steel.
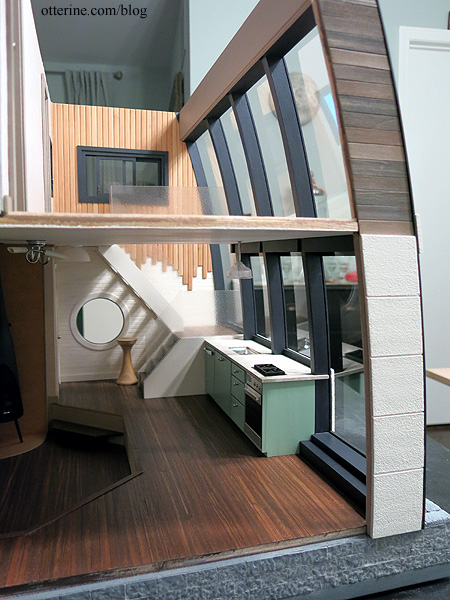
Once the window channels were in place, I used the original scored roof board to fill in the areas that needed to be covered. I painted these Warm White by Americana, patting the surface with a sponge brush to eliminate brush strokes. The scored lines look like siding.
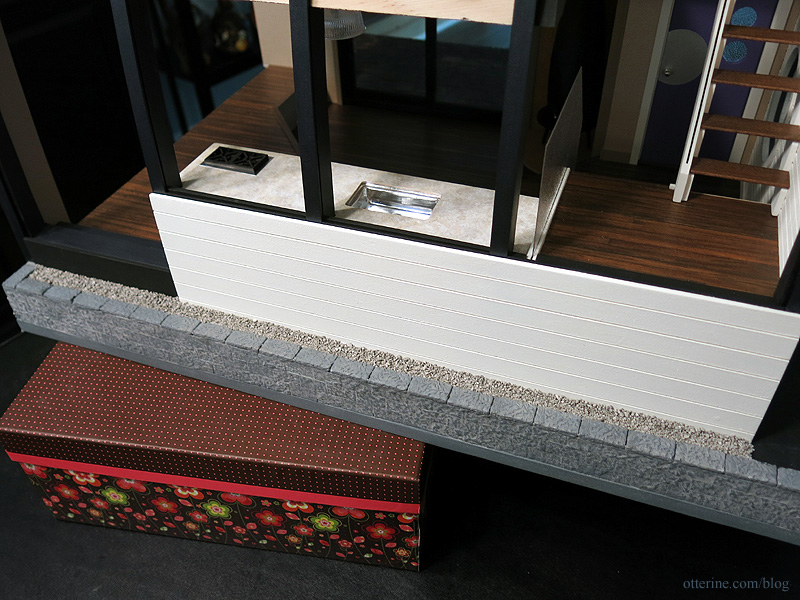
I added strip wood trim painted black to the tops and bottoms of the siding panels as needed to enclose the glass and serve as weather-stripping. It just sort of blends in and would only be truly noticeable if it were absent. :D Here’s the test window insert in place.
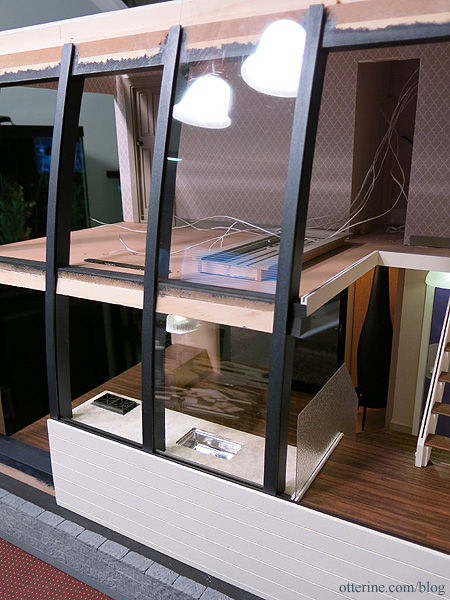
One thing that bothered me was the idea of not being able to photograph the interior without glass glare (or my reflection looming there). But, once the roof was on, there would be no way to slide the window panes out of their pockets. It hit me late in the game — a week before the deadline — to add a slot in the roof to remove the panes.
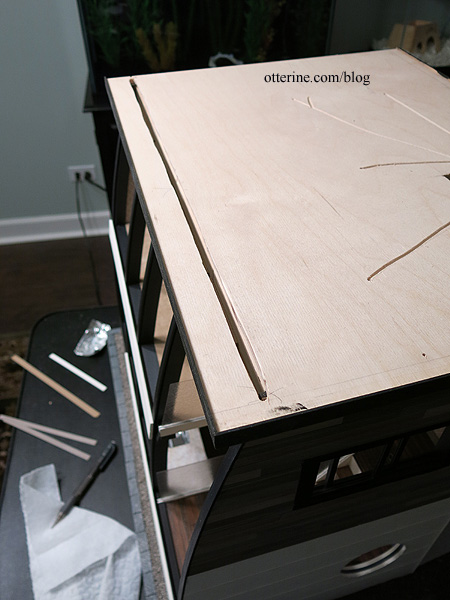
It’s not as elegantly executed as it would have been had I planned ahead for it…but it works! The windows fit through the slot in the roof and slide into the channels.
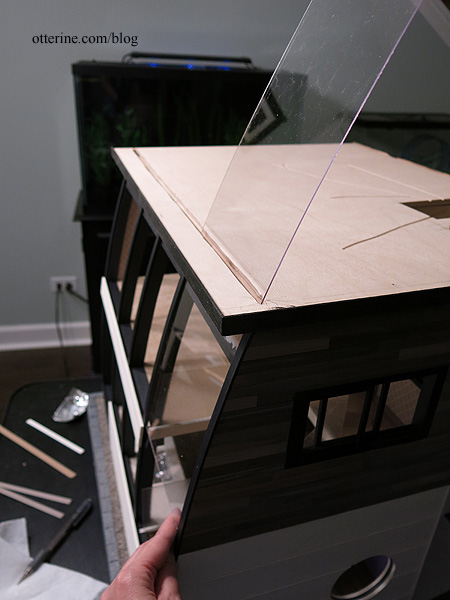
The cork covers the hole and can be peeled back as needed.
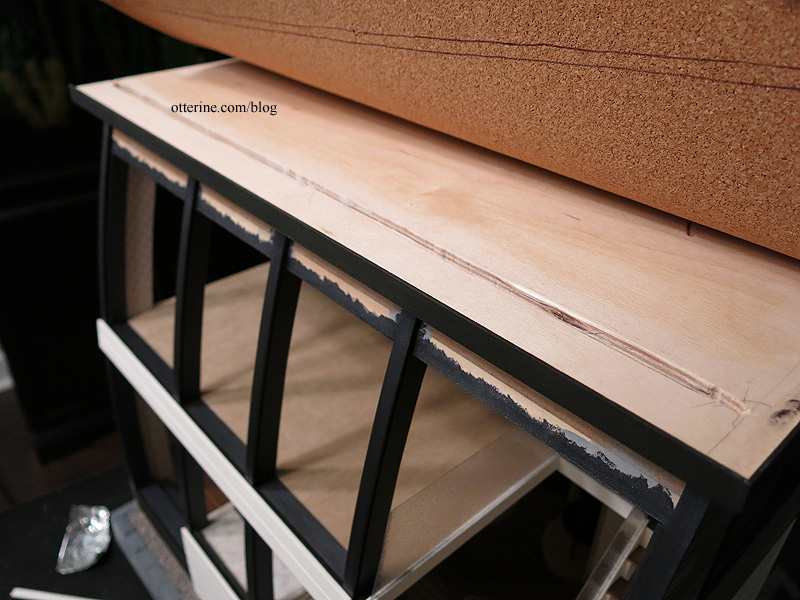
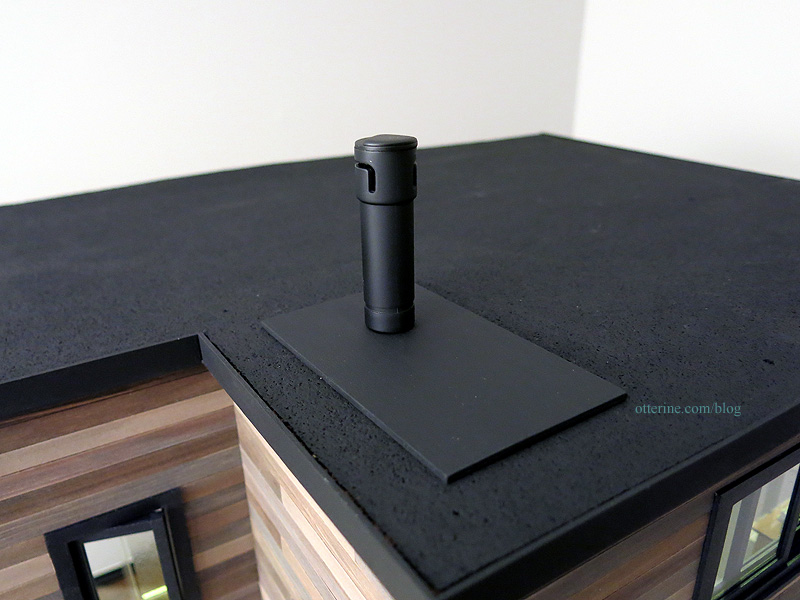
The entire roof is topped with cork painted black, leaving a hole to access the wiring closet. It’s not really usable as an electrical access, but it’s better than nothing and it helped with wiring the lights attached to the roof board. The chimney is made from bits and bobs.
Categories: Otter Cove
December 8, 2015 | 0 commentsVintage dining table and chairs
For the kitchen, I am using two Arjen Spinhoven Arts & Crafts chair kits. I like that Monique put the back on upside down and ended up with a better design than the original. So, I am doing the same. I’ve sanded the laser cut edges to remove the brown residue and to round off the edges.
The table is an attempt at a reproduction of a Heywood-Wakefield Cliff House table. Mine is a bit skinnier than the original near the bottom. Also, in real life woodworking, you would make each of the legs from two pieces since the grain goes only one direction and the feet would be too breakable on the cross grain. I cut the curved fronts on the scroll saw, taping the wood layers together. I then cut the backs manually.
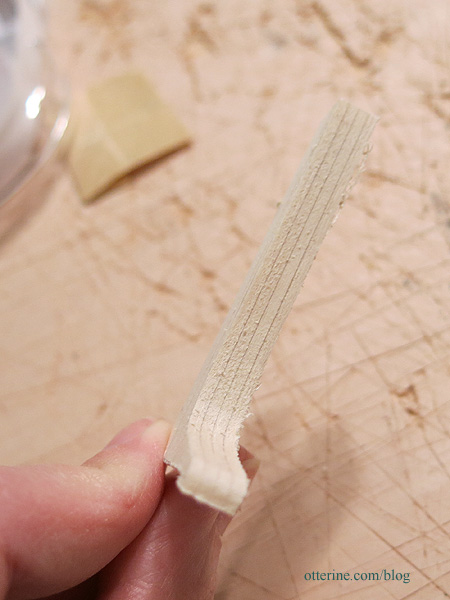
I used 1/16″ thick wood for the legs since my purchased wood circle top was also thin, but 3/32″ thick wood might have been better for stability. They are very delicate, and perhaps when I have more time, I will redo it the right way though I do love it as is.
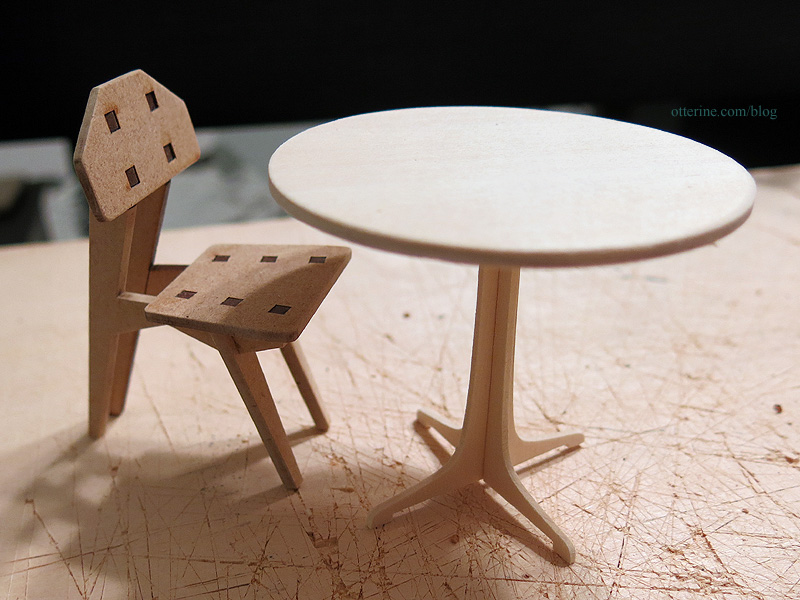
I glued the chairs and table base together before final finishing. I figured it would be easier, go faster and keep warping to a minimum. I did leave the table top separate, though, because the feet have to be held so gently.
I started by layering on stains in the yellow and brown spectrum using Staining Medium by Americana. This darkened the basswood table.
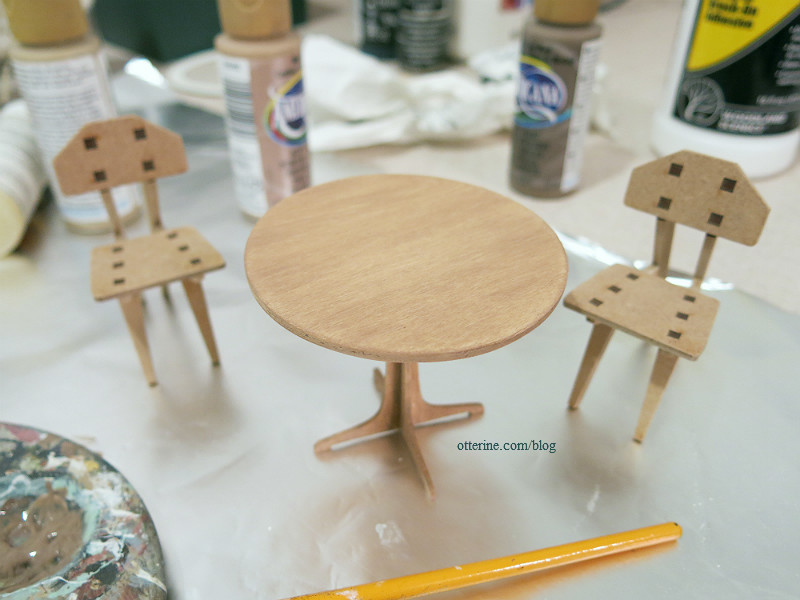
I then painted the chairs a light Fawn by Americana. This brought up the base hue of the chairs to match the lighter color of the table. I’m not especially worried about the square detailing on the chairs; that can be painted back in later.
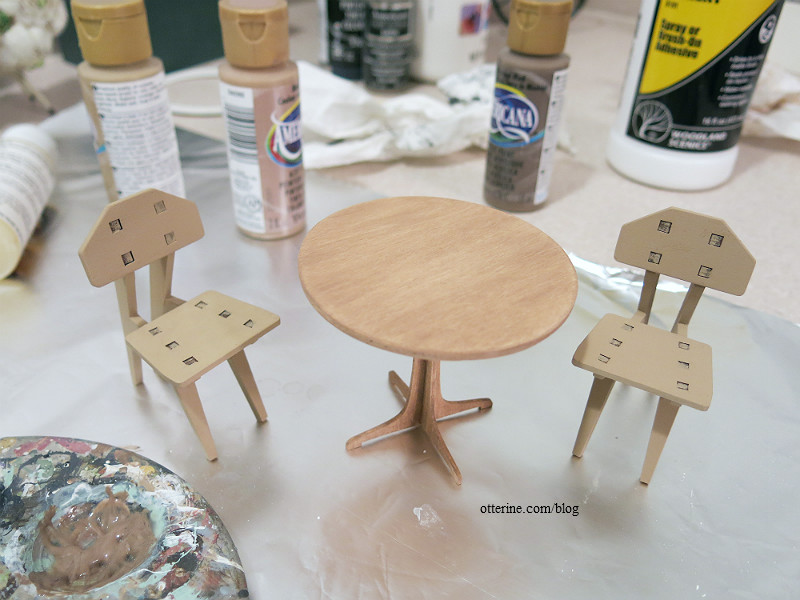
I then layered on some darker stains until they met in the middle. It was a challenge to get the wood table and mdf chairs the same color and approximate grain, but I love the way it turned out. The lovely irises are from Patricia Hopkins Studio, the vase is from Vitreus Ignis and the salt and pepper shakers are from Hartland Miniatures.
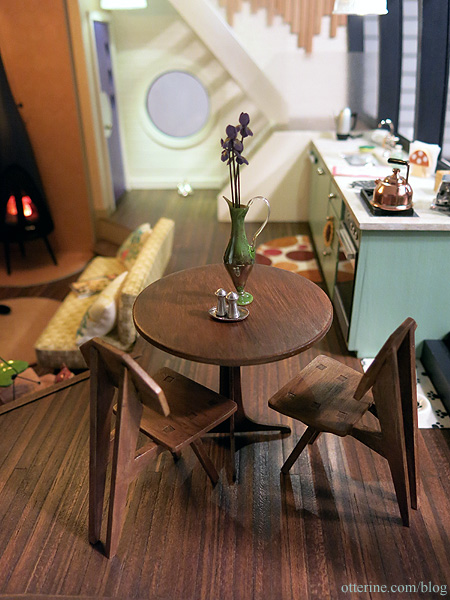
Categories: Otter Cove
December 4, 2015 | 0 commentsMaking draperies
Now that I’ve picked my favorite from the paper mockups, it’s time to make the pleated draperies for real.
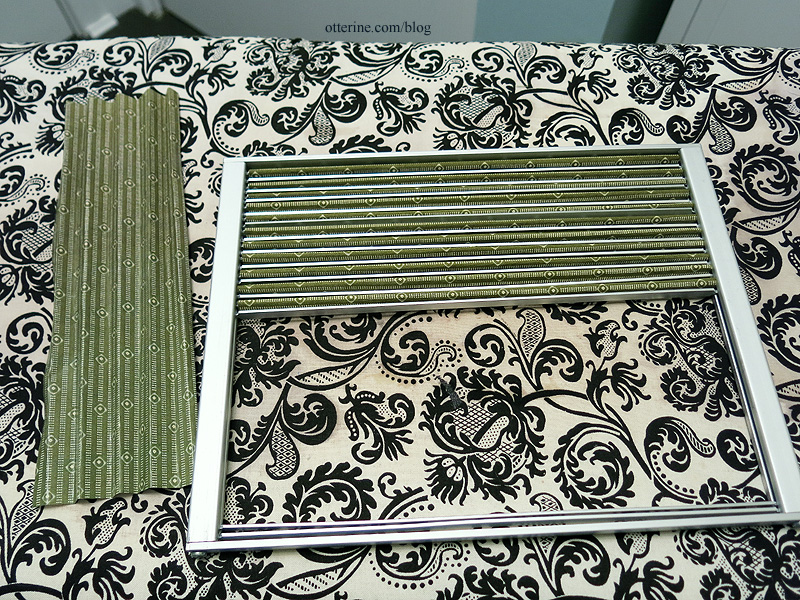
I’m using my vintage Millie August Magic Mini pleating tool. I have a post on the process here. The only difference was this time I used Fray Check along all the edges since the fabric wanted to fray just looking at it.
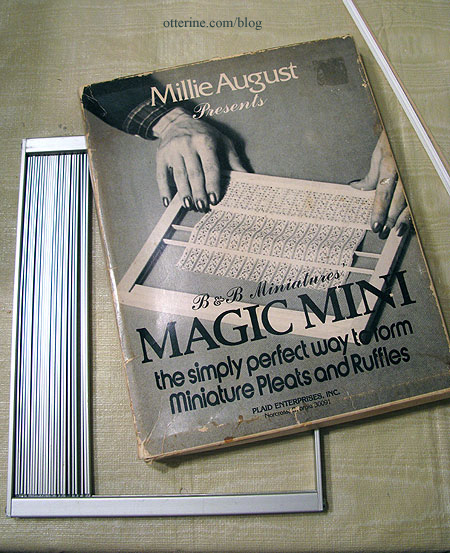
I’ve set them aside to dry until I’m ready for them…should have a good pleat by then. I’ll likely spray them once I remove them from the pleater so they keep their shape, but for now it keeps them out of the way to leave them in the pleater.
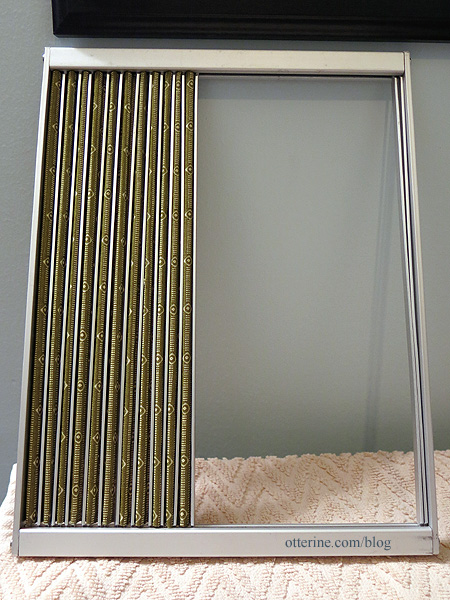
Here’s how it looks installed in Otter Cove. The valance is made from scrap wood and covered in fabric. The valance is glued to the wall, but the drapery panel just slips into place underneath so it can be removed for cleaning or replacement.
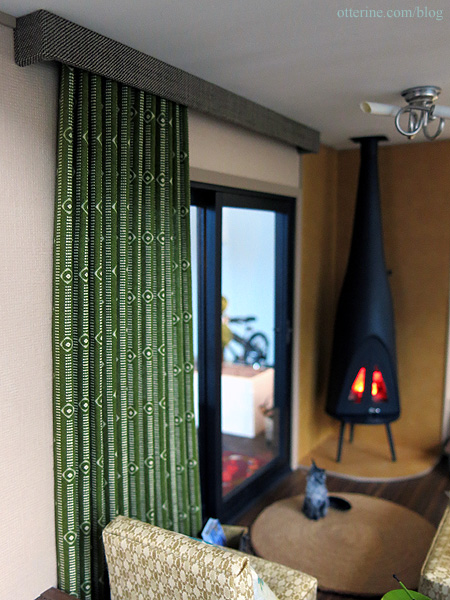
Categories: Otter Cove
November 24, 2015 | 0 commentsModern bathroom tiles
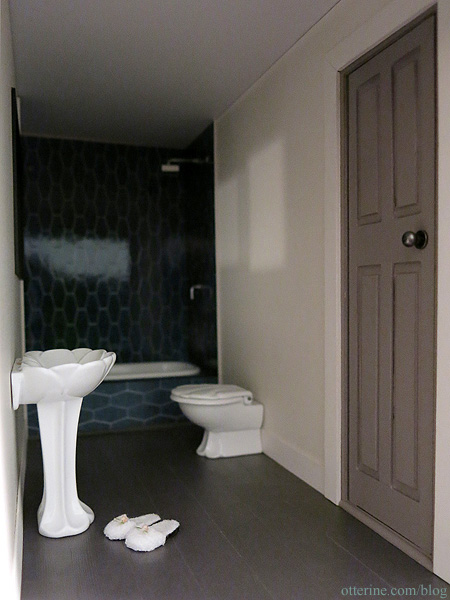
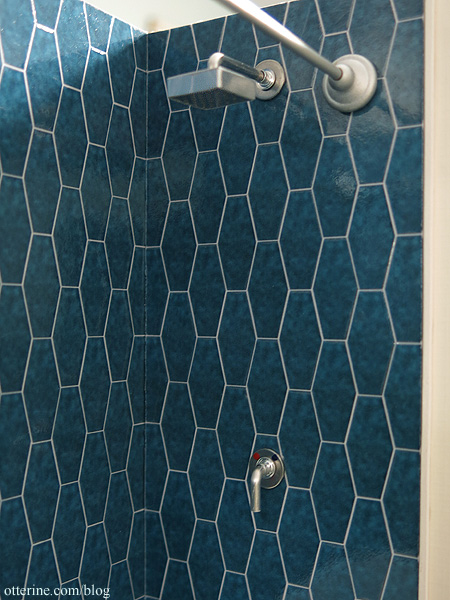
I made the shower tile using Word. (Yes, Microsoft Word.) I started by making a page of long hexagons filled with a tile texture sampled from real life tile and edged with a thin white border. I printed this on computer paper and used 3M Super77 spray glue to adhere the paper to mat board. I applied a generous coat of Triple Thick Gloss Glaze. Once dry, I cut the tile sheets to fit my space and used a stylus to score the grout lines.
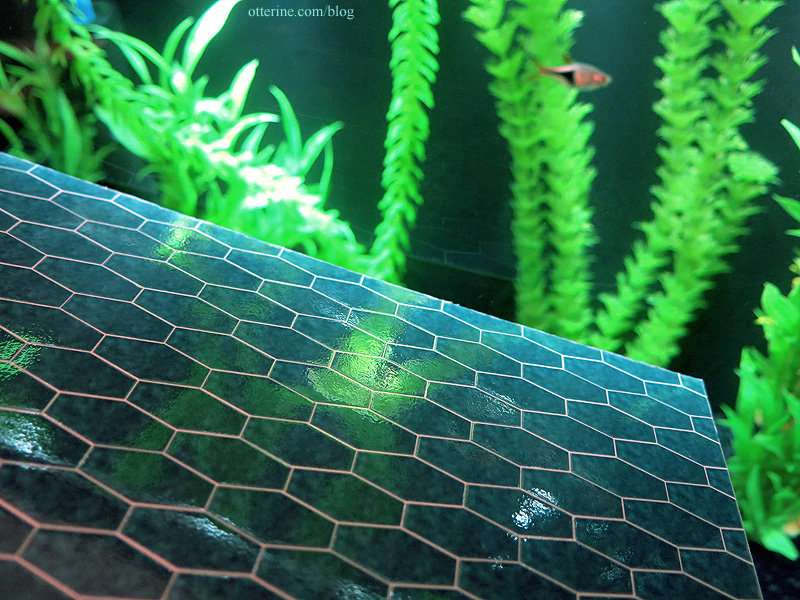
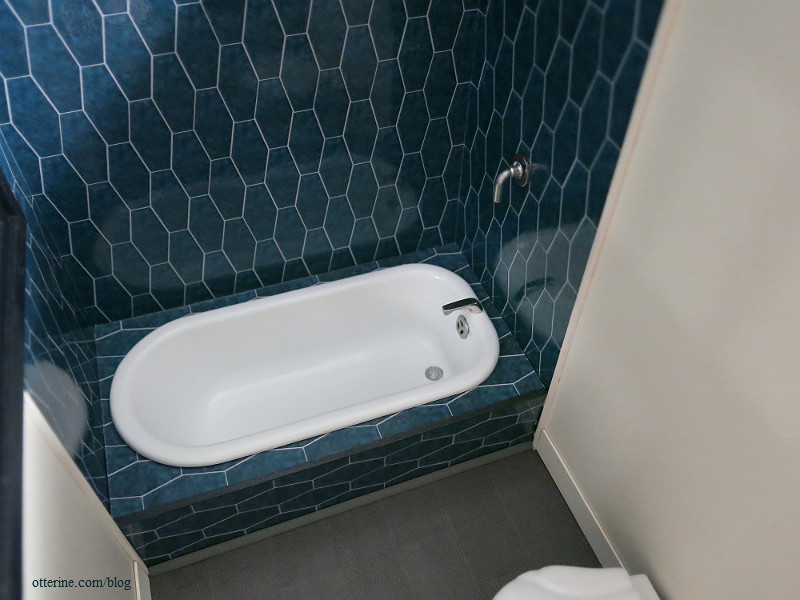
The tub is a spare Chrysnbon piece purchased from Sir Thomas Thumb at the local mini shows; these came without hardware but are perfect when you want the tub to make a built-in.
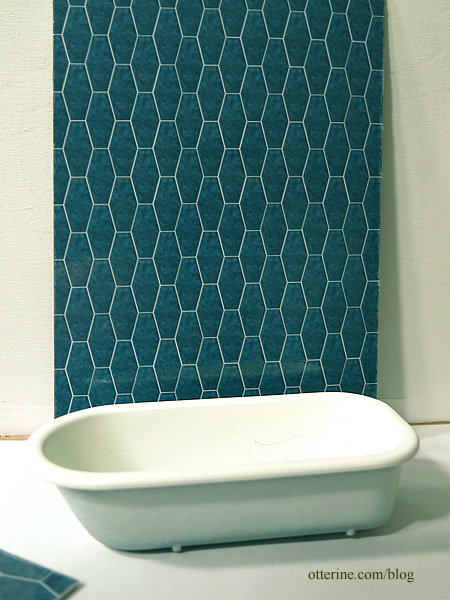
The floor tile is Bazzill Basics paper in Dusk; it has a subtle texture. I used 3M Super 77 spray glue to mount the paper to a layer of bristol board. I sealed it with Delta Ceramcoat Satin Varnish and cut the tiles in 3/4″ x 1 1/2″ pieces. I was going for the modern porcelain tile look.
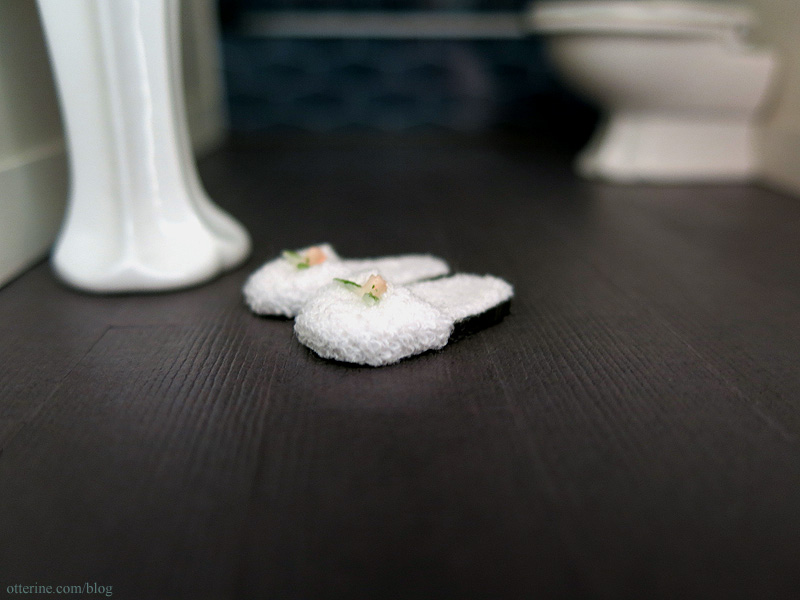
I’ve been adding trims and bath hardware.
The shower head is from ELF Miniatures. I added washers around both the water lever and the shower head then painted color detail for hot and cold.
The overflow is the tip of a pen cap. I had a drain cover, but I had to snag that for the kitchen sink so I ended up painting the molded drain in the tub. The faucet is vintage hardware.
Categories: Otter Cove
November 19, 2015 | 0 comments
NOTE: All content on otterine.com is copyrighted and may not be reproduced in part or in whole. It takes a lot of time and effort to write and photograph for my blog. Please ask permission before reproducing any of my content. Please click for copyright notice and Pinterest use.


