
Milo Valley Farm – lighting, part 3
With the knobs installed on the cross beams, I could wire the 12V lights. As noted in this post, I ran three wires into the barn — one more than I thought I would need. I usually install one extra in case inspiration strikes later, and it has. More on that later.
Inside the sea chest, there will be a receptacle, which will use one of the wires. I can plug three light fixtures into the hidden receptacle, though I plan to plug in only two. That aspect will be addressed in a later post.
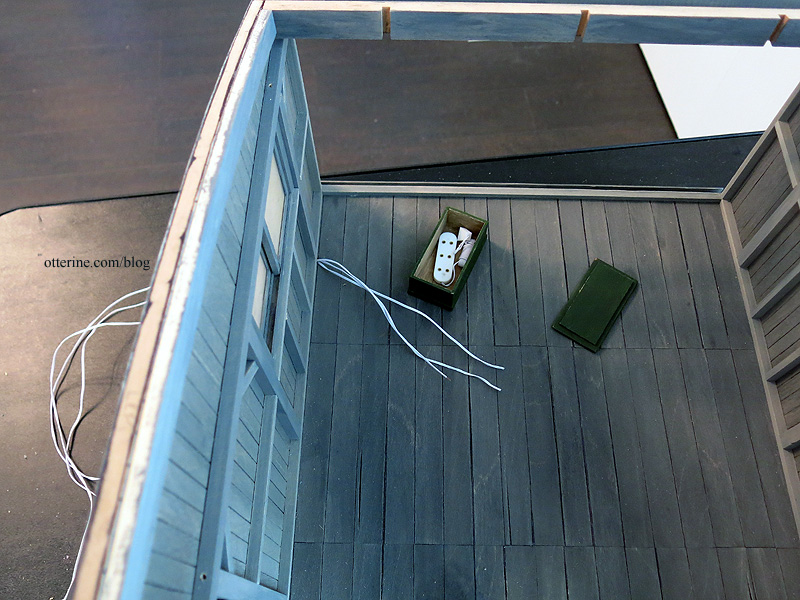
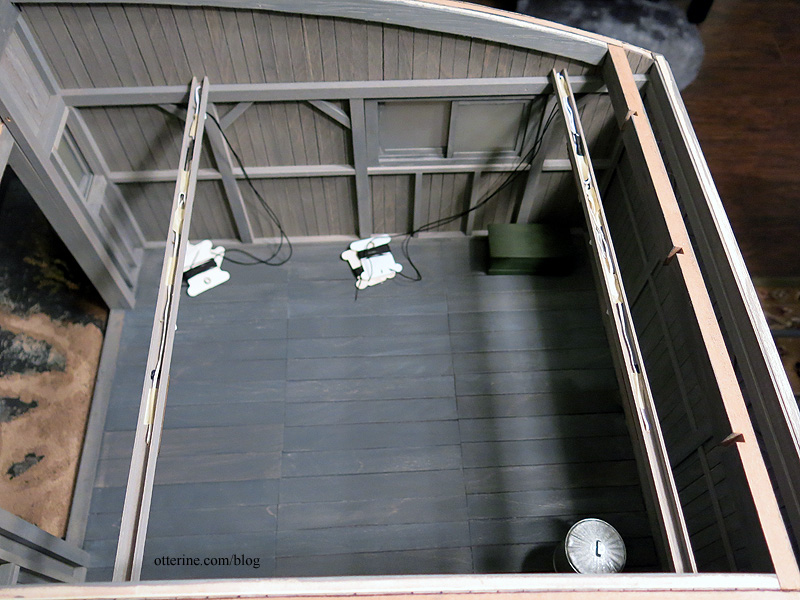
I chipped out a portion of the floor beam to run two wires up the wall.
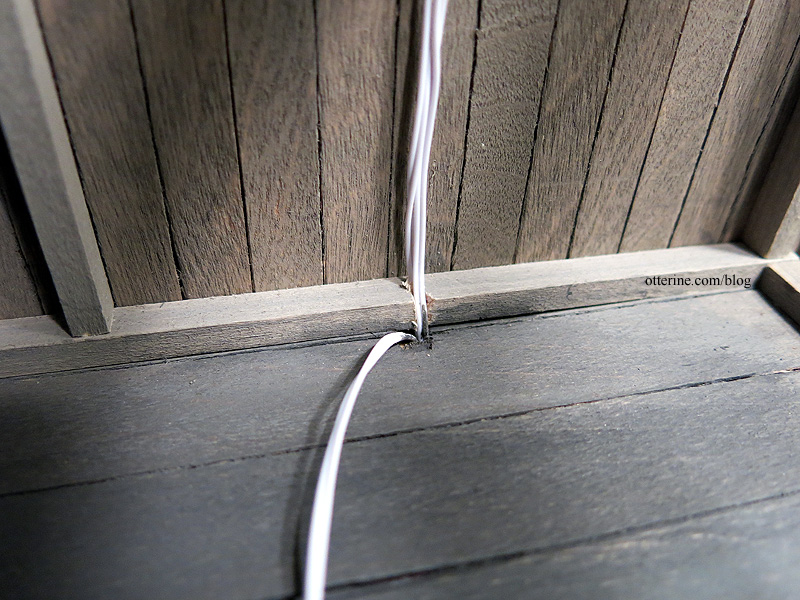
These are hidden by the vertical channel molding that looks like a support beam.

I spliced a length of wire to one of the lead wires and taped it along a route to the front of the building. This will be for any exterior lighting on the front of the barn. I’ll be undecided on that fixture until I get the barn doors installed, but I needed to pull the wire through now. I can disguise the wire with channel trim whether I use it or not.
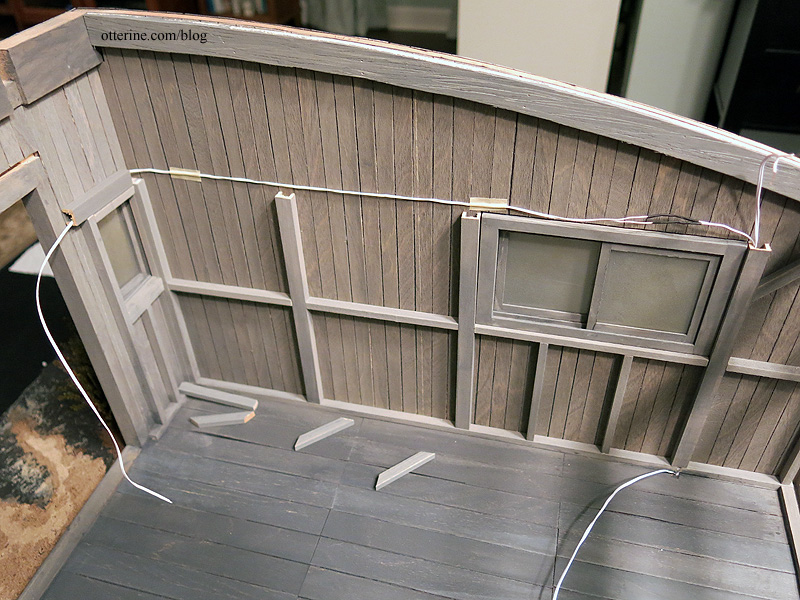
I spliced the two lights from each cross beam onto a single length of wire, taping the wires into the channels of the cross beams as I worked.
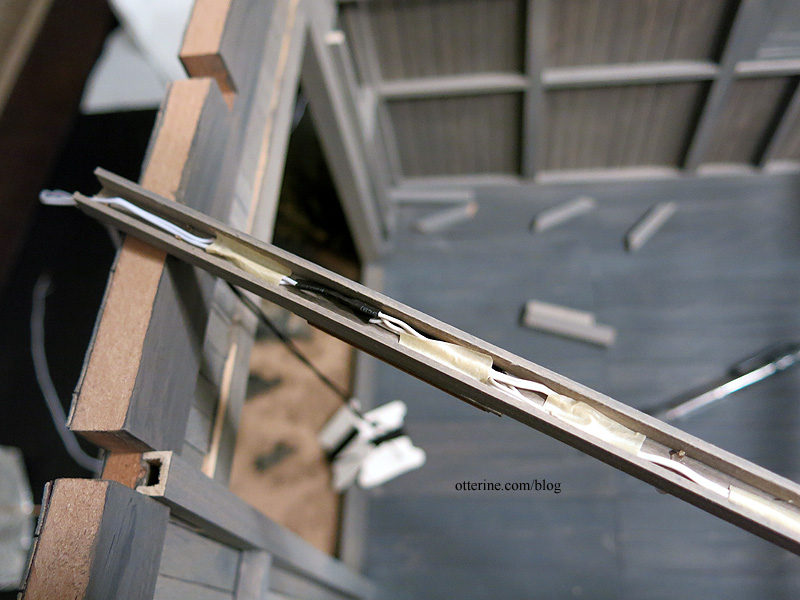
I fed the front cross beam end wire through a hole drilled in the channel that serves as the horizontal support beam and joined it with the end wire of the back cross beam.
I tacked the vertical support beam to the wall with small dabs of glue, but the horizontal support beam and two cross beams are held in place with tension alone. The pieces can be snapped out of place if I ever need to address any wiring issues.
I spliced the two cross beam lighting wires to the remaining lead wire. Once the roof is on, this wiring will be unseen but still accessible through the removable back wall. It will be a cramped space to work in, but it’s better than having no access.
You can’t see any of the channel wires from the barn door opening.
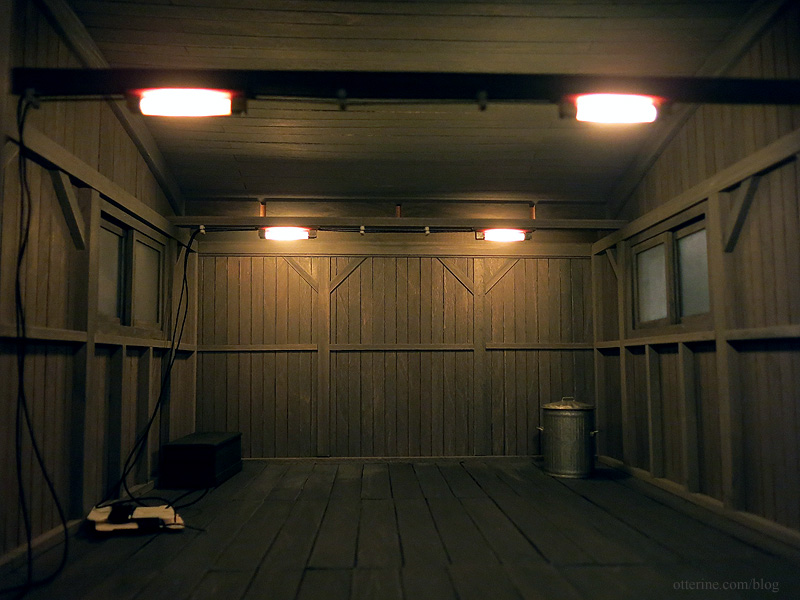
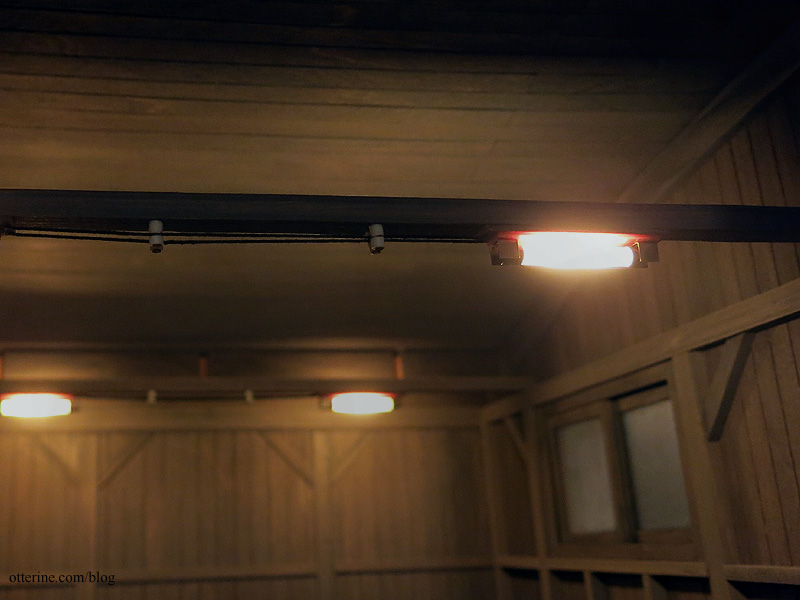
Next up, continuing the knob and tube system from the cross beams onto the side wall. We’re getting there!
It has been so cold here the past few days, with windchills well below zero. Jasper is one smart kitty. He’s left the kitty bed and cat tree behind for the comfort of sleeping directly on the heat register. :D

Categories: Milo Valley Farm
January 13, 2016 | 0 commentsMilo Valley Farm – knob and tube wiring, part 3
With the light fixtures installed, I could start running the cord wire for the knob and tube system. I started with the cross beams.
I mentioned adding cleats. These allow two wires to travel a parallel path. Knobs also carry wires parallel, but I believe the difference is that knobs can be enclosed whereas cleats are used for external use, like running along a ceiling out in the open. After some further consideration, I decided to skip the cleats and just go with knobs and tubes.
I drilled holes in the ends of the light fixture back plates.
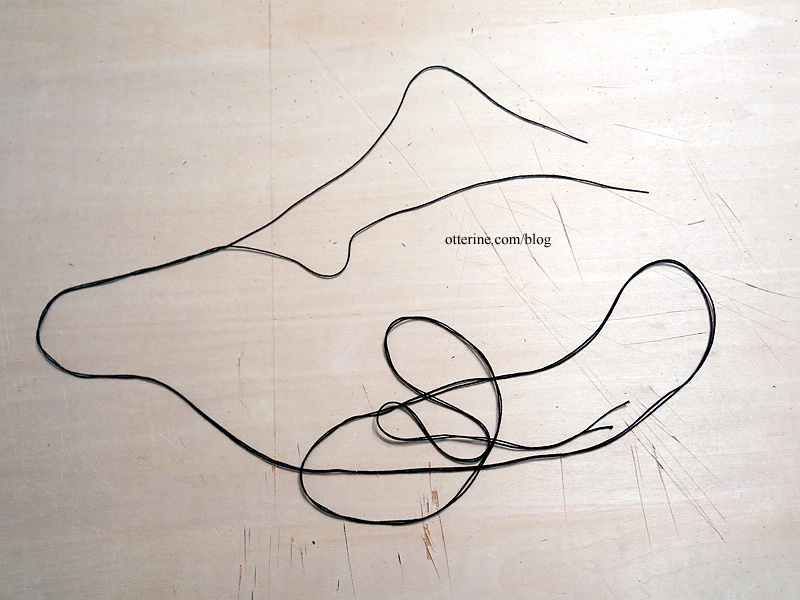
I cut two extra long pieces of crochet cord and knotted one end for each. I used glue to stiffen the leading end.
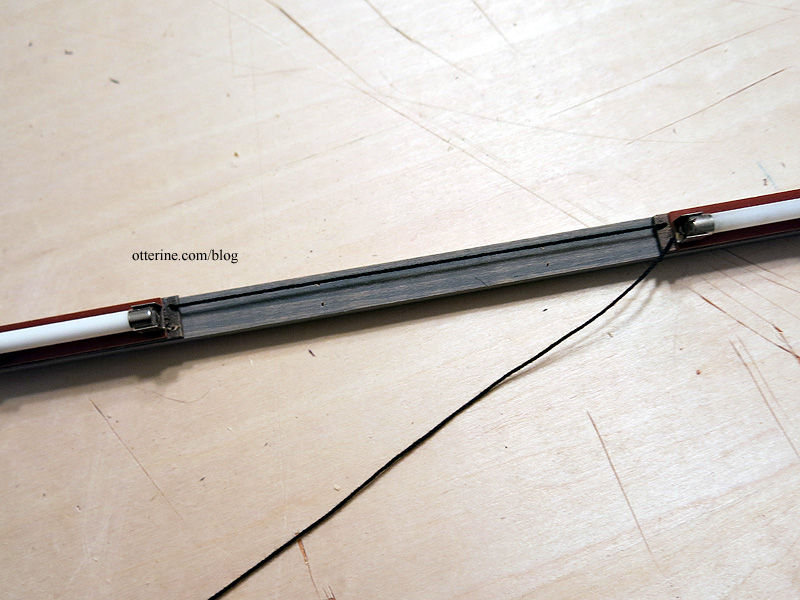
I fed the cord through the holes of the first light fixture, across the beam, into the holes of the next fixture and out the other side of the second fixture.
In real life, the nails would not touch or intersect the corded wire, but in my mini version, the nails keep it all in place. I’m using aged copper headpins for nails cut down to size. I fed the nails through the upper knob section, then through the cord and into the lower knob section, using a dab of glue to secure. I added larger globs of glue inside the channel.
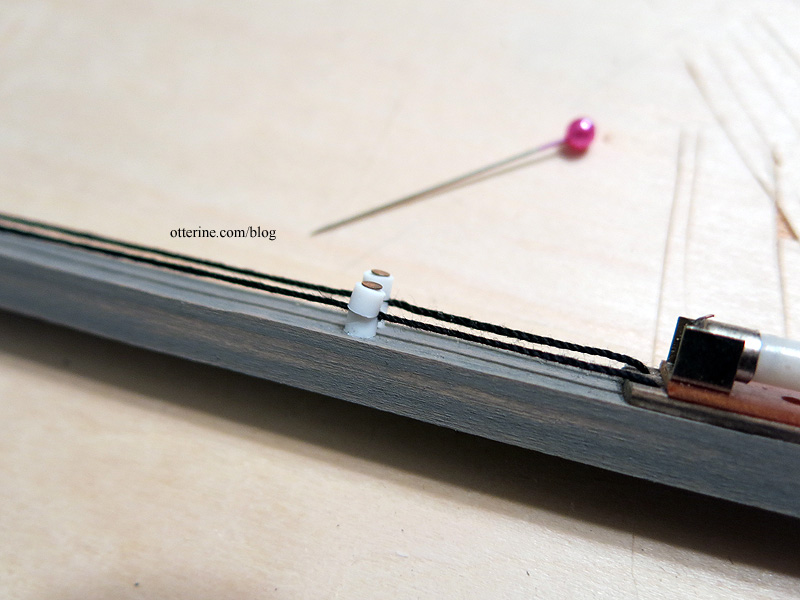
I tightened the cord as I secured the knobs in place and continued the length of the cross beam.
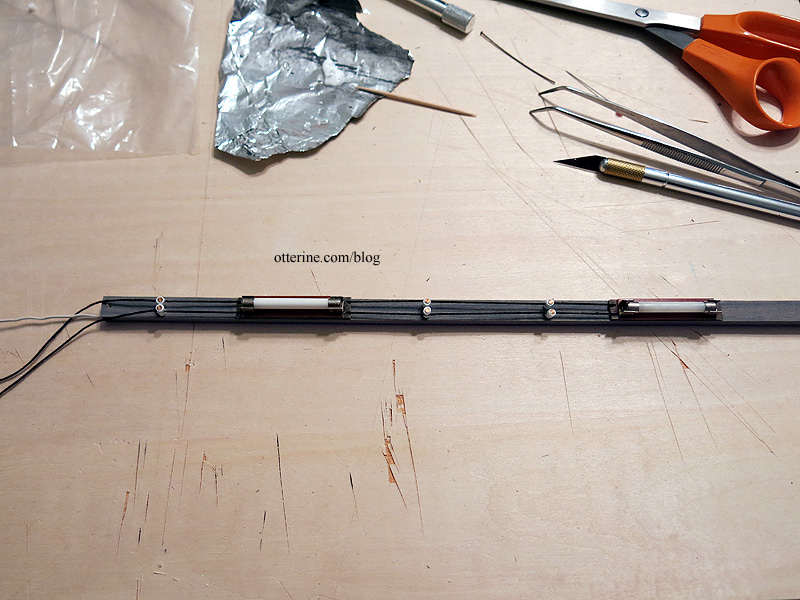
I used cardboard floss bobbins to keep the lengths of cord tidy.
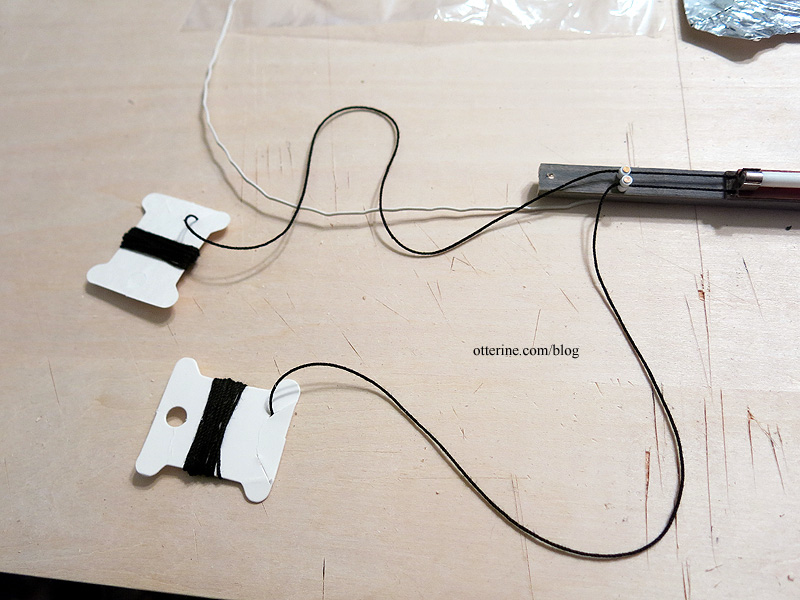
I repeated the process with the second beam. I made this cord just as long though I intend to splice them together once I get to the knobs on the side wall. I figured, just in case that didn’t work, I wouldn’t have to redo the whole thing. I would already have a good length of cord to work with.
Overall, it was a fiddly process, but the biggest obstacle was Jasper chasing the string ends as I worked.
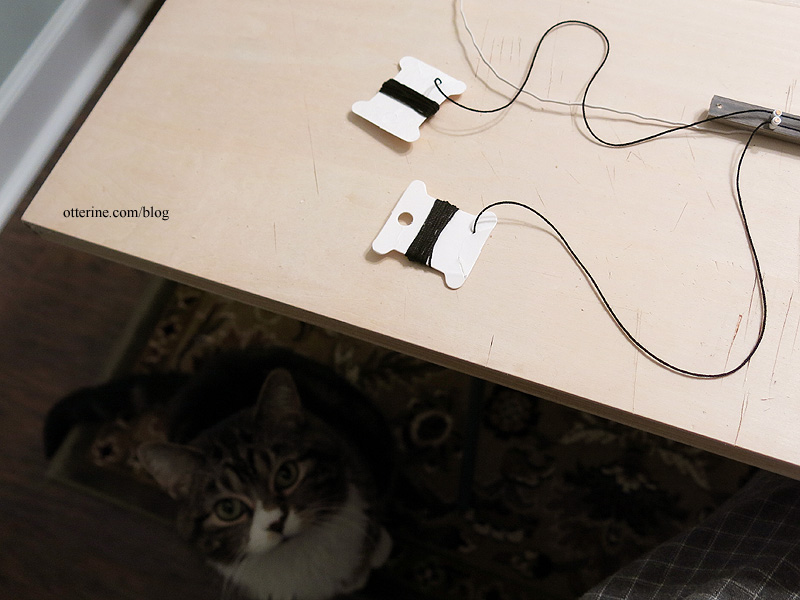
The cross beams are almost ready for installation. Next up, wiring the 12V lights.
Categories: Milo Valley Farm
January 12, 2016 | 0 commentsMilo Valley Farm – lighting, part 2
Continuing work on the 12V lighting for the barn. I’ve shown you the new old stock E-Z-Lectric light fixtures from Itsy Bitsy Old Stuff. I also mapped out my lighting plan.
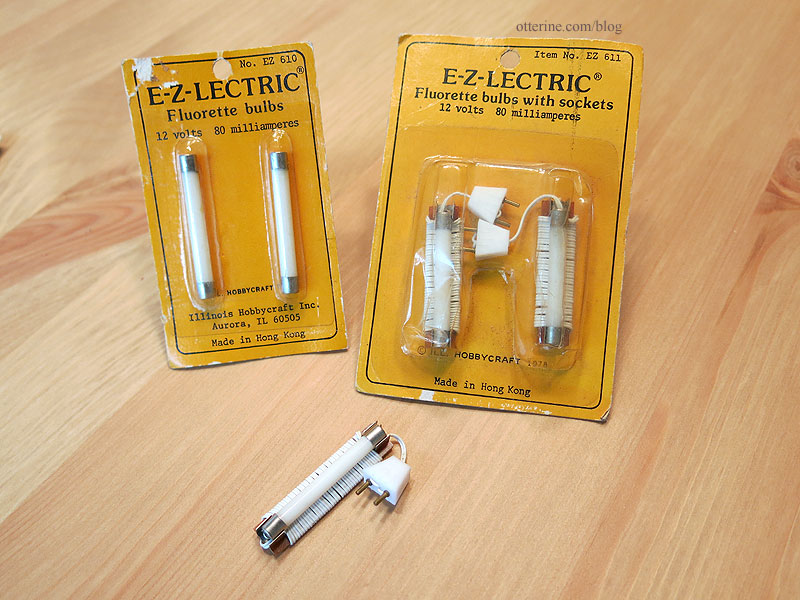
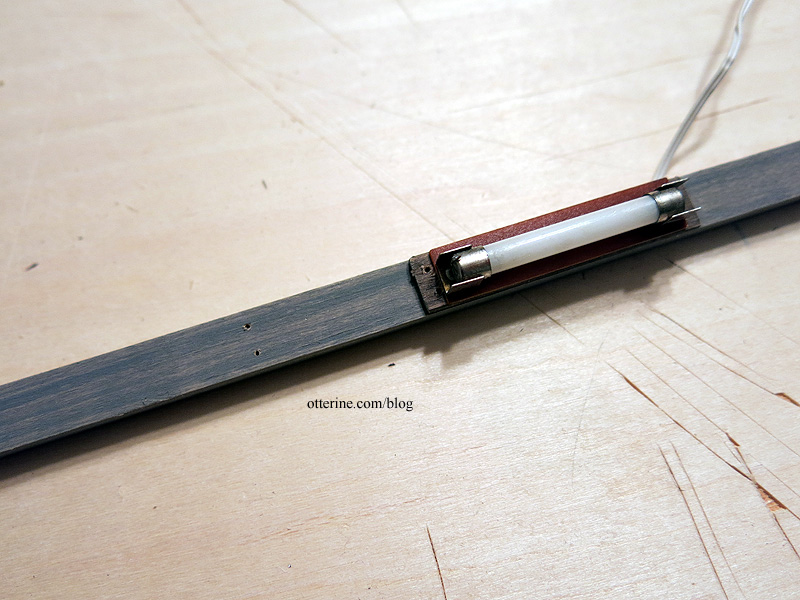
Before I could install the actual 12V lights and the mock knob and tube system, I needed to address the fixtures. They seem to have rather delicate connections for the backside wiring. Those wires would prevent them from sitting flush on the cross beams besides.
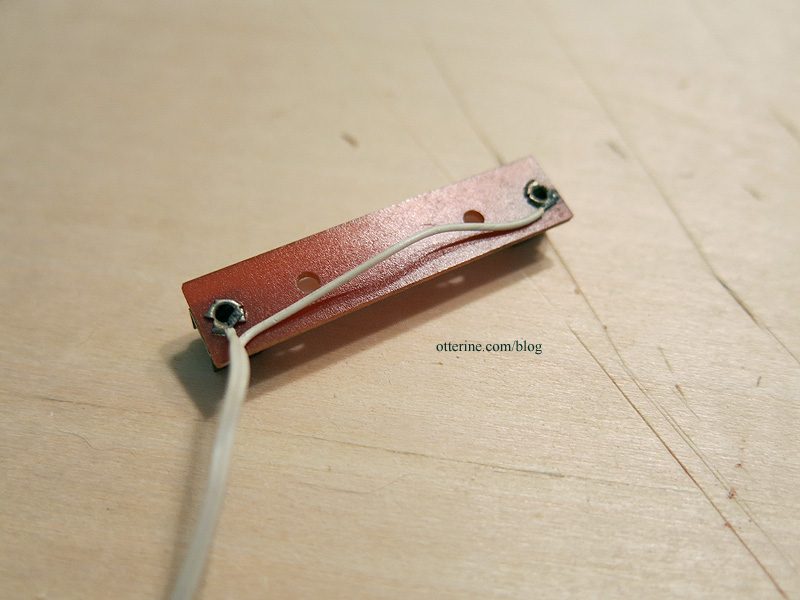
So, I cut thin plaques from 3/8″ x 1/16″ strip wood to mount them.
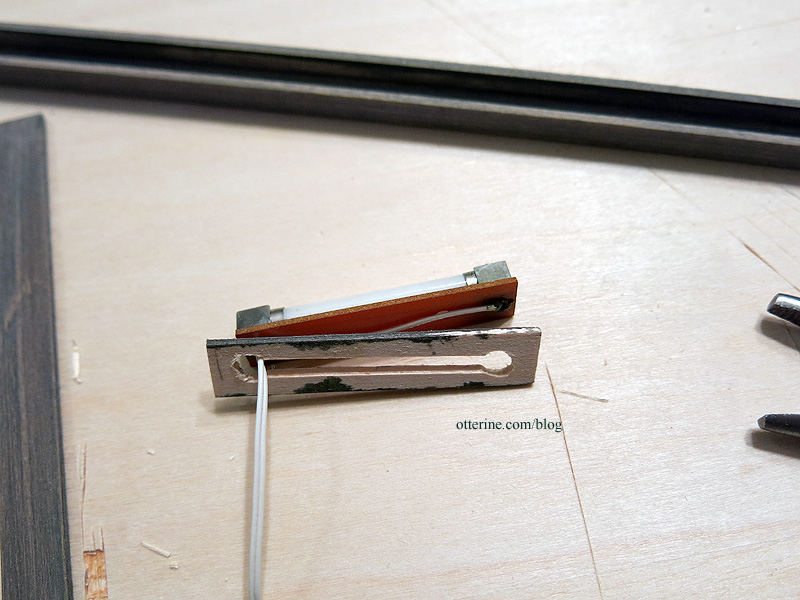
The fixtures are glued to the plaques, leaving room for the wiring to exit the back while protecting the delicate connections.
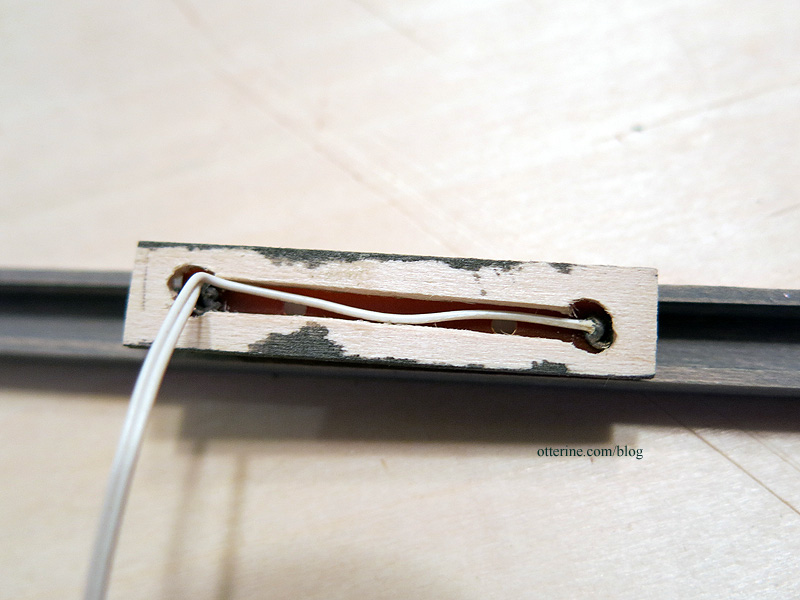
I touched up the weathered stain finish on the sides and ends. I marked the wire location on the cross beams and drilled holes for the 12V wires to pass through. I also drilled holes for the knob and tube system to be covered in a later post.
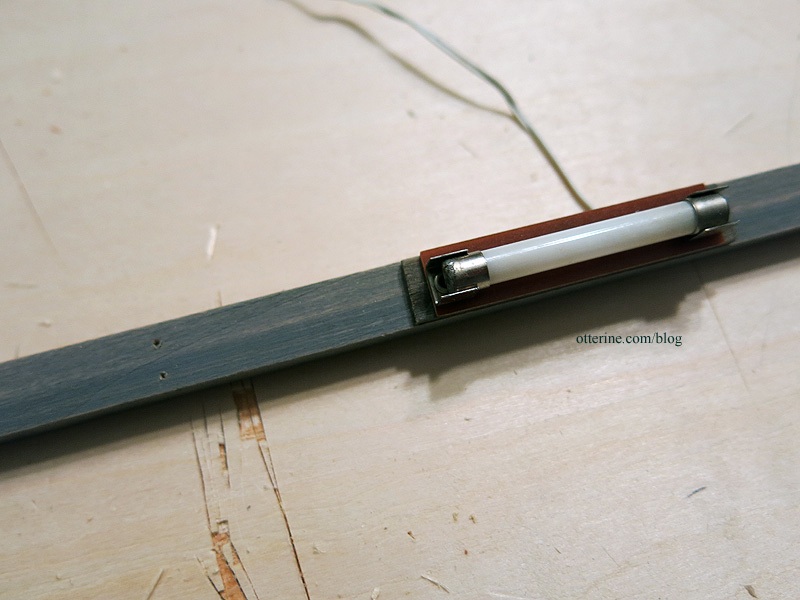
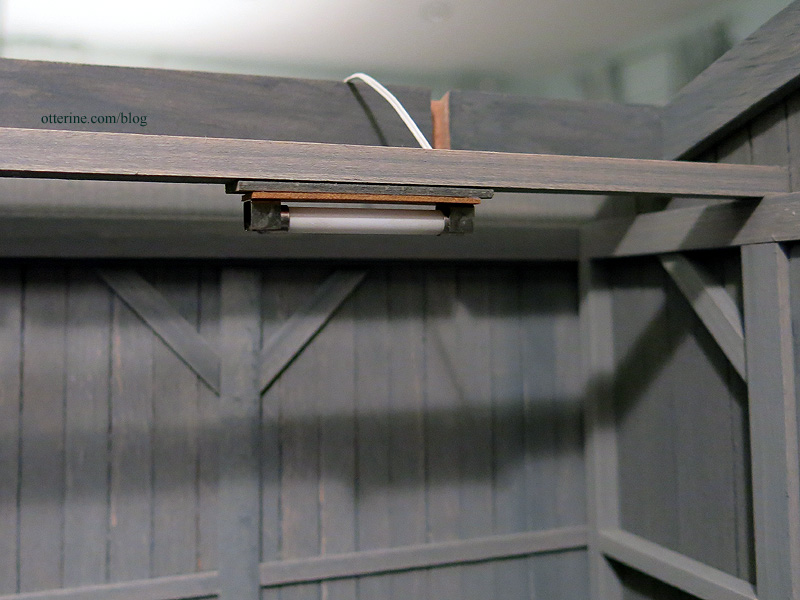
The lights are mounted to the cross beams, but now I need to work on the knob and tube system. :]
Categories: Milo Valley Farm
January 9, 2016 | 0 commentsConstruction zone all set for the New Year
Behold one of my holiday presents to myself. Mini Materials had a special on their website for the holidays, so I picked up a Jersey barrier.
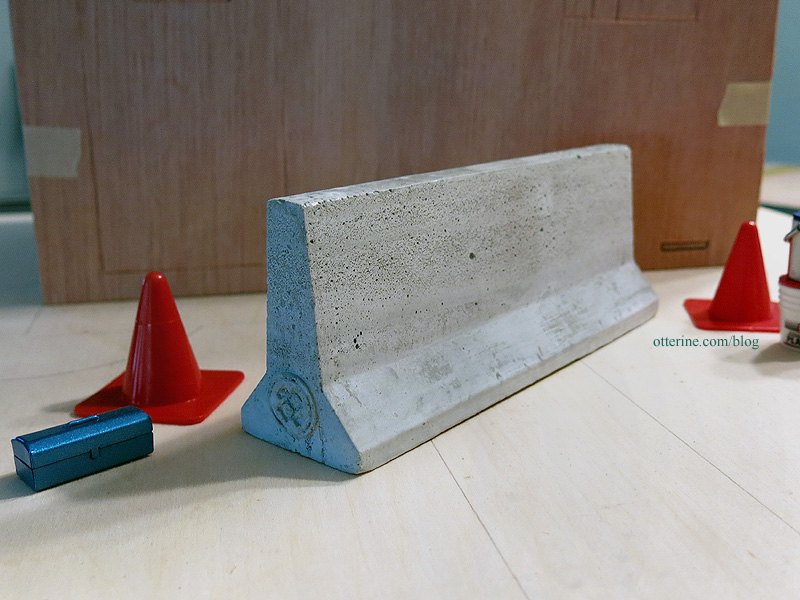
This is the same maker that sent me a sample of their cinder blocks and pallet awhile back. The barrier is made from concrete and weighs a good deal. It could be an interesting paperweight when not in use on mini construction sites. I love the texture.
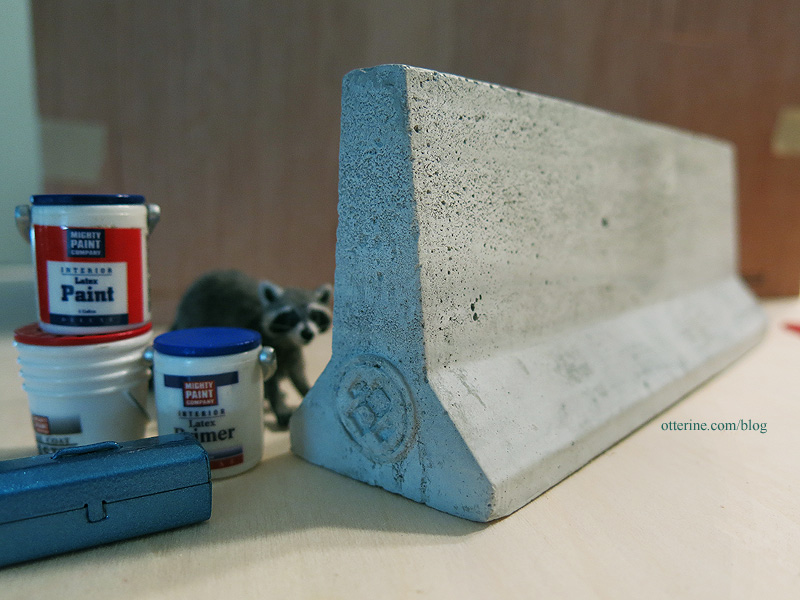
Roland is intrigued. The marvelous little toolbox is from miniatures.com, and the buckets of construction materials were purchased on eBay sometime ago. The cones are from a Dollar Tree toy set.
Wishing you all a Happy New Year!!! I know I am looking forward more mini projects in 2016! :D
Categories: Miniatures
December 31, 2015 | 0 commentsWatson Mill – introduction
Greenleaf Dollhouses held their Spring Fling contest for a number of years, including some years before miniatures became an everyday thing for me. The 2009 kit had an arch roof and an interesting shape. I bought one some time ago for a someday project just in case they went out of production.
Jen Barrick’s Loganberry Mill was one of the first miniature houses that drew me into the hobby. She dropped the scale down to half scale and made the most amazing sail set. It’s truly an inspirational build from the inner mechanisms to the realistic landscaping.
So, this is where I start…with an idea for my own take on the kit…Watson Mill. The kit is simple yet elegant in design, a cozy place. I punched out the upper window even though I will be adding sails here, because the kit had trim pieces die-cut there that were falling out. I’ll just have to patch it. I won’t be using the cardboard roof pieces, but they complete the dry fit.
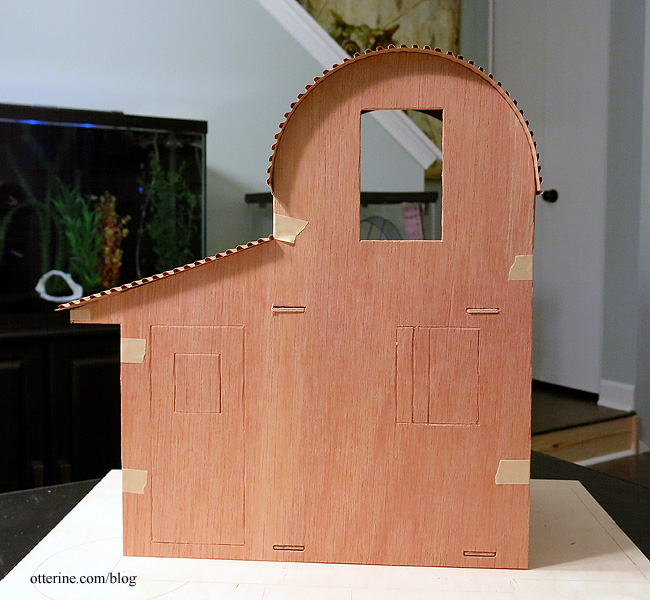
I will definitely need to move the door to one of the side walls so I’ve left it and the lower window intact for now. We don’t want to send anyone ass over tea kettle. :O
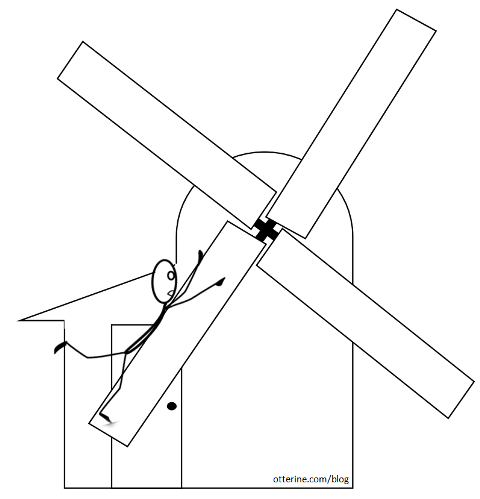
I will keep the full scale aspect and make this more of a fantasy build in the vein of Roland’s Retreat. That saves the hassle of adding a full kitchen and bathroom. This will also be a mill rehab with most of the inner workings of a proper mill long gone and replaced with the cozy decor of its current resident, Gustav. He’s independently wealthy, so he dines out all the time anyway. There might be room for snacks and a tea kettle.
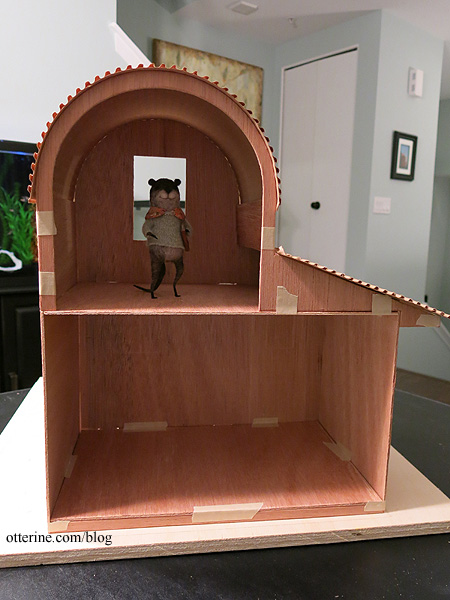
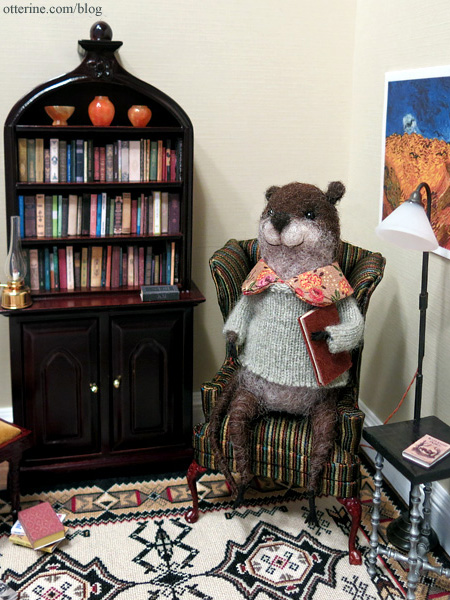
Gustav is an otter with a thirst for knowledge and culture. He loves the written word, so I foresee a good deal of books to be made. I can’t go stealing them from grandma at the Heritage, after all.
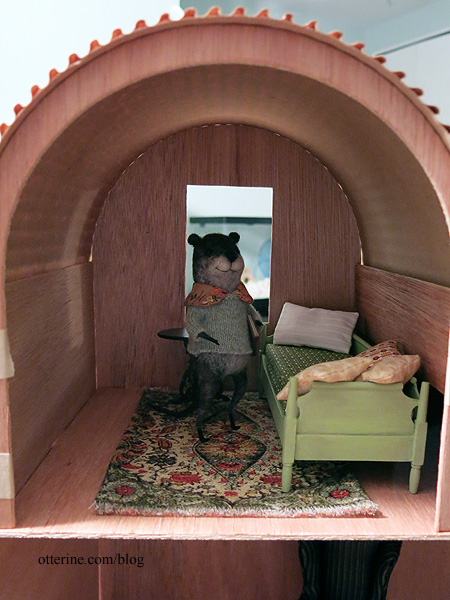
With his simple tastes, we’ll need a place to sleep and a place to read….maybe a stove to keep warm, too. Since the upper room is small, I can make a daybed for the space. This will leave room for a short dresser and a bedside table. I prefer the realism of stairs in my builds, even in the realm of fantasy, so he will also need a ladder between the floors. While I do love this rug from dalesdreams, I think a fox rug might look nice here in the bedroom. ;D
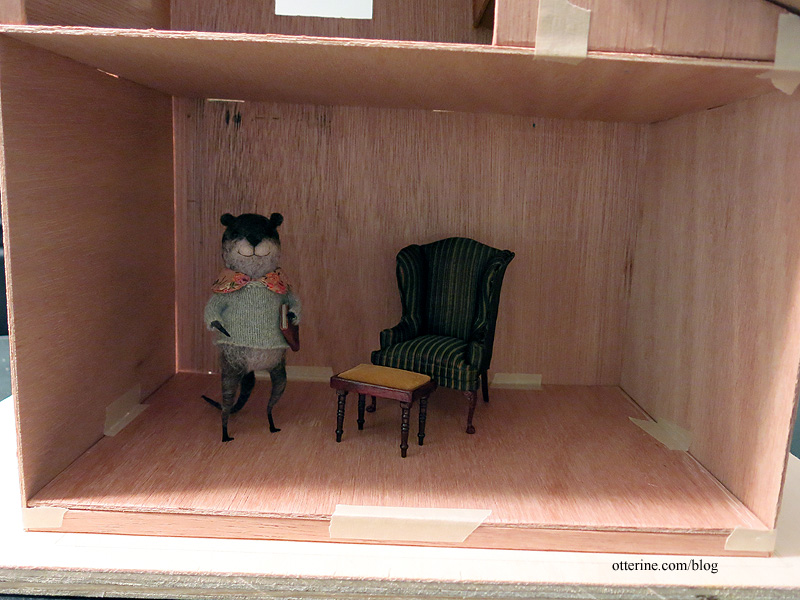
I think this Bespaq chair might stay. I have two of them, so we will see if there ends up being enough room for Gustav to be the social type.
For the exterior finishes, I am drawn to both wood shake and brick, so I might end up with a mix of the two if I can’t decide. I will likely build up the ground as Jen did to make the landscape more interesting. I’d also like to add an arched door to keep with the storybook feel.
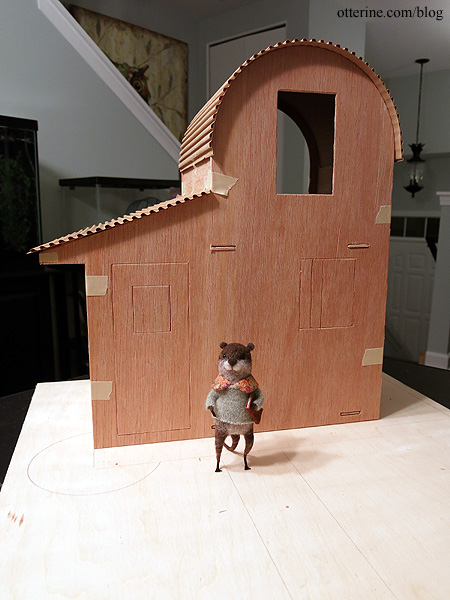
As for the sails, they are going to have to actually spin, right? :D Bruce Hirst has some great instruction on how he made his working mill, so that will be a great starting point. I have the challenge of an open back structure so I will need to be creative in disguising and setting any mechanical details. I will have to close up at least the arch near the upper back. The mechanism will have to be addressed fairly early since that will determine if I have to adjust the height of the second floor space.
First, though, I will determine if I want more depth to the kit to make the rooms larger. That’s very straightforward since I’ll just need wider side walls. I will likely have to cut an additional front wall as well to have a good thickness for a working window and to brace the sails. I’m 99% sure I want more depth since there are a couple of things I’d like to add that will require a larger lower room. The kit is relatively small to start, so there’s plenty of room to add while staying with my current landscaping board. So, I’ve put the kit in dry fit so I can stare, think, plan and play.
Categories: Watson Mill
December 29, 2015 | 0 comments
NOTE: All content on otterine.com is copyrighted and may not be reproduced in part or in whole. It takes a lot of time and effort to write and photograph for my blog. Please ask permission before reproducing any of my content. Please click for copyright notice and Pinterest use.


