

Watson Mill – motor, part 1
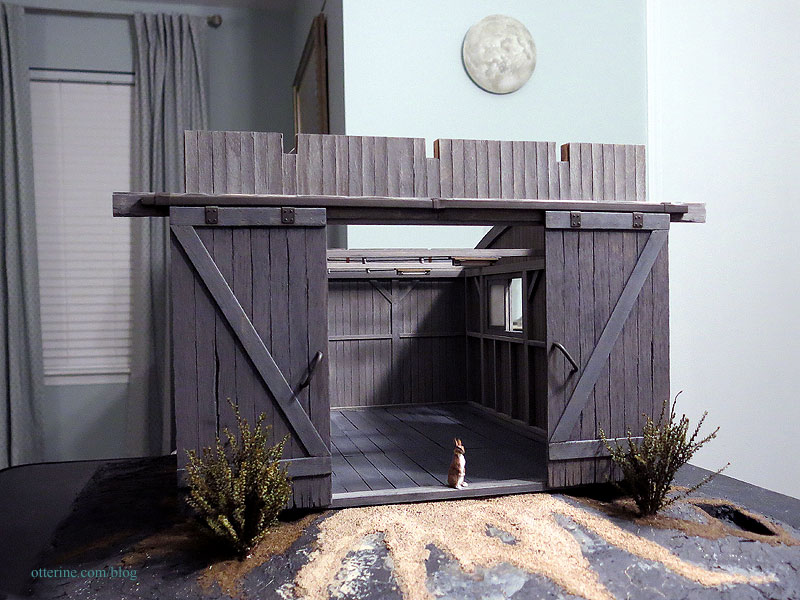
Before I even begin to build, I need to figure out how to power the sails for Watson Mill. The mechanical setup will determine how much I alter the open back to disguise the power source.
As I mentioned, this tutorial from Bruce Hirst used a motor from Micromark. The main reason I did not go with the Micromark motor is the fact that it has a large cord attached. This is useful in that you have to do no wiring, but hiding a cord of that size with an on/off switch and plug would have been difficult. It would have required large holes or notches in the building and landscaping board. Addressing any possible problems in the future would be difficult as well.
I also wasn’t sure I would have the room or the need for the Lego gears shown in the tutorial. The space needed for these would also mean closing up even more of the back. Therefore, I might be connecting the sail shaft directly to the motor to limit the space needed from top to bottom on the back wall.
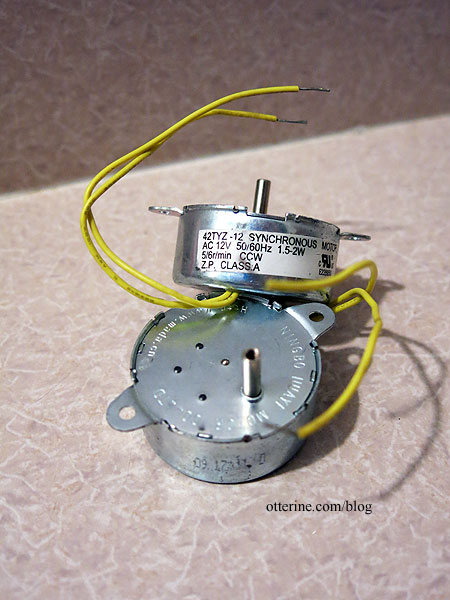
So, I chose this motor (this link might no longer be accurate as of 2024) from Winbell’s Store on aliexpress. It runs slightly faster at 5RPM vs the 2.5RPM in the tutorial but it is also 1 5/8″ in diameter as opposed to 2″ in diameter for the Micromark motor.
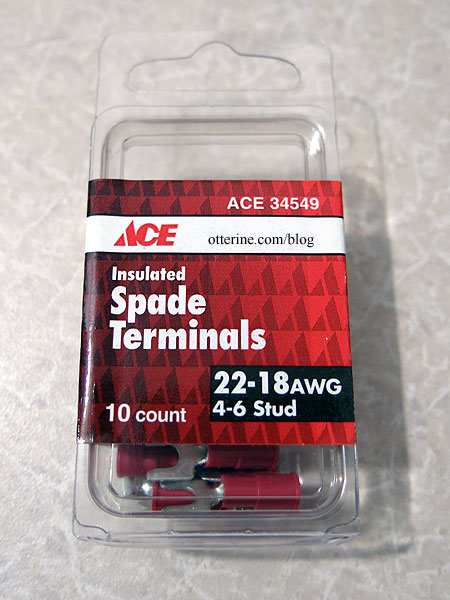
Being AC instead of DC (no, don’t ask me to explain the difference just accept that there is one), the motor will run on a separate line from the dollhouse 12V DC system. I bought this transformer to power the motor. All that will be required is to splice on some length of wire and add forked spade connectors to the ends. You can spin the wire directly to the transformer, but the connectors just make for a cleaner and more secure assembly.
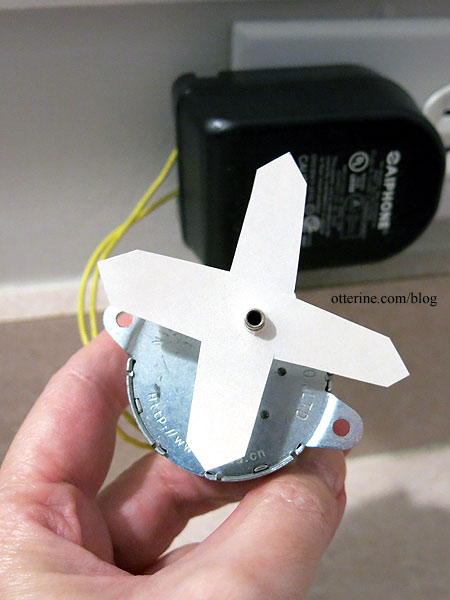
Here I’ve added a paper cutout just to show that the motor does spin and in which direction.
A quick video. :]
Seeing that this motor turns counterclockwise makes a difference in how the sails will be built. Even though the wind won’t power them, I want the sails to be built to correctly correspond to direction. Here is clockwise, and here is counterclockwise. You can see the difference in the lead edges and angles. Bruce Hirst has the correct configuration for clockwise sails, but I will be building mine opposite to suit the spin of my motor.
I’ll need to build the sail structure first to make sure my motor can handle the work before starting the mill itself…a bit of reverse engineering. :] I don’t want to do all the work just to find out I need a different motor in the end. Let the engineering begin!
Categories: Watson Mill
February 17, 2016 | 0 commentsMilo Valley Farm – landscaping, part 4
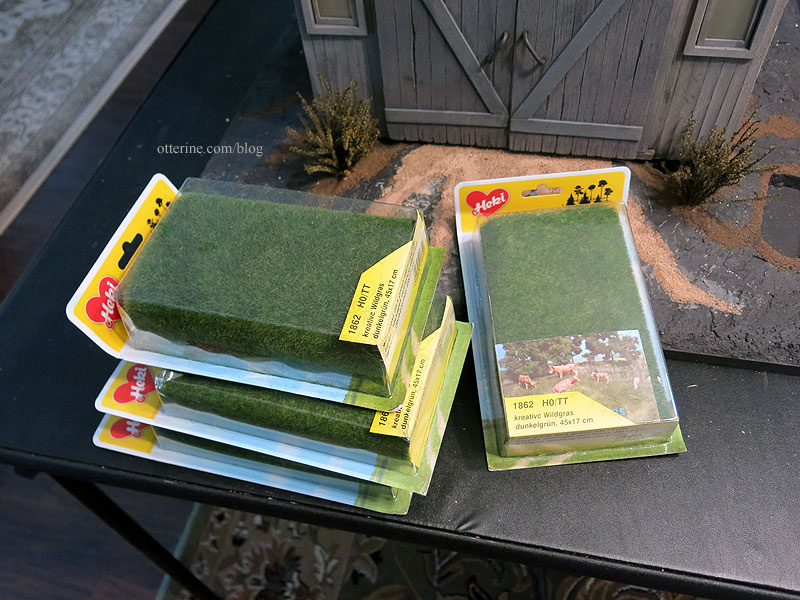
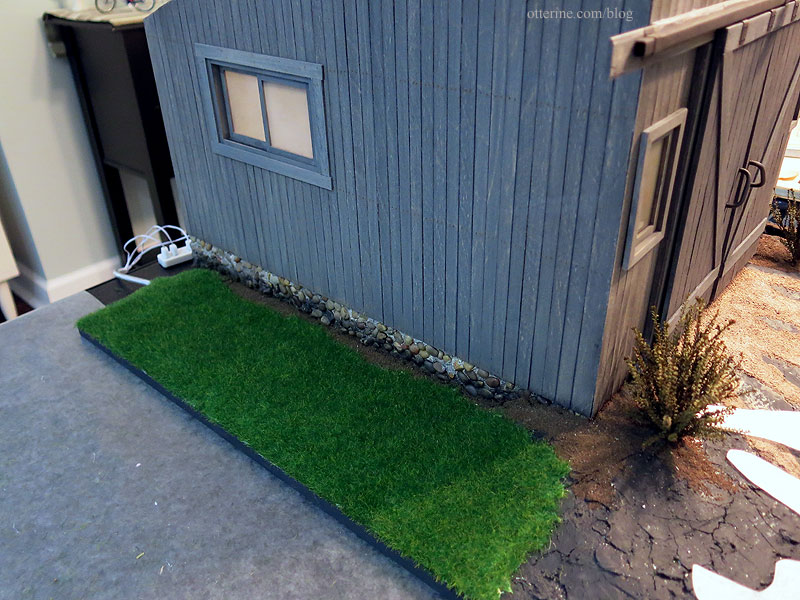
Continuing work on the landscaping. The grass mat I will be using is Wild Grass in Dark Green by Heki from Scenic Express (they call it Summer Green TurfGrass on their website). It has high dark green grasses with some variegated coloration to simulate a wild but well-kept lawn. Just because there’s a barn find car inside doesn’t mean the whole property has to be an eyesore.
The grass mats are pricey, but the look is spot on in scale. The sheets are only 6″ wide, though they are 17″ long, so there are places on the landscaping board that will need to be pieced. I bought four to have enough, though I wasn’t sure I would need all of them.
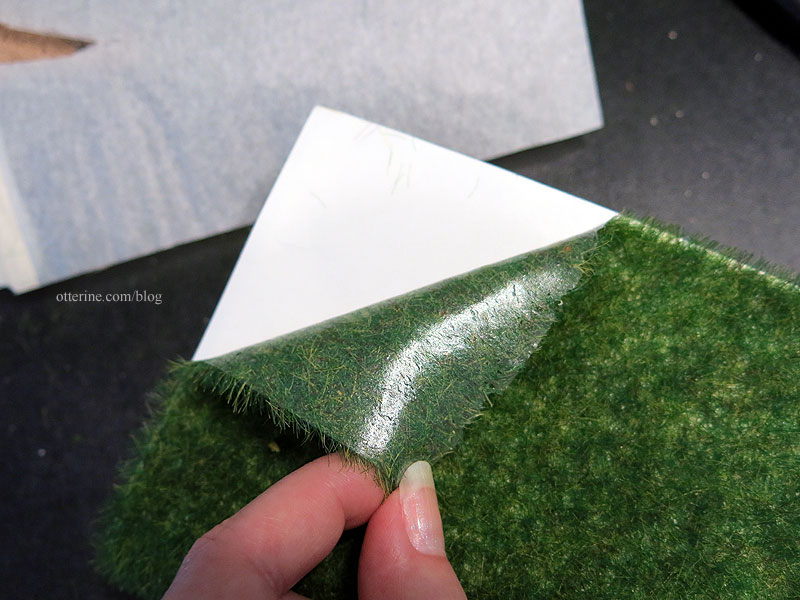
The backing of the grass is a clear, rubbery substance though not sticky. This makes it more flexible than the paper-backed grass mats, which will be good for the uneven landscape I need to cover. I peeled the grass sheet from the protective paper.
I pinned the paper template to the grass mat — there’s my sewing background coming into play. :D
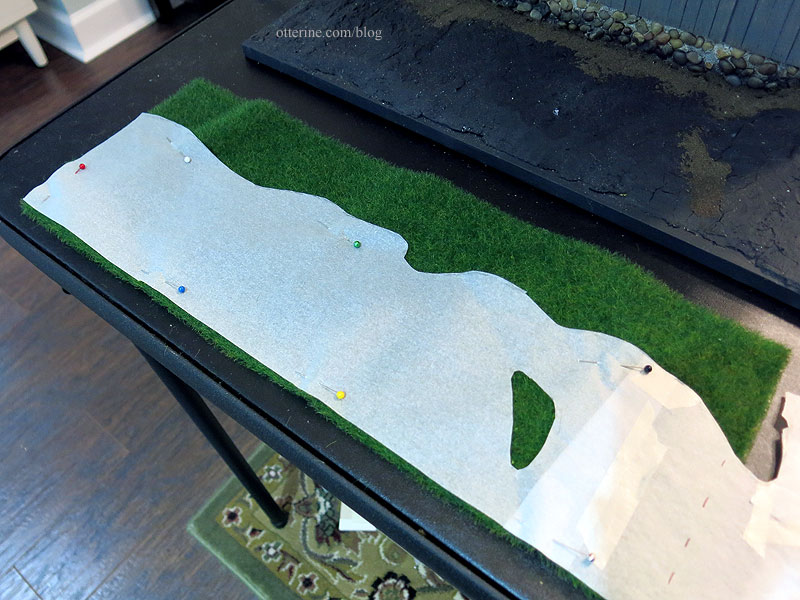
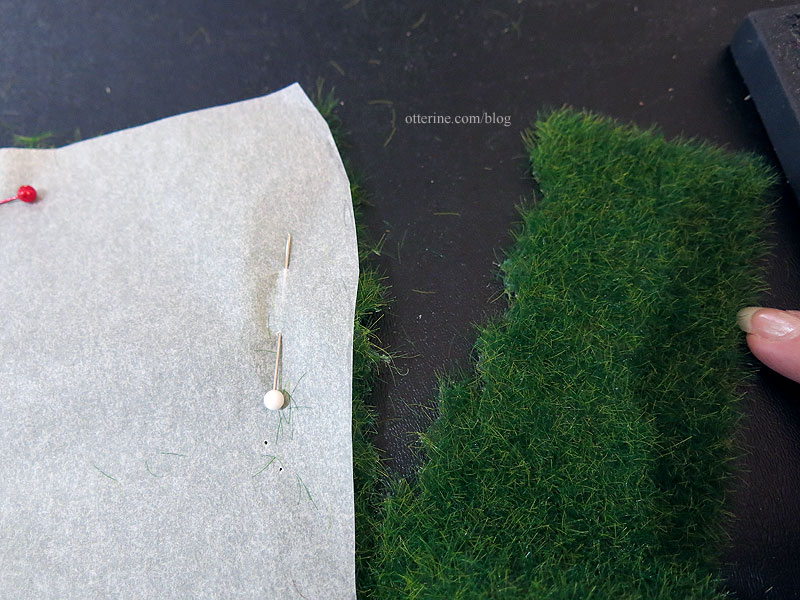
To make the divide between the grass and the dirt look less planned, I tore the grass mat backing along the edge. I checked the fit and made further adjustments. I decided to cover the bare dirt patch I originally had planned.
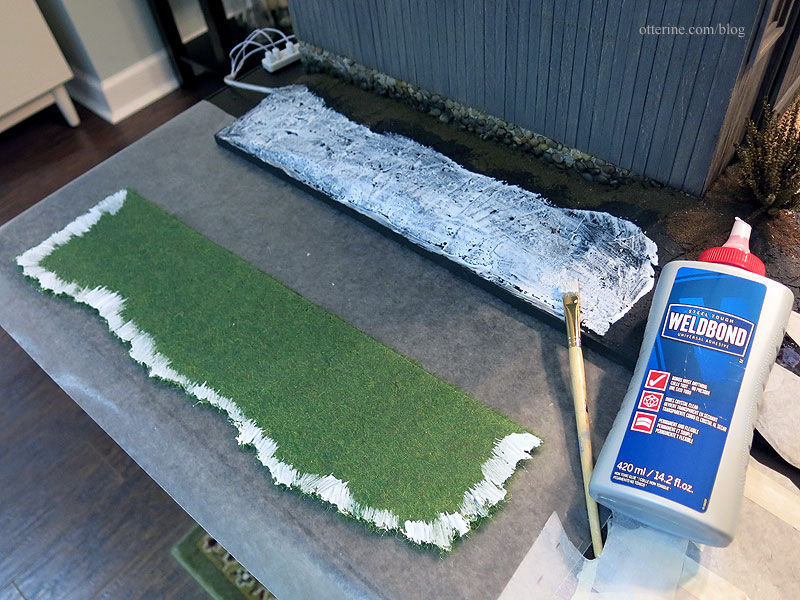
I spread Weldbond glue on the base board and on the edges of the grass mat.
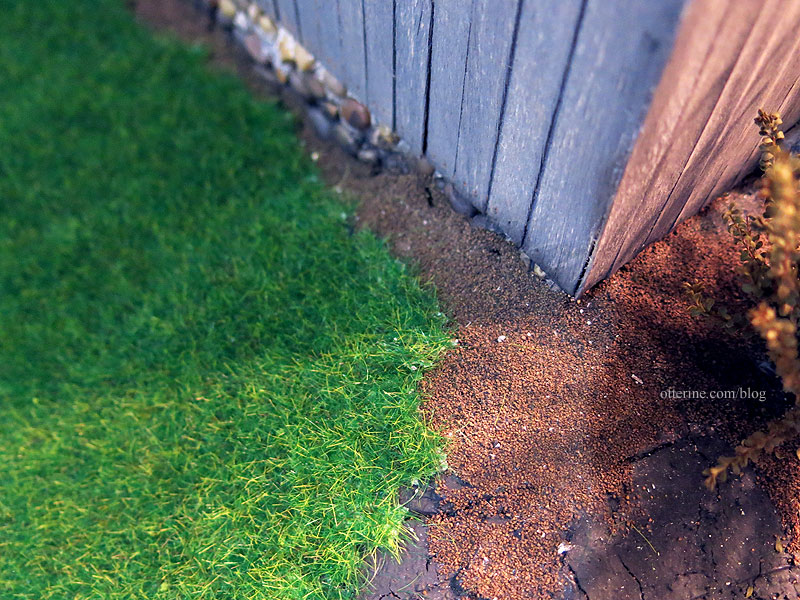
I pressed the grass into place, using a scrap of strip wood to fine tune the edges so I could press the grass into place without flattening it.
Any bare spots are easily pieced from the saved excess.
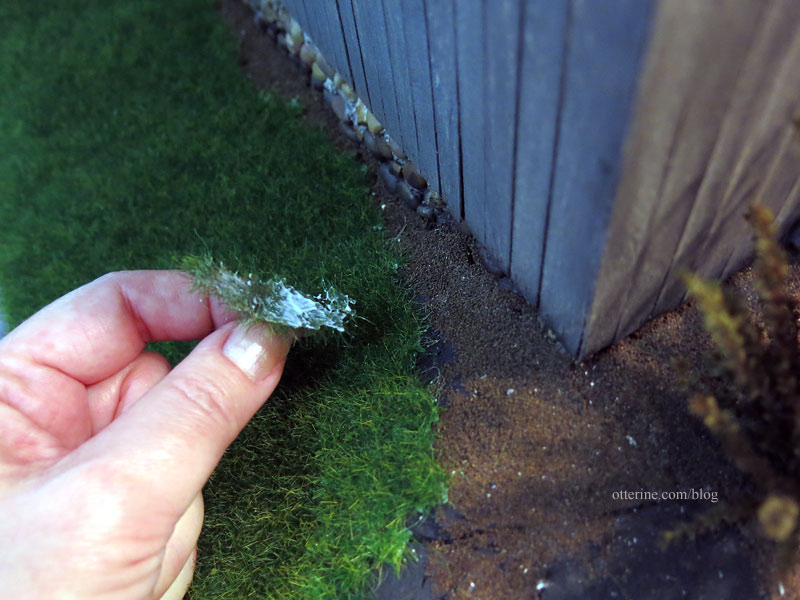
The material backing is what makes this type of seamless piecing possible. I’m not worried about any of the backing showing at the edges right now. All of this will be addressed in the final detailing.
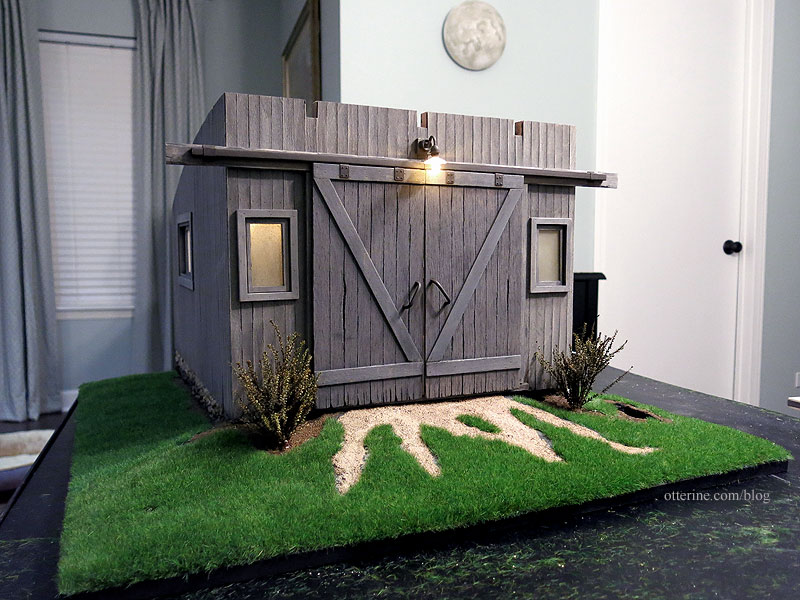
I continued the process until the entire surface was covered. And, yes, this is a messy process. :D
Categories: Milo Valley Farm
February 15, 2016 | 0 commentsMilo Valley Farm – overhead light
I’m using a Meyers Wall Light for the front of the barn. I used pliers to bend it outward a bit, which removed some of the paint. That’s fine for an old light, and I brushed on flat black paint to remove the gloss shine. Once that was dry, I dry brushed on dark brown to make the finish appear corroded and dirty.
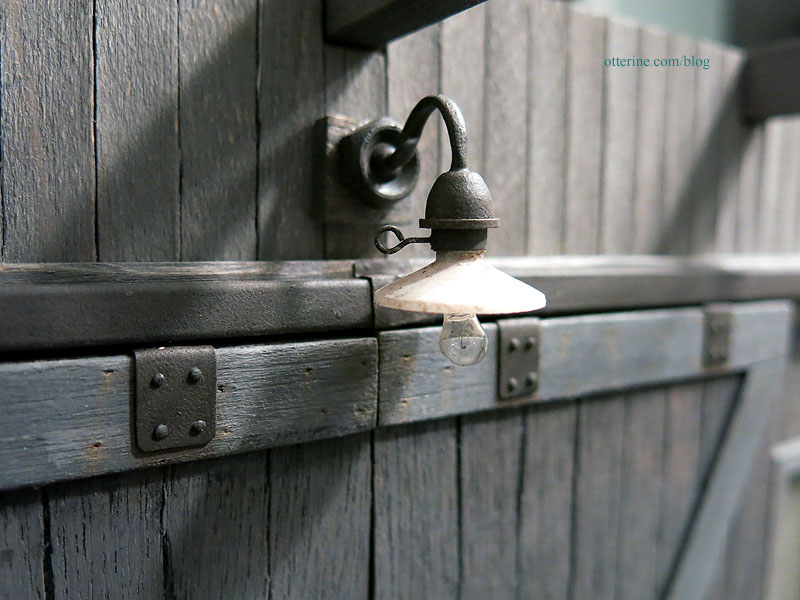
Since the door frame sticks out, I added a square of scrap wood to serve as a base for the light.
On the inside, I connected the lamp wire to the 12V wire I fed during the overhead light installation.
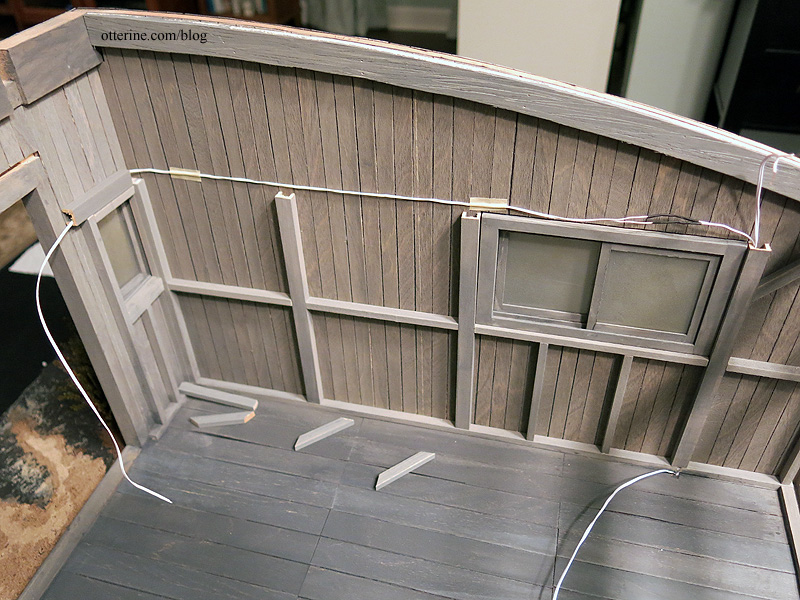
before – showing the wire I covered the wires with channel molding. I didn’t bother adding knob and tube wiring for this lamp since it would have been hard to see and just make a mess of the work I did previously. :]
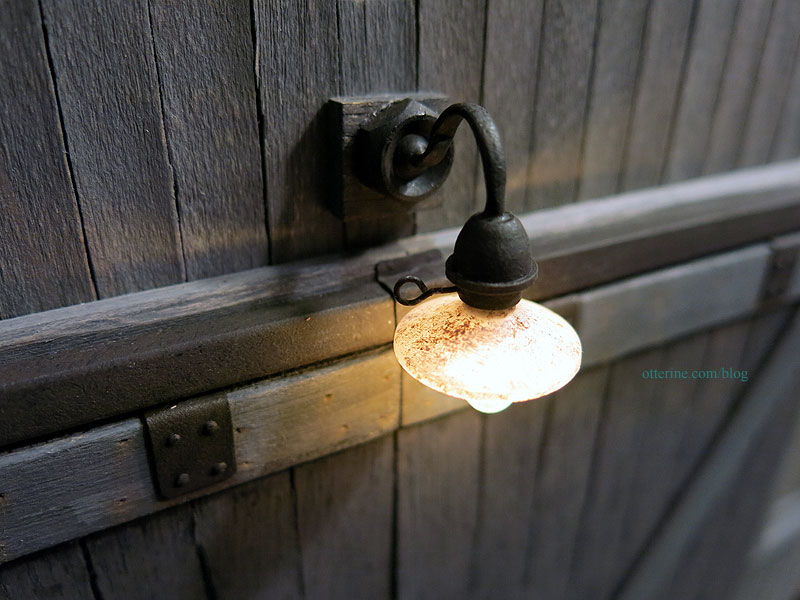
Just a few modifications and it looks like an old barn light that’s been there a long time.
Categories: Milo Valley Farm
February 14, 2016 | 0 commentsMilo Valley Farm – barn doors, part 4
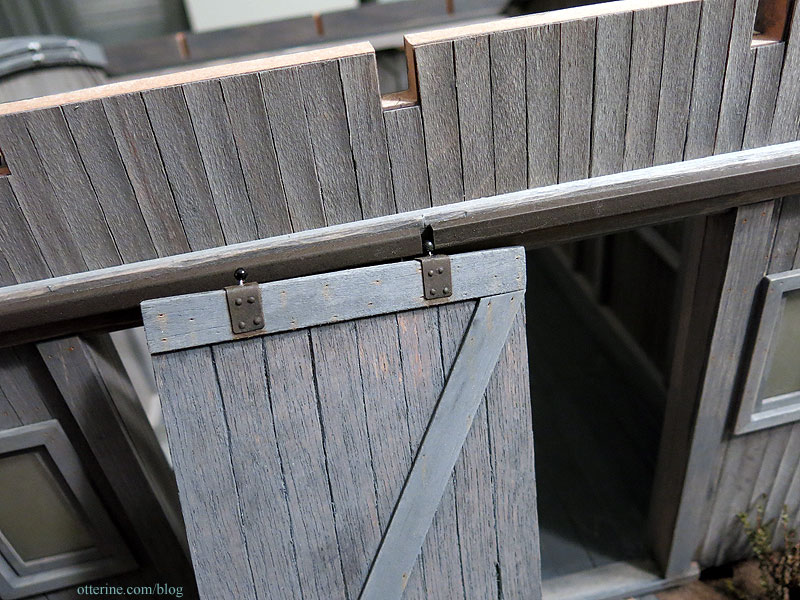
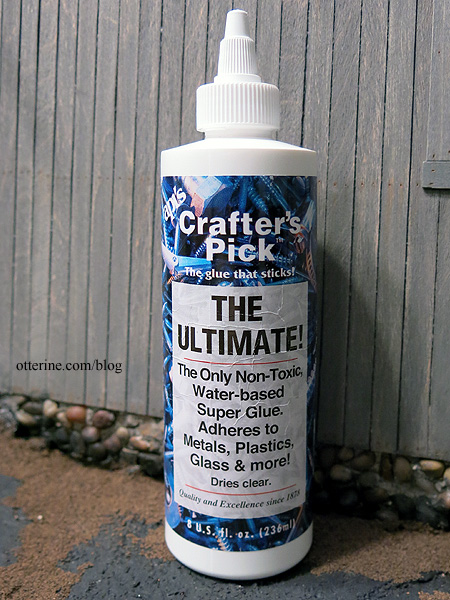
Finishing up the barn doors. Glue will be the main support for the tubes. I used The Ultimate by Crafter’s Pick supplemented with dots of super glue gel, leaving a slight gap in the middle. I’ll explain why in a moment.
I added strips of wood around the rest of the door opening to help with the slight gap between the door frame and the doors. This won’t block all of the gap, but it will help. This might not have been necessary had I planned better, but let’s just say this is a replacement set of doors tacked onto the front after a wayward tractor mishap. haaaaaaaaaaa!

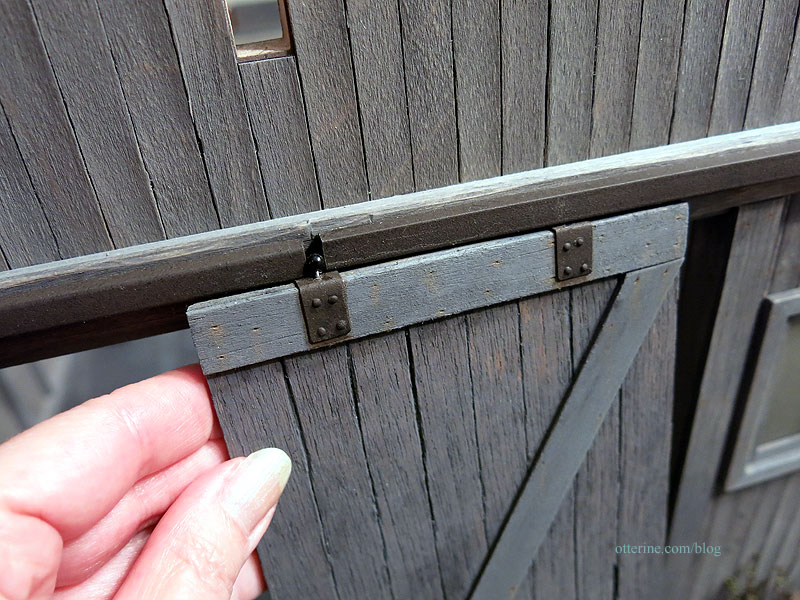
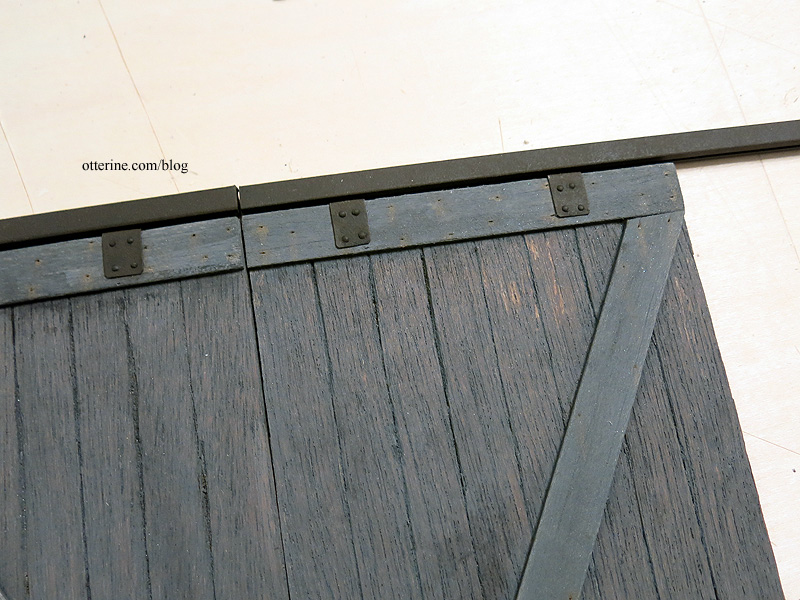
I added brackets to either end. These are black craft paper not zinc since they are mainly for show not function. Plus, it was easier to make them from paper and get a good fit.

I faked the tiny nails with paint.
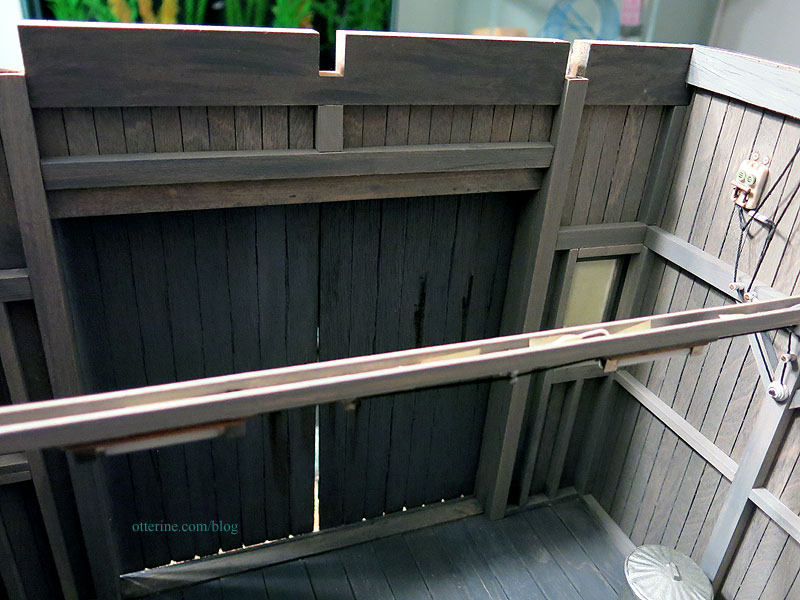
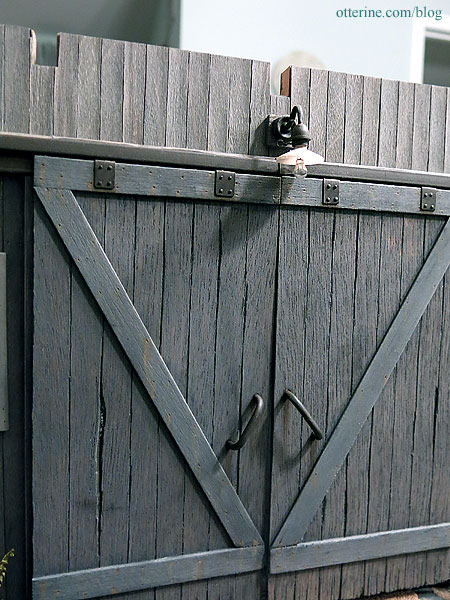
Moment of truth! I slipped in one door and then the other. The gap allows the pin head (hahaha – it never gets old) to fit in between.
The door slides in the track until the other pin head can slip into place. It took a few tries to fit the doors well. I bent the pins until they hung properly in the track. They can’t be moved using only the handles; I have to grip them by the sides to slide, but that’s just fine with me. :]
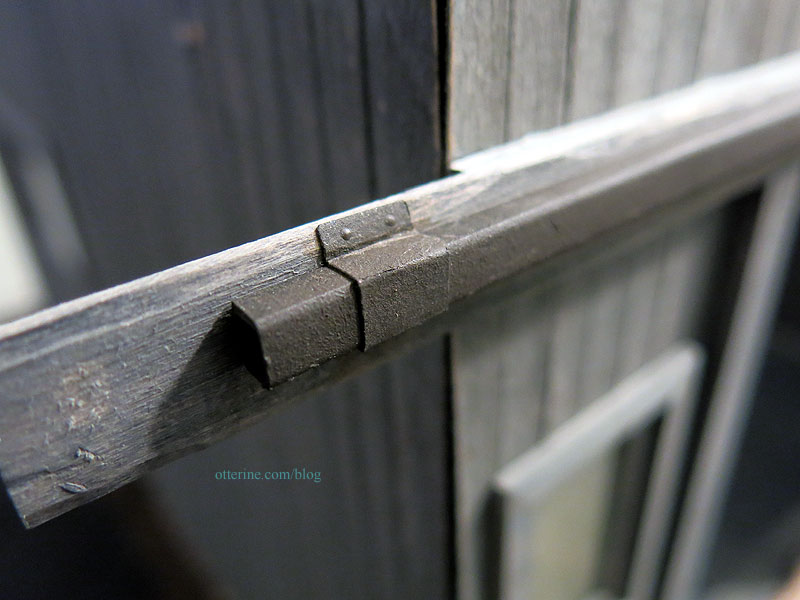
I added the final bracket in the middle to cover the gap. If I ever have to work on the doors, I can peel the paper bracket loose.
Hooray! :D
Perhaps there should be a handle inside, but…I kinda love it as is. One of my art professors once said it takes two people to make a work of art; one to do the work and one to hit that person over the head when it’s done. :D I going to hit myself on the head concerning the doors. We’ll just say there’s enough of a gap to get a hand in there to pry them open.

Categories: Milo Valley Farm
February 11, 2016 | 0 commentsMilo Valley Farm – barn doors, part 3
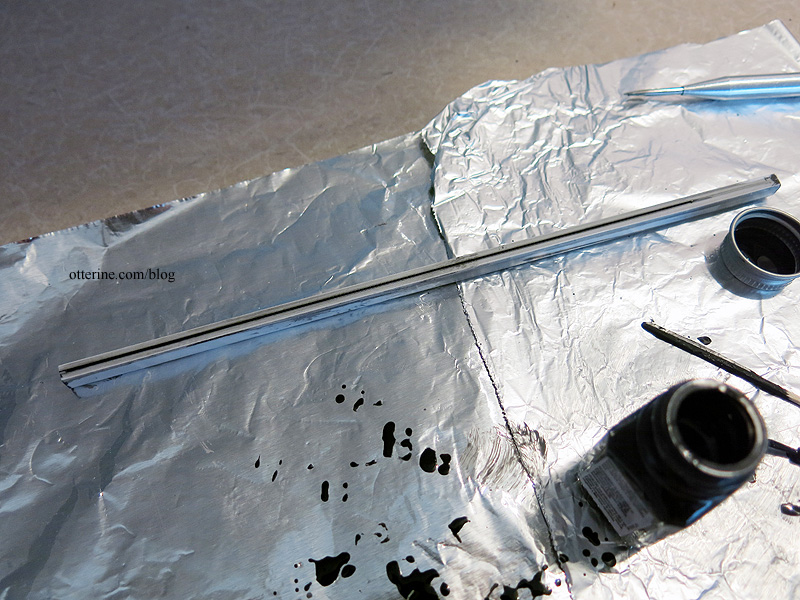
Continuing work on the barn doors. I brushed Testors black inside the plastic tubes as best I could. I let it dribble through from each end and soaked up the excess with a paper towel. It didn’t need to be perfect, just to hide most of the white plastic.
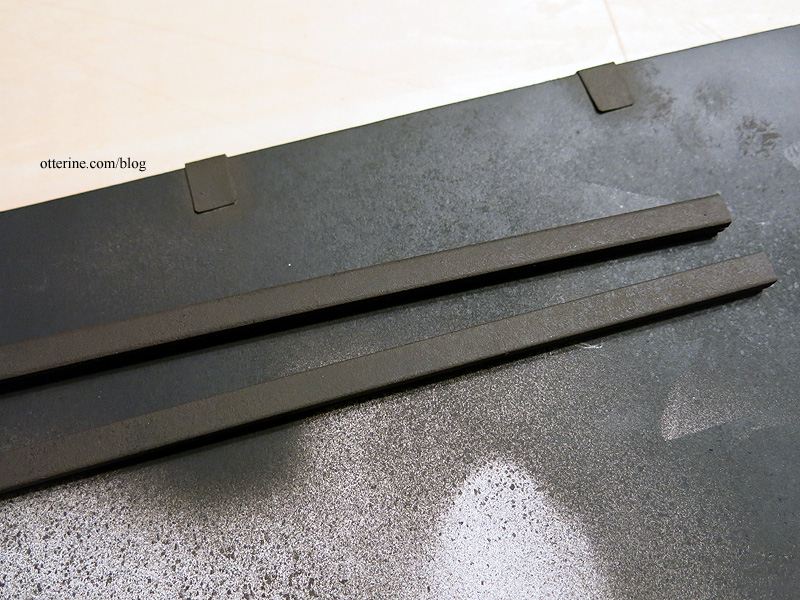
I then spray painted the plastic tubes and bracket hardware flat black. I stippled on dark brown to simulate aged and corroded metal. It’s a subtle finish.
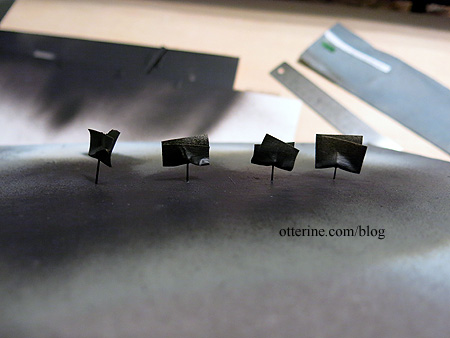
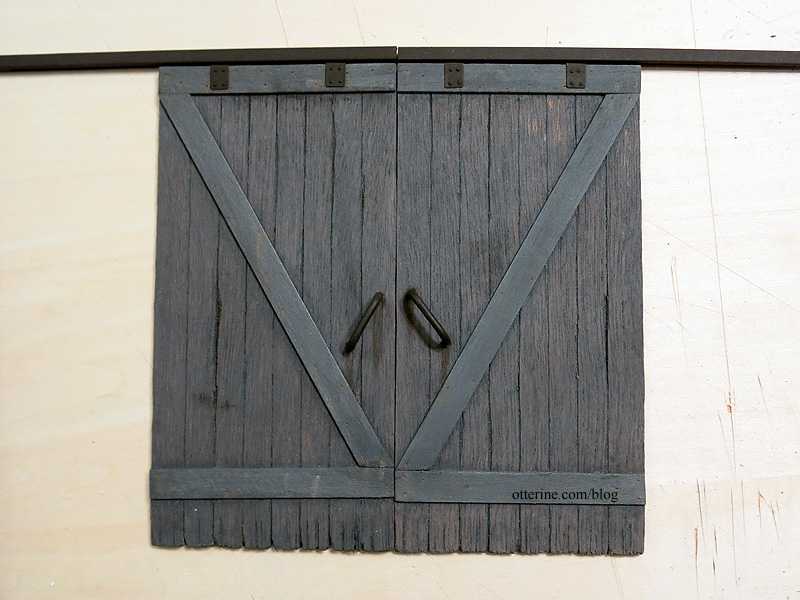
I made door handles from brass tubing and sprayed those and the sewing pins with Rust-Oleum Self Etching Primer to help the paint stick better. I taped the pin heads (hahaha I said pinheads) to keep them free of paint. I then sprayed them flat black and added the stippled brown paint. The etching primer did not matter on the pins — the metal is too smooth. So, they will require touch-ups for life. =shrug=
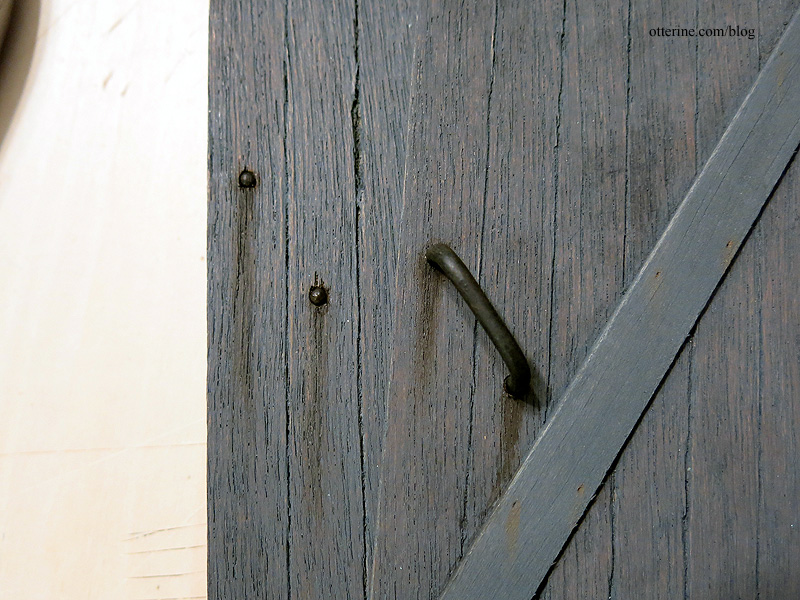
I drilled holes through the door and glued in black brads to finish the end holes. I added aging washes to the surrounding wood and painted the brads to look like corroded metal. I installed the handles at an angle, because I liked the look of it. :] Here you can see the back of one door and the front of the other.
I drilled pilot holes in the brackets for tiny nails. I glued the brackets in place and supplemented the hold with the tiny nails. The fronts have four nails and the backs have two so they wouldn’t interfere with each other.
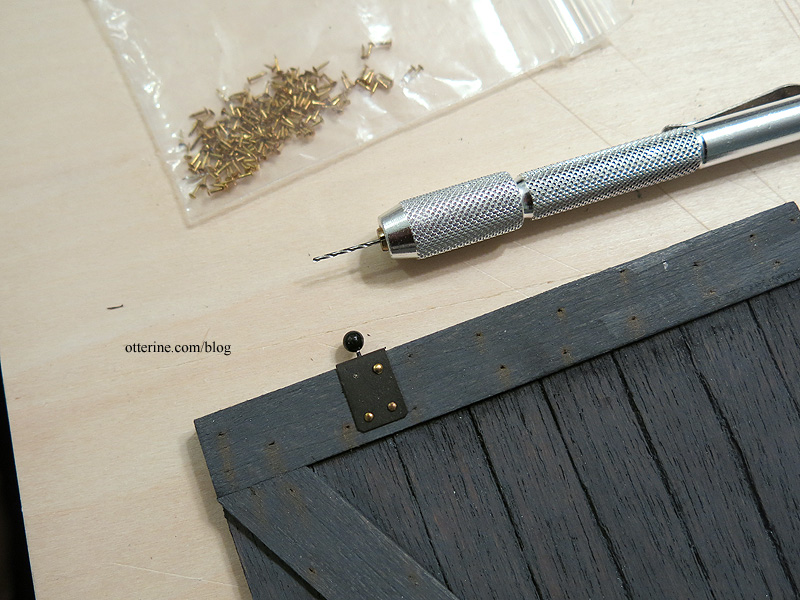
I used The Ultimate by Crafter’s Pick (thanks to Keli for recommending this glue for attaching metal to wood) for the brackets and dipped the nails in super glue gel.
The nail heads varied in size in the packet (noticed after they were glued in place, of course) but once painted to match they weren’t noticeable.
I will let all of this dry before installing the doors.
Categories: Milo Valley Farm
February 9, 2016 | 0 comments


NOTE: All content on otterine.com is copyrighted and may not be reproduced in part or in whole. It takes a lot of time and effort to write and photograph for my blog. Please ask permission before reproducing any of my content. Please click for copyright notice and Pinterest use.


