

Watson Mill – sails, part 1
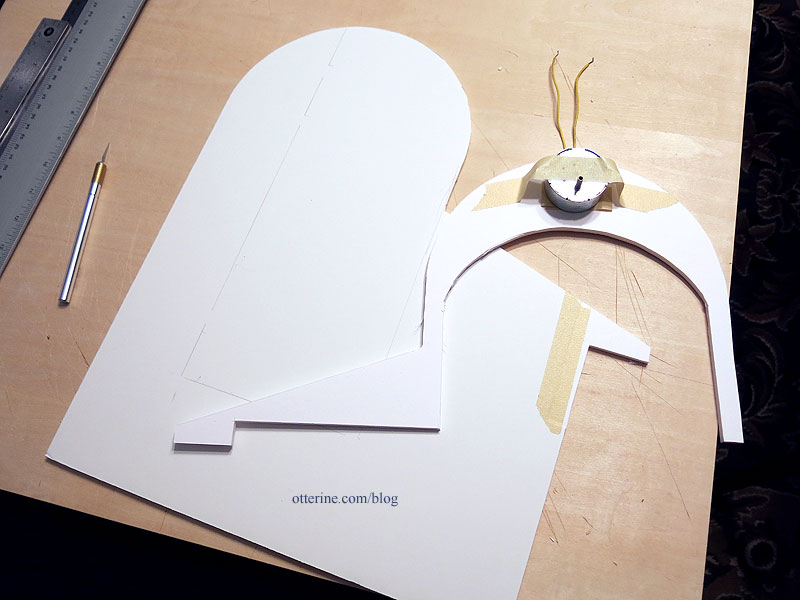
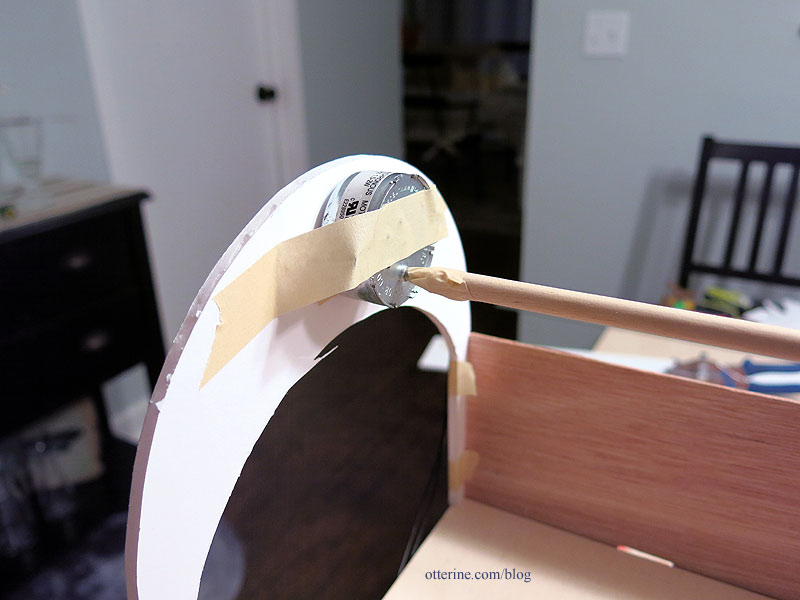
I cut a front wall from foam core board to determine the setup for the sails. I don’t want to drill a hole, have to move it and be left with patching issues on the wood board. I mocked up a back wall for now as well and taped the motor in place. I can make adjustments to this wall as needed.
I’m using a wooden dowel for mockup purposes, taped to the motor. I might end up using this material in the end, but for now I’m just testing.
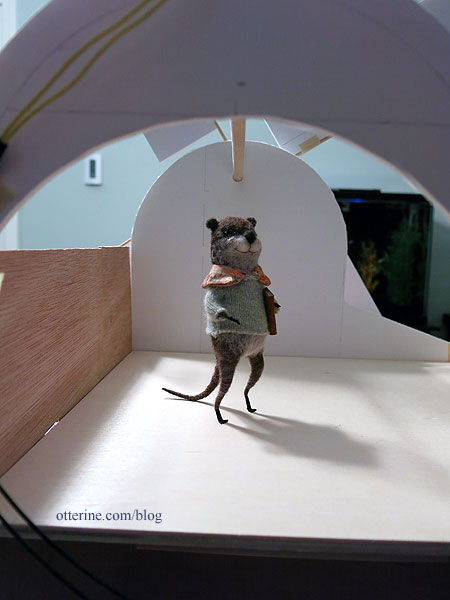
It’s still a good height for Gustav.
I made a sail hub from a scrap of foam core board and used bamboo skewers as the lead edges of the sails. These have 10″ of exposed length. I cut foam core sails by eyeballing the first one and then cutting the rest to match — these are 8.5″ long x 2.5″ wide. All of this is probably lighter in weight than my final sails will be, but it will at least give me an idea of scale and proportion. I think this has a good balance overall.
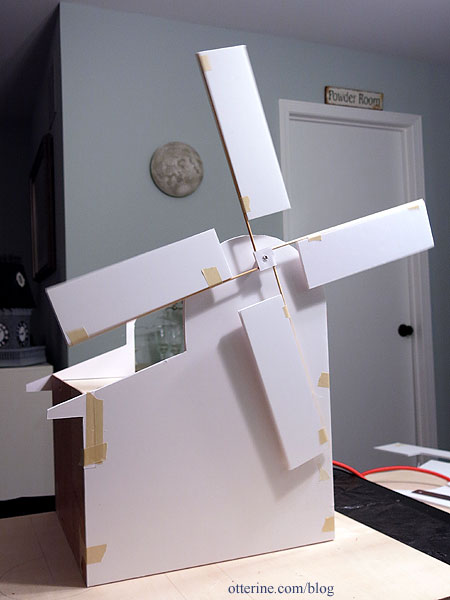
Turn on the motor…. So far, it looks as though my motor is able to handle the job effortlessly. (This video was taken with my old camera, but it gets the point across.)
Now, I need to create the sails.
Categories: Watson Mill
March 15, 2016 | 0 commentsDatsun 240ZG – part 3
Continuing work on the Datsun 240ZG. It has been a long while since I last worked on the car model for my barn find. This will be slow going because there are so many parts in general and many of them will be functional parts. I’m also in no rush and want it to match my vision. These sorts of projects are not for the timid. Now I’m back to building, one step at a time. I’m still on page one (of 13).
I don’t know if any of you will build a model car, but I like to share tips in case someone stumbles onto my blog. Or, perhaps the tips will apply to other situations. One of the things I’ve done for this build is to mark tiny plastic bags to hold assembled parts when I have to know front, back, left or right. I also mark them with the step number so I can easily find what they are when needed later. There are a lot of smaller assemblies that get pulled in later, so it just makes sense to mark them and protect them as I go (I’ll worry about touch-ups later).
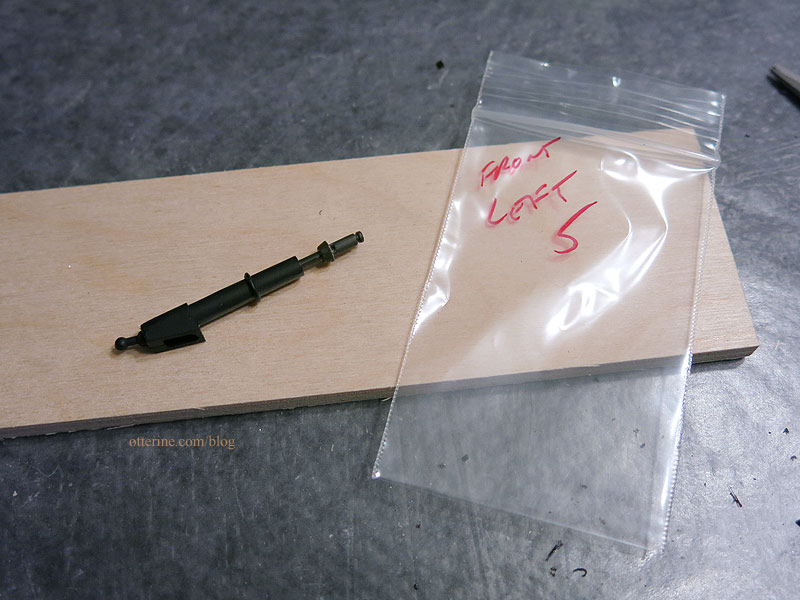
The other tip I have is removing that gleaming chrome finish from plastic model parts. There are several videos on the matter, and the easiest method involves household bleach. I stripped the bumper and the shock absorber parts mainly because I’ll be making the underneath a little aged and well used. Beyond that, the chrome bumper just looked like chrome coated plastic. :\ I will paint it to match the front bumper, which is grey metallic.
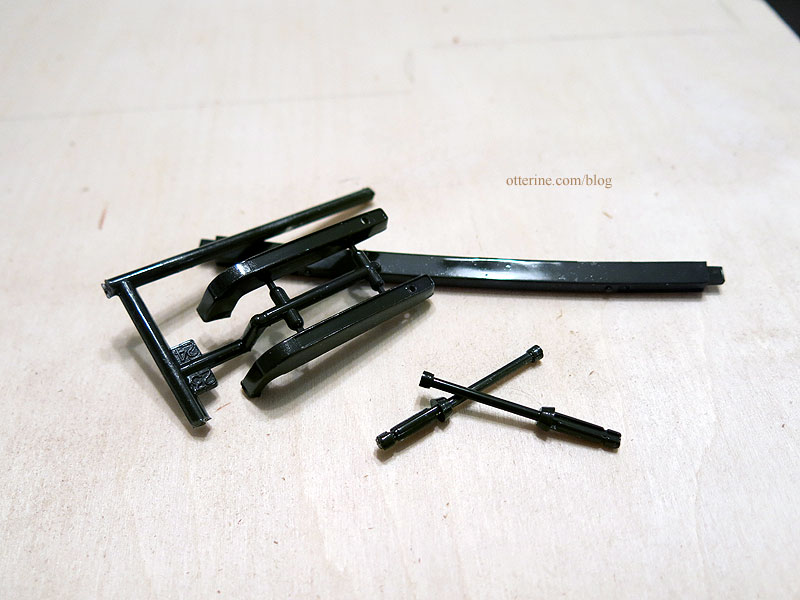
I watched the chrome disappear during the process, and the color went from high silver to yellowish to absent. This gave me an idea for the chrome wheel caps. =bling=
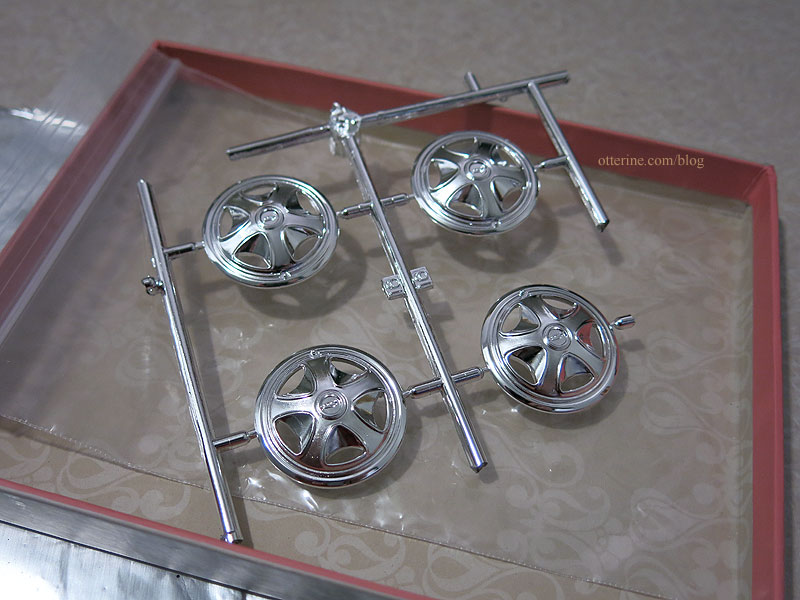
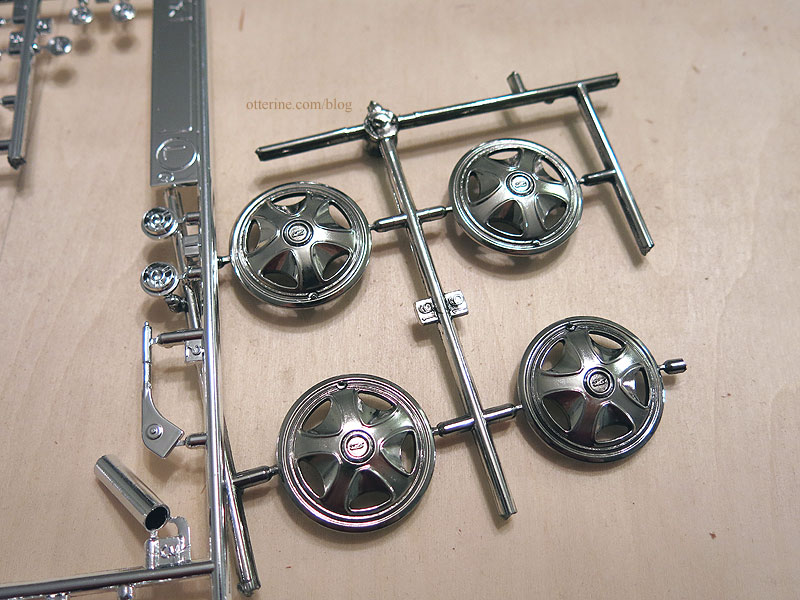
I soaked them until they turned slightly yellow.

I don’t know if I will attempt painting these like the real deal, so this is a good compromise. Now they are less brilliant and yet still have good styling. It brought out the details actually, because it darkened the recessed lines by removing the finish in those areas. You can see the slightly yellow tinge next to the original parts. If the finish becomes unstable, it’s no worry to me…I can always paint them.
Removing chrome finish from plastic would definitely apply to the Chrysnbon bathroom kit. You could then paint the pipes and faucets any color you like. :] Or, you could do as I did and soak them a short time to weather them.
Categories: Milo Valley Farm, Model Cars, Vehicles
March 9, 2016 | 0 commentsMy first estate sale!
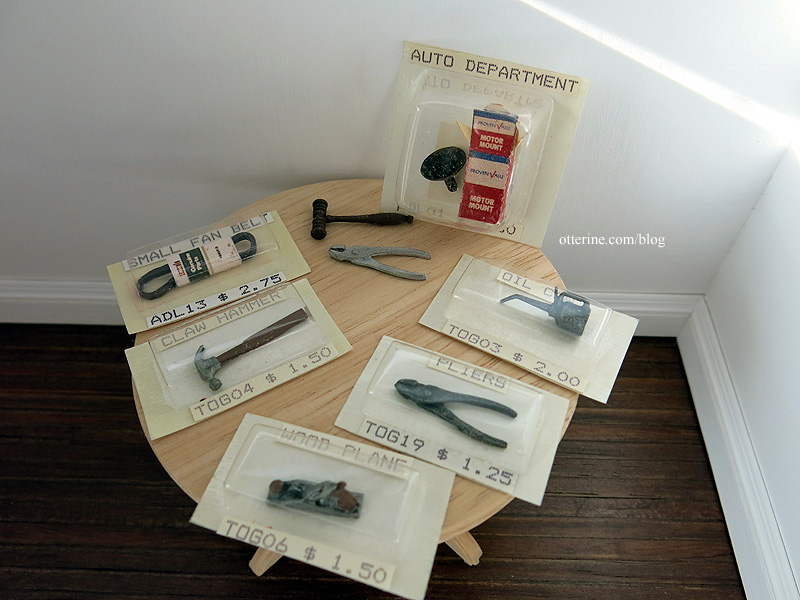
I once wandered into an estate sale by accident and bought a couple of things (one of which I use all the time in my mini work — a tiny metal ruler). But, this is the first time I’ve planned and shown up early. The woman whose home this was had been a miniaturist and needleworker, and I’m glad I could give a home to some of the things she left behind.
Some excellent tools likely from Wright Guide Miniatures and a gavel.
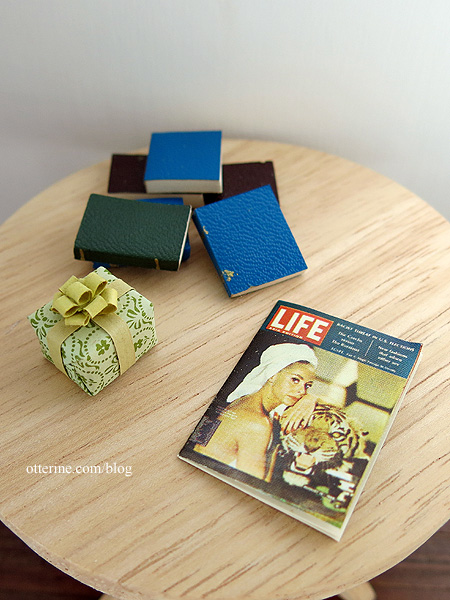
Book blanks that I can apply covers over, a vintage magazine and a wrapped gift.
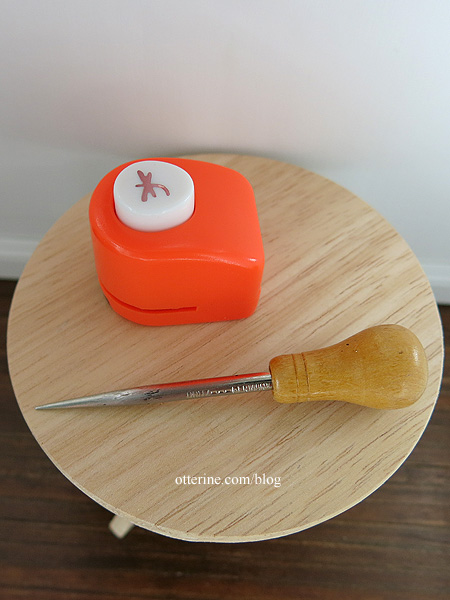
A dragonfly punch and a tiny awl. I now have three awls. I just love ’em. :D
Terra cotta pots. It’s hard to tell the size since I forgot to add my penny, but these are small, with three of them being especially well sized for seedlings.

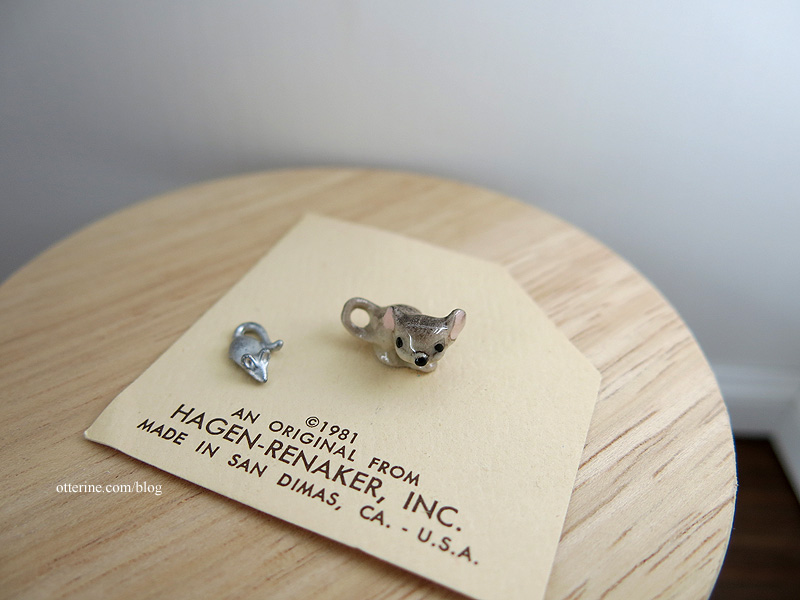
Tiny mice, one of which is a Hagen-Renaker.
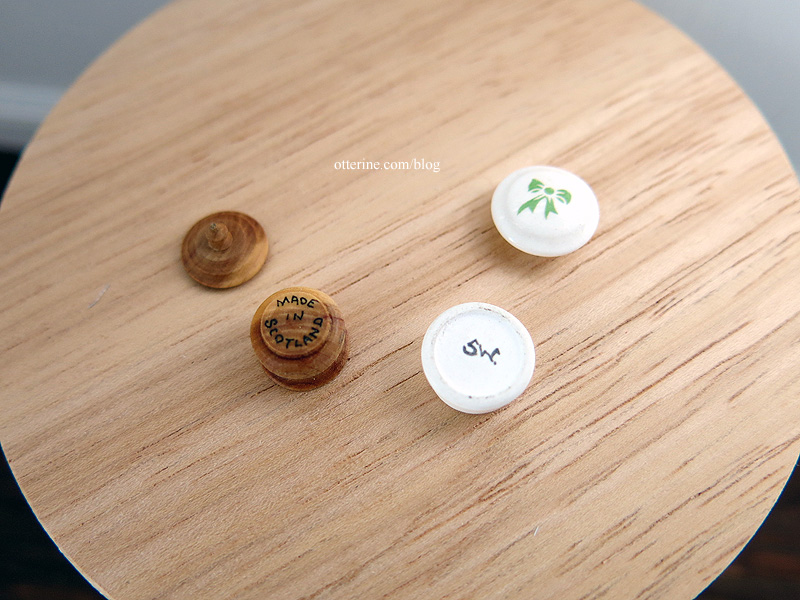
Two tiny lidded boxes.
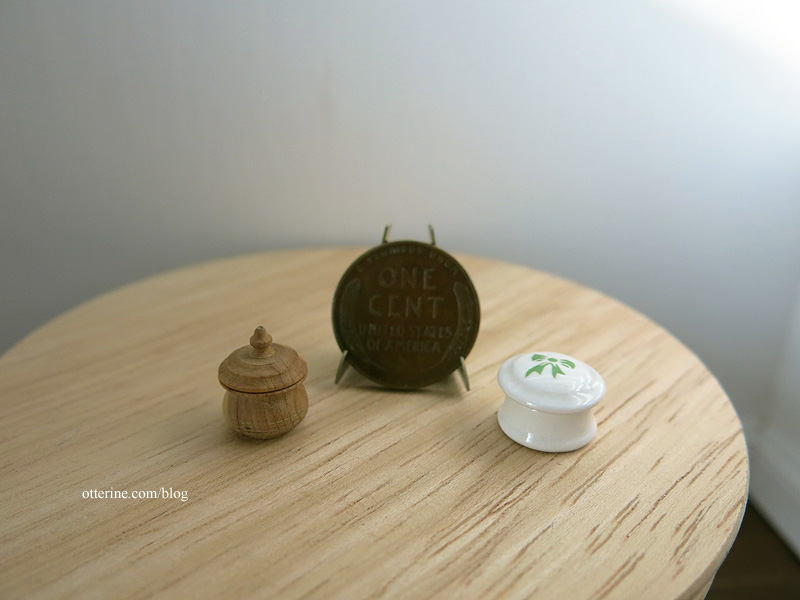
One is marked Made in Scotland and the other has initials that are likely Stokesay Ware.
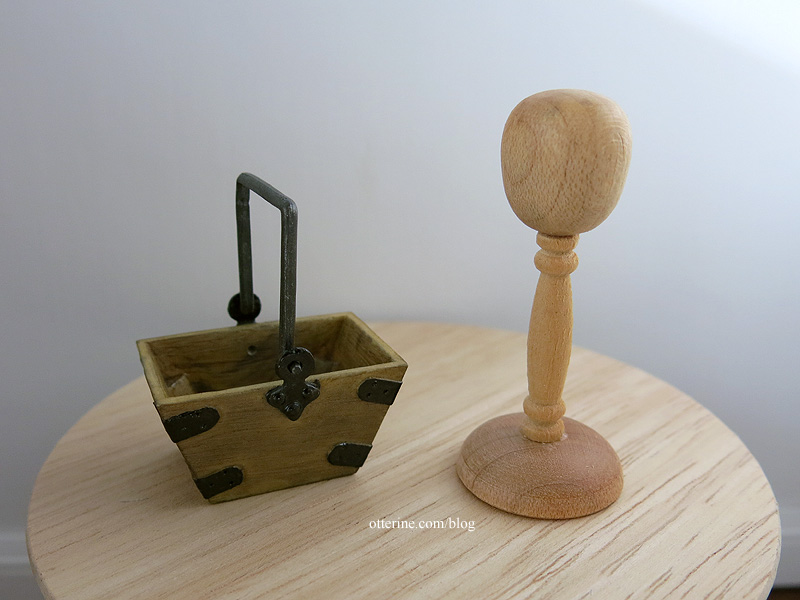
A plastic basket that definitely fools the eye and a hat stand.
A tiny wall shelf.

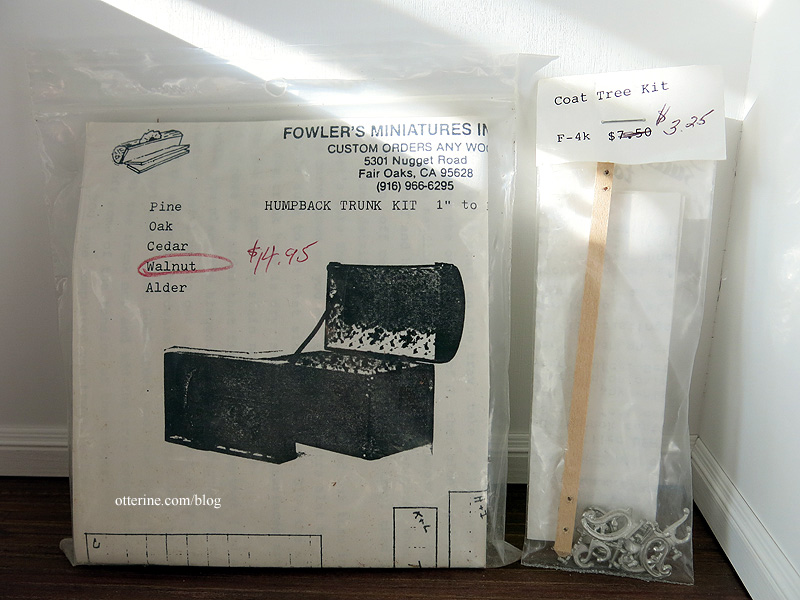
Two kits — one for a trunk and one for a coat tree.
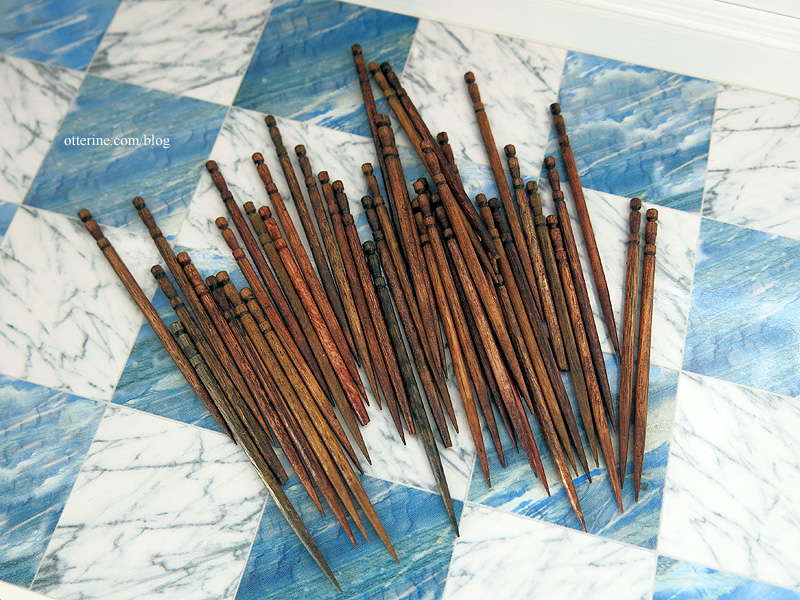
Fancy toothpicks already stained. :]
I picked up other odds and ends like plain wood, fabric and a book. I also picked up some kits for a friend and a real life sized item that you’ll see later on since it is related to Milo Valley Farm.
Categories: Miniature Shows and Shops
March 3, 2016 | 0 commentsMilo Valley Farm – old electrical pole
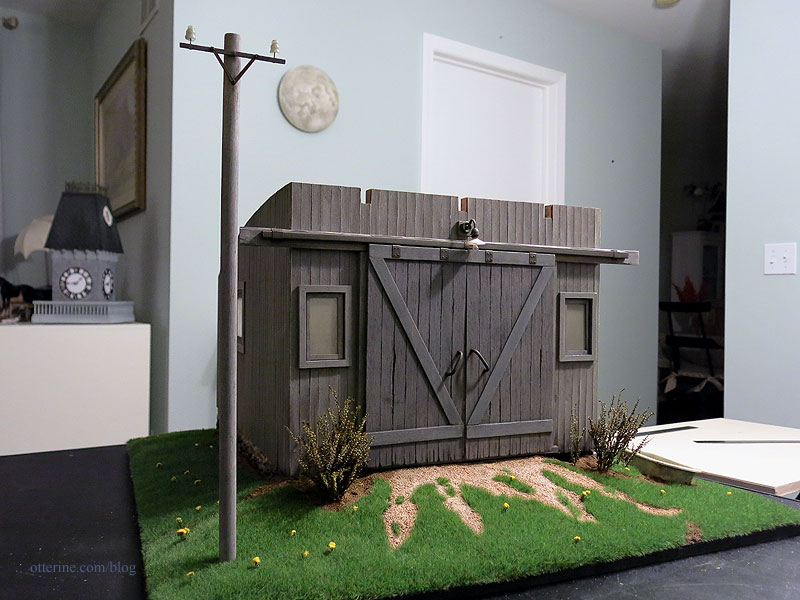
With the knob and tube system installed in the barn, it was time to figure out how to get power there. Enter the electrical pole.
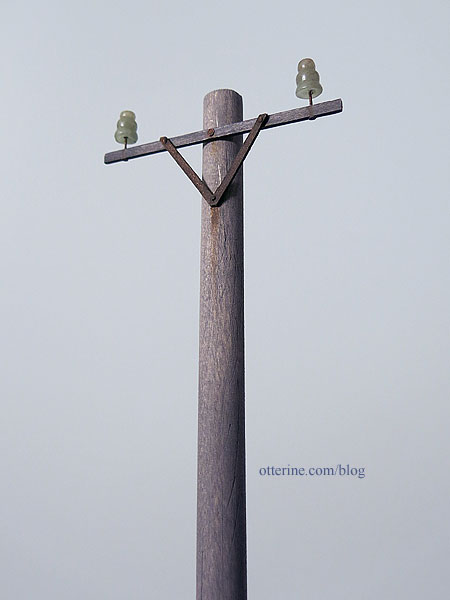
I started with a 1/2″ wooden dowel cut to a proportional size of 16″ tall, not exact scale. I took into consideration the fact that the wires need to clear the barn door to reach the tubes on the side of the barn. I then brushed on a grey paint stain just in case any glue seeped out during the later steps. I marred the surface with sandpaper and an awl, then added more washes.
I cut the cross bar from basswood, painted and aged before assembly. The v-shaped stabilizer was cut from cardboard and painted to look like weathered metal. I used metal headpins and tiny brads for stability and nail detailing. I glued green adventurine cone beads onto the side wires and added aging washes.
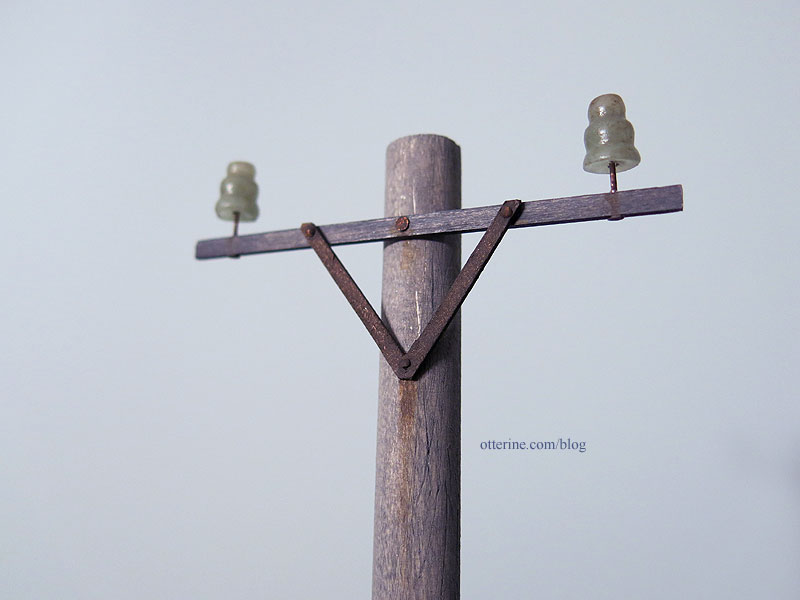
These are as close to mini glass insulators as I could find. I picked up the real deal – a Hemingray-9 – at a local estate sale.

This needs to dry completely before I finish up the electrical work. :]
Categories: Milo Valley Farm
March 3, 2016 | 0 commentsMilo Valley Farm – landscaping, part 5
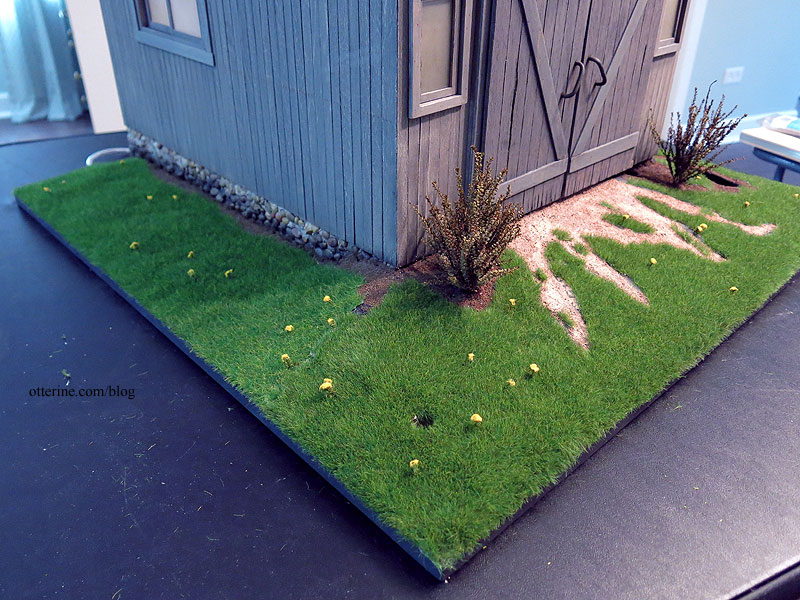
Continuing work on the landscaping. For a bit of non-grass vegetation, I have the Goldenrod Weeds “Silflorettes” by MiniNatur. These come all webbed together, and you cut the stalks off the web to apply individually. I have summer, late summer, and autumn colors. I will use the summer color here.
These are obviously not in-scale goldenrod stalks for 1:12 scale, but they do look like little flowering weeds. I used an awl to make holes in the ground to plant them. I left the awl in place while I prepped the individual flowers for planting, otherwise I’d lose track of the hole.

The landscaping here is spring/summer grass with a weed or two cropping up between mowing with the big riding mower.
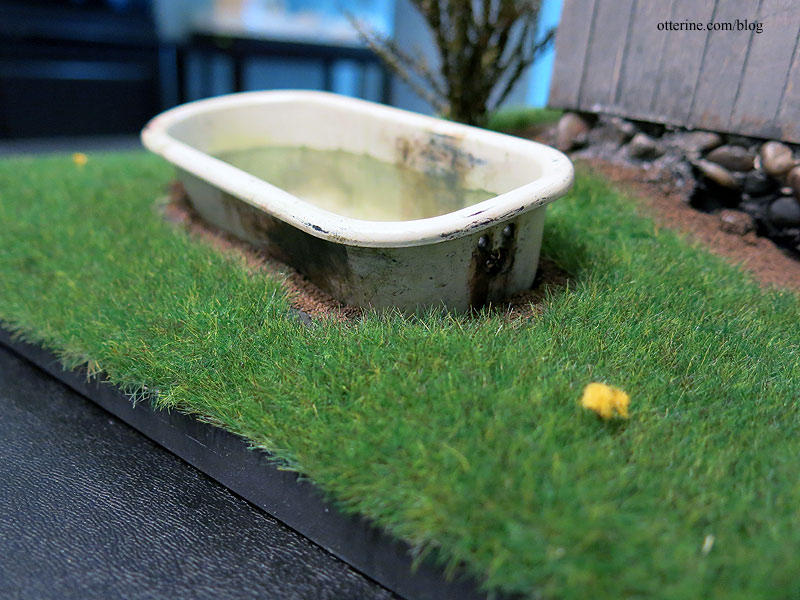
Time to plant the bathtub! I didn’t glue it into place; it’s just wedged into the foam.
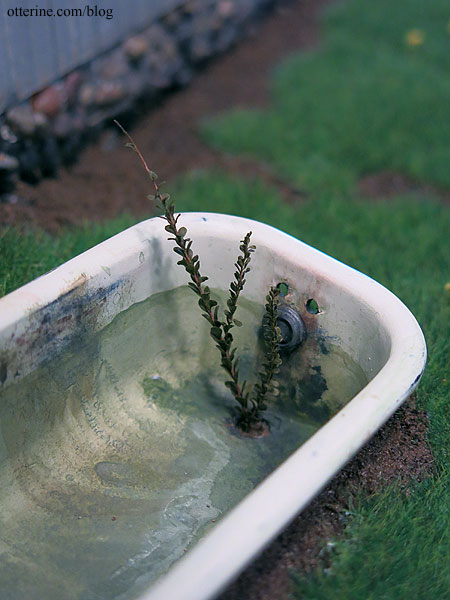
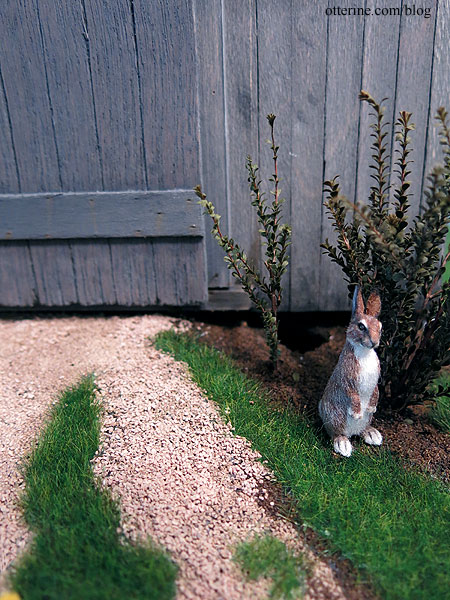
Looks like our weedy bush is proliferating. :D
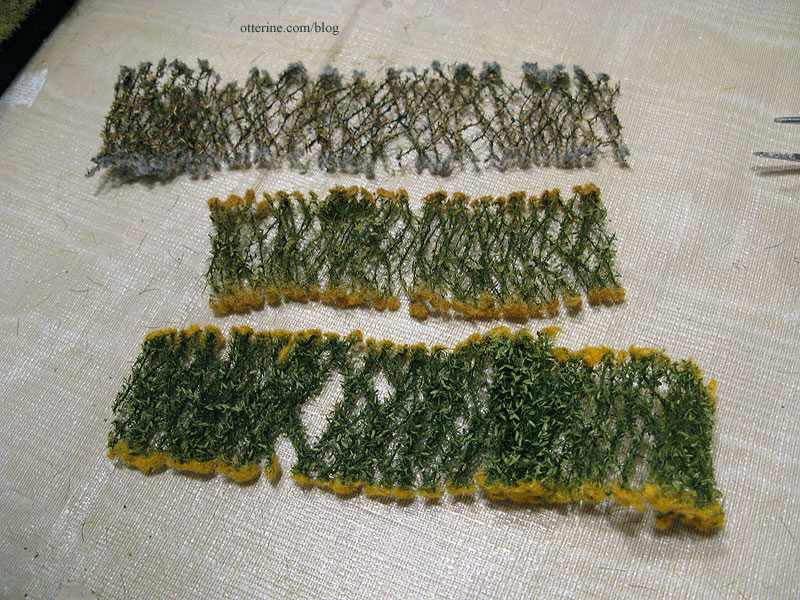
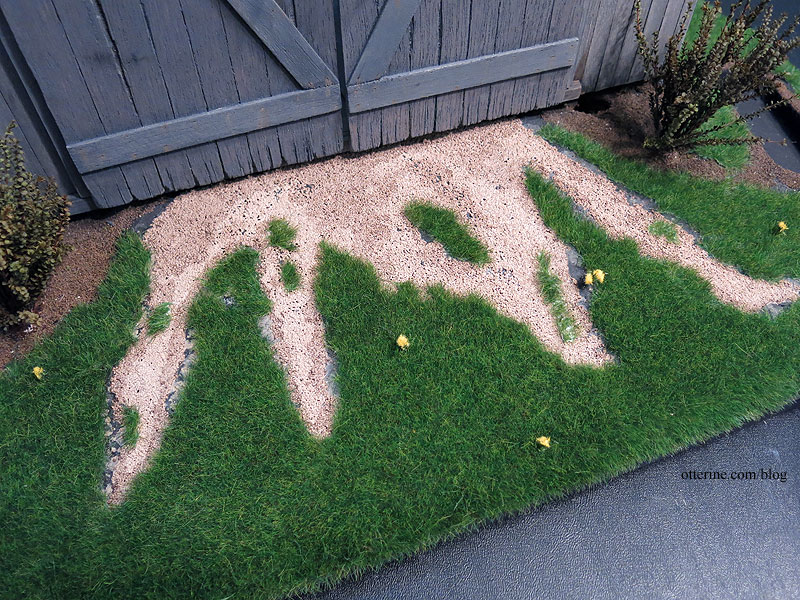
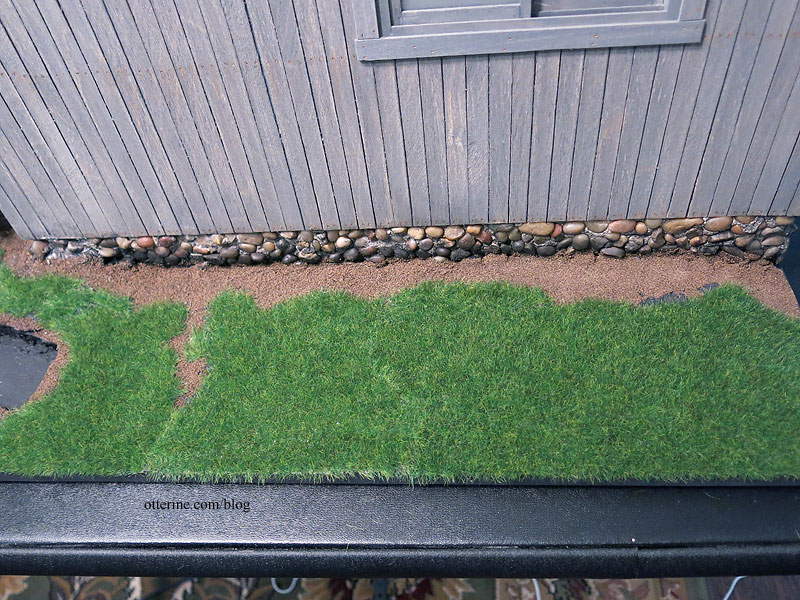
Here is the gravel ramp as it was after the initial grass was added.

I added smaller bits of grass torn from the scraps to the gravel ramp to give it all a more realistic appearance.
Previously, I had brushed glue onto the foam landscape, pressed gravel and ballast into place and removed the excess. This time, I carefully added the same material to fill in any uneven areas around the grass mat using a spoon.
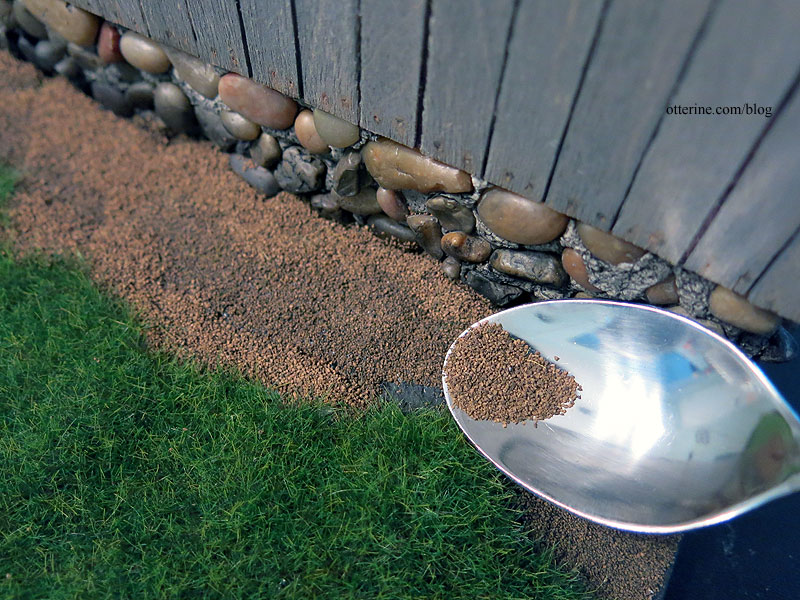
I didn’t worry about strays in the grass since that can be brushed away after the glue has set.
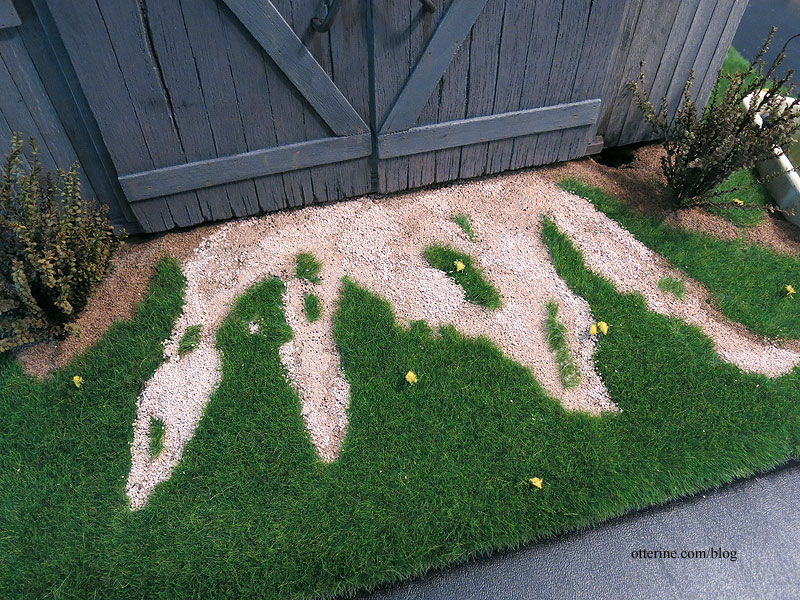
I used Scenic Cement to fix it all in place. Debora sent me some pipettes for application, and I had a cup of water on hand to rinse off the pipette in between sips from the bottle.

The Scenic Cement wanted to form droplets on top of the ballast materials, likely because they are smaller particles. I was able to break the surface tension and get the liquid to sink in by tapping the pipette along the surface. I didn’t want to use a sprayer since it wouldn’t be as easy to control.

I have learned that if you have something that sticks out and could be mistaken for sloppy work instead of a planned aesthetic, often the best solution is to draw more attention to it. Like this seam that didn’t go too well. If you have one of these, don’t overwork it. Just let it dry and address it after.

I added some dirt ballast and set it in place with Scenic Cement.
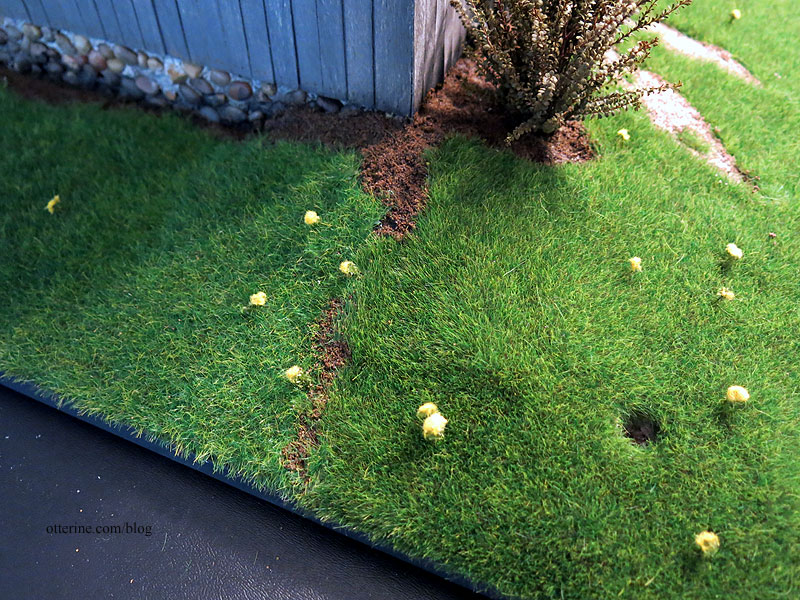
This seam on the other side is much more natural, so I left it as is. In fact, there are three seams here — only one can be readily seen but natural, one is faint and one is invisible. :]
Once the glue set, I vacuumed the strays.
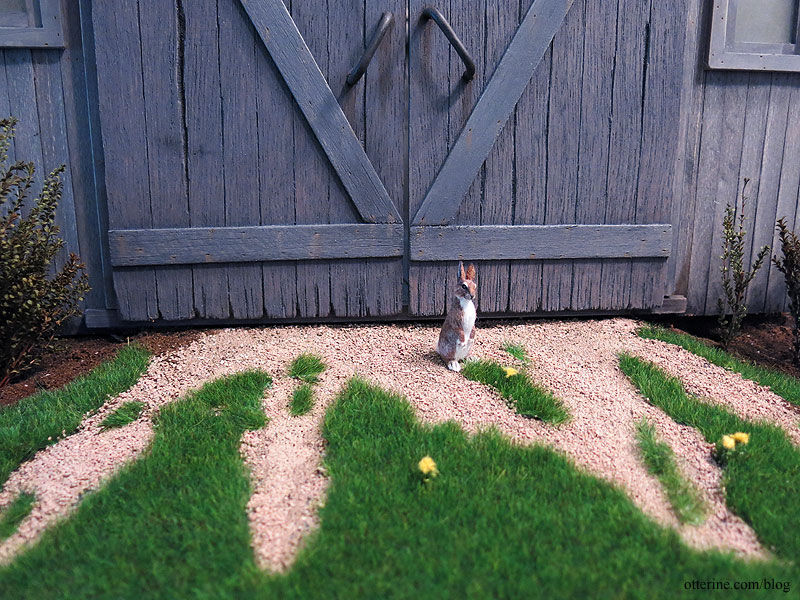
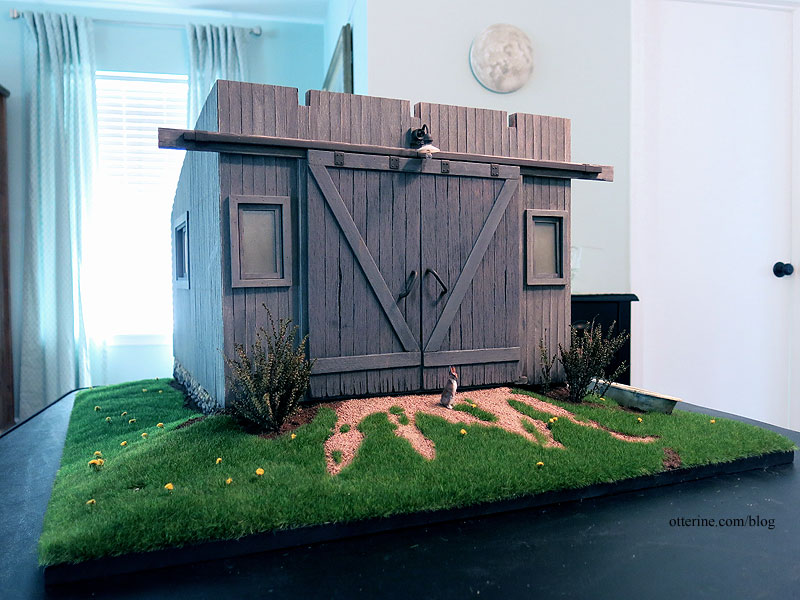
Friedrich is pleased with his burrow. :]
So, there we have it! No more floating barn. :D
Categories: Milo Valley Farm
February 21, 2016 | 0 comments


NOTE: All content on otterine.com is copyrighted and may not be reproduced in part or in whole. It takes a lot of time and effort to write and photograph for my blog. Please ask permission before reproducing any of my content. Please click for copyright notice and Pinterest use.


