
Staining and painting unfinished furnishings
I love kits, but sometimes a partially built or fully built unfinished furniture piece fits the bill. First, there are some rather fancy unfinished pieces on the market that have no kit equivalent. Second, sometimes the built piece saves headaches as well as time.
Today, I finished a store counter from miniatures.com. These are great pieces at a great price, but all unfinished furniture pieces have their issues. Sometimes, the grain of a piece is too large for scale. In other instances, glue has seeped out during assembly. When you build furniture from kits, mishaps with glue are always a problem so it’s best to stain before assembly, masking off the areas to be glued.
My counter had large obvious stripes in the grain but only minor glue mishaps. I sanded the pieces smooth and removed the glue as best as possible before staining the piece with Minwax English Chestnut (two coats). I wait until the stain is completely dry before doing the touch-ups described below.
Here you can see the large grain on the top of the counter. I took this photo after starting the touch-up process, but you can see the thin, light lines across.

To fix these issues, I used a tiny brush to apply thin strokes of Traditional Burnt Umber by Americana. I applied only a small section at a time.

Working quickly so the paint did not dry, I used a bristle brush to pull the paint in the direction of the grain. If you get things too dark, you can wipe away the paint with a damp cloth but then you’ll have to wait for the area to dry before trying again.
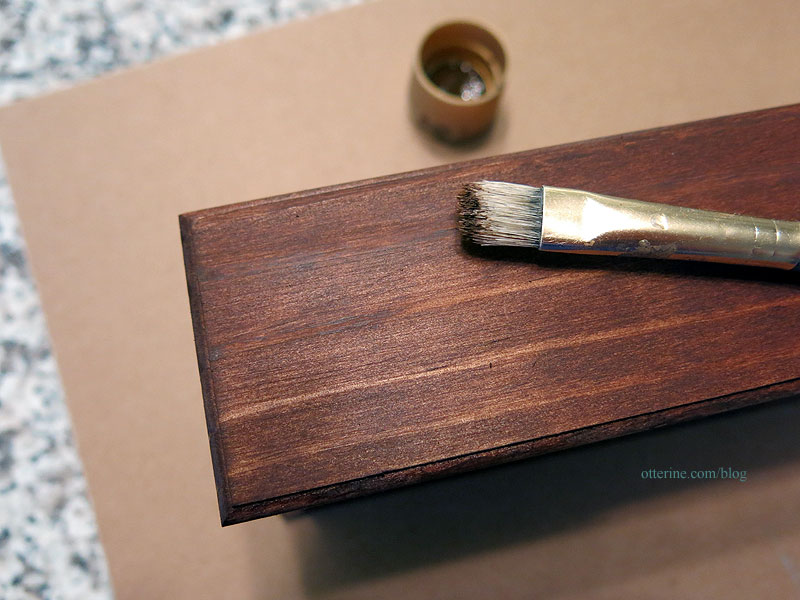
This method takes some practice, but it covers bare spots and large grain while keeping in line with the wood grain. The top now has a more even and subtle grain finish.

Here is the front with the light grain portions painted over. The stain leaves a sheen while the paint is matte, so the fixes look obvious at this stage.

I rubbed the surfaces with a torn bit of paper bag to soften the painted spots without lifting the color the way sandpaper would.

I applied Delta Ceramcoat Satin Varnish.

Now the paint and stain look like one grain.

Categories: Furniture
July 17, 2016 | 0 commentsSam
I have a new mini bird in my life, but this one I didn’t make.
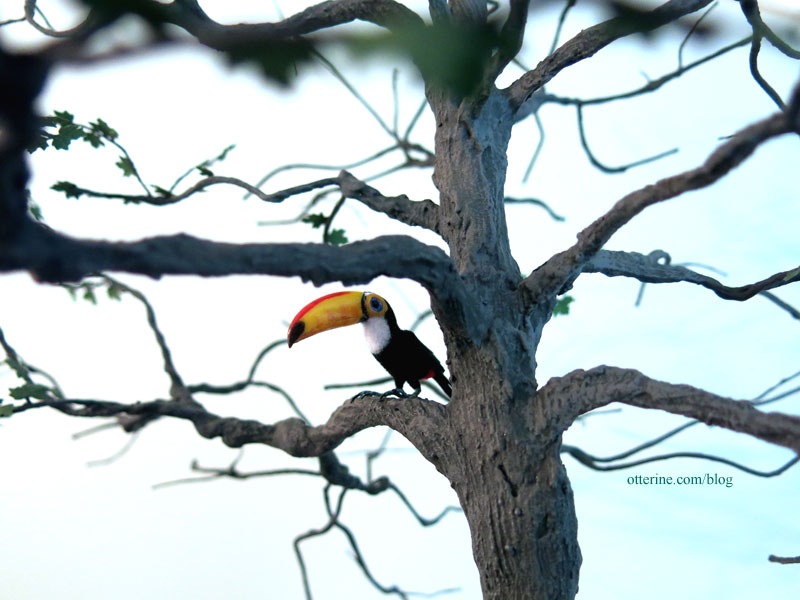
I’ve named him Sam, though his beak is true to life rather than cartoonish like the one of his namesake Toucan Sam. Man, I haven’t had Froot Loops in a long time!
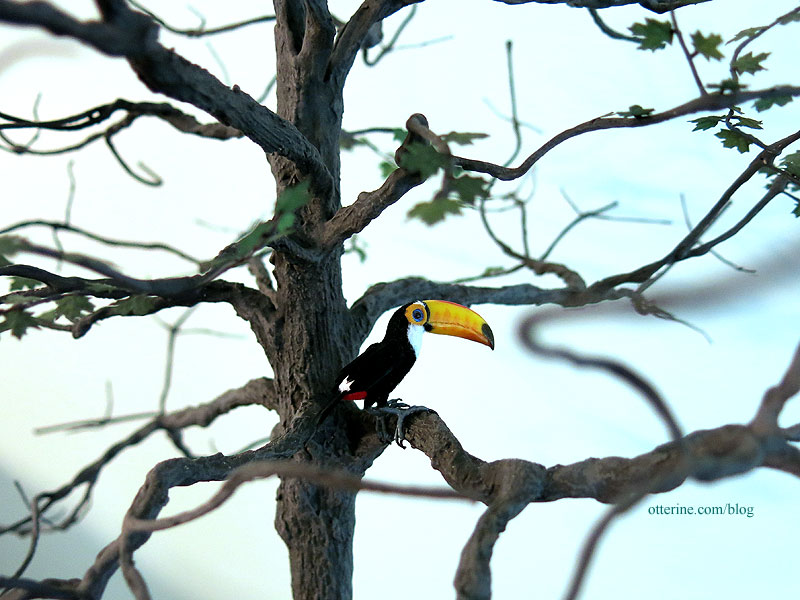
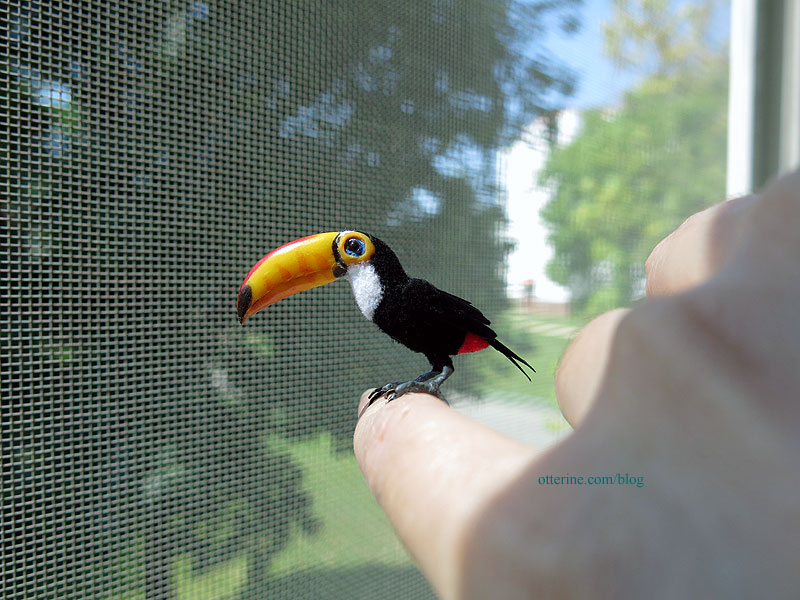
Sam is a gorgeous Toco Toucan made by Katie Doka of FairiesMiniatures on etsy. He’s quite perfect. In fact, he’s so lifelike I half expect him to blink and fly about the house! Birdie wanna go outside?!!
Categories: Animals and birds
June 25, 2016 | 0 commentsMaking a tree – part 3
Continuing work on the tree. I filled the bottom of the trunk with water putty to make a solid base. I wasn’t worried about it toppling over, but I didn’t want the outer shell to crack if it were bumped or squeezed in the wrong way.

To achieve a good base color for the bark, I mixed Zinc and Bittersweet Chocolate by Americana. I stippled the paint onto the tree to avoid leaving obvious brush marks. After letting the paint dry, it was easier to see which areas were missed in the first go around.

I dry brushed some Zinc mixed with Mississippi Mud to highlight.
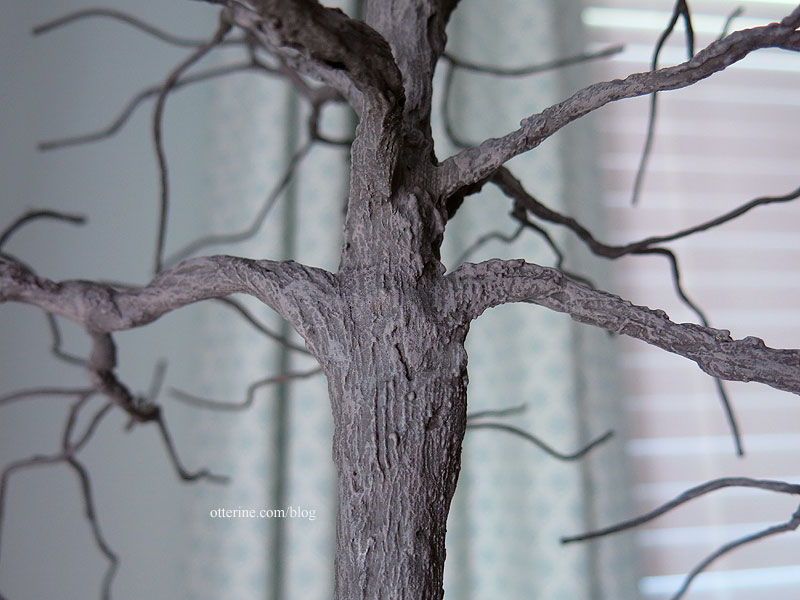
The lighter paint brought out the bark detail. It looks solid and treelike, no? :D
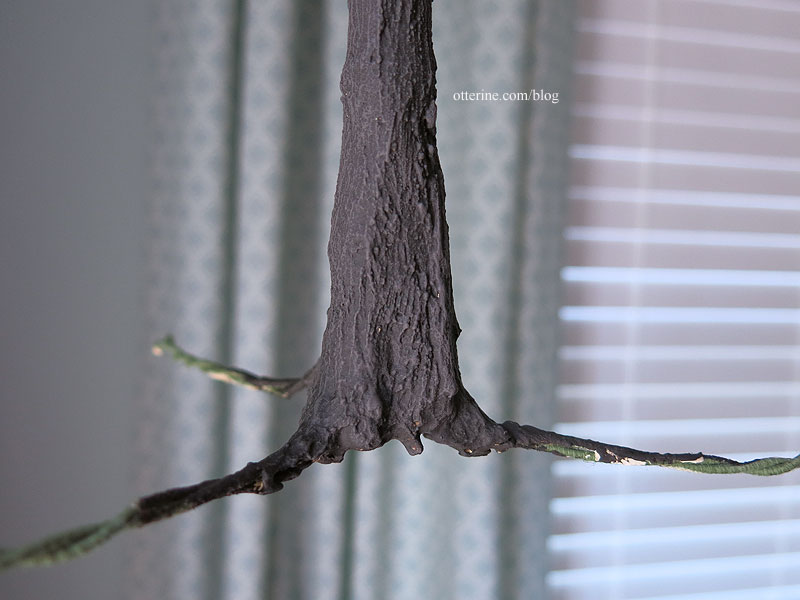
I like the slight bend in the trunk…seems much more natural.

A real tree has a great deal more branches than the base I’ve created, and those branches taper into batches of leaves. My purpose is to get the general feel of a tree and to accent the landscaping.
I have 95 base branches, which may seem like a lot, but there will be bare spots if I leave it as is. Adding branches after the putty has dried is not impossible, but there are some drawbacks and limitations. Yes, you can start out with more wires to have more base branches, but then you end up with more of the bulky base branches and not thin branches at the ends where they are needed the most. Carrying thin wires with the larger wires still adds bulk to the base branches.
I took short lengths of 30 gauge brown wire and curled them around the base branches where needed, adding 120 small branches. Now I have 215 branches for a much fuller tree.

I mixed Durham’s Water Putty again and covered the joins. This does create bulk and you can somewhat see the twists since I didn’t go overboard with the application, but this shouldn’t be a focal point once the putty is painted to match the bark and the foliage is added. I didn’t add these before finishing the base tree and branches because it is hard to paint the interior with all these fiddly branches on the outer surface. Much easier to just touch up the paint where needed.

Categories: Flowers, plants, and trees, Ye Olde Taxidermist
June 2, 2016 | 0 commentsMaking a tree – part 2
Continuing work on the tree. The water putty dried hard overnight. Some of the thin binding wires showed through the layer as expected and the texture was smooth due to the watery consistency of the first application.

I mixed more water putty, this time thicker than the consistency of pancake batter. I had to work quickly since the mixture wanted to set fast. I used a stiff brush to apply the putty, making bark-like texture with quick brushstrokes as I went.

I did this for the main branches and trunk, leaving the thinner branches with the lighter coat from yesterday. The paint will seal any bare spots on the thin branches, and I didn’t want to build any more bulk on those wires. This will also make the end wires more easily shaped and trimmed as needed. You can bend the putty covered wires a little, but you risk cracking the surface of the hardened putty.

I hadn’t covered the base of the trunk all that well initially since it was hard to hold the tree while the putty was wet on the upper portions.

This time, I filled in more and added the bark texture. I might need to fill in underneath once this layer dries to make the base solid.

Next up, paint will be applied and the tree should really come to life.
Categories: Flowers, plants, and trees, Ye Olde Taxidermist
May 29, 2016 | 0 commentsMaking a tree, part 1
Note: I began making the tree and then the process changed when I reached the foliage part, so there are some further alterations later in the process.
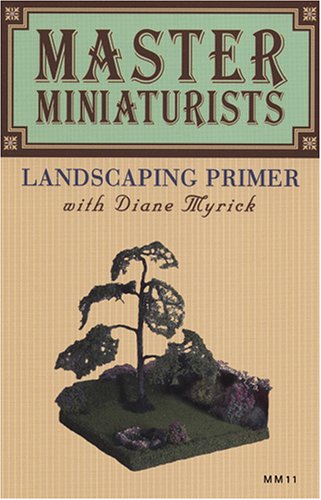
For the tree structure, I am following the same process as the ones I did for the Heritage maple and the dogwood, using the tutorial from the DVD Master Miniaturists: Landscaping Primer with Diane Myrick.
I bought a bulk of 22 gauge cloth covered wires that included 240 18″ pieces. I wanted a few small roots to help plant the tree, so I extended some pieces of 18 gauge floral wire below the main trunk of 80 wires. I used 28 gauge wire to tie the main wires together.
I want a relatively full tree, so I might need to add a few more branches. Currently, the height is 18″ from the bottom of the trunk to the top branch tip. There’s Friedrich at the base for size reference.

I added 7 more 22 gauge wires to the skeleton, making a few branches in the middle and on top. I also bent the trunk to make it more natural.

I mixed and applied Durham’s Water Putty to the wire skeleton. I bought a 4-pound container from Home Depot for roughly $8 back when I did the first tree, and there are still a lot of trees left in the container. The Durham’s Water Putty site shows some of the creative things you can do with it.

You can’t put this stuff down the drain, so the cups and brushes you use must be thrown in the trash. But, I did save the cup to reuse for the duration of the project. I’ll just mix new putty on top of the hardened putty left in the cup. No sense in wasting multiple cups. I buy short plastic cups from Dollar Tree. Very economical.
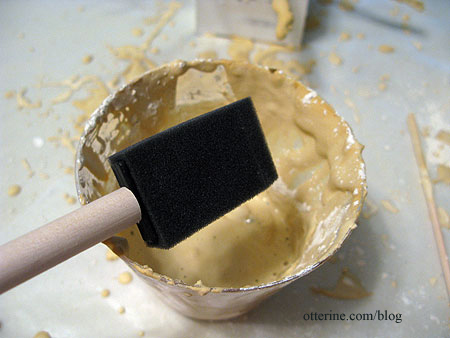
I mixed two heaping tablespoons of the powder with water to create a mix the consistency (and look) of pancake batter. The first coat is thin and incomplete. It’s mainly meant to seal the cloth covering on the wires and harden the joints. I used those super thin 28 gauge wires to avoid having obvious rings around the trunk, and it worked well.

It’s amazing how the putty transforms the wire skeleton. I didn’t apply the putty to the roots since those will be buried in the landscaping.

Once this dries, I’ll touch up the putty and work on the texture.
Categories: Flowers, plants, and trees, Ye Olde Taxidermist
May 28, 2016 | 0 comments
NOTE: All content on otterine.com is copyrighted and may not be reproduced in part or in whole. It takes a lot of time and effort to write and photograph for my blog. Please ask permission before reproducing any of my content. Please click for copyright notice and Pinterest use.


