
Chrysolite kits
Finding good lighting is always a challenge but not impossible. I’ve used Chrysolite kits in the past, and I like their adaptability even if they are more old fashioned in design.
I had one Zenith Hanging Lamp kit already, and Debora sent me a matching kit along with two Heritage Chandelier kits for my project.

They are finished in color, and in theory you can just put them together as is but I never work that way. I’m a perfectionist, and it bothers me when the plastic shows under the factory finish where the plastic parts separate from the sprue. So, I’ve chosen gunmetal for the single pendants and black for the chandeliers.
I also prefer replaceable bulbs. Now, some of these kits can be purchased with replaceable bulb sockets, but these did not have that feature. For the Heritage Chandeliers, I chose to use 3/16″ Cir-Kit candle sockets with varnished wires. The included kit bulbs are shown in the middle here.

These were a test of wills. The required splicing of six wires into two bundles of three, ending in one exit wire each, inside the main cone is not an easy task and you get one shot at it because you cut the wires so short. I had to scrap three sockets in one attempt. But, it all worked out in the end. Here’s the first socket installed with the wires looped through the bracket.

I changed out the included chain for heavier (and darker) chain.

Here’s the first one 99% complete. I need to paint to cover the red wires so they won’t be as noticeable.

I also want to add wax to hold the hurricanes and shades in place. They will still be fiddly but more manageable.

They really are perfect for the space.

I changed the Zenith lamps to pendants with aluminum tubing. I used 3mm LED bulbs from Evan Designs since there is no way to make the bulbs changeable and LEDs last longer. I chose separating LEDs so I could feed the new wires through the tubes but still have these connected to the 12V system. Again, I’ve shown the original kit bulbs below.

Twisting the wires makes it easier to feed through the tubing.

I spray painted the pieces a darker gunmetal color to replace the factory brass paint finish before the final assembly.

The 3mm LEDs look like true bulbs as well. :]
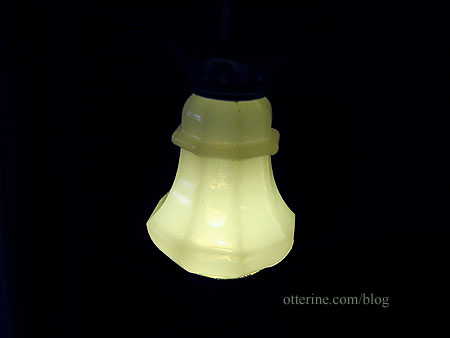
The are perfect in the shop window.

Categories: Ye Olde Taxidermist
September 8, 2016 | 0 commentsClyde
Clyde is a handsome Hoopoe bird by Katie Doka of FairiesMiniatures.
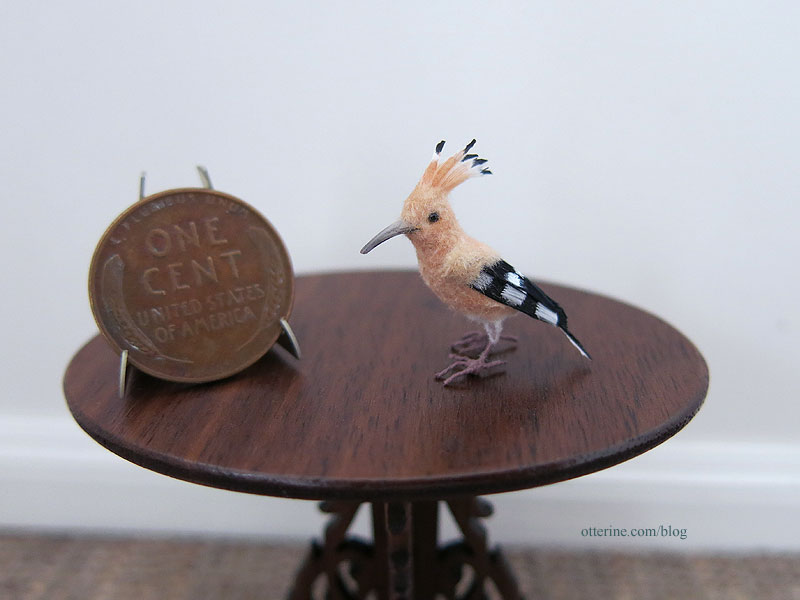
She’s captured the plummage beautifully. Be sure to check out pictures of them flying…so interesting! :D
Categories: Animals and birds
September 1, 2016 | 0 commentsBishop Fall Show 2016
The smaller of the two Bishop Shows that comes to Chicago was on this weekend Friday and Saturday, and I went over there today. I didn’t buy many items, but there were goodies to be had.
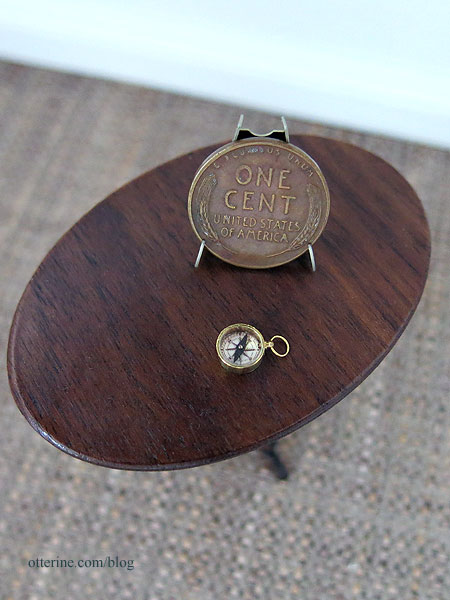
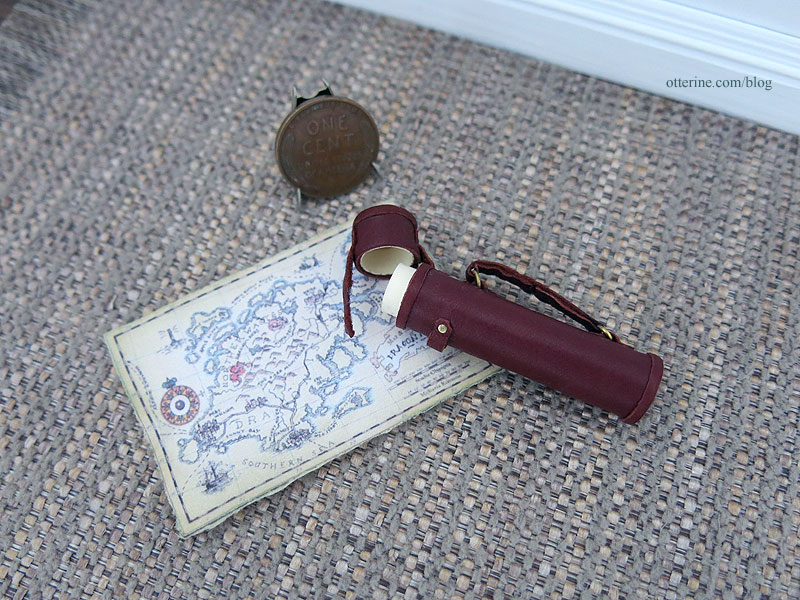
The Little Dollhouse Company: this is a tiny compass made by Jane Woodham. It’s exquisitely made.
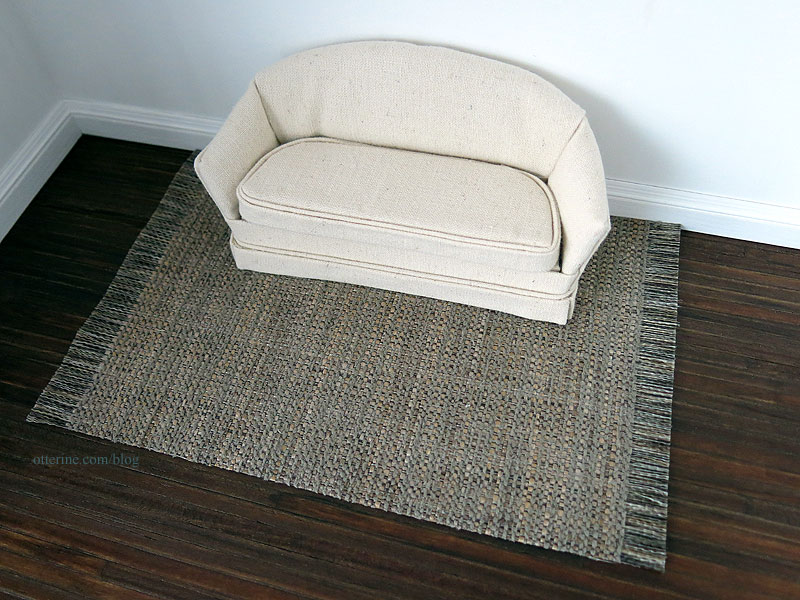
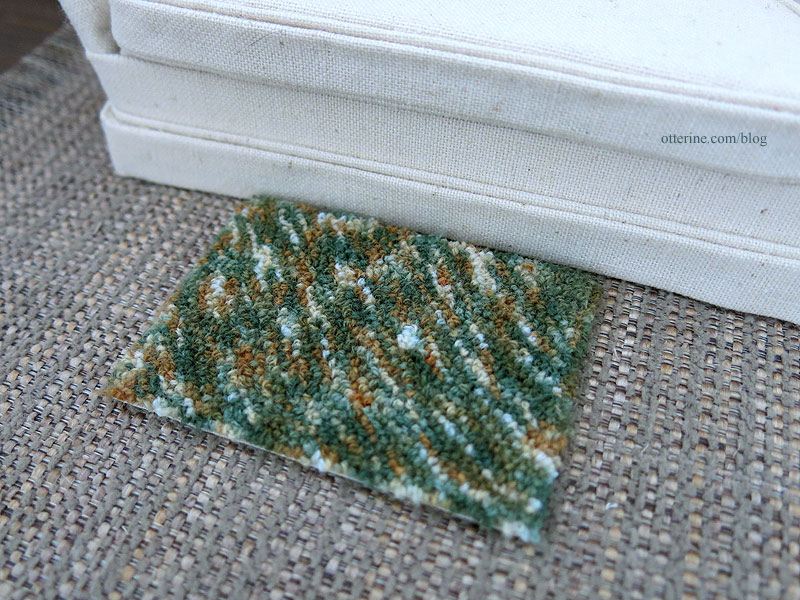
Iklectic Kollectibles: a lovely woven rug.
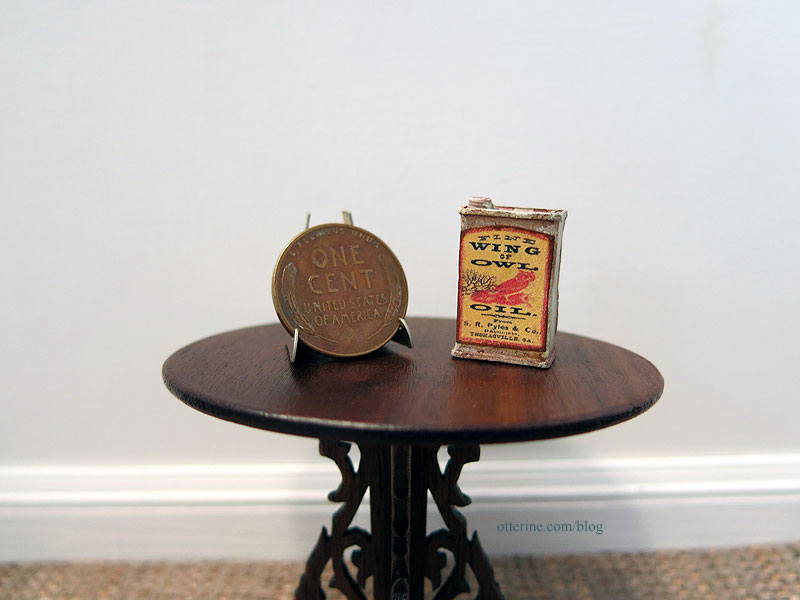
Magic-N-Miniature: a mini oil can by Sir Thomas Thumb.
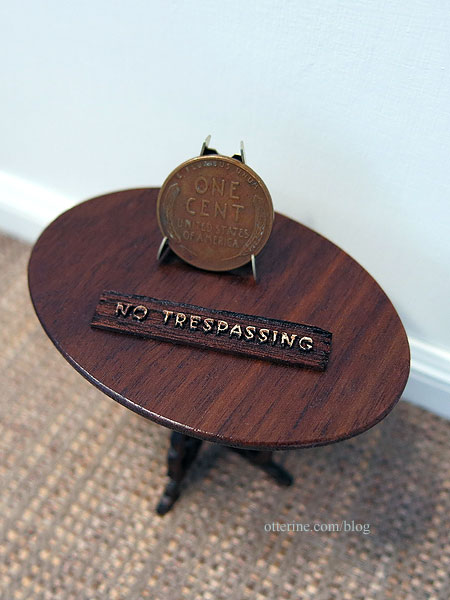
Wright Guide Miniatures: a no trespassing sign for Milo Valley Farm.
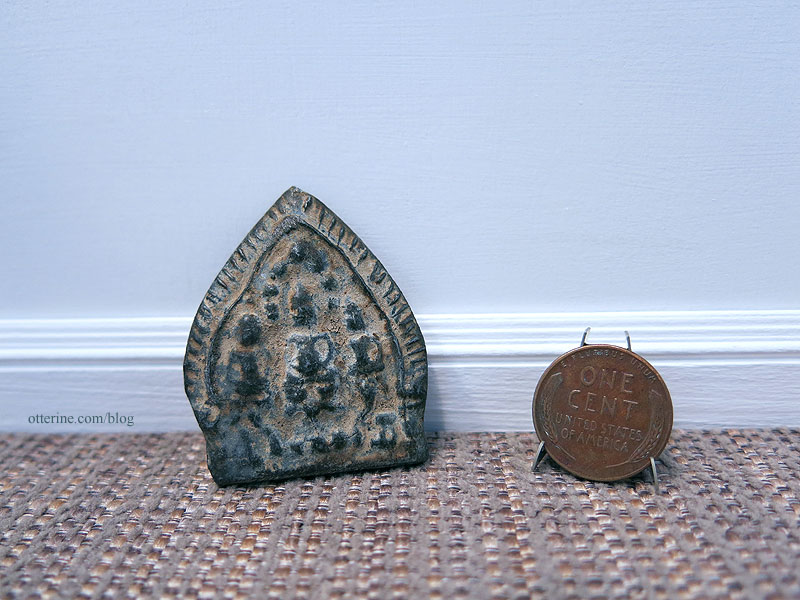
C&J Gallery: a relic fireplace piece that I will likely use as a decorative artifact.
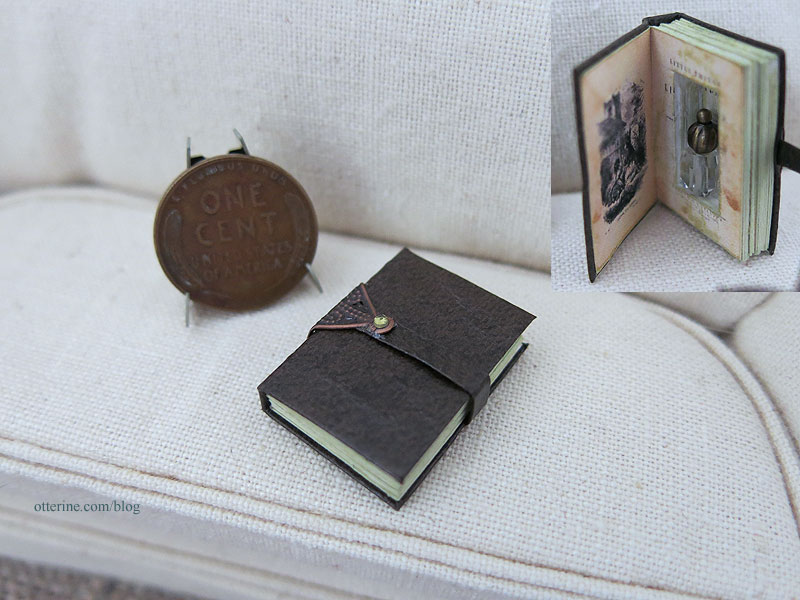
I also bought a few things from the recent online miniature show. These are from Natalie Gayle Miniatures. The map case leather is so soft.
The book opens to show a hidden potion bottle.
The rug is fuzzy and perfect for a bath mat.
Categories: Miniature Shows and Shops
August 27, 2016 | 0 commentsSunburst gable
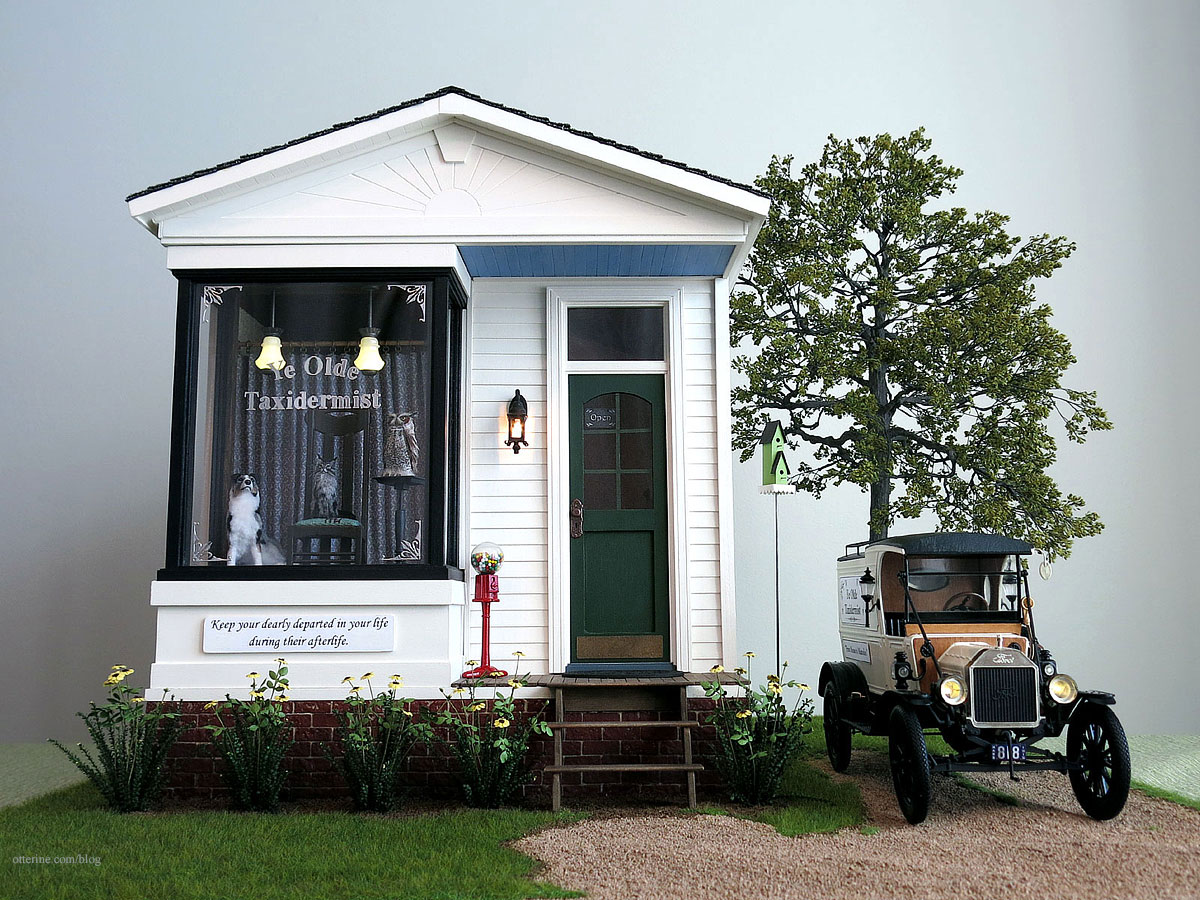
Here are the front gable parts that come with the Creatin’ Contest kit.

I started by gluing the bottom trim piece in place.

I cut a piece of paper to fit the surface above the lower trim piece. I cut a Woodsies circle in half and centered it on the paper. I marked the circle and upper trim placement on the piece of paper.

Using a protractor, I marked where I wanted my sunbeams to intersect the circle hub.

After drawing the lines, I checked the pattern to see if I liked the look. SOLD!

I used a tracing wheel (a sewing tool) and a ruler to transfer the marks onto a piece of 1/16″ thick basswood.


I cut along the dots with a blade and ruler.

I glued the upper long trims in place and then sanded the sunbeam pieces along the edges to remove any hint of the transfer dots. Starting with the largest pieces, I fine-tuned the fit and marked where to cut each sunbeam in order to frame the circle hub. This is all in dry fit — no glue on the sunbeam pieces or the circle hub just yet.

I continued until I reached the middle pair. Due to the cutting and sanding, these ended up too small for the space so I custom cut two new pieces to fit.

I glued the sunbeam pieces and circle hub in place before adding the small trim piece on top.

After painting, I added just enough detail.
Categories: Ye Olde Taxidermist
August 22, 2016 | 0 commentsLovely flowers and garage minis
I received a birthday package from Debora today. She sent me some of her gorgeous handmade flowers along with some Chrysnbon kits (she knows my weakness). These are all ready for planting, so I’ll have to decide whether they will go in a planter or be part of the landscaping for a build. Thank you so much, Debora! :D
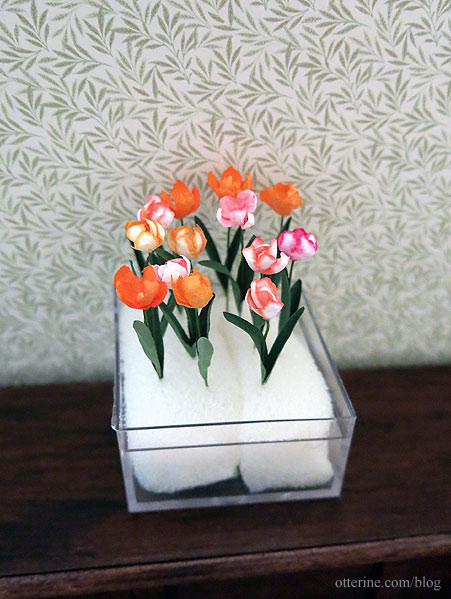
Jasper helped unwrap, of course.

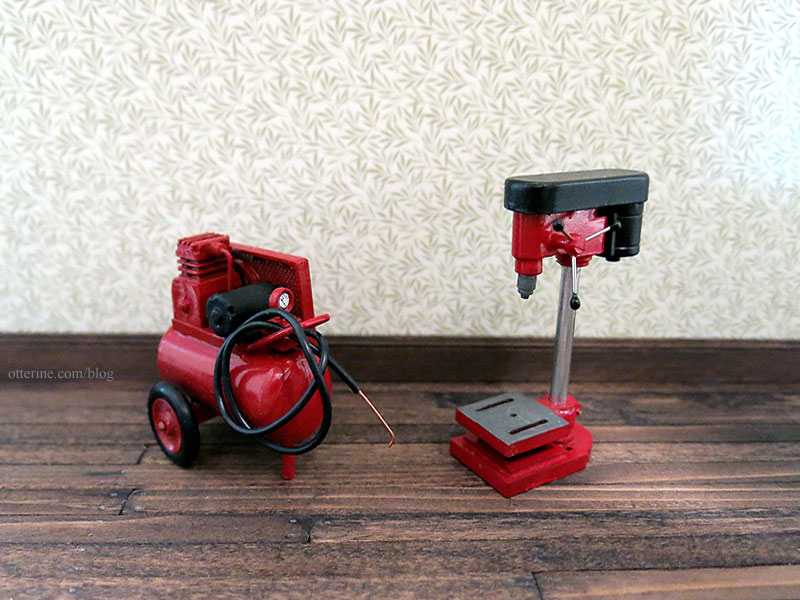
I also picked up two fun eBay items for Milo Valley Farm this past week: a compressor and a drill press. These are heavy items, but there are no maker marks.
Categories: Flowers, plants, and trees, Miniatures
August 12, 2016 | 0 comments
NOTE: All content on otterine.com is copyrighted and may not be reproduced in part or in whole. It takes a lot of time and effort to write and photograph for my blog. Please ask permission before reproducing any of my content. Please click for copyright notice and Pinterest use.


