
Model cars, vehicles
Just a recap post to make it easier to locate past models and works in progress. Each section has a link to the latest post in the build, which can be followed back through the process.
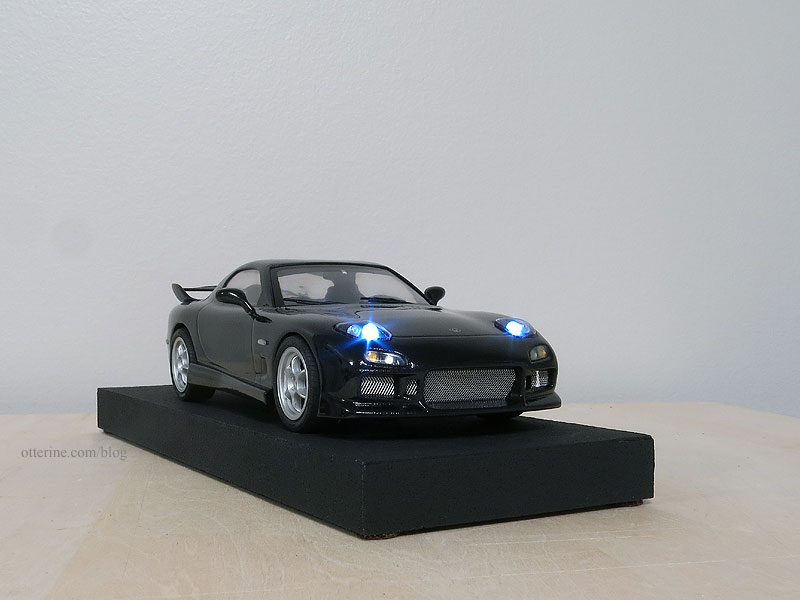
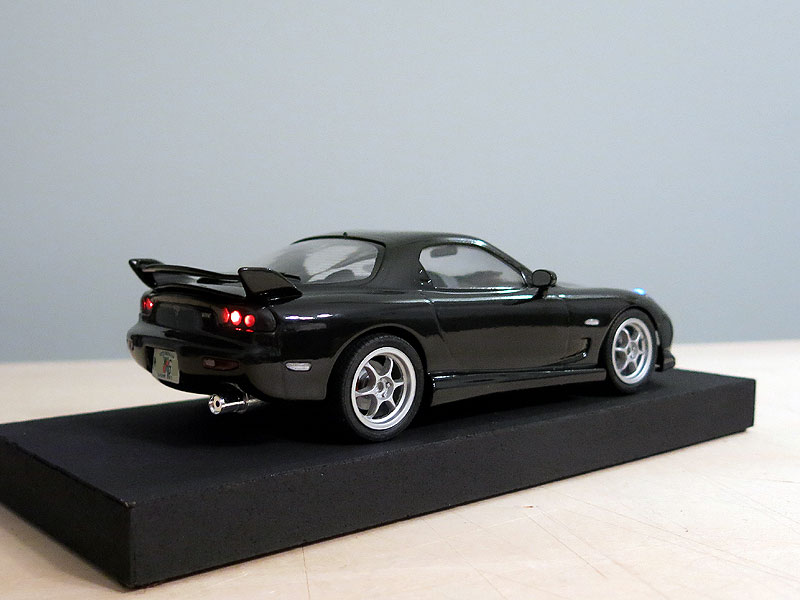
RX-7 in 1:24 scale – melding of Aoshima C-West, Fujimi and Tamiya kits.
—————-
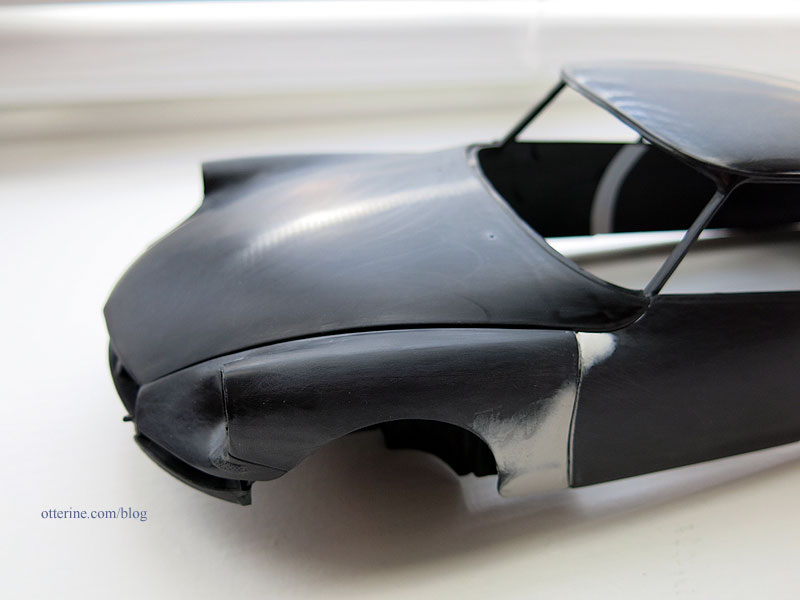
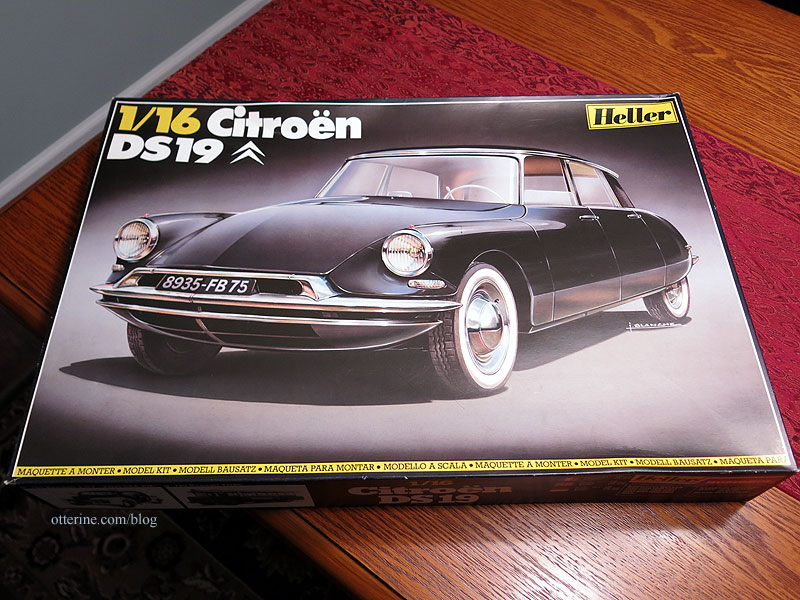
Citroën DS 19 by Heller – 1:16 scale – work in progress
—————-
1913 Model T Van by Entex – 1:16 scale
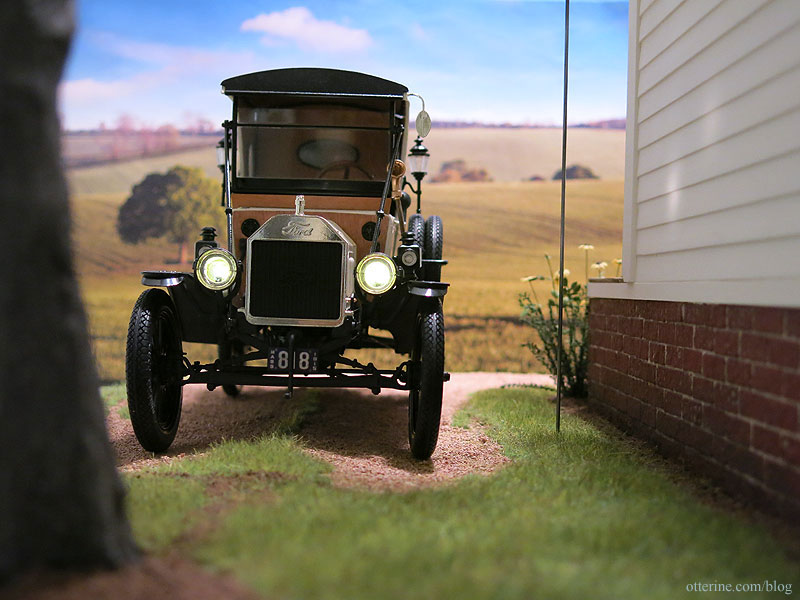
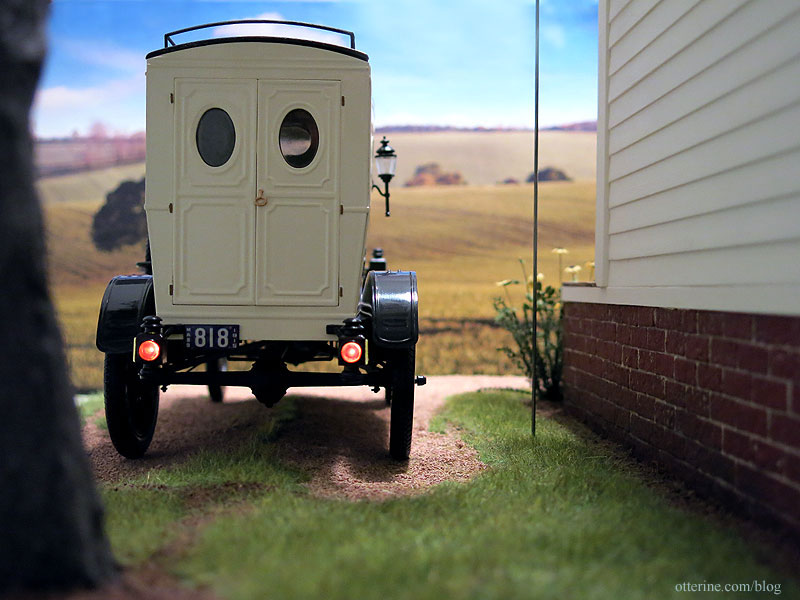
—————-
Datsun 240ZG by Tamiya – 1:12 scale – work in progress
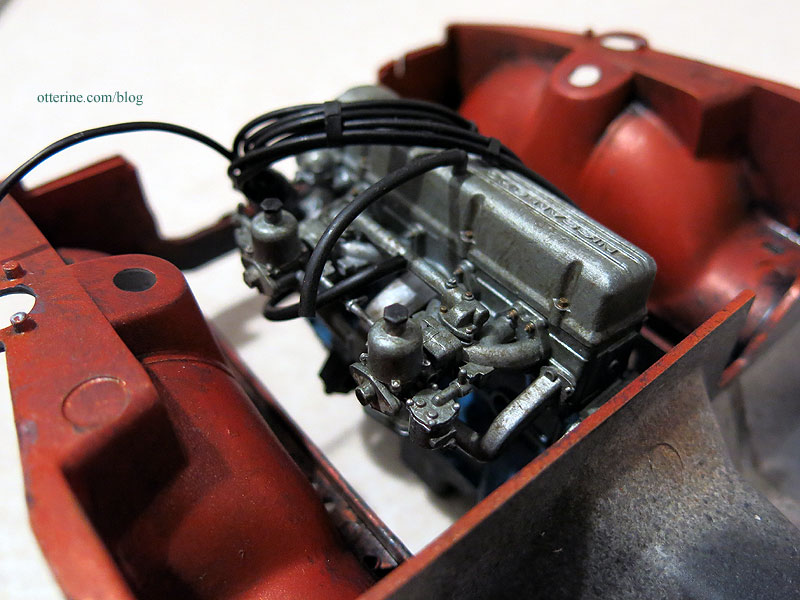
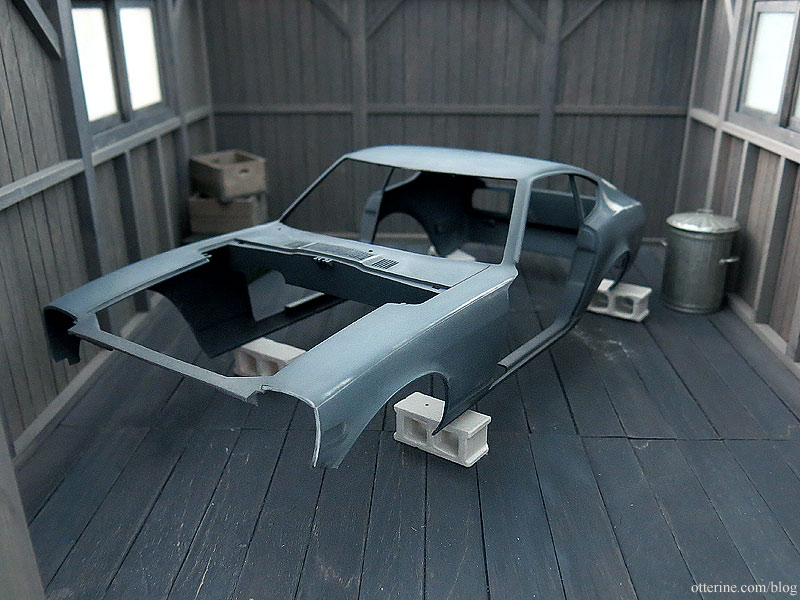
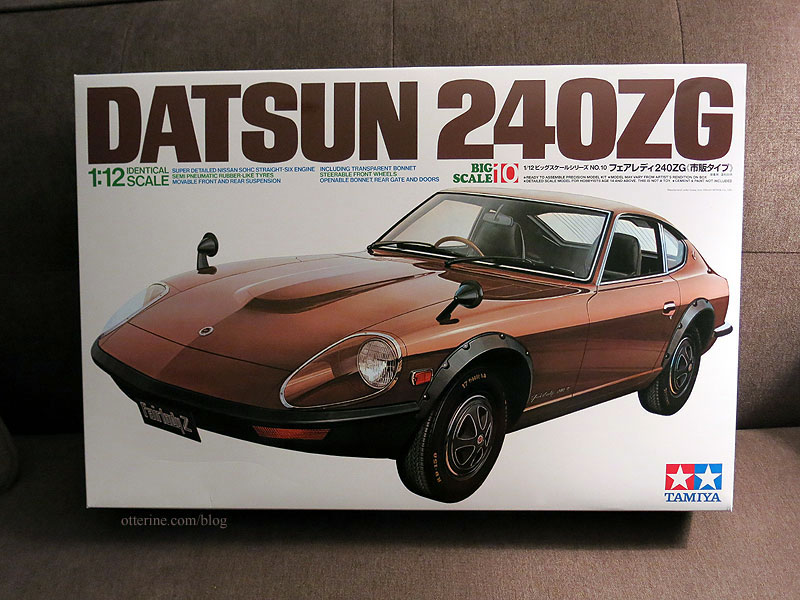
—————-
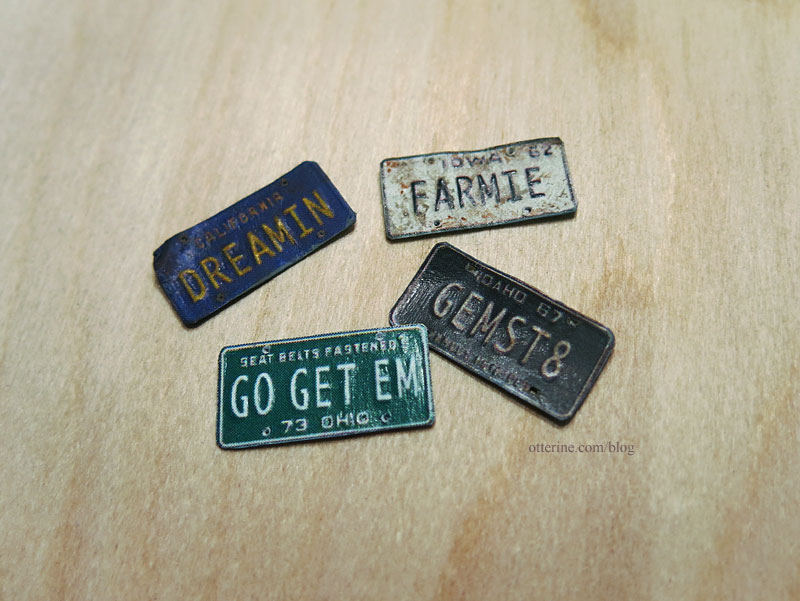
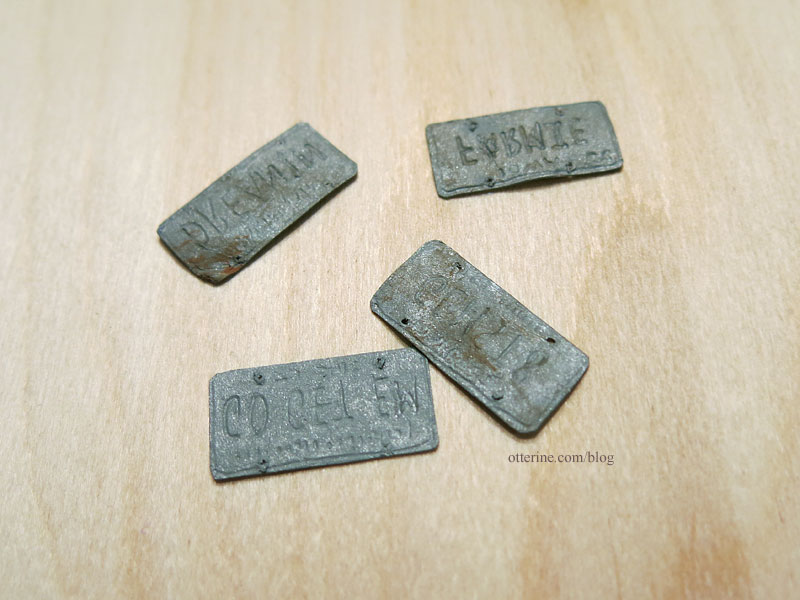
—————-
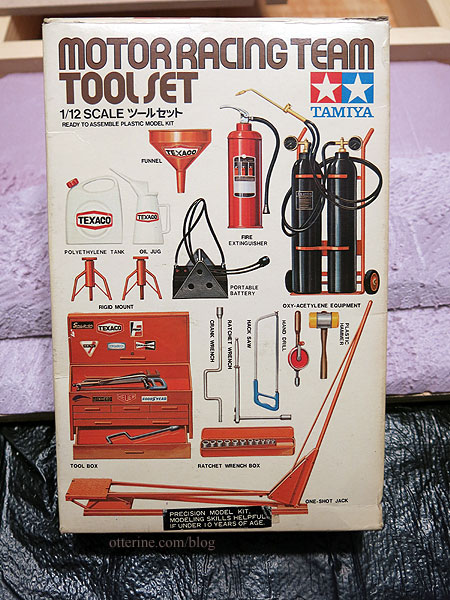
Motor Racing Team Tool set by Tamiya – 1:12 scale
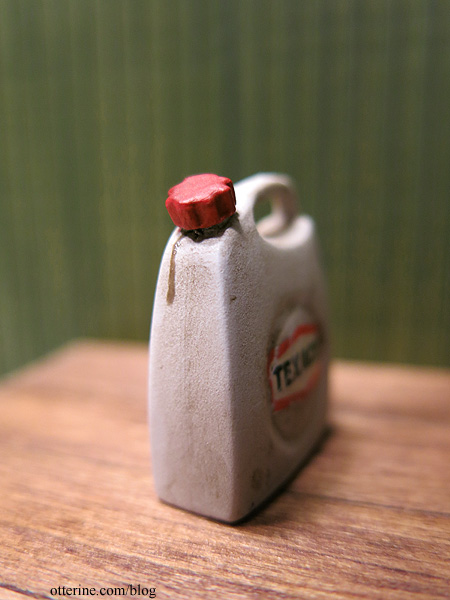
—————-
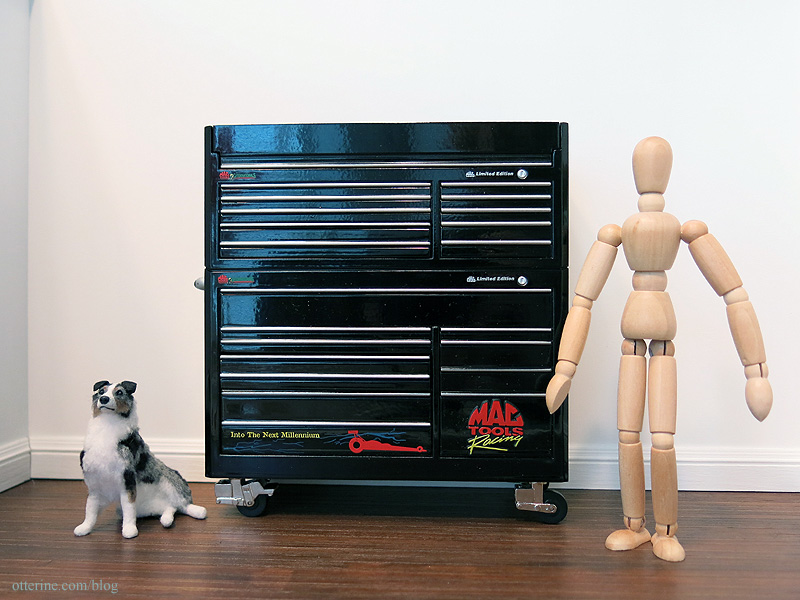
Mac Tools 1:12 scale tool locker – purchased model
—————-
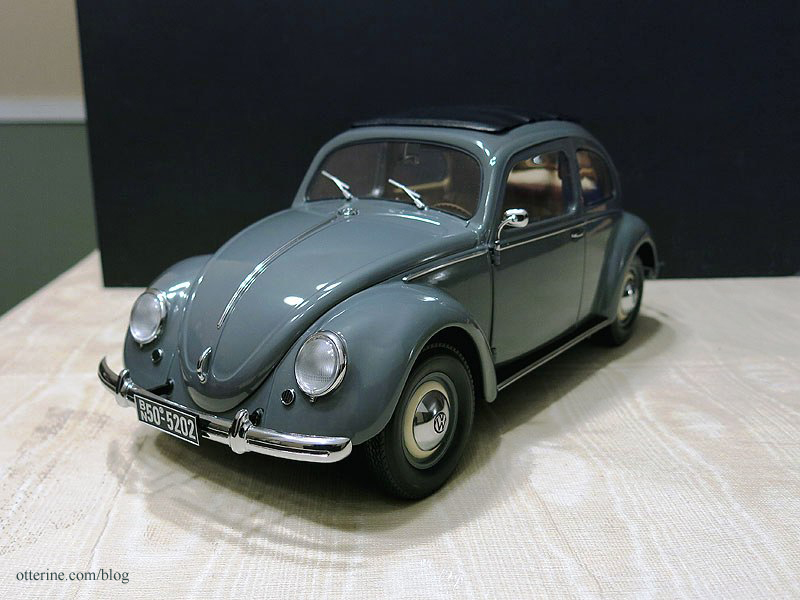
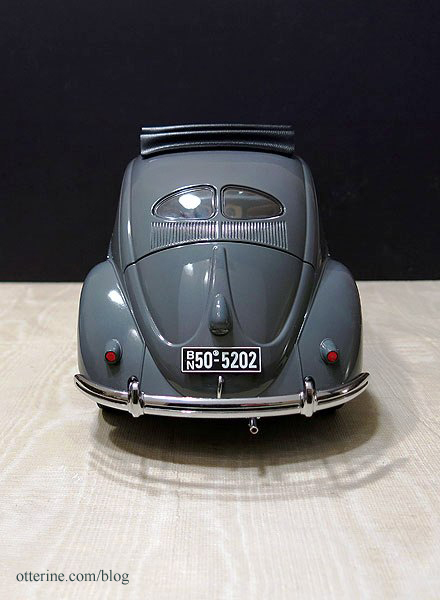
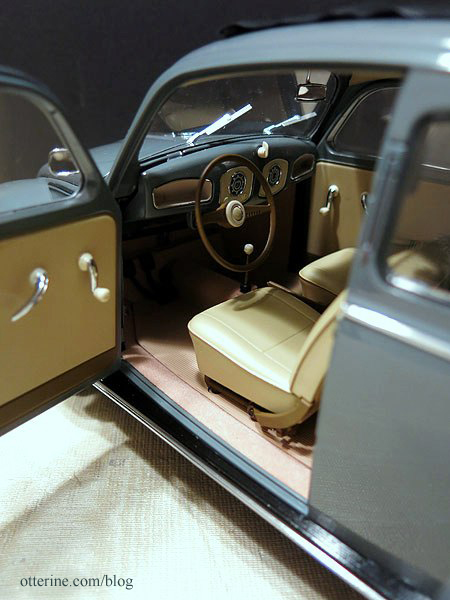
1950 Volkswagen Beetle Saloon by Sun Star – 1:12 scale – purchased model
—————-
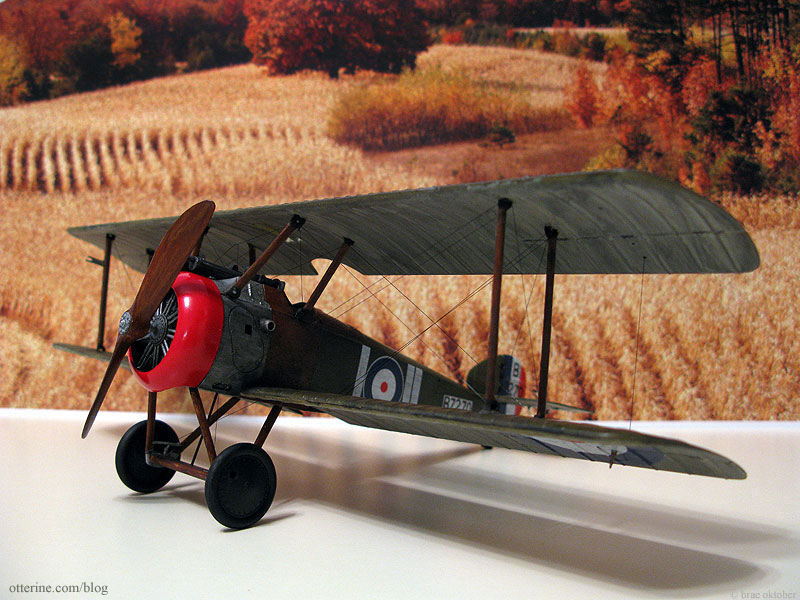
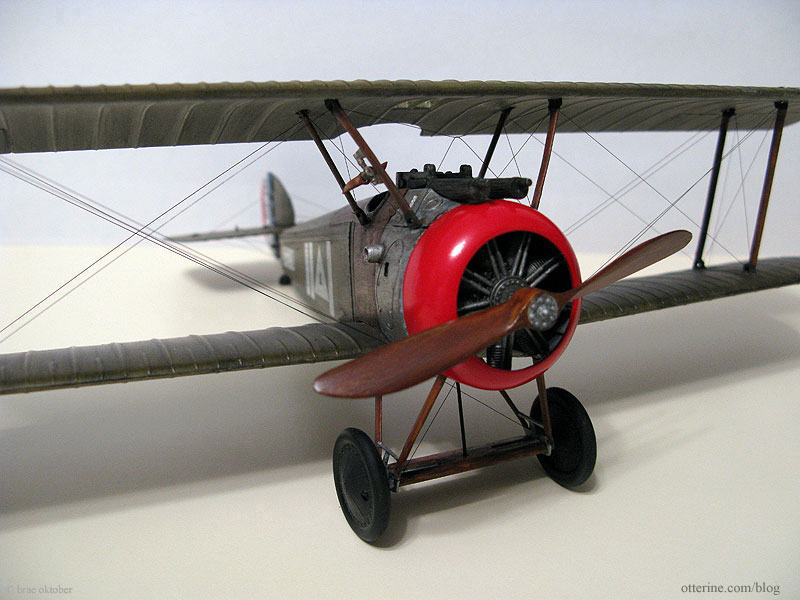
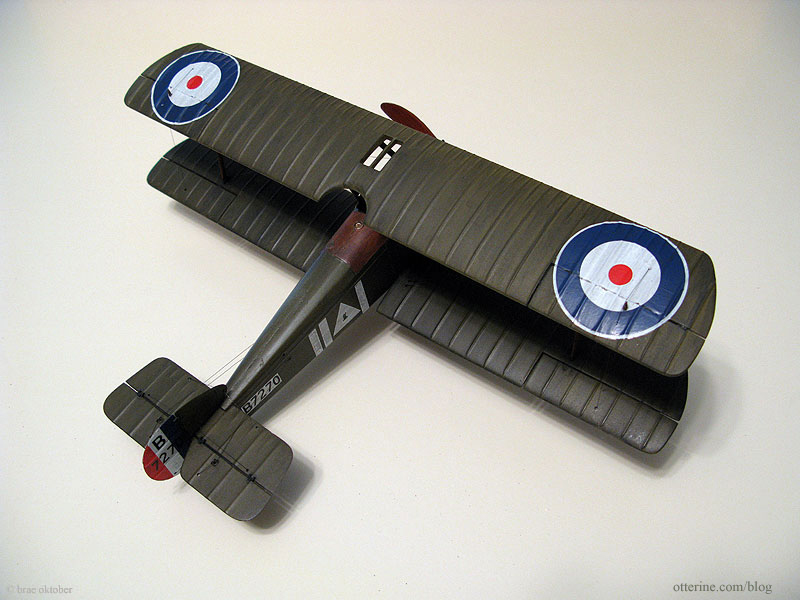
Sopwith Camel by Academy – 1:32 Scale
—————-
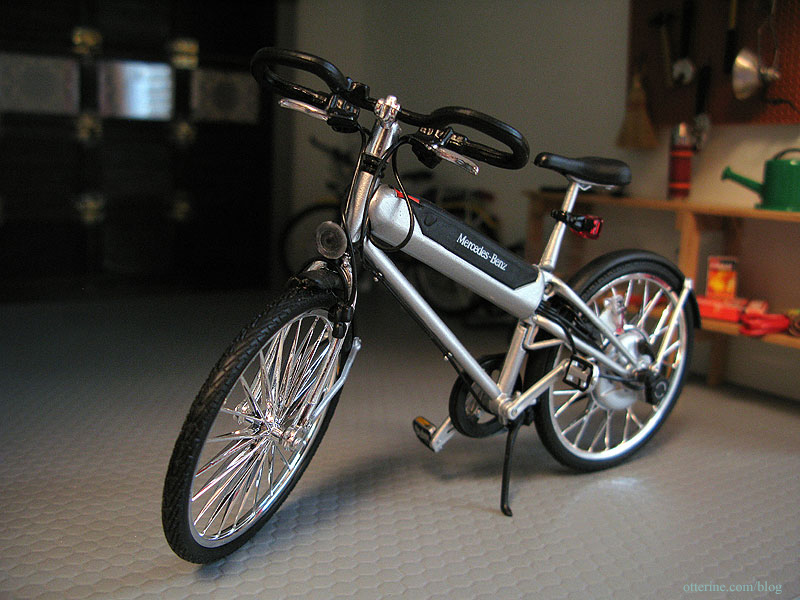
Mercedes Benz Hybrid Bike – 1:12 scale diecast model by Maisto – purchased model
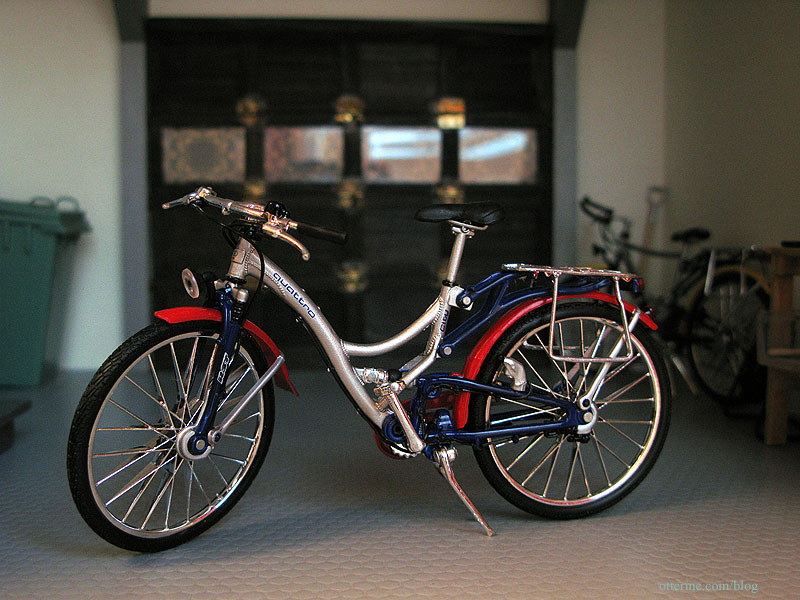
Audi Quattro Citybike – 1:12 scale diecast model by Maisto – purchased model
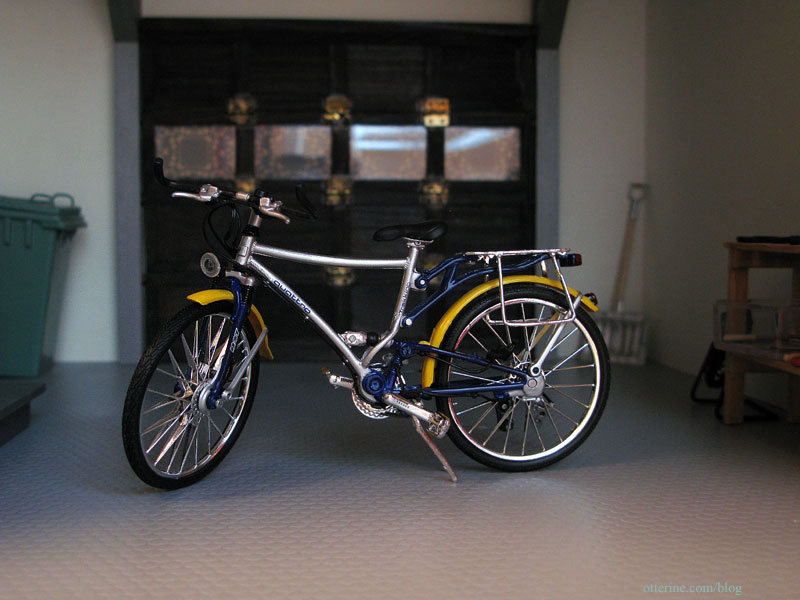
Audi Quattro Trekkingbike – 1:12 scale diecast model by Maisto – purchased model
—————-
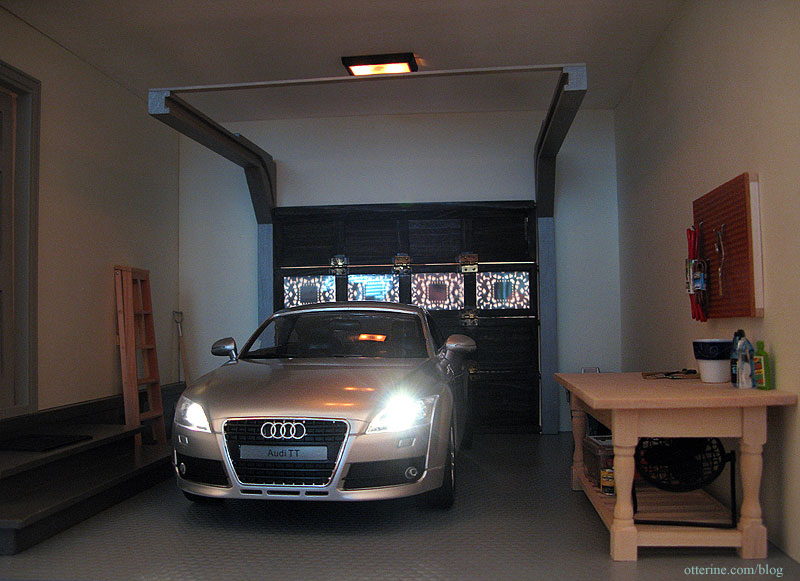
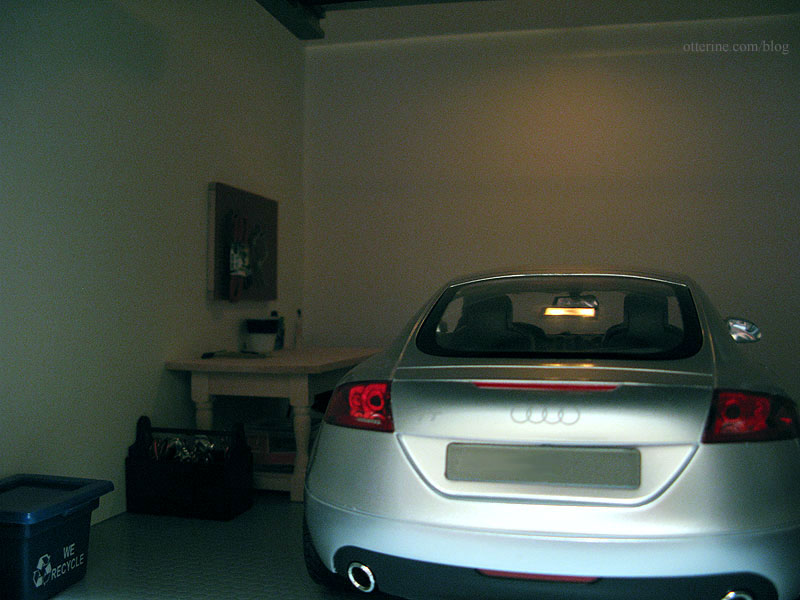
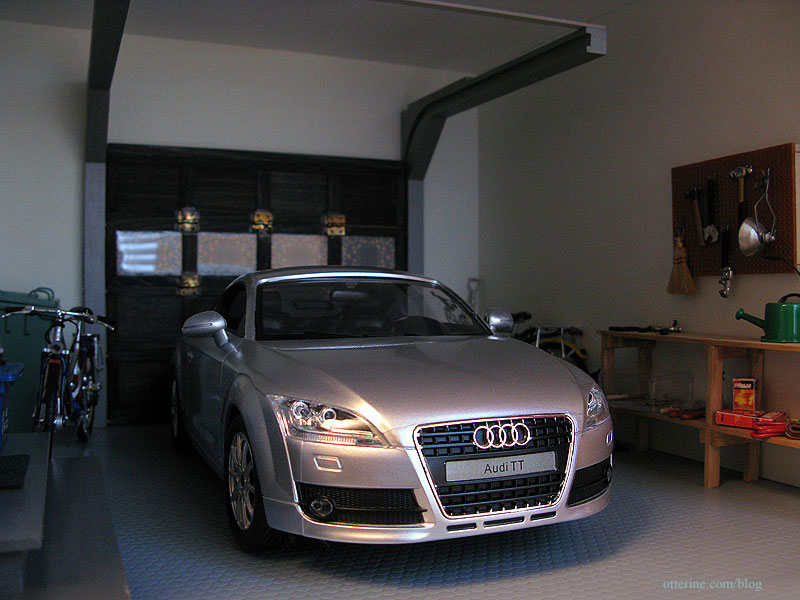
Remote control Audi TT – 1:14 scale – purchased model
—————-
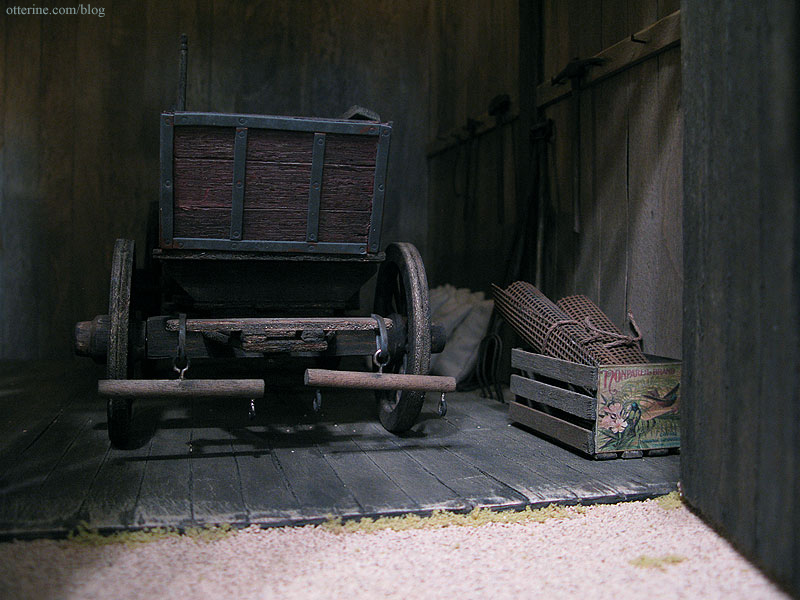
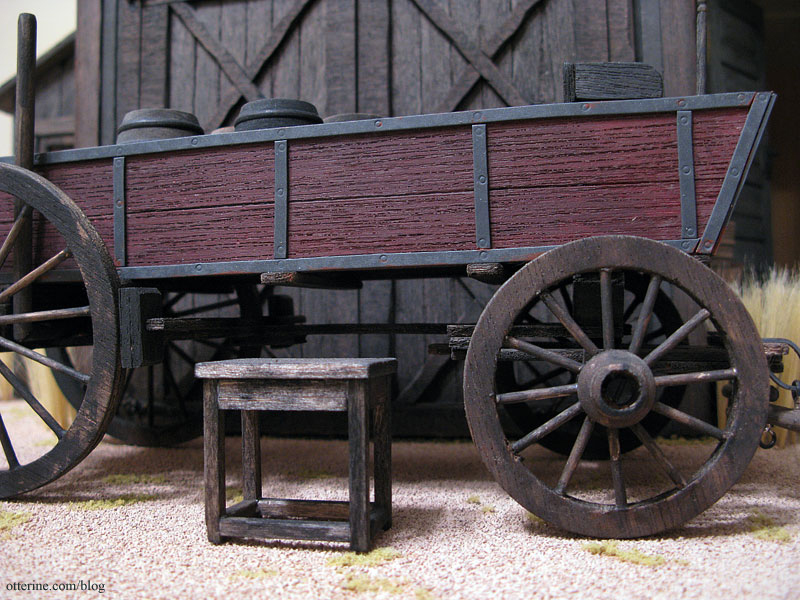
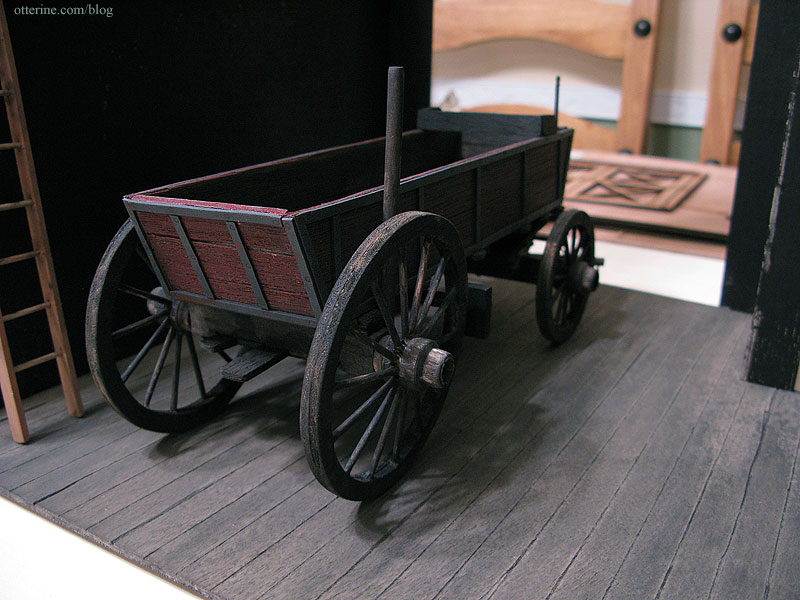
Baslow Ranch Farm Wagon – built from a covered wagon kit by Allwood
—————-
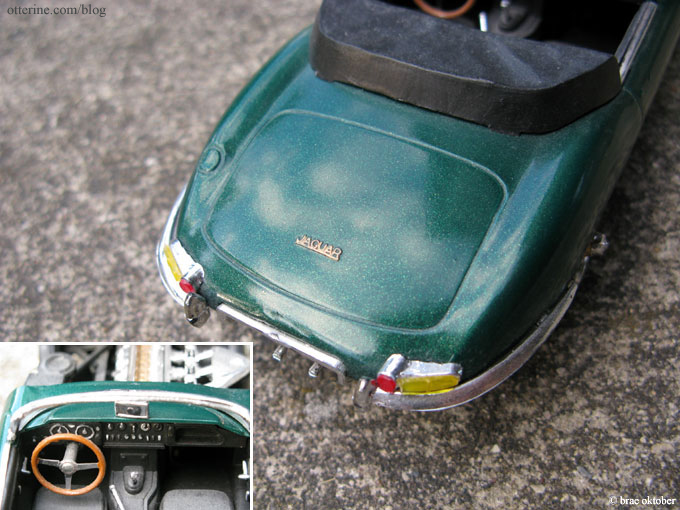
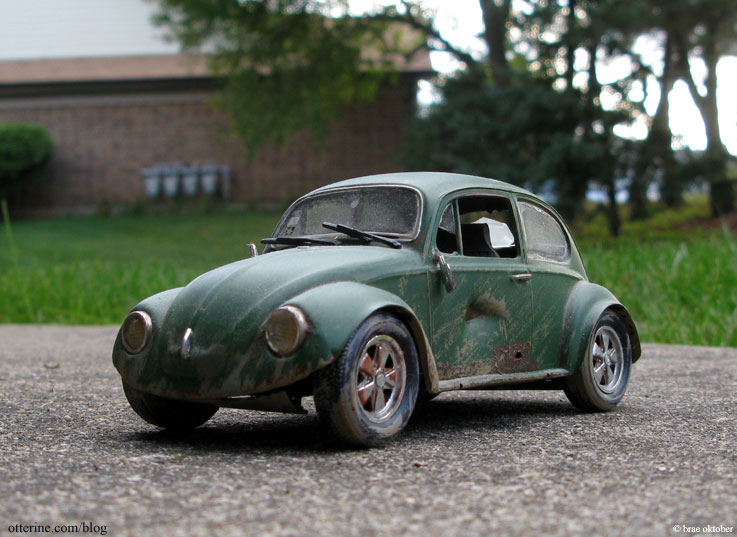
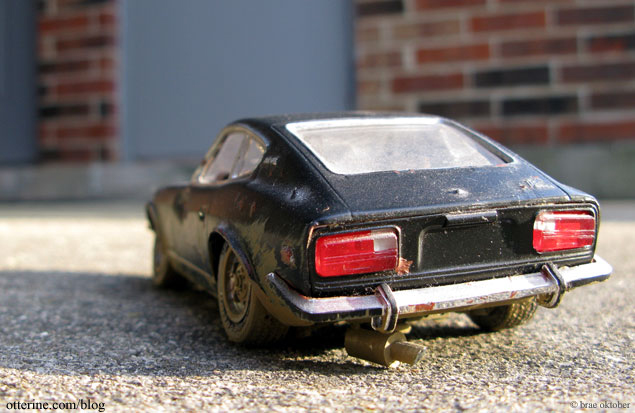
The wayback machine — this post features three model cars from many years ago, all in 1:25 scale.
Jaguar XKE
Volkswagen Beetle
Datsun 240Z
Categories: Model Cars, Vehicles
October 10, 2016 | 0 comments1913 Model T Van – part 2
Continuing work on the Model T Van. Making models showroom new is not easy, at least not for me. I can age and wear anything down with ease, but new takes time, effort and luck. Gloss is also not an easy finish to achieve, but with a newish truck I have to give it a go. I’m going for a vehicle that is a couple of years old, so new but with some mileage and weather exposure.
Since I have two kits, I can test some techniques out on the spares. I spray painted the chassis flat black, keeping the flat black as is for the underside. For the top side, I used Krylon Short Cuts Gloss Black. I don’t make many things in gloss since it looks out of place in most miniature situations and I find the gloss paints go bad more readily, so I buy the small cans of paint. Krylon was on sale, but I do think paints designed for model cars are worth the cost, too.
My spare chassis ended up with better gloss but lots of orange peel texture due to old paint (lesson learned the hard way). The body paint was even worse, which is why I ended up with two kits. Right now, we’re dealing with the chassis. The second attempt with a new can was nearly perfect in coverage but a bit dull over all. Still, this more even finish helps a lot for getting the rest of the way there.

If you don’t achieve good gloss the first time, you can salvage the pieces by wet sanding between paint coats using super high grit papers. I picked up a set of Micro-Mesh Sanding Sheets that includes 3″ x 4″ sheets of 1500, 1800, 2400, 3200, 3600, 4000,6000, 8000, and 12000 grit (as an Amazon Associate, I earn from qualifying purchases). They might seem pricey but will last a long time with good care.
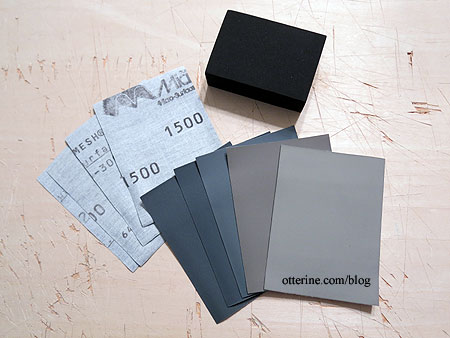
The set came with a block that you can use to hold the papers, which have more of a cloth feel than regular sandpaper, but I used them on their own.

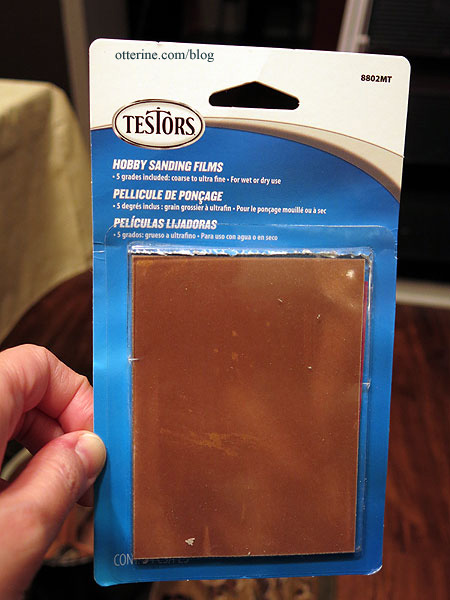
I also like Testors sanding films for when you need a bit more oomph, say for drips, trapped dust particles or crud stuck in crevices. I tend to use the red (600 grit) the most.
I dipped the papers in water to wet sand. It is recommended that you be careful to stay away from raised areas where you would strip too much paint, but this process is more forgiving when the plastic is molded in black, primed in black and then painted black. I started with 6,000 and worked through 12,000. This mainly took out any dust particles and smoothed the surface.

You want to make sure the piece is completely dry and free from dust before painting again. Better. :D

After a couple of days drying time, I did the wet sanding process again this time with only the 12,000. I did use the 600 and the 8,000 on two areas where there were larger dust particles, though. Buffing with the 12,000 grit paper was time-consuming and hard on my arms and hands. :D I did each fender and the middle rails, not worrying about the textured steps on either side. I started to get tired and glanced at the clock. Holy hell, have I really been sanding this @#$%er for an hour?!! Yes, yes indeed.

For good measure, I lightly buffed the part for another fifteen minutes until I was sure a genie was about to appear. It’s not a perfect mirror finish, but it’s damn close for the effort (that’s the overhead light fixture reflected in the fender).

Since the chassis will soon be up in the assembly process, I decided to go ahead and polish the rest of the way. Touch-ups can always be done later, but it’s easier to work with the parts while they are separate.
I bought the Novus Plastic Polish Trio from The Container Store, of all places. You can buy this from amazon and also in larger sizes, but the 2 oz. bottles are perfect for small projects. The set includes #1 Plastic Clean & Shine, #2 Fine Scratch Remover and #3 Heavy Scratch Remover as well as polishing cloths. I used Q-tips in addition to cut pieces of the cloth due to the shape of the fenders.

The instructions indicate to use #1 to clean first, but I used it in between the steps as well to remove any grit or dust left behind. I used #3, cleaned with #1, used #2 next and finished with another cleaning of #1.
I wouldn’t say it eliminated all scratches, but the surface has a waxed and buffed finish that seems more realistic for scale. It also didn’t take nearly as long as the wet sanding process. If you’ve ever had a black car you know they never look as good as when they are new unless you spend countless hours waxing to remove scratches. I’m just glad I’m not making the whole van black.
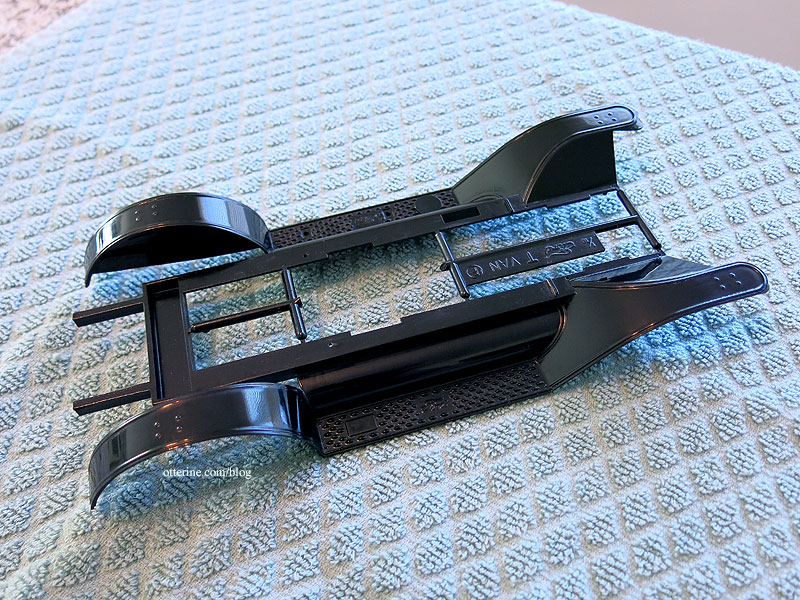
It polished closer to the raised details that I couldn’t reach with wet sanding, so that was a positive for sure.
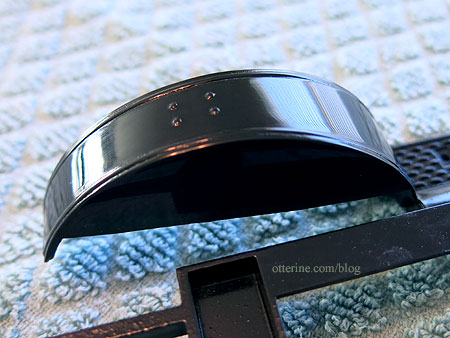
It’s just a tad more mirror-like as well – minimal halo effect reflecting the stove clock. :]

Categories: Model Cars, Vehicles
October 9, 2016 | 0 commentsSkeleton flamingos
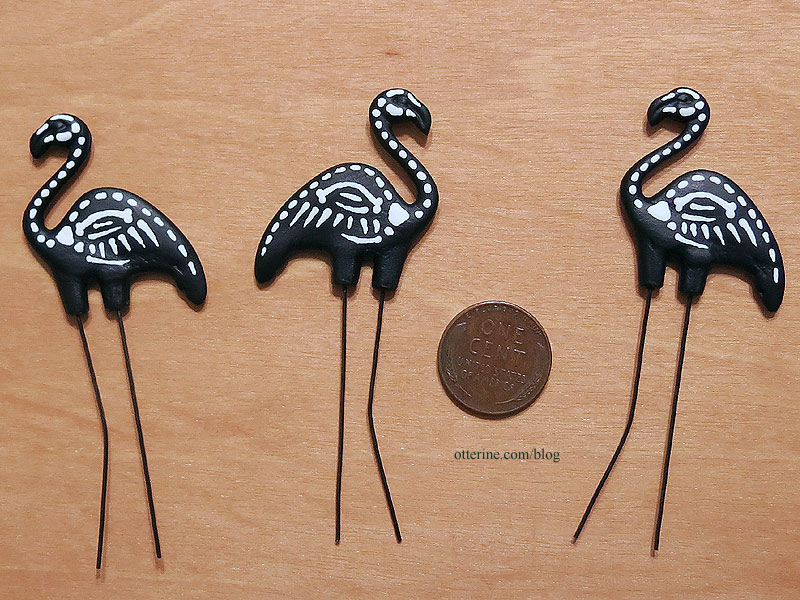
Who doesn’t love a kitschy lawn ornament or three? :]
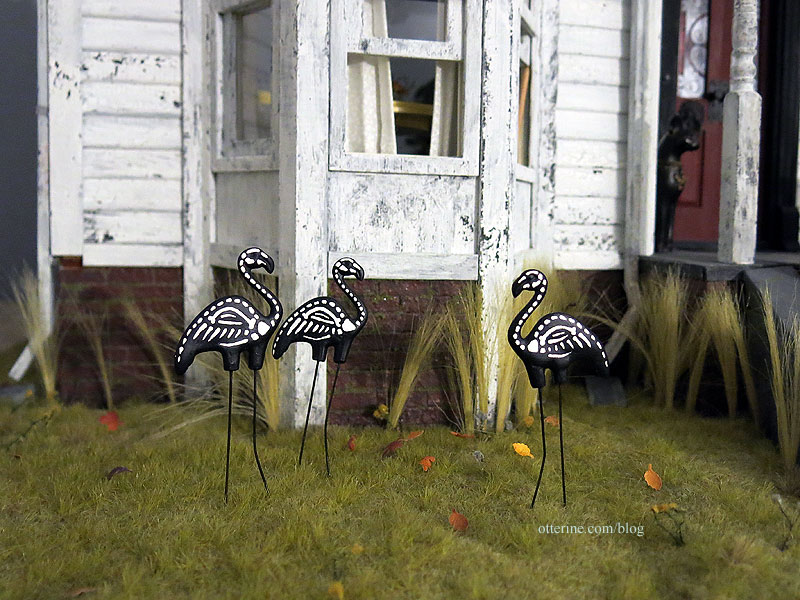
These flamingos spend their undead existence meandering across the Haunted Heritage lawn.

I usually have these listed in my etsy shop year round. :]
Categories: Animals and birds, Miniatures
October 6, 2016 | 0 comments1913 Model T Van – part 1
This is a 1/16 scale Model T Van by Entex. There are decidedly fewer parts to the Model T kit than the Datsun, but my summation is there were fewer parts to the real Model T than the real Datsun as well. :D
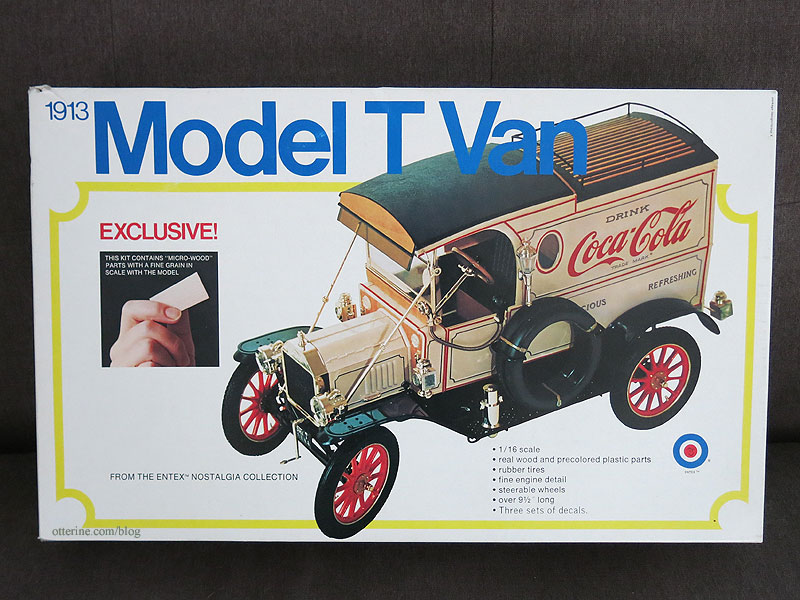
The final model will be 9.5 inches long, so it should work well regardless of being a smaller scale than the building. The kit even has real wood — they call it micro wood. I’ll be making my own decals as well as a few adjustments here and there.

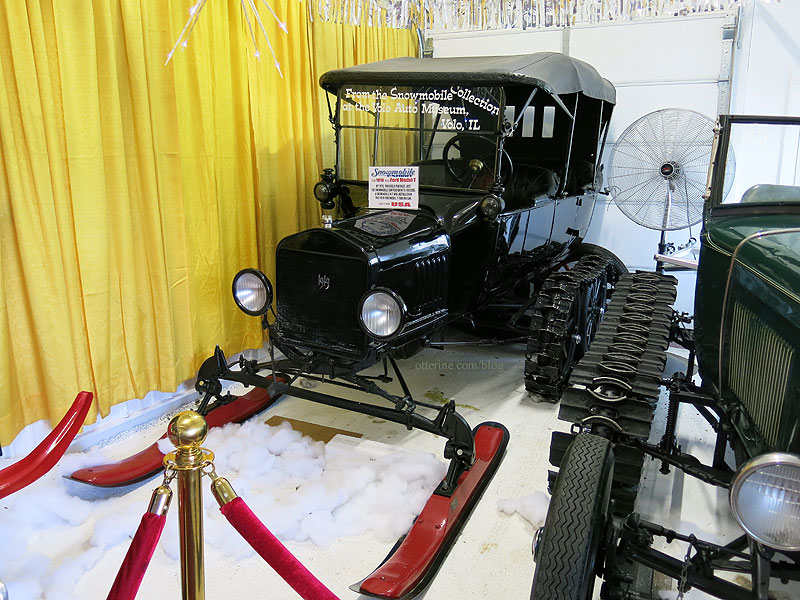
I even went to the local Volo Auto Museum to have a looksee at their vintage Fords. This is quite the contraption, no? Many a Chicago winter would call for such a beast.
Before I begin, I thought you might like to check out a few videos I found while researching. The first one shows a gal learning to drive a Model T at the Henry Ford Museum along with some excellent vintage off-road footage. The second just takes you for a ride. Feel that wind in your hair?!! Brisk! The last one is just awesome. :D
The sprues have been primed with their respective base colors. Even though models are molded in color, I still prefer a painted finish for more realism. I use spray primers for uniform coverage.
There are ten pages of assembly instructions, and as usual this build starts with the engine. I actually ended up buying two kits because of operator error (oops), but that means I have plenty of spare parts. I think some of the leftovers will make for delightful junk at Milo Valley Farm.
In addition to the videos, I located some engine photos online and saw some cars in person at the Volo Auto Museum, so I’ve followed those as a guideline for color and finish. I use Testors jar paints and acrylics on plastic models after priming in base colors. These are the tiny brushes I use, though many of the smaller details are painted with toothpicks and straight pins.

Here is the engine in the primed metallic base color. Rather fake looking.

After some further painting, I now have a relatively clean engine in flat black with bronze bolts that looks heavier and more solid. I have more bolts to detail, but I’m calling it a night. I rusted one part that might not have rusted this quickly in a newer vehicle, but we’ll call it artistic license. Once I’m further along, the whole assembly will receive washes and such to tone down the shiny newness. I want a recent vehicle with a little bit of road experience. :]
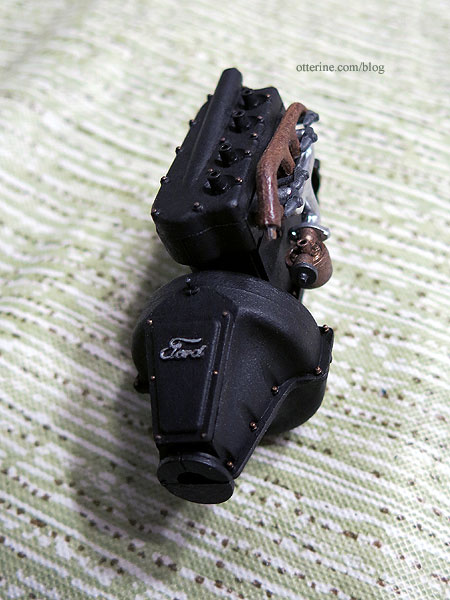
Half of page one done! :D
Categories: Model Cars, Vehicles
September 27, 2016 | 0 commentsFabric bolts
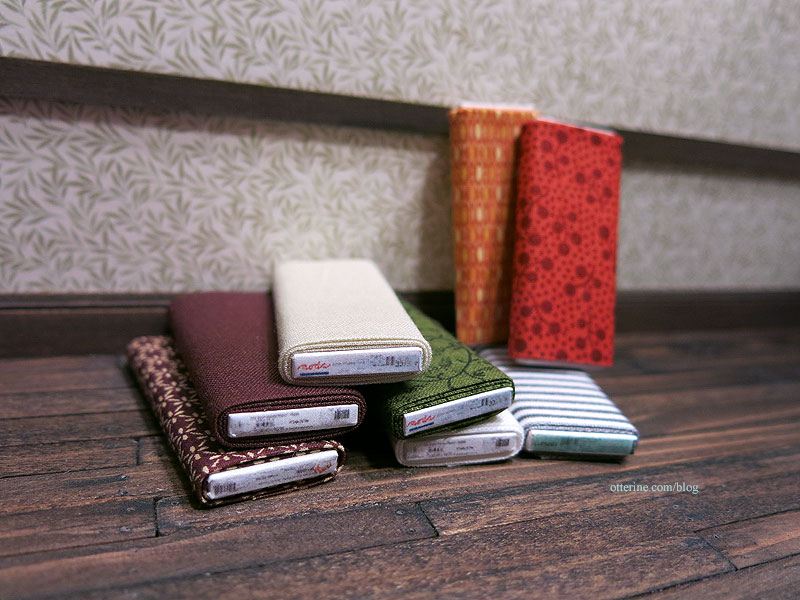
I made up some fabric bolts using balsa wood and fabric scraps from my stash. They were time-consuming but an easy project.
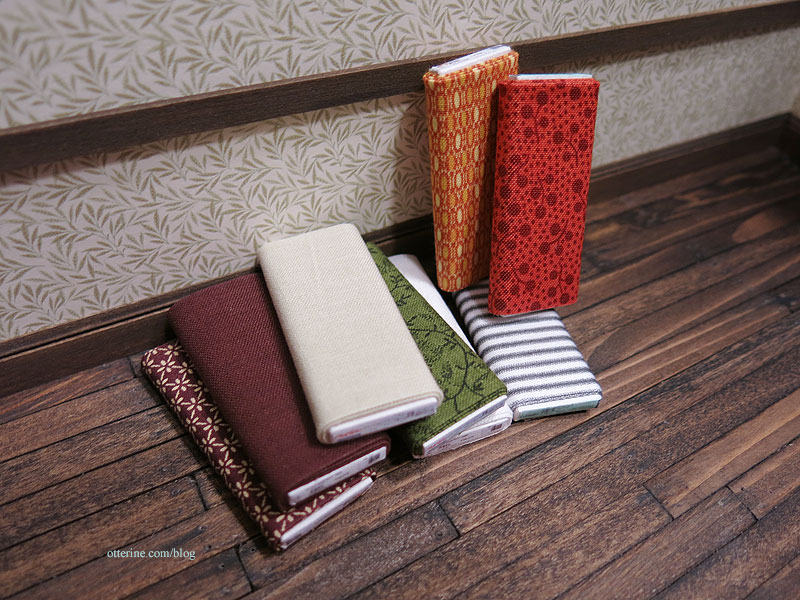
The labels are images I found on the internet, printed on Avery labels. I wasn’t very careful with the application of the labels, which adds to the realism. The bolts look like battered cardboard, just like the real deal.
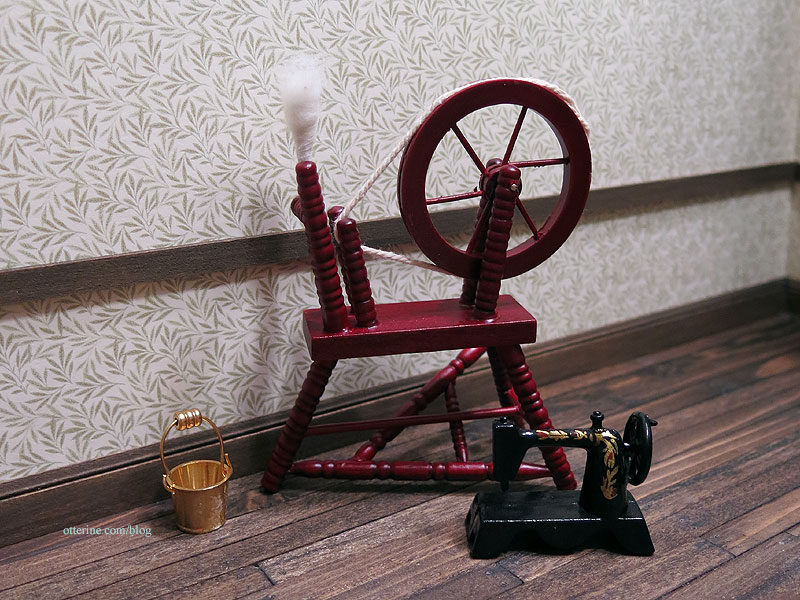
Mom brought me some mini gifts from a recent trip: a brass bucket, a spinning wheel and an old-fashioned sewing machine. I’ve got some ideas for these.
Categories: Miniatures
September 17, 2016 | 0 comments
NOTE: All content on otterine.com is copyrighted and may not be reproduced in part or in whole. It takes a lot of time and effort to write and photograph for my blog. Please ask permission before reproducing any of my content. Please click for copyright notice and Pinterest use.


